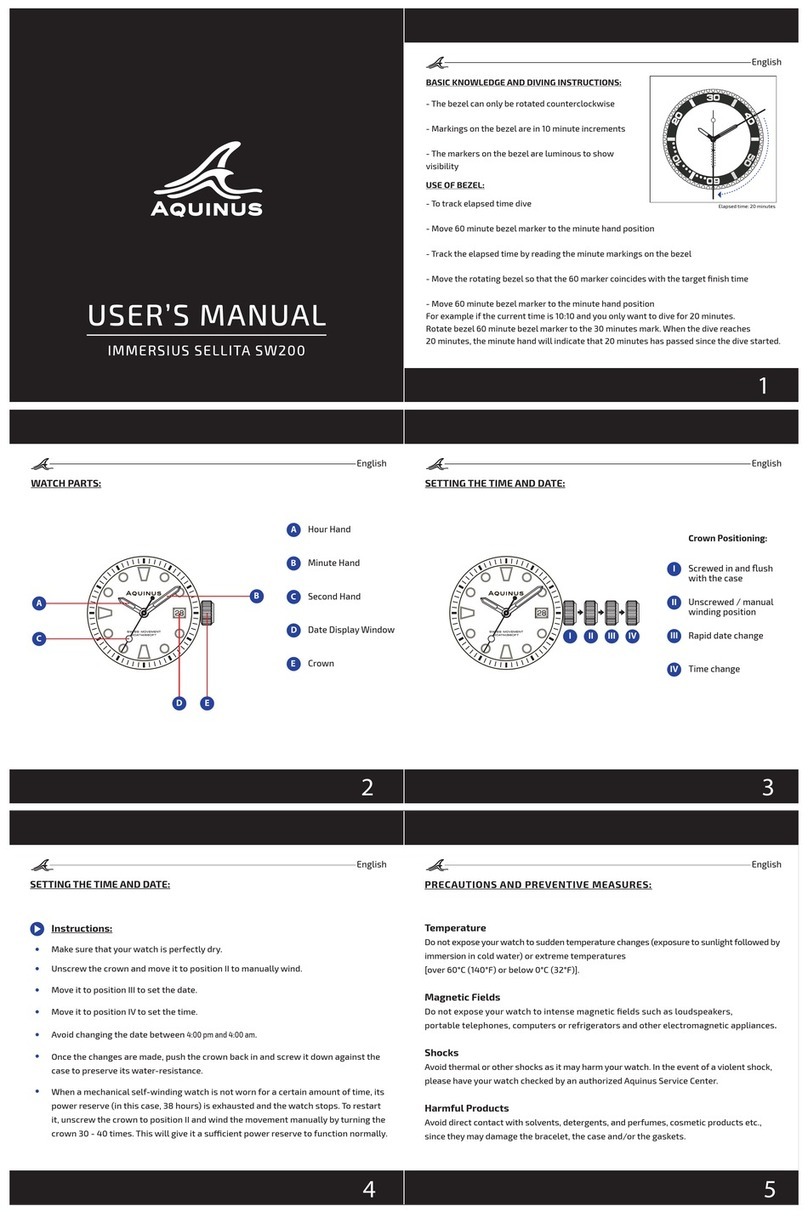
Division-Furtive 40 User manual

1
ENGLISH
OPERATING INSTRUCTIONS
TYPE 40

2 3
© 2011-2014 Division Furtive All Rights Reserved
20140521
www.division-furtive.com

3
ENGLISH
Content
Initial activation
Basic operation
Setting the watch
Advanced features
Travel mode
Troubleshooting
4
5
6
11
14
17

4 5
Initial activation
To preserve the battery, the watch is electronically de-
activated before leaving the factory.
To activate the watch, place its back at very close proximity
to a bright light source for 5 seconds. The LED display will
animate itself. The watch is now responding to movement
and time is displayed (initial default time is 10h10) when the
watch is placed at 45º in front of you.

5
ENGLISH
The watch responds to movement and time is only displayed
when the watch is placed at 45º in front of you.
The hours are displayed on the top cursor and minutes on
the bottom cursor. When minutes are not an even multiple
of 5 minutes, the bottom cursor will pulse once or twice
and right or left to display minutes precisely. One pulse left
means that you need to subtract one minute, two pulses left
means that you need to subtract two minutes, one pulse
right means that you need to add one minute and two pulse
right means that you need to add two minutes.
When you take off the watch from your wrist, it is important
to avoid leaving the watch in a position that would display
time because this would drain the battery in a matter of
days. Same goes when you are transporting the watch but
not on your wrist.
Basic operation
IMPORTANT

6 7
Setting the watch
The watch can only be set by the light from your
smartphone or computer display. Programming device
must be a recent smartphone or LCD screen (some screen
calibration/adjustment may be required and must be web-
enabled. Because of this, the watch can support advanced
calendar features like moon phases and automatic date
change (including leap-year calculation).
The watch will always be set to the time of your
programming device (the program fetches time from the
programming device). During this procedure, the travel
“west” and “east” time shifts are also programmed (see
more info about in the “Travel Mode” section below). If
after setting the time, it does not match the time on the
programming device, please move the “Setting the Watch
(Troubleshooting)” section.

7
ENGLISH
1) Set your programming device to maximum brightness.
2) Put the watch is “programming mode”. At any moment
during the procedure below you can put the watch
downward to turn off the display and start over.
2.1) Display time by putting the watch at 45º in front of you.
The cursor will then move to current time. At this moment,
if the bottom cursor is blinking steadily (do not confuse
with left/right bottom cursor pulses for precise minute
reading), you are currently in some advanced feature (you
could have tapped the watch by mistake)….put the watch
downward and start over.
2.2) Then double-tap: bottom cursor goes to 5/calendar
icon and blinks slowly (it will be explained later why bottom
cursor blinks rapidly or slowly). Don’t pay attention to the
top cursor at the moment.
2.3) Then single-tap: bottom cursor goes to 15/travel mode
icon and blinks rapidly. Don’t pay attention to the top cursor

8 9
at the moment.
2.4) Then single-tap again: bottom cursor goes to 25/moon
phase icon and blinks slowly. Don’t pay attention to the top
cursor at the moment.
2.5) Then single-tap again: bottom cursor goes to 35/
chronometer icon and blinks rapidly. Don’t pay attention to
the top cursor at the moment.
2.6) Then single-tap again: bottom cursor goes to 45/
battery level icon and blinks slowly. Don’t pay attention to
the top cursor at the moment.
2.7) Then single-tap again: bottom cursor goes to 55/set
mode icon and blinks rapidly. Don’t pay attention to the top
cursor at the moment.
2.8) At this point, as soon as you double-tap, the watch will
put itself in”programming mode”. In this mode, the display
will turn off and the watch’s angle will have no effect until

9
ENGLISH
programming is completed or until it times out. Time out
occurs if no valid data has been sent to the watch after one
minute, at which point the top and bottom cursor will blink
multiple times at 0 (or 12h00).
3) Visit http://a.djust.me for the web-app (PC/Mac/iOS) or
download the app for Android on the Google Play store. You
can also click “Set Watch” from Division Furtive’s website
top menu.
4) Put the back of the watch in direct contact over the
programming device’s screen and make sure the small
glass window (this is were the light enters the watch) is
in the center of the black and white ashing rectangle. As
soon as the programming is completed (at least one full
attempt, that is the orange progress bar going from 0%
to 100%), the cursors will move to current time (then
turn off if the watch is not at about 45º). The program will
attempt sending the programming data ve times (that
corresponds to the ve white bars on top of the orange
progress bar)

10 11
IMPORTANT
If using a programming device that has a touchscreen,
make sure the watch contact with the touchscreen is
not interpreted as a user input and does not disturb the
programming sequence. A good way to avoid this is leaving
the programming device on a at surface with the watch
on top of it.

11
ENGLISH
Advanced features
When you watch time (watch at 45º in front of you), a single
tap let you in the “top advanced features” (the row of text
next the little “TAP>”). A double-tap let you in the “bottom
advanced features” (the row of icons next to the little
“2xTAP”). When you are in advanced features (either top or
bottom), the bottom cursor will blink.
“Top” advanced features
You move from one feature to another with single tap.
1) Day: Tens on the bottom cursor and units on the top
cursor (e.g.: 18th = 10 + 8)
2) AM/PM: AM or PM on the bottom cursor and hours on
the top cursor
3) Minutes: the bottom cursor will briey go to the MIN icon

12 13
then after the bottom cursor shows the tens and the top
cursor shows the unit (e.g.: --h58 = 50 + 8)
“Bottom” advanced features
You move from one feature to another with single tap
within the bottom advanced features, when you can
“tweak” something with double-tap, the bottom cursor will
blink faster.
1) Calendar: Top cursor indicates the day of the week,
that is either S (Sunday), M (Monday,), T (Tuesday), W
(Wednesday), T (Thursday), F (Friday) or S (Saturday).
“D L M M J F S” are the days of the week in French.
2) Travel mode (see section below)
3) Moon phases: Top cursor indicates one of the eight moon
phases, in order: New moon, waxing (young), rst quarter,
waxing, half moon, waning, full moon, last quarter and
waning (old)

13
ENGLISH
4) Chronometer: Double-tap starts it. Double-tap
stops it. Single-tap restarts it when stopped. Put the
watch downward when chronometer is stopped to exit
chronometer mode. When chronometer is running, you can
put the watch down and it won’t turn off the display. For less
than 60 secs, tens of seconds are on the bottom cursor
and units of seconds on top cursor (e.g.: 42s = 40 (bottom)
+ 2 (top)). For more than 1 min, mins are on the top cursor
and seconds are on the bottom cursor (to precisely know
the seconds, you must stop the chronometer…the pulses
on the bottom cursor will tell you the exact seconds like in
time reading mode).
5) Battery level: Top cursor shows current battery level on
the 0 - - - - - - - 1 scale (1 is full 0 is low). In time reading
mode, the top cursor will blink if battery is low.
6) Set the watch (see section above)

14 15
Travel mode
The travel mode is not based on GMT or UTC time zones,
you simply need set the time shifts (offsets) you’ll be using
during your traveling. Therefore you set your “home” time,
the “west” (minus) offset and “east” (plus) offset that you
plan to use (it’s most likely that you’ll be traveling in only
one destination/direction and therefore use only one of
the two offsets). When you reach your destination (for
example, going to Paris from Montreal is going east with a
6 hours time shift), you just enable the travel mode (“west”
or “east”, “east” in the current example) and the watch
automatically apply the preset time shift. At any moment,
you can switch back and forth between home time and
east/west destination time.
1) Go to travel mode – Place the watch at 45º to display
time (bottom cursor should be not blink, if so put the
watch downward to turn off the display and start over) and
double-tap to enter the bottom advanced features icons.

15
ENGLISH
The bottom cursor goes to 5/calendar icon, then signle-
tap to move the blinking cursor to the 15/travel mode icon
(travel mode). At this point the cursor blinks even faster to
let you know you can double-tap again to tweak this feature
(single-tap would move to next advanced feature…moon
phases).
2) Make sure the watch is at “home” – At this point the
top cursor is either on the “home, “travel east +” (plane
pointing east) or “travel west -” (plane pointing west).
Double-tapping moves the top cursor from one travel mode
to another (home > east > west > home > etc.). Make sure
the top curson is on the 10/home icon.
3) Set the “home” time + “travel times” – Now you can
use the time setting procedure (see above) that includes
setting the time shifts used in travel mode.
4) Repeat step 1 at your destination and step 2 when arriving
at your destination, making sure the top cursor is in west
or east traveling mode depending on your destination.

16 17
If you did not set the offsets at home prior to your trip and
you want to do so at your destination, you have two options:
A) Leave the travel mode at “home” and set the watch
using a device that matches the local time at your current
destination. You must repeat this procedure when you get
home or at each new destination.
B) Set the watch in the travel mode (west or east) that
corresponds to your current destination (vantage point is
home), choose the corresponding offset and set the watch
using a device that matches the local time at your current
destination. This works because setting the watch does not
modify the selected “west” or “east” travel mode. When you
return home, you can return to home time by changing the
travel mode to “home”.

17
ENGLISH
Tro
Troubleshooting
There is only two possible outcomes when programming
the watch:
If the watch successfully received valid data, the cursors
will move to the newly set time (that matches the
programming device’s time).
If it did not receive valid data after one minute (see
possible reasons below) the top and bottom cursors will
blink multiple times at the 0 position, then display the
previously set time. Reasons for failure could be:
Problem: Programming device’s screen brightness too
dim
Solution: Set brightness to maximum
Problem: Programming device’s screen contrast too low

18 19
Solution: set contrast to maximum…usually only PC/Mac
have this sort of setting (smartphones don’t)
Problem: Programming device is too slow and cannot keep
up with required timing
Solution: Use a different programming device
Problem: Programming mode not activated properly
Solution: Follow procedure described above
Problem: Not enough light gets into the watch
Solution: Make sure the back of the watch is in direct
contact with the programming device’s screen. For devices
with a touchscreen, make sure you do not disturb the
script’s operation. The best way to avoid this is to lay the
device at on a table with the watch on top of it

19
ENGLISH
Problem: Watch did not received a full attempt from
programming device
Solution: Make sure you wait at least one full attempt, i.e.:
the orange progress bar moves from 0 to 100%. You have
5 attempts. Each attempt is illustrated by one notch on the
white progress bar
After many fails attempt, move to a different
programming device.
Out of the box, the watch defaults to 2010-10-10 10h10 AM.
Therefore a quick test to see if the watch is set or still at
defaul time (apart from comparing time with programming
device) is to display time and tap once on the watch. This
will display current date. If date is 10 (10th day of the
month), that is the bottom cursor that blinks at 10 and the
top cursor solid at 0 (same position as 12), the watch has
not been set. This test is only valid if done one the day the
watch is activated and if the actual current date is not the
10th of month.

20 21
IMPORTANT
In rare cases, when programming the Type 40, it is possible
that the LEDs will blink rapidly at 12h00 (top and bottom
cursors at 0) for a few seconds and then the watch
will stop responding once it is put downward (all LEDs
permanently off…not to be confused with the 60-second
programming time-out where the watch will blink rapidly
at 12h00 but will still respond normally after being put
downward). If this happens, you must reset the watch by
letting the battery door opened for at least 45 seconds (no
need to remove the battery). Open and close the door using
the provided hex key.
Table of contents
Other Division-Furtive Watch manuals

