6.5 Message
Once connected via Bluetooth, you can check the messages and make a quick
reply from watch. (iPhone does not support the message synchronisation yet)
6.6 Heart rate
With the Device on your wrist, press the heart rate interface to detect your heart
rate. While detecting, the blue light will be on and the result will display after a few
seconds.
You can slide the left side of the screen to set “Auto”. This will allow you to detect
your heart rate continuously.
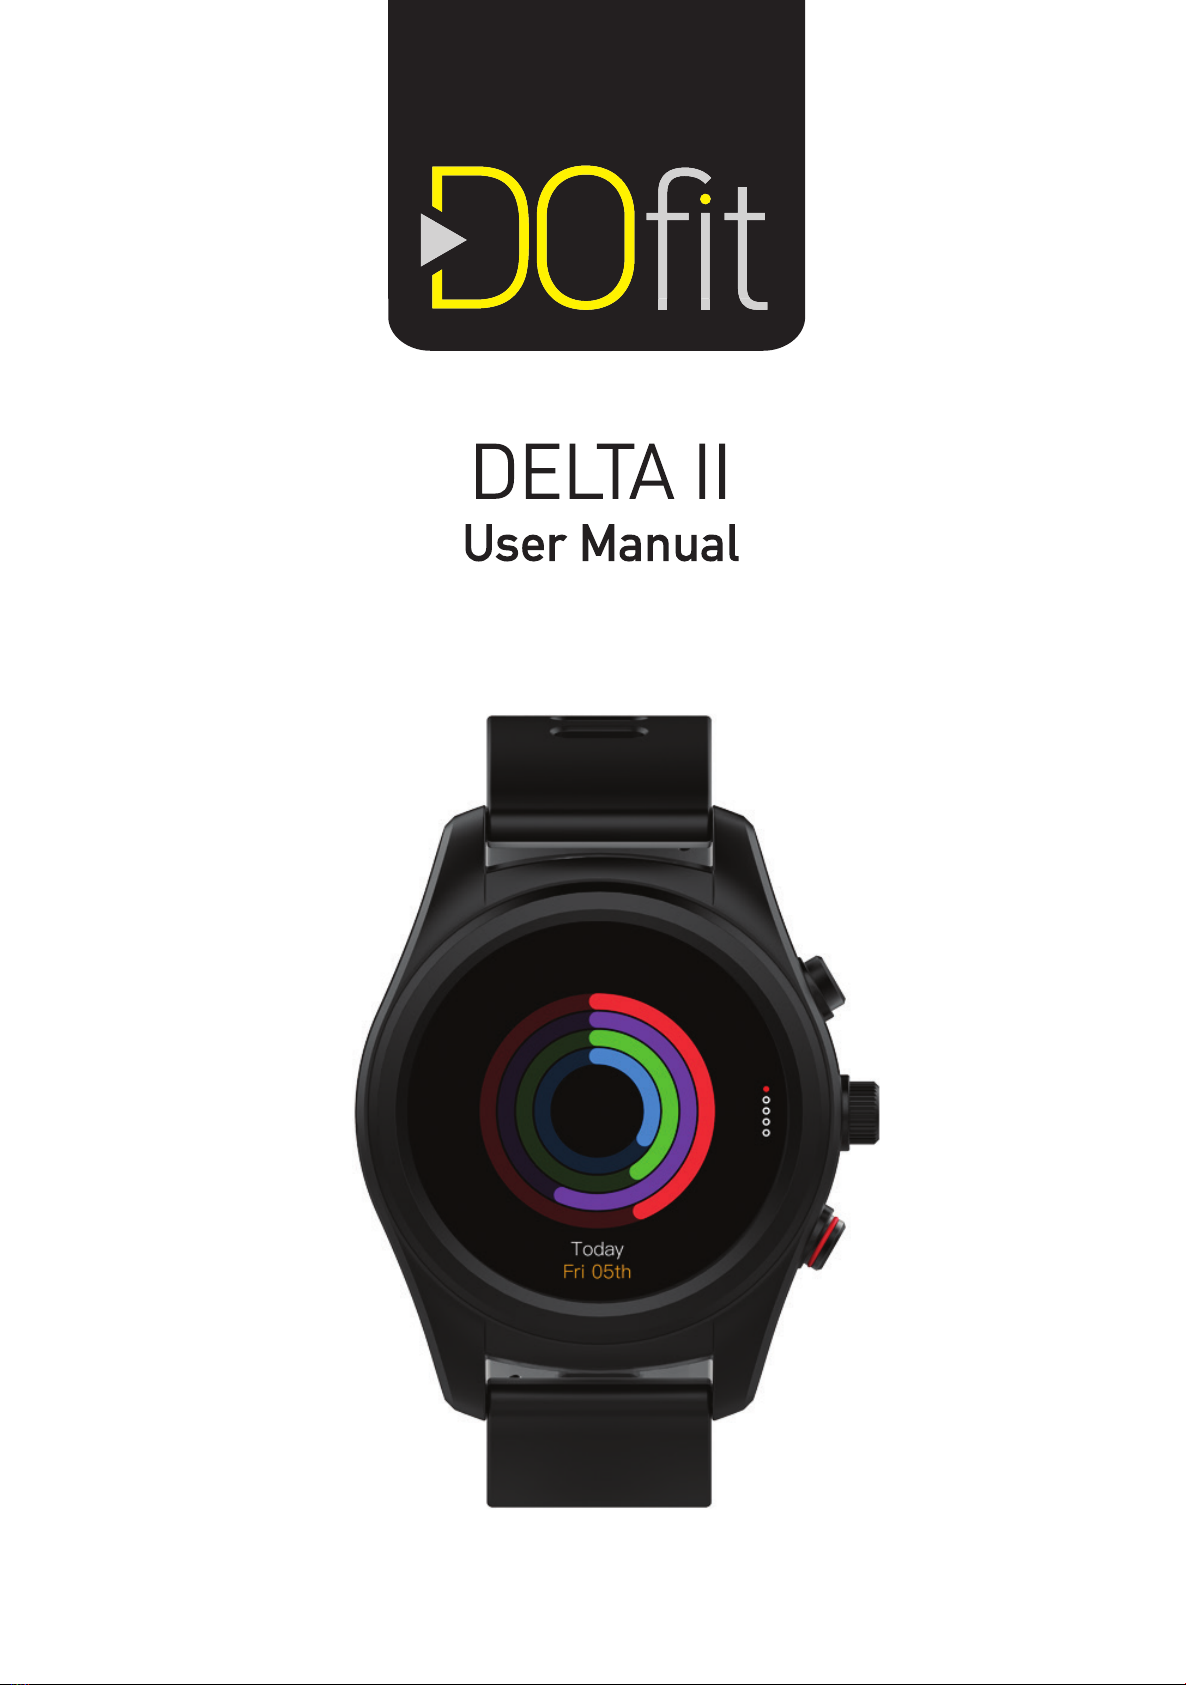
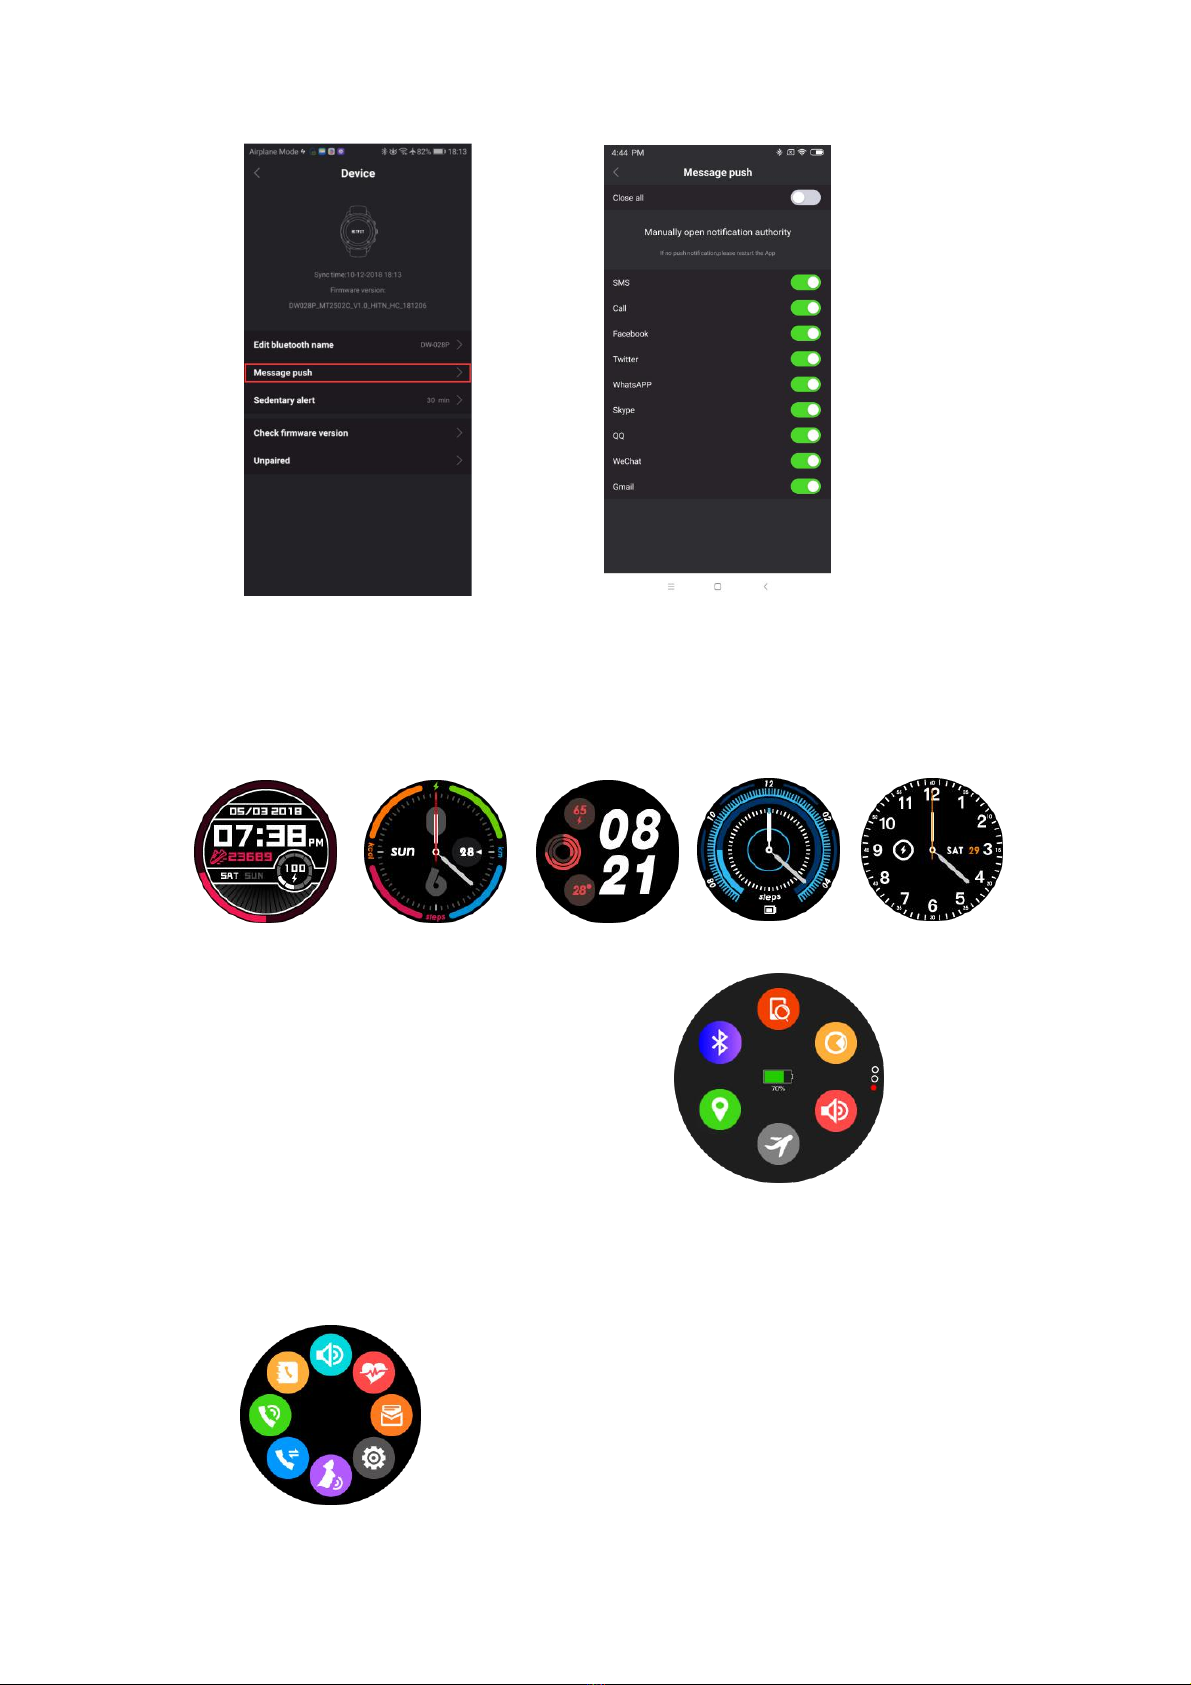
6.7 Notification
After connecting your Device via Bluetooth, notifications from your Smartphone be
will sent to the Device (see section 3 for more details)
6.8 Remote camera
After connecting your Device via Bluetooth, you can take photos using your Device.
Photos will be saved in your Smartphone.
For iPhone you will need to open your phone’s camera for this function to work.
6.9 Music
Once connected with Bluetooth,you can manipulate your Smartphone to play music
and adjust the volume. Sound will come out of your mobile phone.
6.10 Stop watch
Press the dot on the Device screen to begin the timing.
Save your record by pressing on the small spot on the right during timing.
Once timing is finished, press the arrow ‘ ’ on the right.
You can see the record by sliding the screen from right to left.
6.11 Sound recorder
Press the red dot to start recording and the red square to end recording.
You can check the audio recording by sliding the screen from right to left.
6.12 Gesture
Activate Device by raising your wrist: Turn on/off.
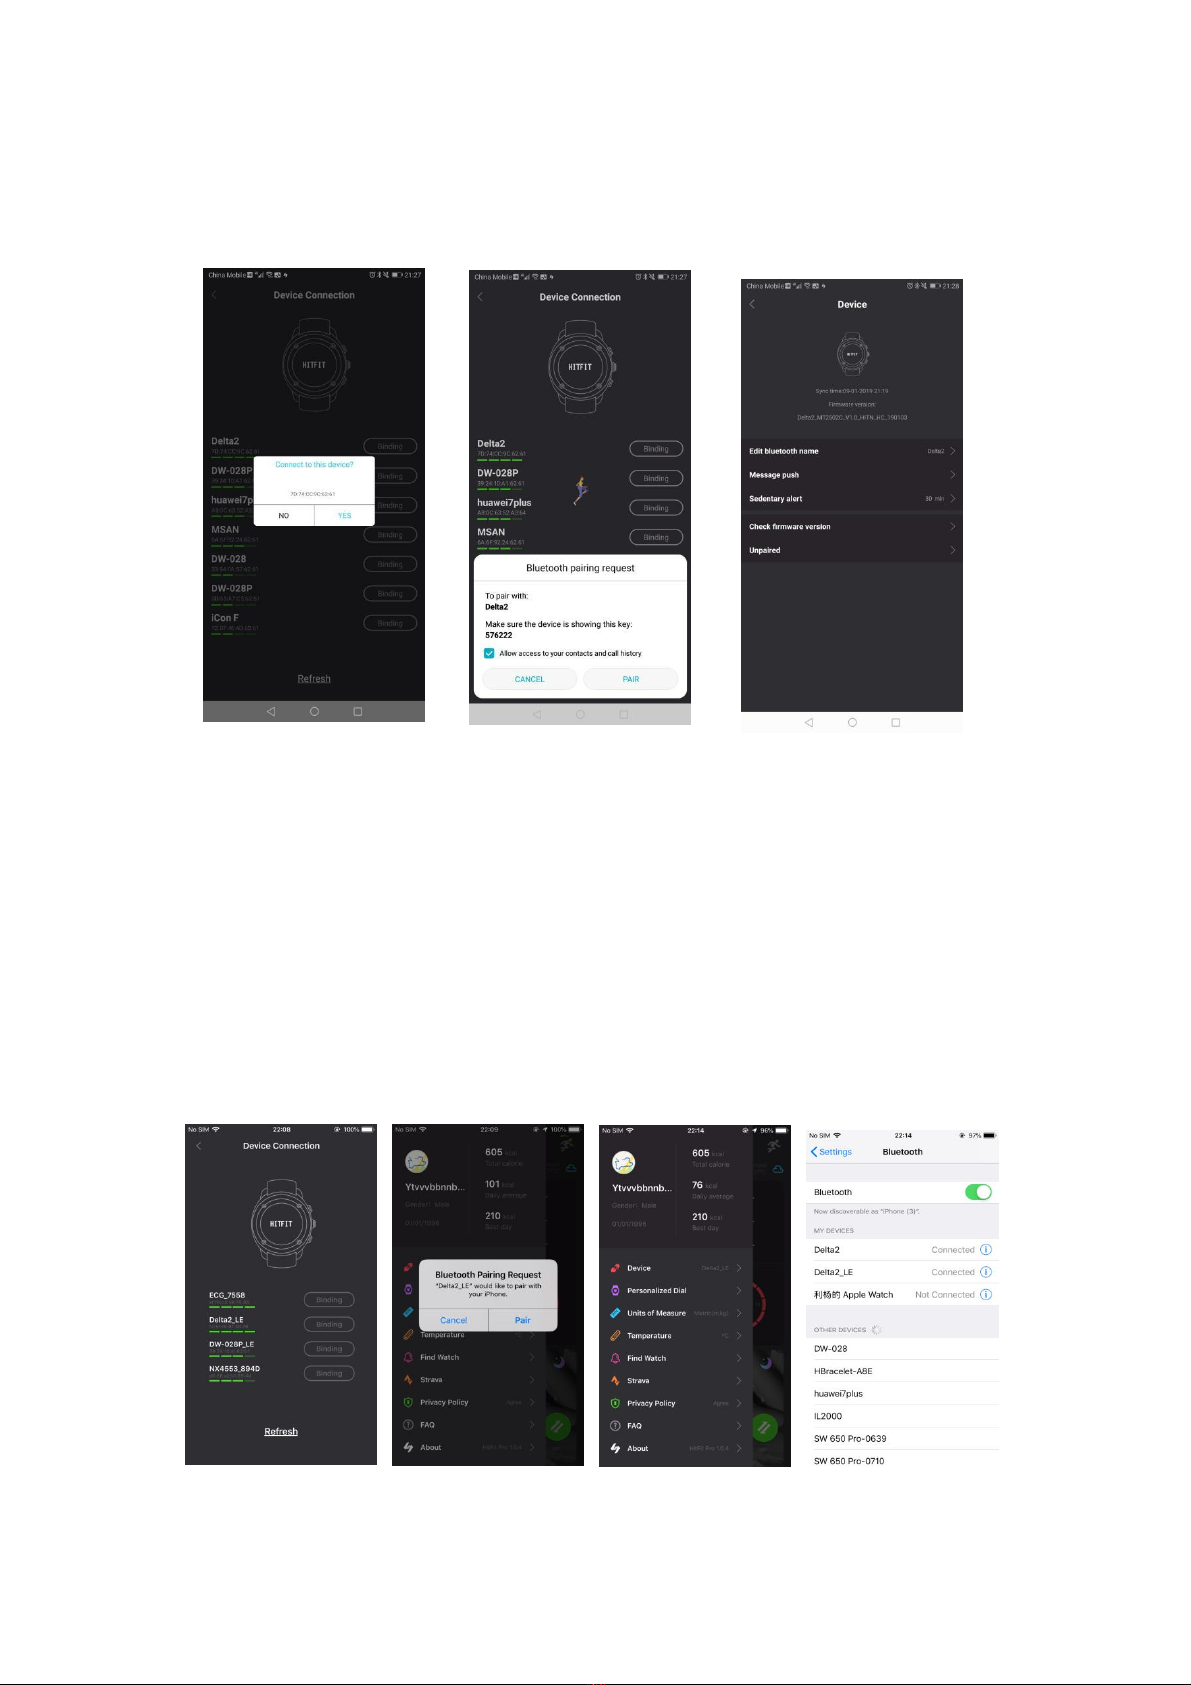
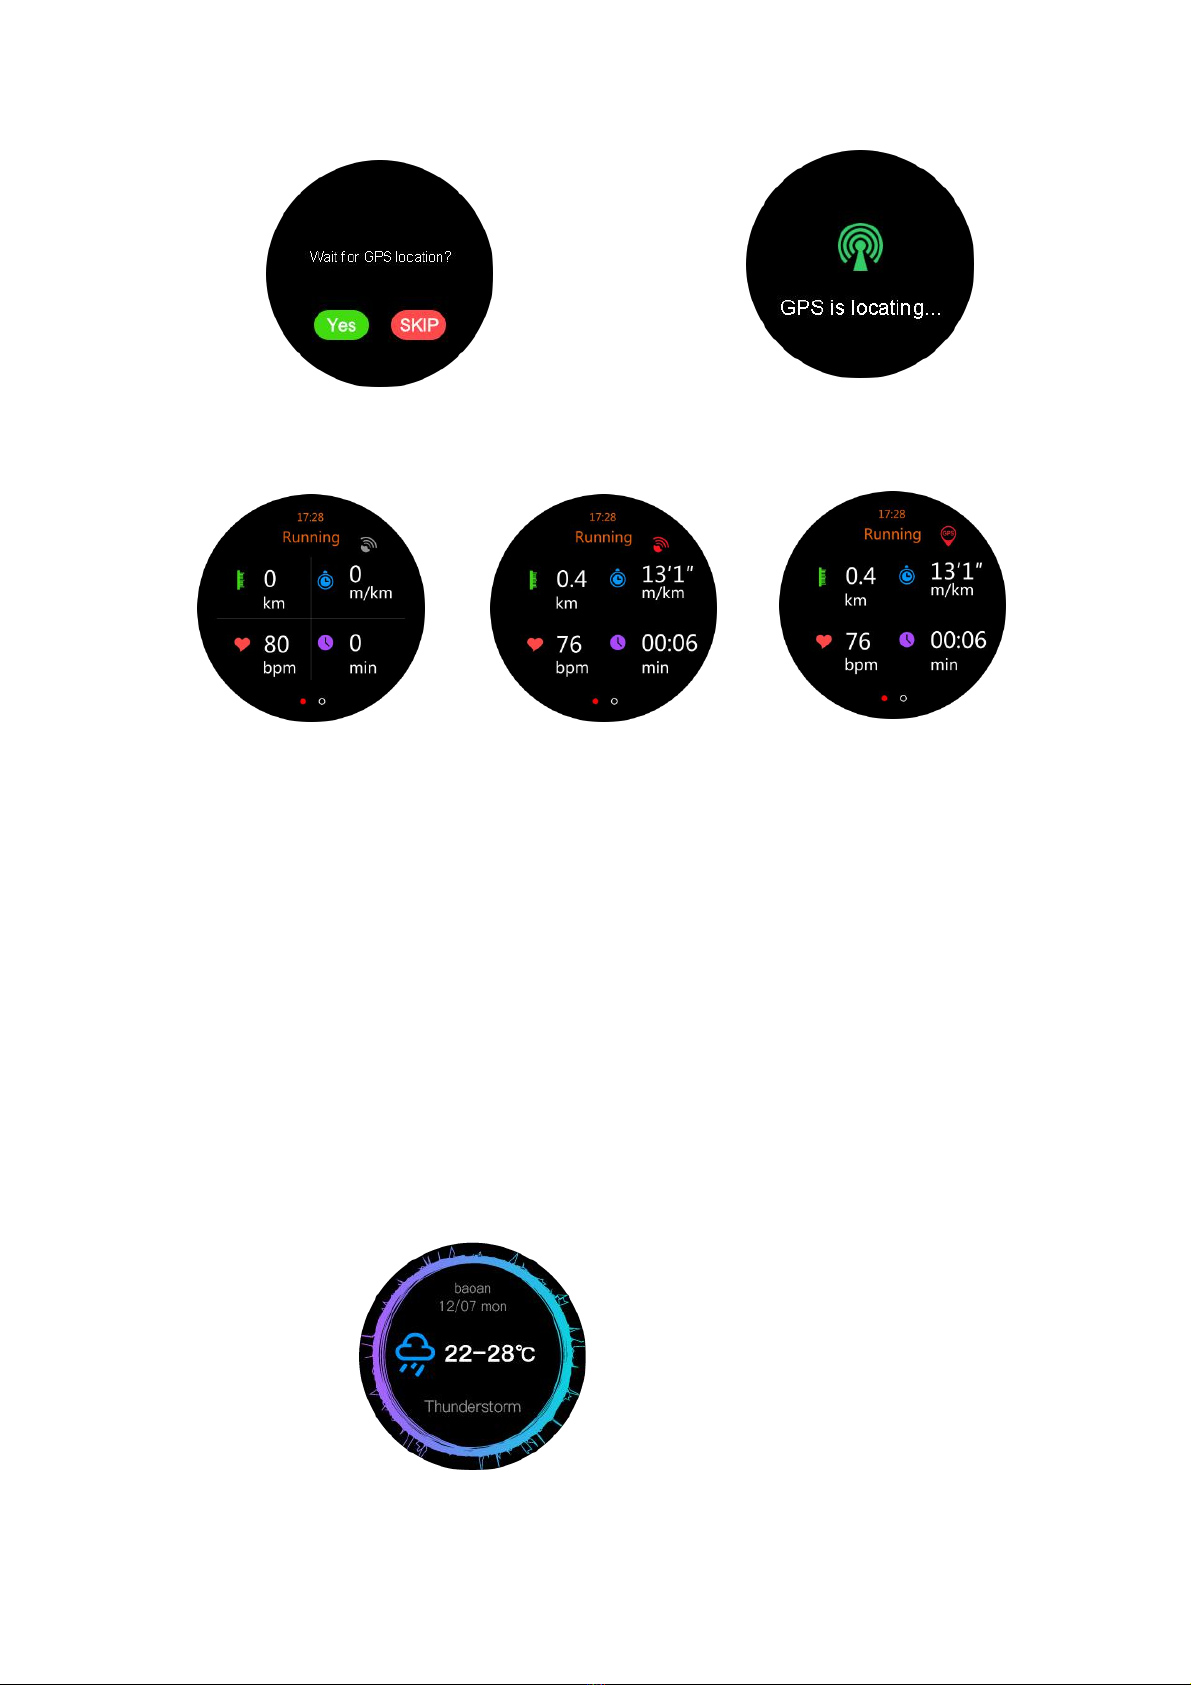
6.13 Sports
Sports modes: walking, running, biking, hiking, run indoor, trail run.
GPS will turn on once you have selected the mode you desire.
You can see the whole day’s movement (step, distance, calorie, time) by selecting
the corresponding screen.
6.14 Alarm
You can set your alarm types: meals, meetings, medication, sleep, exercise, get up,
bell times, repeat days and alarm ring.