manuals.online logo
Brands
  1. Home
  2. •
  3. Brands
  4. •
  5. Dr.Prepare
  6. •
  7. Weather Station
  8. •
  9. Dr.Prepare DWS-7P6IN-001 User manual

Dr.Prepare DWS-7P6IN-001 User manual

DWS-7P6IN-001
WEATHER STATION
IDENTIFYING PARTS
CH
Adapter
PRESSURE
inHg
hPa
1 2 3 4 5 6 7 8 9 10 11
12 13 14 15 16 17
18
19
20
21
22
23
24
25
26 27
28
29
1. Calendar
2. Outdoor Temperature / Humidity
3. Outdoor Sensor Strength & Low Battery (Sensor)
4. Alarm and Snooze
5. Weather Forecast
6. Time
7. RCC Reception (Time Calibration)
8. Indoor Temperature / Humidity
9. Weekday
10. Low Battery (Weather Station)
11. Lunar Phase
12. Outdoor Temperature Trend
13. Channel Numbers (Weather Station)
14. Max/Min Records of Outdoor Temperature & Humidity
15. Barometric Pressure & Trend
16. Indoor Temperature Trend
17. Max/Min Records of Indoor Temperature & Humidity
18. ALARM Button
19. SNZ Button (Snooze Button)
20. LIGHT Button
POWER UP
SETTING THE WIRELESS SENSOR
NOTE:
This weather station is able to pair with 3 wireless sensors. The
weather station only comes with one sensor and the remaining 2
sensors are optional.
PLACING YOUR WEATHER STATION & WIRELESS SENSOR
RCC TIME SIGNAL
21. MODE Button
22. ▲ (UP) Button
23. ▼ (DOWN) Button
24. Mounting Holes
25. Socket for Power Cord
26. Battery Compartment for 3 X AAA Batteries (Not Included)
27. Pedestal
28. CH Channel Selector (Select Channel Number of the Wireless
Sensor)
29. Compartment for 2xAA Batteries (Not Included)
1. Open the battery compartment (26) on the back of weather station
and insert 3-AAA batteries with correct polarity (+ / -).
2. Insert the power cord into the socket (25) of the weather station and
into a wall outlet.
3. Open the battery compartment (29) of the wireless sensor and insert
2-AA batteries with correct polarity (+ / -).
4. Adjust time, date, and other settings on your weather station.
1. Power up the weather station.
2. Insert the batteries to the wireless sensor and use CH channel
selector (28) to choose a channel number (1, 2, or 3).
The weather station will search RF signal for 3 minutes automatically
when it is plugged in. Then, it will continue to search for RCC signal
for time calibration.
3. Short press the ▼ button (23) to select the channel number that has
been set on the wireless sensor in the previous step. The icon of
channel number flashes in sequence of 1, 2, and 3.
4. Long press the ▼ button to make the weather station search for
signals sent from the outdoor sensor for 3 minutes. Sensor Strength
icon will change as follow: .
5. Once the sensor connects with the weather station, place the sensor
in a shaded location (please follow the guidelines listed in PLACING
YOUR WEATHER STATION & WIRELESS SENSOR).
5. When the weather station connects with the sensor successfully, it
will display four signal bars .
You can follow the steps above when you first connect the sensor
with the weather station or when the weather station loses signals
of the sensor.
If you are seeing dashes (indicating signal of the sensor is not
received) in place of outdoor temperature, first check batteries in
the sensor. Then repeat the steps above.
If sensor signal is lost for once, the number of signal bars will
decrease .
If sensor signal is lost for over 1 hours, the sensor signal will flash.
If sensor signal is lost for over 2 hours, the weather station will
automatically search for signals every hour.
Keep the weather station away from direct sunlight and any heat
sources.
The maximum distance between the weather station and the
wireless sensor is 98 feet (30m).
The clock starts receiving RCC signal automatically after the weath-
er station connects with the sensor. The screen will go dark during
this procedure.
Please make sure you have selected the correct time zone from the
list in the Settings Menu. When the RCC time signal is received, the
station will set to the time zone selected. Default is Eastern Time.
From normal time display, long press the ▲ button (22) to search for
the RCC time signal.
The radio will search for time signal at 1:00 (compulsory), 2:00
(compulsory), 3:00 (compulsory), 4:00 (alternative), 5:00 (alterna-
tive) a.m. every day.
TV
When the clock is searching for RCC time signal, the icon (7)
flashes; If the reception succeeds, the antenna icon changes from
.
NOTE:
SETTINGS MENU
The screen will go dark when the weather station is searching for RCC
time signal.
The DST symbol will appear on the screen when daylight saving time
is practised.
To quit searching for time signal, long press the ▲ button and the
icon will disappear.
Hold, then release the button (21) to enter time setting mode.
Short press the ▲ or ▼ button to adjust the values. Hold to adjust
quickly.
Short press the button to confirm and move to the next item.
Place the weather station at least 3 feet (0.9m) away from equipment
that generates magnetic fields such as mobile phones, televisions,
etc. and other devices that may interfere with connection.
TO BEGIN:
OUTDOOR TEMPERATURE & HUMIDITY
ACCURACY
ADJUSTABLE BACKLIGHT
Setting Menu Order: Time Zone (The default is EST)
ALARM SETTING & SNOOZE
INDOOR TEMPERATURE & HUMIDITY
1. Hold the button for two seconds to enter setting mode.
2. Now EST is flashing on the screen. Press the ▲ or ▼ button to select
a desired time zone. (NST=Newfoundland, AST=Atlantic, EST=East-
ern, CST=Central, MST=Mountain, PST=Pacific)
If there is no operation for 20s, the weather station will automatically
exit settings.
Note: weekday will set automatically once year, month, and date are set.
Note: please set a correct time zone so your weather station will display
correct time after calibration.
Short press the ▲ or ▼ button to adjust the values. Hold to adjust
quickly.
When the weather station is displaying Max / Min readings, you can
long press the ▲ button to clear the records.
Temperature range: -22°F to 122°F (-30°C to 50°C)
Humidity range: 10% to 95%
From the normal time display, short press the ▲ to check the Max /
Min readings of outdoor temperature & humidity (14).
When the weather station is displaying Max / Min readings, you can
long press the ▲ button to clear the records.
-22°F ~ -4°F: ±7.2°F (-30°C ~ -20°C: ± 4°C)
-4°F ~ -32°F: ±3.6°F (-20°C ~ 0°C: ± 2°C)
32°F ~ 122°F: ±1.8°F (0°C ~ +50°C: ±1°C)
35% to 75%: ±5% ;
From 20% to 35%, 75% to 95%: ±10%
Temperature accuracy:
Humidity accuracy:
When the weather station operates on batteries only (not recom-
mended), short press the button and the screen will light up for
10 seconds.
When the weather station is plugged in using the included adapter,
the screen will always stay lit. You can short press the button to
adjust the brightness of backlight: HI LO OFF.
Short press the button (18) to confirm and move to the next item.
If there is no operation for 20s, the weather station will automatically
exit settings.
Press any button except the “ ” button to exit the snooze mode.
Press the button (19) to activate snooze feature (default: 10
minutes) when the alarm goes off. Then the clock will beep again
after 10 minutes.
3. Press button to select 12/24 Hour Time Format. Press the ▲ or ▼
button to choose a desired time format.
4. Press button to select Hours. The Hour will show. Press the ▲ or ▼
button to adjust the hour.
5. Press button to select the Minutes. The Minutes will show. Press the
▲ or ▼ button to adjust the minutes.
6. Pres s button to select the Year. The Year will show. Press the ▲ or
▼ button to adjust the year.
1. From normal time display, short press the button to enter alarm
mode. The ALM will appear in the position of weekday.
2. In alarm mode, long press the button to start setting the alarm. The
digits of hour begin to flash.
3. Short press the ▲ or ▼ button to set desired Hour for your alarm. Then
short press the button to move on.
4. Short press the ▲ or ▼ button to set desired Minute for your alarm.
Then short press the button to move on or wait for 20s with no
operation to exit alarm setting mode.
7. Press button to select the Month. The Month will show. Press the ▲
or ▼ button to adjust the month.
8. Press button to select the Date. The Date will show. Press the ▲ or
▼ button to adjust the date.
9. Press button to select hPa/inHg. Press the ▲ or ▼ button to select
a desired option.
10. Press button to select Fahrenheit/Celsius. Press the ▲ or ▼
button to select a desired option. Press button to confirm and exit
setting mode.
Time Zone
12H/24H
Hour
Minute
Year
Month
Date
hPa/inHg
Fahrenheit/Celsius
NST (GMT-3.5) Newfoundland Standard Time
AST(GMT -4) Atlantic Standard Time
EST(GMT -5) Eastern Standard Time
CST(GMT -6) Central Standard Time
MST(GMT -7) Mountain Standard Time
PST(GMT -8) Pacific Standard Time
5. Short press button to turn on / off alarm, the alarm icon will appear
/ disappear accordingly.
NOTE:
The default alarm is 7:00 a.m.
NOTE:
LOW BATTERY INDICATOR
WEATHER FORECAST ICONS
Batteries are designed to prevent losing settings of weather station
during a power outage.
When the weather station operates on batteries, the screen will not
stay lit. For daily use, please plug in your weather station to keep
the screen light up.
When the low battery indicator shows next to the outdoor tempera-
ture, replace batteries in your outdoor sensor.
When low battery indicator shows next to your indoor temperature,
replace batteries in your station.
The unit predicts weather conditions for the next 12 – 24 hours
based on the change of atmospheric pressure and the weather
forecast is about 70-75% correct.
CARE & MAINTENANCE
Do not place the weather station near wet areas in case of hazards
and injuries.
Clean the battery contacts and also those of the device prior to
battery installation.
Ensure the batteries are installed with correct polarity (+ and -).
Do not mix old and new batteries.
Replace all batteries of a set simultaneously.
Remove batteries from both your weather station and outdoor
sensor, if they are not to be used for an extended period of time.
Atmospheric pressure unit is hPa or inHg. The units are adjustable
in the Setting Menu.
Please place the weather station in a ventilated area (windows,
doors, a porch or balcony, etc.) and allow it to learn for barometric
calibration. This will help the station to provide personal forecast
that is relatively accurate for your location.
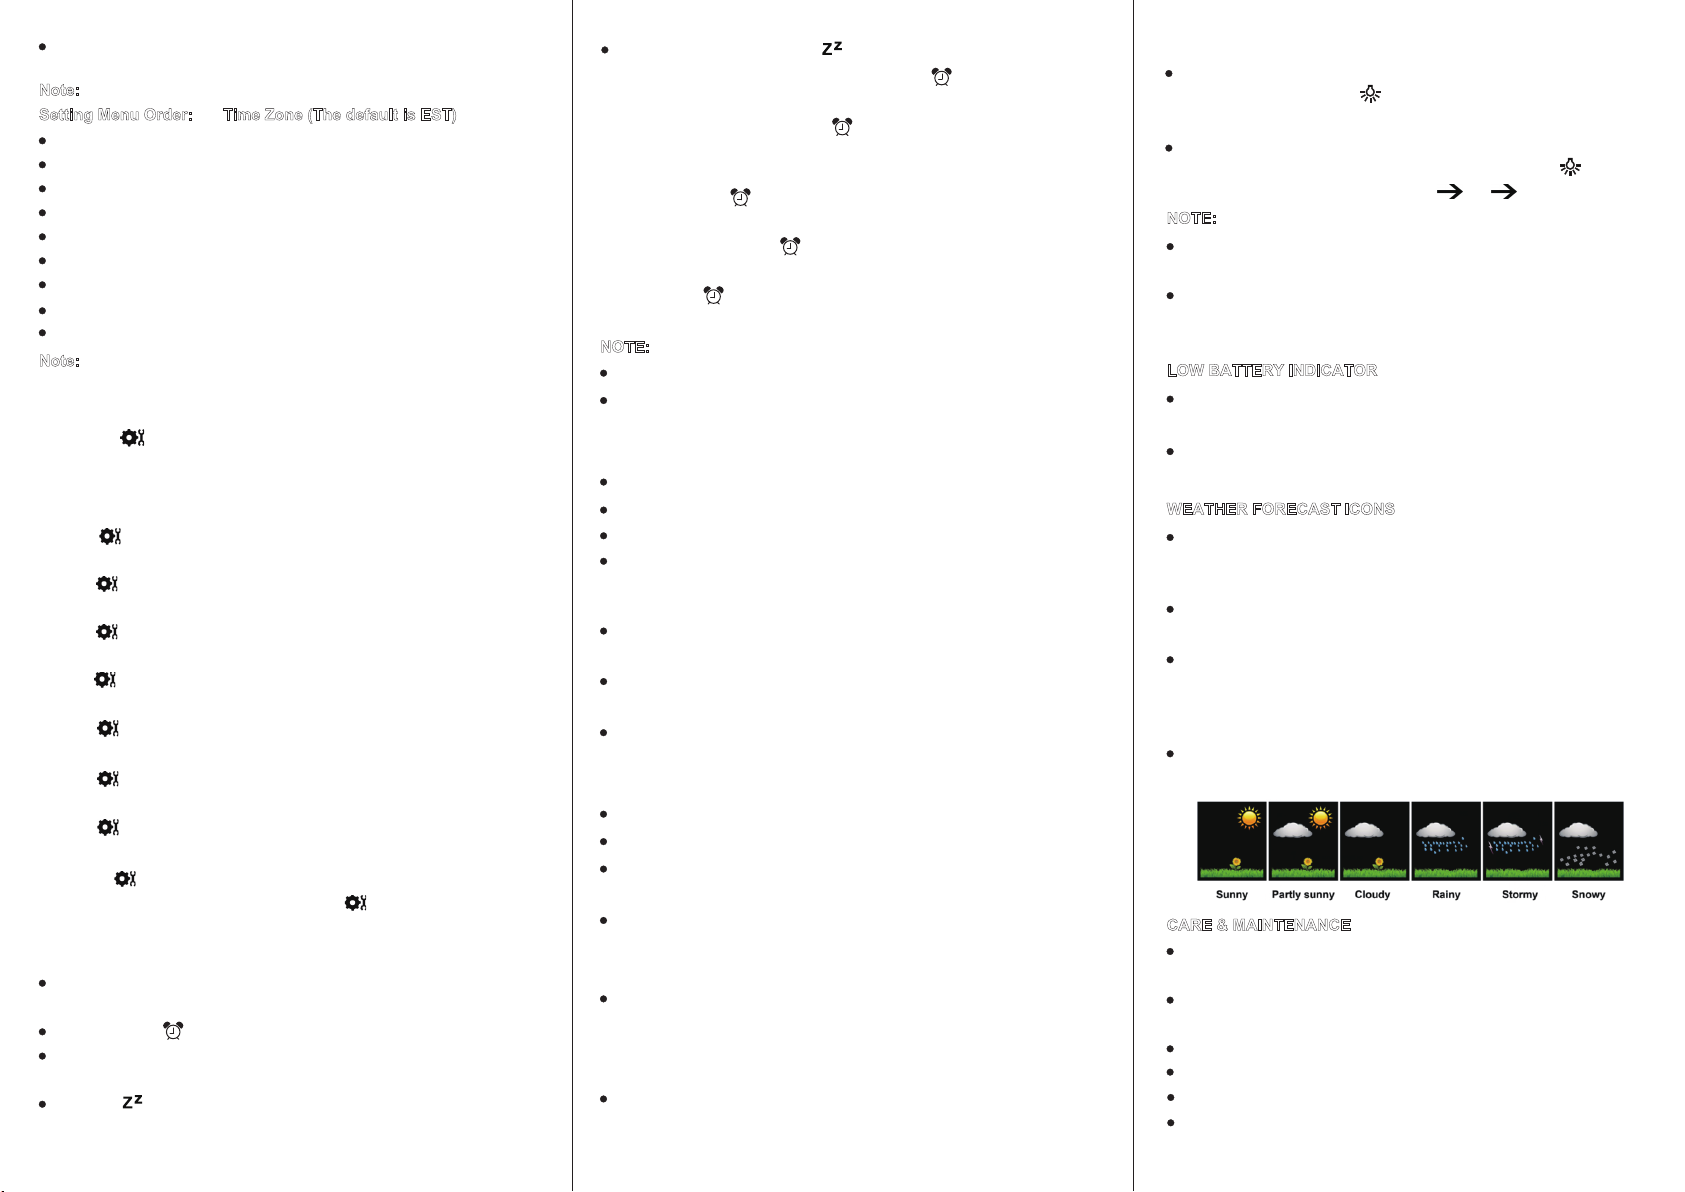
Forecast Icons: Sunny, Partly Sunny, Cloudy, Rain, Storms and
Snow.
Temperature range: 32°F to 122°F (0°C to 50°C)
Humidity range: 1% to 95%
Frequency of updates: 30 seconds
If the current temperature exceeds 122°F, the weather station will
display HI; if the current temperature is below 32°F, the weather station
will show LO.
When the weather station is in ALARM mode or receiving RCC/RF
signals, it will stop updating indoor temperature and humidity readings.
From the normal time display, short press the ▲ button to check the
Max / Min readings of indoor temperature & humidity (17).
The clock will beep for 2 minutes at the alarm time you've set. The
alarm icon keeps flashing while beeping.

Popular Weather Station manuals by other brands

Conrad RC-DCF manual

Conrad

Conrad RC-DCF manual

Duemmegi Domino DFMETEO quick start guide

Duemmegi

Duemmegi Domino DFMETEO quick start guide

Auriol 284995 Operation and safety notes

Auriol

Auriol 284995 Operation and safety notes

PCE Instruments PCE-FWS 20N user manual

PCE Instruments

PCE Instruments PCE-FWS 20N user manual

Bresser WSX3001 instruction manual

Bresser

Bresser WSX3001 instruction manual

Bresser 7902585 instruction manual

Bresser

Bresser 7902585 instruction manual

Emos E0352 manual

Emos

Emos E0352 manual

Oregon Scientific BAR916HG user manual

Oregon Scientific

Oregon Scientific BAR916HG user manual

TFA ERGO 30.3014 instruction manual

TFA

TFA ERGO 30.3014 instruction manual

La Crosse Technology V21V3 Faqs

La Crosse Technology

La Crosse Technology V21V3 Faqs

La Crosse Technology WS-9611U instruction manual

La Crosse Technology

La Crosse Technology WS-9611U instruction manual

elsner elektronik Suntracer KNX sl basic Technical specifications and installation instructions

elsner elektronik

elsner elektronik Suntracer KNX sl basic Technical specifications and installation instructions

Tarmo SH-012 manual

Tarmo

Tarmo SH-012 manual

Peet Bros ultimeter 100 owner's manual

Peet Bros

Peet Bros ultimeter 100 owner's manual

Auriol Z31743A Operation and safety notes

Auriol

Auriol Z31743A Operation and safety notes

elsner elektronik Suntracer KNX basic Technical specifications and installation instructions

elsner elektronik

elsner elektronik Suntracer KNX basic Technical specifications and installation instructions

Conrad 64 63 68 operating instructions

Conrad

Conrad 64 63 68 operating instructions

Meteotronic START instruction manual

Meteotronic

Meteotronic START instruction manual

manuals.online logo
manuals.online logoBrands
  • About & Mission
  • Contact us
  • Privacy Policy
  • Terms and Conditions

Copyright 2025 Manuals.Online. All Rights Reserved.