Eagle Eye VSPV922W User manual

VSPV922W|ENGLISH USERMANUAL 1
USERMANUAL
Pleaseread thisuser manualcarefully and thoroughly before any attempttoInstall
and operate this productandretainit foryourfuture reference.

VSPV922W|ENGLISH USERMANUAL 2
CATALOG
INTRODUCTION ...3
WARNING .. .. .. 4
OVERVIEW ... ... 5-7
Main device .. .. ... .5
RemoteController ..6
Powercharger 7
BASICOPERATION .... ...8-13
Battery Installation ... .. 8
Connectwiththecamera ... .. .9
Start recording .... ..10
ConnectwithTV .. ........ 11
Connectwithcomputer ..... ..12-13
FUNCTIONMODES .14-20
Booting picture .... 14
RecordInterface .. .14
Recordinterface ... ..15
Multi-mediafolders .... 16-20
Functionsetting .. .. .... 21-39
ACCESSORIES ... .40-41
PARAMETERS ..42

VSPV922W|ENGLISH USERMANUAL 3
INTRODUCTION
Thank you forpurchasing VSPV922Wwhich hastheunique,ultra-small anddelicate
design.Itcan beusedin many recording situations.VSPV922Wrings moreconvenience,
safety and funs toyour daily life.
Approval Information:
Allour products meetthe requirements of approvalFCCorCE,andaregrantedthe
FCC orCEcertification.Theyareauthorized tobearFCC orCE mark.
FCC:
Thisproducthas beentestedandfoundtocomply with thelimits foraClass Bdigital
device,pursuanttoPart 15oftheFCCrules.These limitsare designedto provide
reasonable protectionagainstharmful interferencein aresidential installation.
CE:
Thisproductcomplies with standardsincluding LowVoltageDeviceDirective
73/23/EEC;EMC Directive89/336/EECandR&TTEDirective1999/5/EC.Itpassedthe
subject testsbytheauthority concernedandis authorizedtobearCE mark.
OVERVIEW
Along with theimprovement ofpeople’slivingstandardand thedevelopment of
picturecompressionand memory technology,thedigital videomemory hasbeenapart of
ourdailylife.VSPV922Wahigh-tech product, just meets aplenty ofneedsofpeopleand
market.Itpossesses aseriesof advancedfunctionsincludingdigitalphotography,voice
memory, soundtriggerrecording,high speedUSBdata transferringand USBcharging.
EU EnvironmentalProtection
Wasteelectricalproducts shouldnotbedisposed ofwith
householdwaste. Please recycle wherefacilities exist.
Checkwith your LocalAuthorityorretailerforrecycling
advice.

VSPV922W|ENGLISH USERMANUAL 4
WARNING
Topreventfire orshockhazard,do notexposetheunit torain ormoisture.
Attention
The electromagnetic fieldsatthespecificfrequenciesmayinfluencethe pictureof
therecorder.Besure toreadthefollowingbeforeusing the recorderandthemini
camera.
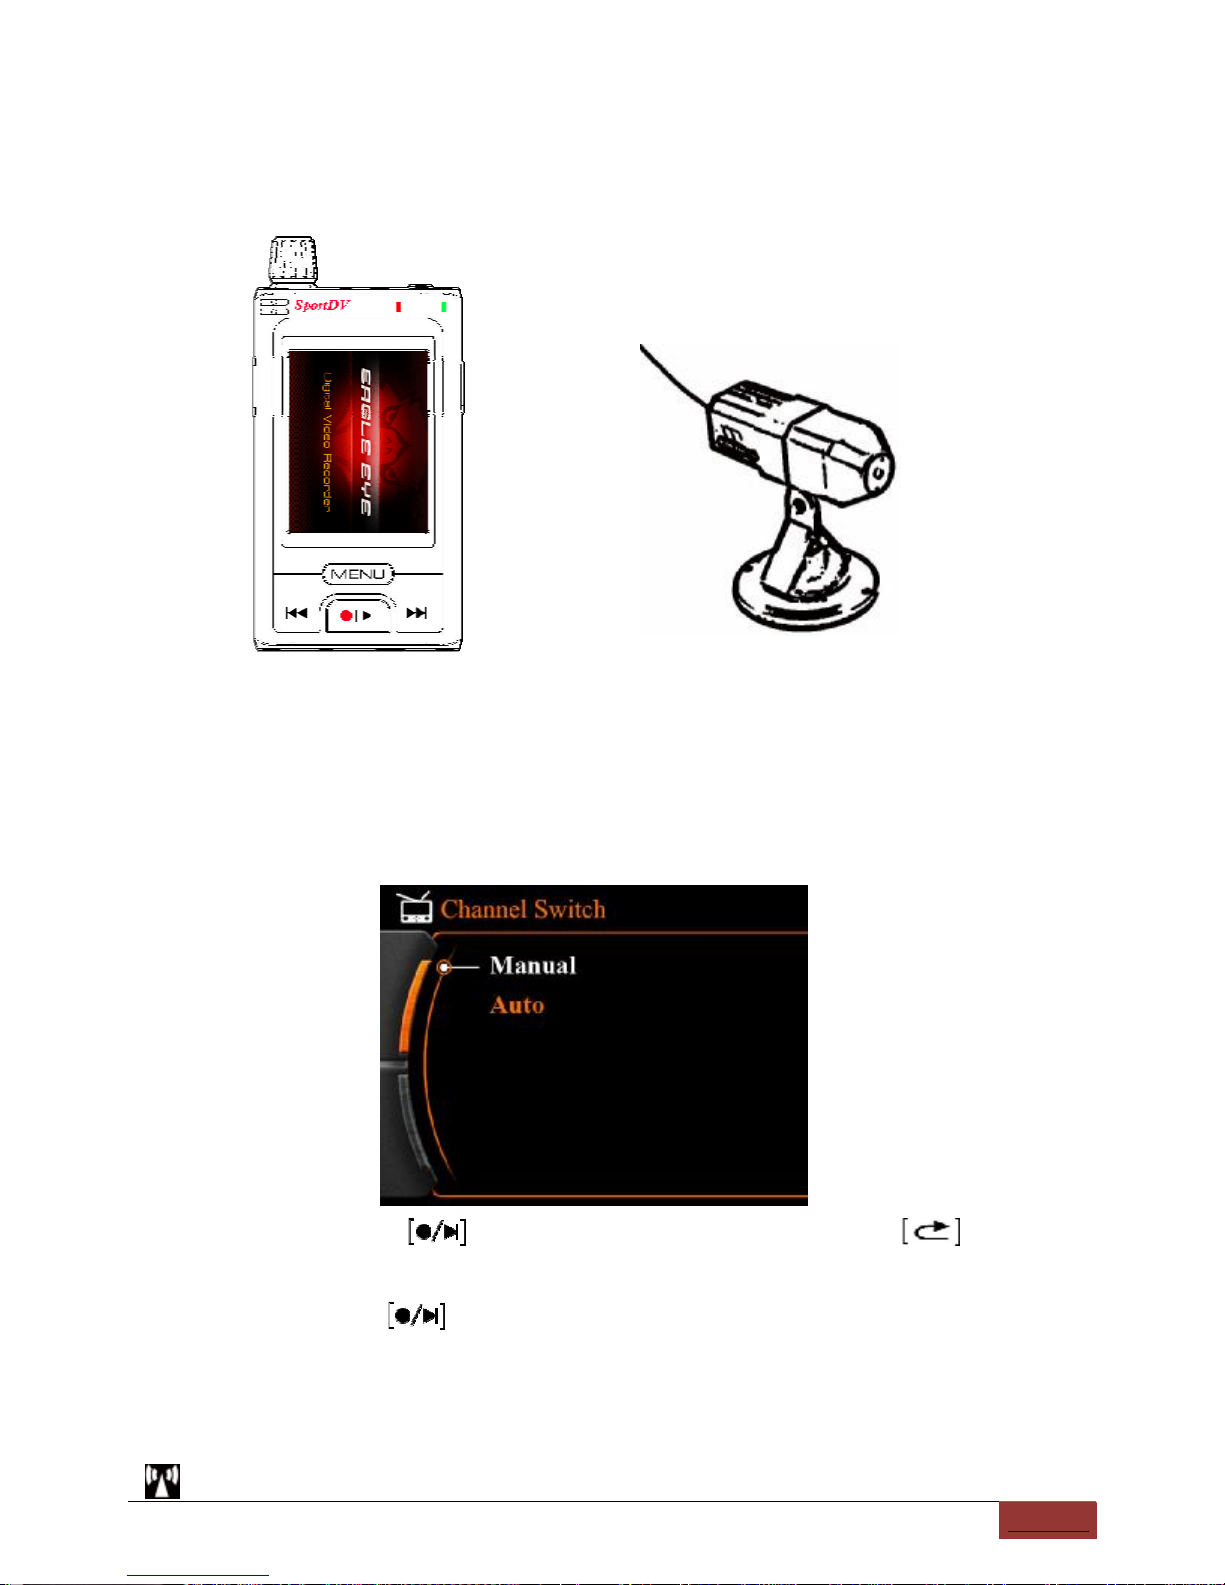
Therequirements ofreceiving wireless signal:
Thefrequencyofwirelesssignaltransmit bythis productis2.4GHzFM, maybe
interfere byother electronics, suchas high-voltage,signal transmitting beacon,
wireless remote controlandwirelessalarm.Pleasekeepawayfromthemaspossible.
Andpleasetry otherchannel if signalin monitorstatusisnotwell.
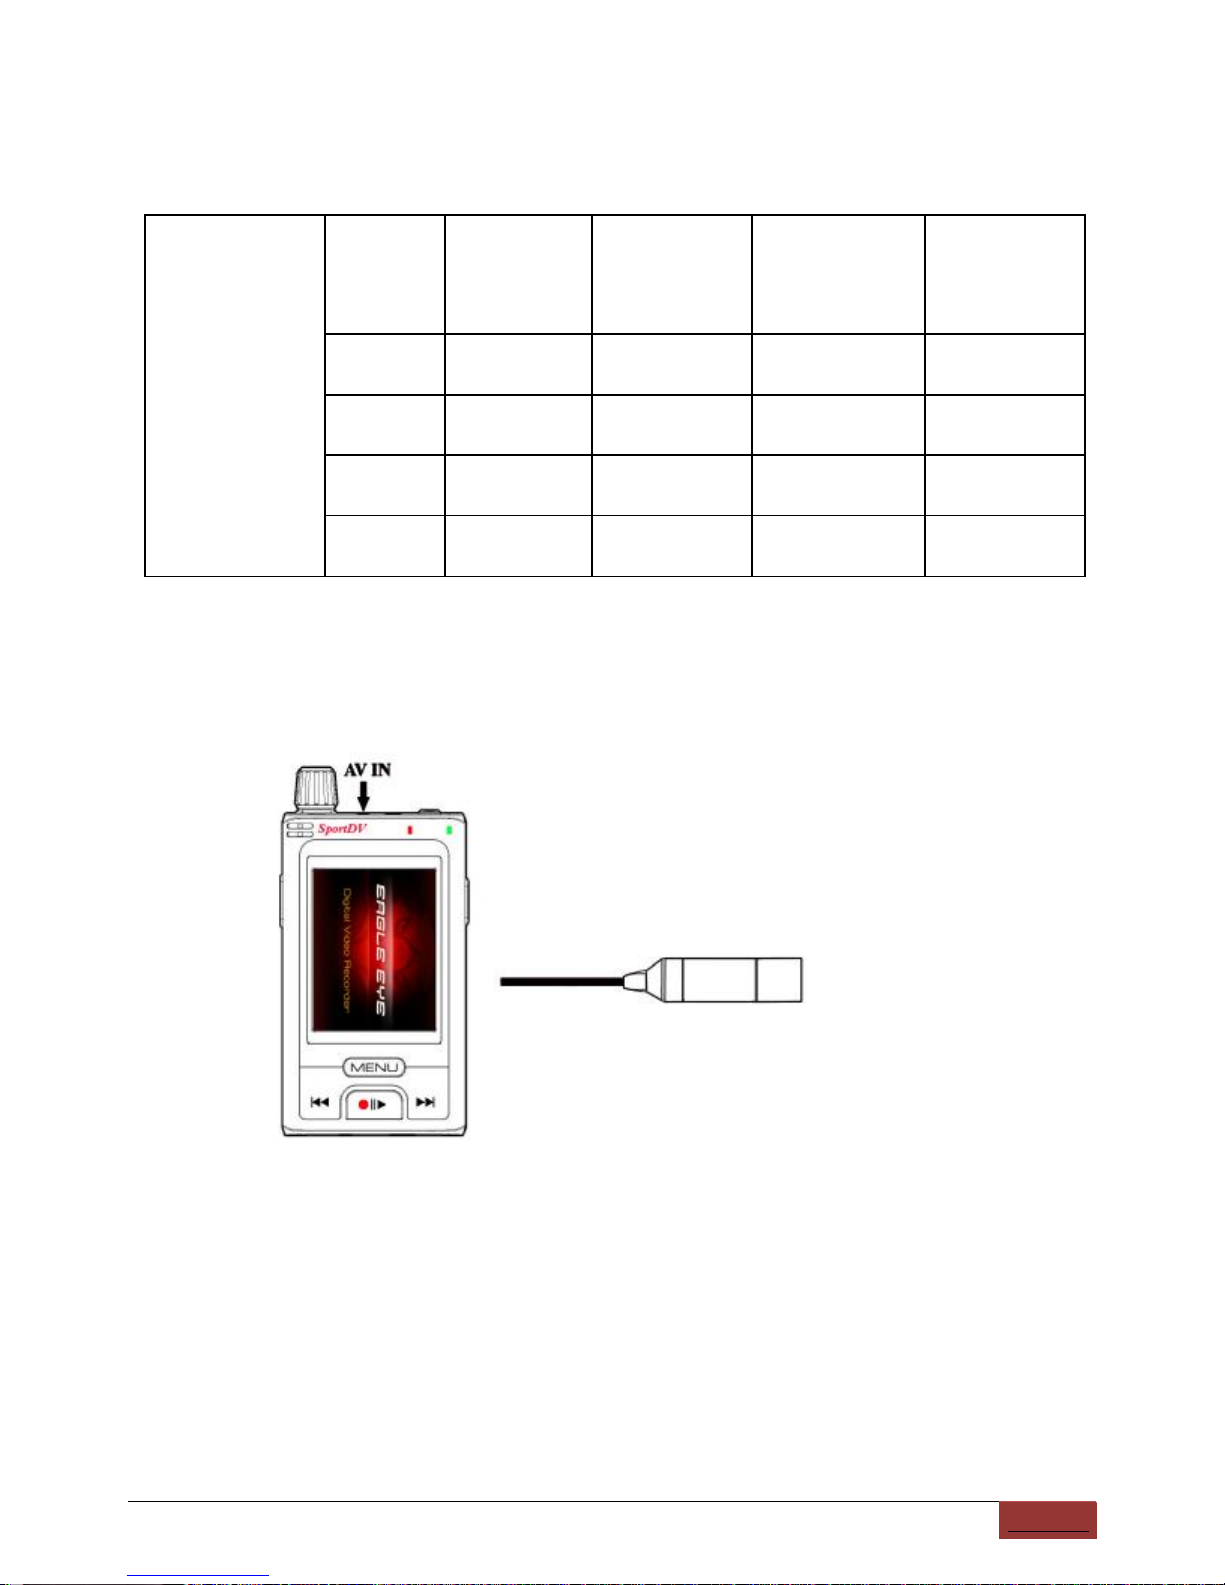
Trialrecording
Before you record one-timeevents,you maywant tomake atrialrecordingto
makesure thattherecorder and thecamera are workingcorrectly.
Notesonimagedatacompatibility
Playbackofmoving images recordedwith your recorder onother equipment and
playbackofmoving imagesrecordedoreditedwithotherequipmentonyour
recordedarenotguaranteed.
Do notshakeorstrikethe recorder
In additiontomalfunctions and inability torecordmoving images,this mayrender
theSDcardunusable ofimage data breakdown, damage orlossmay occur.
LCD screen andminicamera
Becarefulwhenplacingthecameranearawindoworoutdoors.Exposingthe
LCD screenorthe lens of cameratodirectsunlight forlong period maycause
malfunctions.
Backuprecommendation
Toavoidthe potential risk ofdatalossalways copydata toadisk.
Protect yourhearing.
Listenbyhigh volumeearphone will damageyourlistening,we suggest youusea
suitable volumeduringlistening.

VSPV922W|ENGLISH USERMANUAL 5
*Overview
Main Device
1.Functionknob9. Select/Back
2.Video Input 10.Play/Record/Confirm
3.AVOutput/Earphonejack 11.UP
4.Powerswitch/Delete/Capture 12.USBjack
5. LEDlight13.Micro-SD slot
6. Speaker14.Down
7. Channel switch15.Volume
8.TFTLCD16.Microphone

VSPV922W|ENGLISH USERMANUAL 6
Backside
1,Toggle switch: usetochange between6.0and6.5audiosystem.
2.Remote controlmatch button: usetomatch new remotecontrol’sfrequency,thematch
buttonand start recording buttononremotecontrolshouldbepressed onthesametime
during matching.
Remotecontrol
Start recording
Stoprecording
Notice:
1,Whenyou useremotecontroltorecord,press thestartrecording buttonwillpowerontheDVRand
starttorecordvideo,butLCDisstillinturnoffmode.
2, Press stop recordingbuttonwillstoprecordingandpoweroff DVRmainset.
3,Duringremotecontrolmode,theallbuttonsonDVRmainsetareunavailabletooperate.Afteryou
stop recordingandpoweroff DVRbyremotecontrol,thebuttonsonDVRwillbeavailabletooperate.
4,Theworking rangeofremotecontrolis10 metersunderunblocksituation.

VSPV922W|ENGLISH USERMANUAL 7
BASICOPERATION
Power Charger
Please chargethebattery beforefirst using.
1. Connect charger’sUSBpins intoVSPV922W’smultifunctionalUSBport.
2. Connect thechargerwithstandardAC powersocket.
3. When the batteryisfull charged, iconon LCDwill notflashanymore), you
canpullout thechargerfrompowersocket.
LED lights:
1,DuringVSPV922Wisin chargingmode,theredLEDlight will bealways turn on.
2,After VSPV922Wfullcharged,redLED light will beturnoffandbluelight start turn
on.
Notice:
If you wanttochargepowerwhentheDVRisrecording,itonlycanworkswithwirelesscamera.

VSPV922W|ENGLISH USERMANUAL 8
Otherwise, thewirecamerahasnoenoughpower,maycausebadrecording effect.
Install thebattery
Pull down thecover accordingthe pictureshowsbelow, open thebatterybackcover.
ShownasFig below
The4golden femalepins of thebattery shouldbe full touchedwiththe male pinsinthe
batteryhouse.
Closethecoverafter install thebatterywell.
Batteryusingtime informationform
Capability Chargingtime Standbytime Playingtime Recordingtime
1300mAh Approx :4
hours
Approx :2
hoursand19
minutes
Approx :4
hours
Approx one
hourand43
minutes

VSPV922W|ENGLISH USERMANUAL 9
Connect WiththeCamera
Picture1
Wirelesscamerareceiving
1. Install thecamera to the locationyouwant tomonitor,choose the suitable channel,
andthenconnect with thepower source.
2. SwitchtheFunctionknobonmainset towirelessreceivingmode,press channel
changebuttonto receive signal whichsent fromwirelesscamera.
3. In wireless mode,pressmenu buttoncan choose manualoperationorautooperation.
*Choosemanual,presstosave,andpressmenutoback,useto change
channelbyhand.
*ChooseAuto,press tosave,andpress menutoback,themain setwill change
channel per 5seconds.
Themeaningsofwireless interfaceicon:
Wirelessreceivingsituation,CH1:current receiving channel,AUTO:channel

VSPV922W|ENGLISH USERMANUAL 10
autochangemode.Switchthechannelautomaticallyin every5seconds.
Note:
Channel Min Typical
value
Max Unit
CH12413.75 24142414.25 MHz
CH22431.75 24322432.25 MHz
CH32449.75 24502450.25 MHz
Thefrequency
ofwireless
receiving
CH42467.75 24682468.25 MHz
Compatiblewith both6.0and6.5audiosystem.
Picture2
Wirecamerainstallation
1. Pull thecamera’soutputport intomain set’sAVINport.
2. Power onthemain set,switchtowirecamera recordingmode,the LCDscreenwill
showthe picturecaught bycamera.

VSPV922W|ENGLISH USERMANUAL 11
Start Recording
Power onthemain set,match thefrequencyofmainset andcamerainwireless
recording mode,orcheckthe cameraconnection in wire recordingmode.
②Switchthefunctionknobtofunctionsetting, tosetrecordingmode.
Pressbutton
to start recording,topleftcorneronscreenwill show
recording icon.
③Pressbuttontostop recording,recordingicon will disappear.
④In preview mode, pressbutton cantake photo.
Once-Operationrecordingmode: Continuousrecordingandstoragethe videoper 30
minutes;
Motionrecording mode Itwill continuous recording if movementsensed,30minutes
longest foreachpart, if movement is notsensed, recording
will stop after15 Secs.
Timingrecordingmode Start recordingaccording tothetimeyousetted, 30minutes of
eachvideofile.
Audiorecordingmode: Theaudiofilewillnotstorage inpartial.
Attention
Themein unit has thevibrate noticewhile lowpowerandnovideosignal.
1.While thecameradidnotconnect with the main unit correctly, themain unit will
vibrate because ofnosignal, please check theconnection carefully.
2.While thepowerisnotenough,themain unit will continuous vibrate 3times, at

VSPV922W|ENGLISH USERMANUAL 12
thesametimestop recording.
Connect withTV
1. Connect main set with TV by RCAAVOUTline.Asfollow:
2.Poweronthe main set andTV,switch function knobon main set tofunctionsetting,
choosevideooutput,and press confirm button,choose PALorNTSC TVsystem,then
TVwill showwhat onmain set screen.
3. Switchthefunctionknobtomulti-media,use and toselectwhatyou
wanttoplay,presstostart playing.

VSPV922W|ENGLISH USERMANUAL 13
Connect withComputer
Connect theUSB andMINIUSBwithcomputerandthemainunit separately.
Afterconnectwith computer,②VSPV922W willdisplay “USBConnect”,recharge
indicatoralways on.
Note:
Connectwithcomputerat poweronstates,cannotoperate asit isExternalHardDrive.

VSPV922W|ENGLISH USERMANUAL 14
Connectwithcomputeratpoweroffstates,can doanyoperationas it is recharging.
Open “mycomputer”to checkif there has theremovableharddisk, called③
“NO_NAME”.
Picture details:
Openthevideo filesin thefolders.④
Checkthevideofiles inthe f⑤olders, andplayit bythedefault media player in your
computer.
Attention:
Connect the main unitwith PC under poweroffstate,it ispowerchargemode,red
indicatorflash atthesametime,files in the storagecannot beread.Connectthemain

VSPV922W|ENGLISH USERMANUAL 15
unit under poweronstate,the computer will readthe filesinthe storage automatically
andpower charging atthe sametime.
*FunctionModes
BootingPicture
RecordInterface
RecordingMode
⑴Recording symbol⑺Batterycapacity
⑵Current time⑻Currenttime
⑶Videofiles⑼Picture qualityofrecording
⑷Recordtime⑽Recordcontent
⑸Card icon( ifmemory cardavailable)⑾Circularrecord

VSPV922W|ENGLISH USERMANUAL 16
⑹Available memory
Multi-mediafolders
Useorto select thefolder and pressconfirmandenter.
Videofolder
Aspictureabove ”20091012”meansthefolder thatbuilt in12th Octof2009.One folder
foreveryday.
Videofiles
Aspictureabove ”223118.AVI”means the videofile thatbuilt in 22:31:18,30minutes

VSPV922W|ENGLISH USERMANUAL 17
inafileofeach part.
Videoplay
Useandselectthevideoforplayingandpressstartplayor
pause.
Useandselectforward/backwardmodeandpresstoplayor
pause.

VSPV922W|ENGLISH USERMANUAL 18
Notice:Herehas4speedlevelofforwardandbackward.×2/×4/×8/×20
Audiofolders
Useorto select thefolder and pressconfirmandenter.
Fortheaudiofilesthatalreadyexist,pleaseuseandtoselectthe
content andpressconfirm andplaying.
Playinginterface:

VSPV922W|ENGLISH USERMANUAL 19
Pressandbuttontoplay other audiocontent.
Picture folders
Pressortoselect picturefolder,press confirm andenter.
Pressortochoose thepicture,press playingit.
Picture Display

VSPV922W|ENGLISH USERMANUAL 20
Pressortobrowse other pictures.
Note JPGformatpicture, 640×480resolution.
Deletefiles
Entervideofolder,choose thefile that youwanttodelete, short press “Power”buttontill
the deletemenu appear.
Pressortochoose “ALL/CURRENT”.Pressconfirm orchoose
“Cancel”menuquitoperation.
Useorto choose “YES”or “NO”.Press confirm deleteorcancel this
operation.
Table of contents
Popular Camcorder manuals by other brands

Sony
Sony Handycam DCR-HC14E Service manual

Samsung
Samsung HMX-020BN quick start guide

Panasonic
Panasonic VDR-D310GC operating instructions

SVP
SVP DV-12T Specifications

Sony
Sony CCD-TRV65E, CCD-TRV3E, CCD-TRV15E, CCD-TRV23E,... operating instructions

Fisher-Price
Fisher-Price MYTOONTV P6798 instruction sheet

Panasonic
Panasonic Digital Palmcoder PalmSight PV-DV900 operating manual

Solar
Solar Max Full HD 1080P user manual

Sharp
Sharp Viewcam VL-Z1U Service manual

RCA
RCA EZ209HD - Small Wonder Camcorder Guide de l'utilisateur

Hitachi
Hitachi DZ-BD7HA - Camcorder Service manual

Sony
Sony Handycam DCR-IP220 brochure