-6-
– The projector must be installed by qualied technicians in order to ensure proper operation and reduce the risk of
bodily injury.
– In addition, the ceiling must be strong enough to support the projector and the installation must be in accordance
with any local building codes.
– Please consult your dealer for more information.
• Do not install and store the projector in the below circumstances. Failure to do so may cause of malfunction.
– In powerful magnetic elds
– In corrosive gas environment
– Outdoors
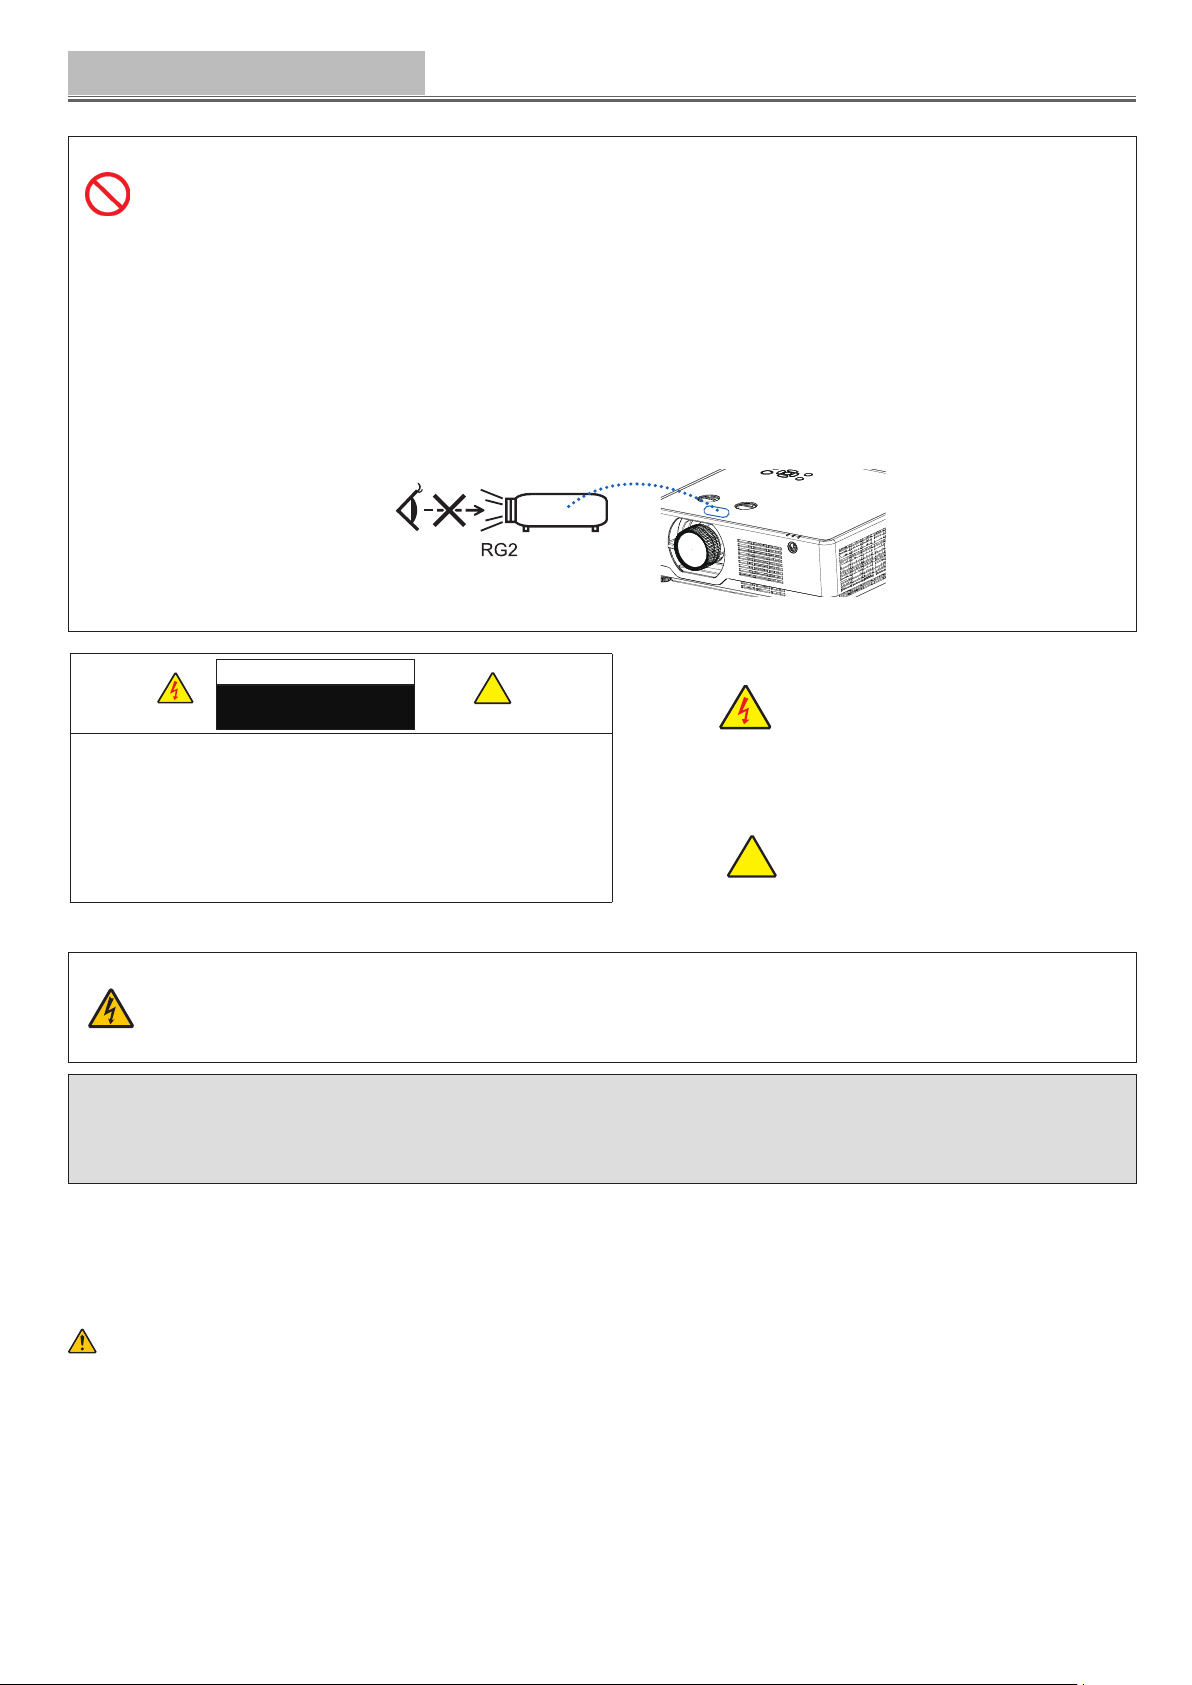
• If intense light like laser beams enters from the lens, it could lead to malfunction.
CAUTION
This equipment is designed to be used in the condition of the power cord connected to earth. If the
power cord is not connected to the earth, it may cause electric shock. Please make sure the power cord
is earth ed properly.
Do not use a 2-core plug converter adapter.
NOTE
Preventive measures:
– Please make sure to set the High land o when using the projector at altitudes above 1700 meters, or it may
shorten the life of internal components or even cause functional failure.
– Please make sure to set the High land on when using the projector at altitudes above 1700 meters but below
3000 meters, or it may shorten the life of internal components or even cause functional failure.
– Never install the projector in a place higher than 3000 meters, or it may shorten the life of internal components
or even cause functional failure.
– Some more detailes about operation guidance, please refer to the projector setup menu.
– Please consult the dealer or authorized service center for preventive measures if you want to use the projector in high
altitude area.
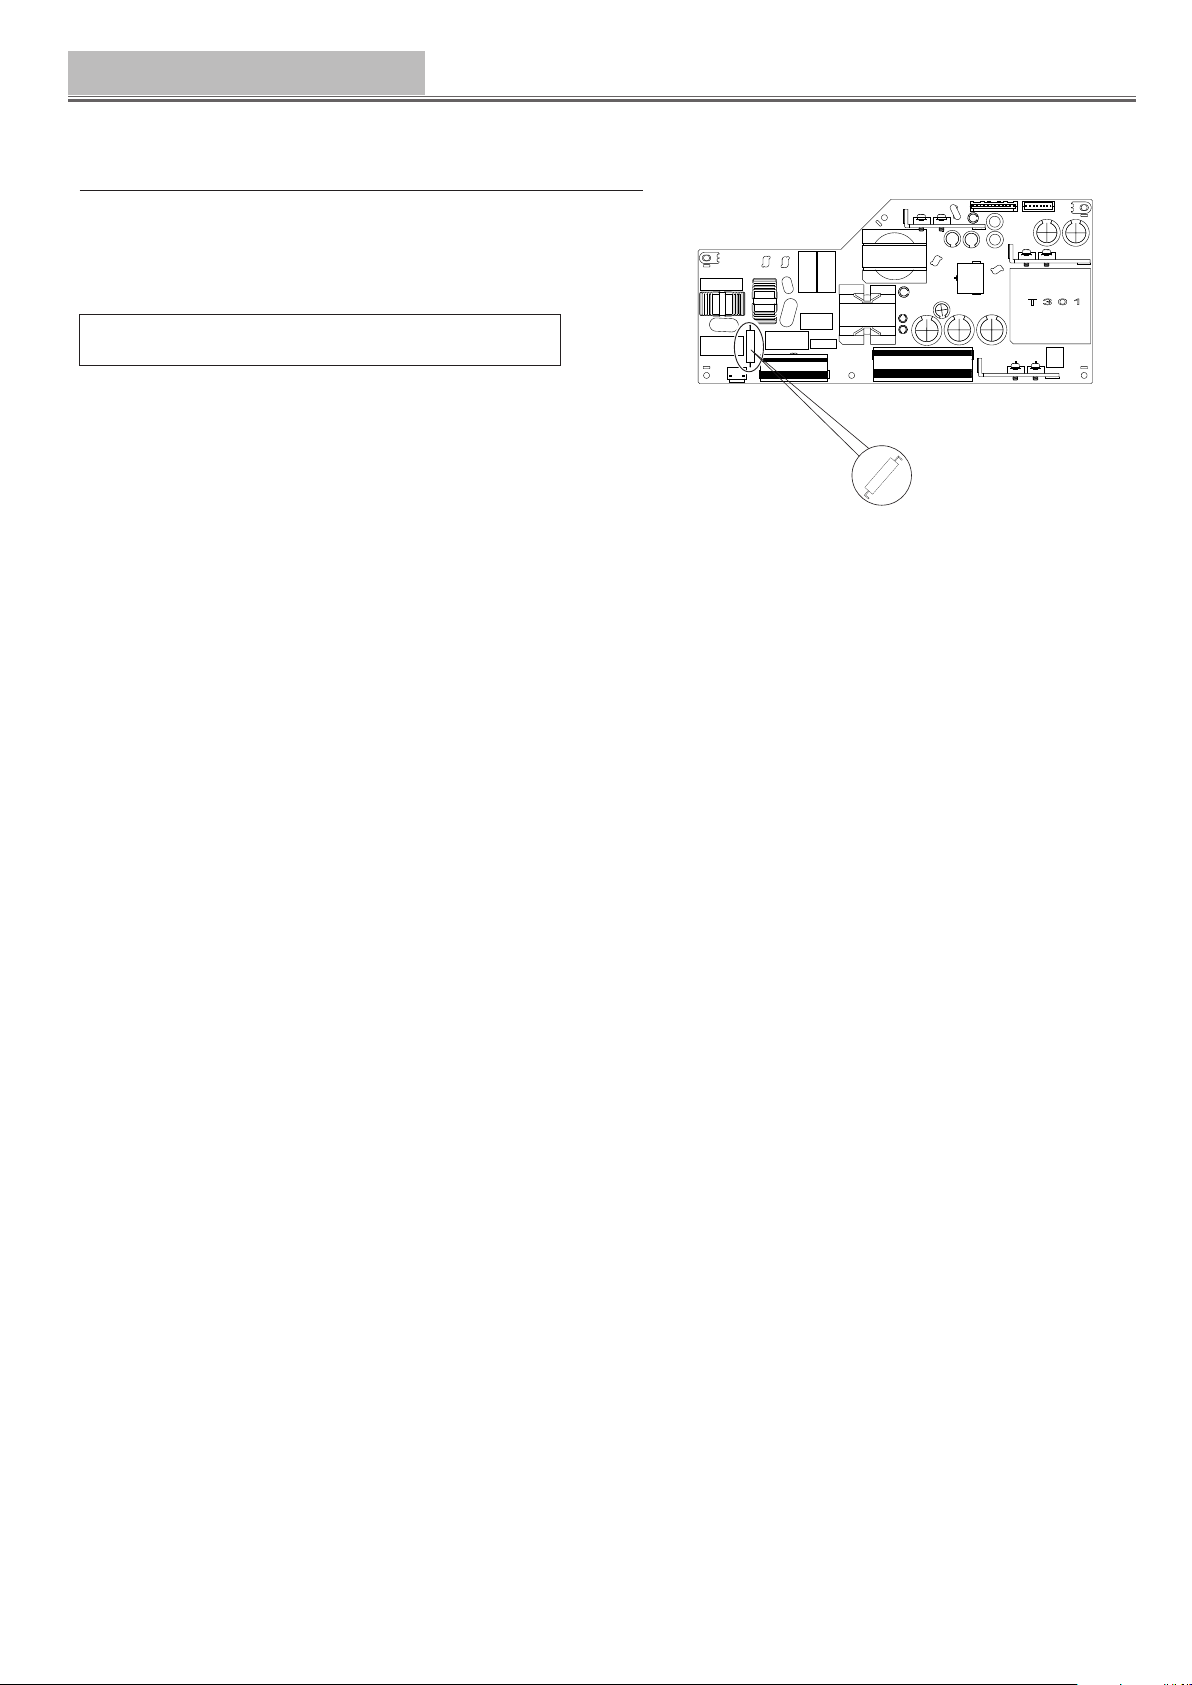
Cable information
WARNING
• Operation of this equipment in a residential environment could cause radio interference.
• Do not cover the lens with the lens cap or equivalent while the projector is on. Doing so can lead to melting of the cap due to
the heat emitted from the light output.
• Do not place any objects, which are easily aected by heat, in front of the projection lens. Doing so could lead to the object
melting from the heat that is emitted from the light output.
• Do not use a spray containing ammable gas to get rid of accumulated dust and dirt on the lter and the projection window. It
may cause of re.
Fire and Shock Precautions
• Ensure that there is sucient ventilation and that vents are unobstructed to prevent the build-up of heat inside your
projector. Allow at least 4 inches (10 cm) of space between your projector and a wall.
• Prevent foreign objects such as paper clips and bits of paper from falling into your projector. Do not attempt to retrieve
any objects that might fall into your projector. Do not insert any metal objects such as a wire or screwdriver into your
projector. If something should fall into your projector, disconnect it immediately and have the object removed by a
qualied service personnel.
• Do not place any objects on top of the projector.
• Do not touch the power plug during a thunderstorm. Doing so can cause electrical shock or re.
• The projector is designed to operate on a power supply of 100-240V AC 50/60 Hz. Ensure that your power supply ts
this requirement before attempting to use your projector.
• Keep any items such as magnifying glass out of the light path of the projector. The light being projected from the lens
is extensive, therefore any kind of abnormal objects that can redirect light coming out of the lens, can cause unpredict-
able outcome such as re or injury to the eyes.
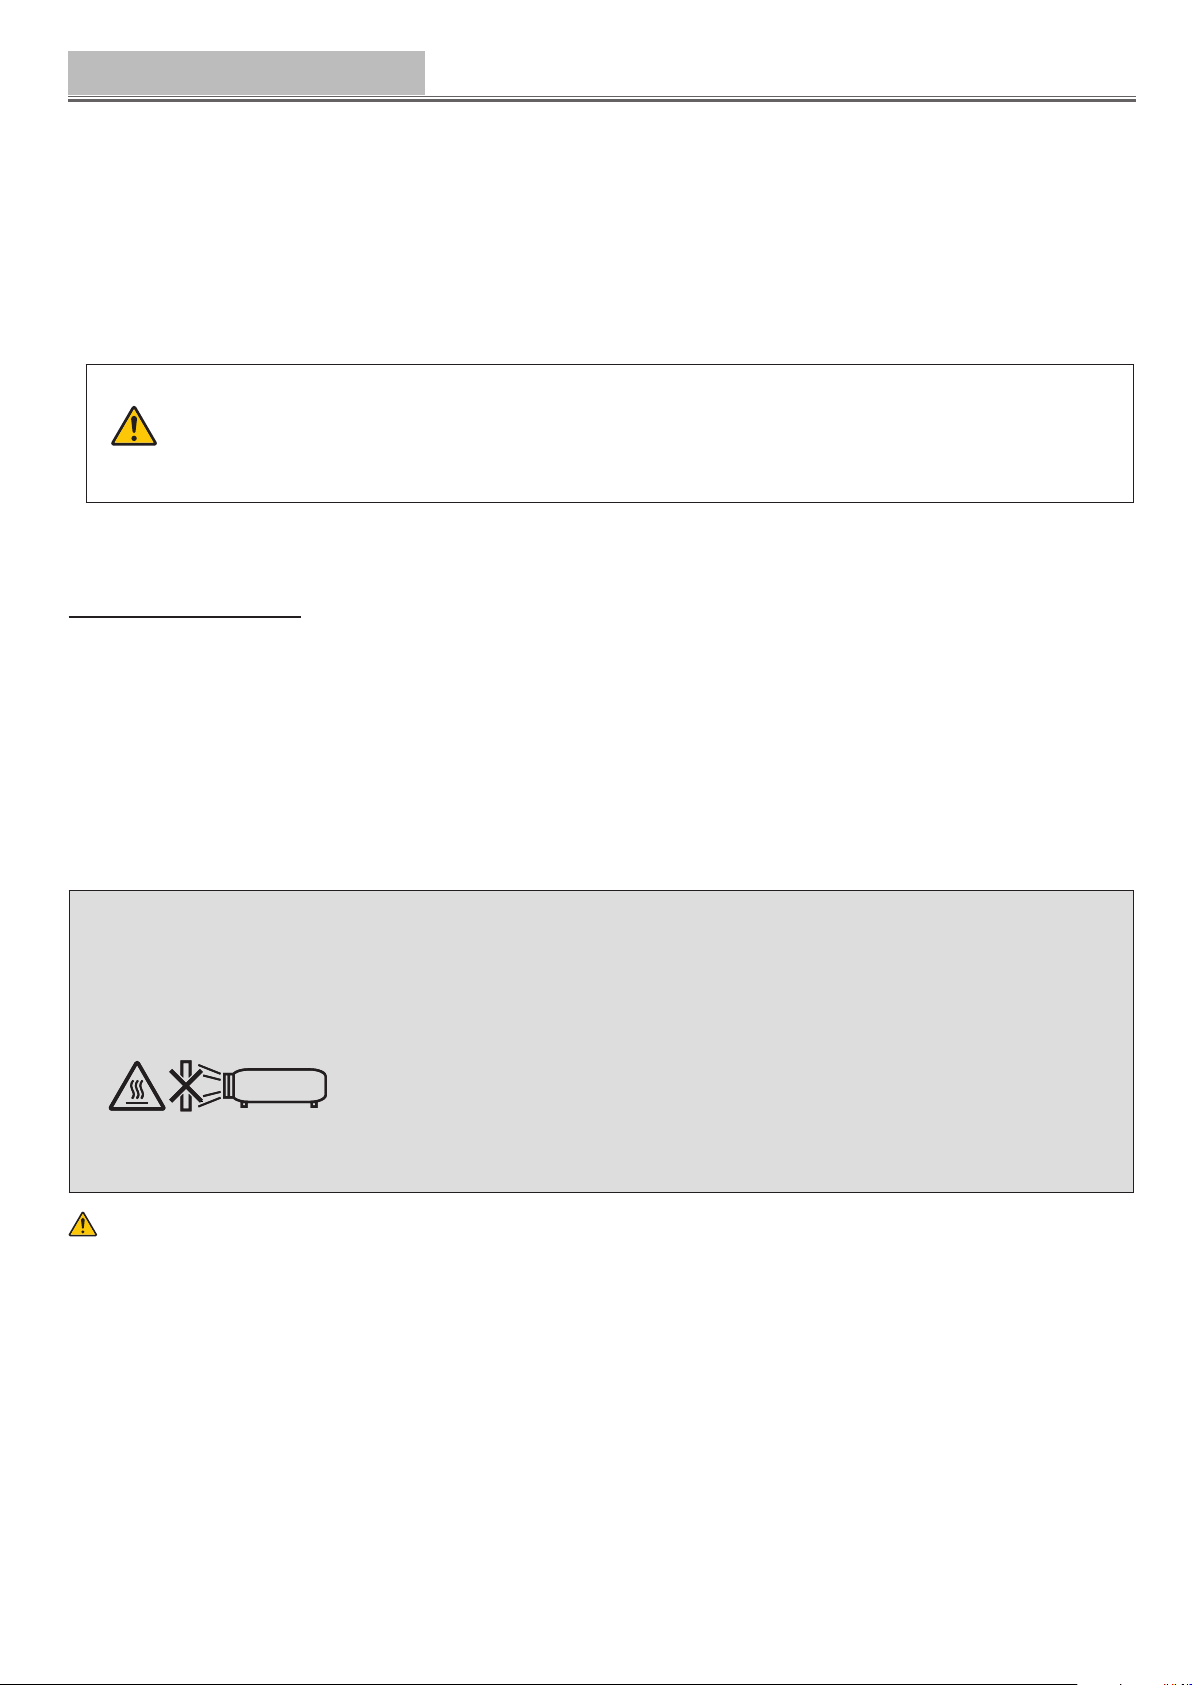
• Do not place any objects, which are easily aected by heat, in front of a projector exhaust vent.
Doing so could lead to the object melting or getting your hands burned from the heat that is emitted from the exhaust.
Safety instruction