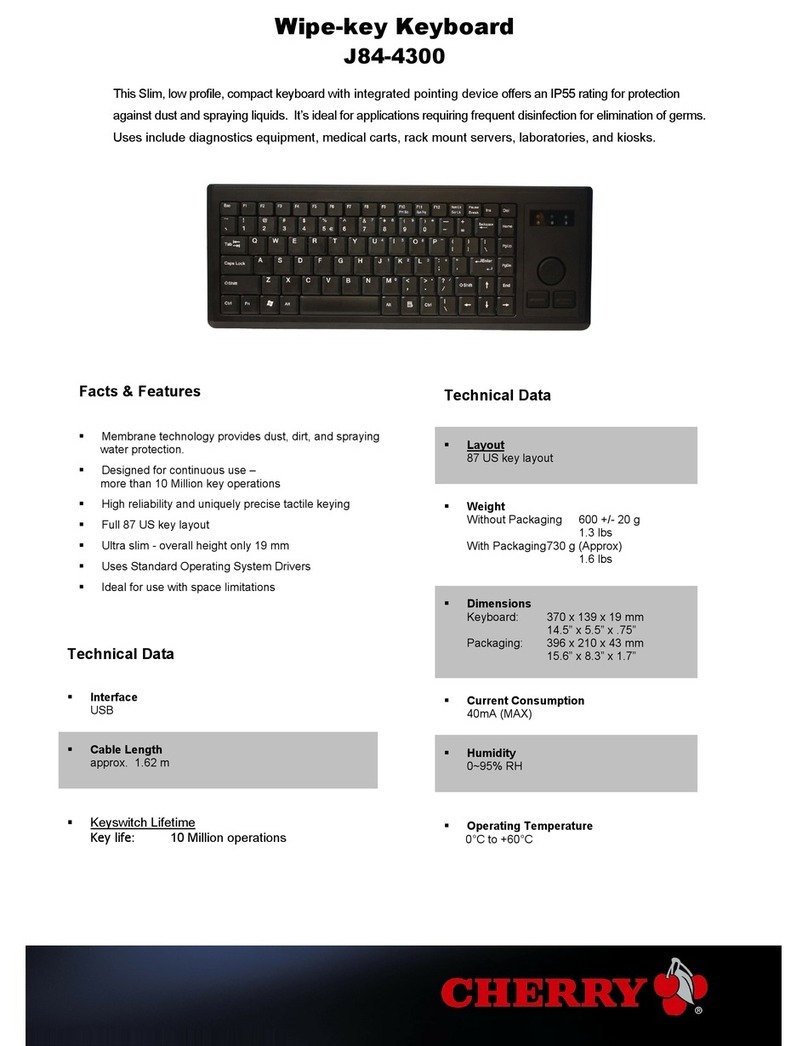
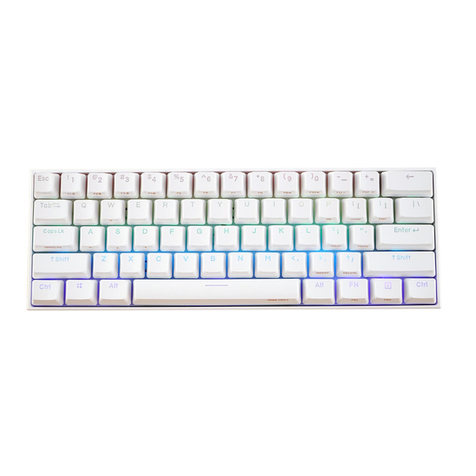
EKSA EK3000 User manual

tri-mode 68-key ultra-thin low profile mechanical keyboard
User Manual
EK3000

1
EKSA EK3000 68-Key Mechanical Keyboard USB Type C to Type A Cable
2.4 GHz USB Receiver
User Manual
Product Description/ Package Contents
EN
68-Key Mechanical Keyboard
User Manual
EK3000

Main Features
Specifications
2

Charging
Operation Instructions
For optimal performance, make sure the keyboard is fully charged before using it for the first time. It takes about 2 hours
to fully charge the keyboard, and you can continue using it when charging.
3

Set up the keyboard
• 2.4 GHz Wireless Mode
1. Slide the connection-mode switch to enable "Wireless Mode".
2. Take the 2.4 GHz USB receiver out of the package box and connect it to your computer.
Note: When switching to a wireless mode, and the 2.4 GHz
USB receiver is plugged in but cannot work properly, you
can press “FN + R” to activate and use it normally.
4

1. Slide the connection-mode switch to enable "Wireless Mode". When switching from a wired mode to a Bluetooth mode, the keyboard's
full backlight flashes white light three times.
Add a new device
• Bluetooth Mode
2. This EK3000 68-key mechanical keyboard can pair with up to 3 devices through the Bluetooth profile. Long press the "FN + Q/W/E" to
activate the corresponding pairing mode, and the corresponding indicator light (located at the right toggle switch) will flash continuously.
3. Turn on the Bluetooth of your device, activate the search feature, and
select "EKSA EK3000". The backlight stops flashing, and the corresponding
indicator light is always on, indicating a successful connection between
the keyboard and your device. (The device 1 flashes red, device 2 green,
and device 3 blue. The Bluetooth connection between the three devices
will be bound to the corresponding number.)
•If the keyboard is connected via Bluetooth to
your computer successfully and is fully charged but
cannot work properly, you can restart the computer
and use it normally.
EKSA EK3000
Ensure the Bluetooth of your device is turned on and
discoverable. Select the device you want to connect
to below.
5

• When you turn on the keyboard again, it will automatically connect to the last paired device. To
switch devices, press the key corresponding to the profile number of the target device.
4. Press the "FN + Q/W/E" to switch between the three Bluetooth devices you have paired successfully with the keyboard.
• Type-C Wired Mode
2. Connect the keyboard to the USB port of your device via the USB Type C to Type A cable.
1. Slide the connection-mode switch to enable "Wired Mode". The keyboard is turned off by default when switching from a wireless mode
to a wired one.
6

• Press "FN" and "Win" to enable the "Win Lock" function and disable the
Windows key for the accidental interruption during gaming.
Key Function
PAUSE SCROLL LOCK PRTSC HOME END
Bluetooth Device 1 Bluetooth Device 2 Bluetooth Device 3 2.4 GHz Wireless Mode
7

• Keyboard Whole Backlight Switching
• Keyboard Bottom Side Backlight Switching
1. Press "FN" and "<" to switch the keyboard bottom backlight to five lighting modes.
2. Press "FN" and ">" to switch the keyboard bottom backlight colors (set the color for
"RGB flowing light" and "monochrome normally on" modes).
Long press "FN" and click the "Ins" or "Del" to switch the keyboard backlight
effects, with a total of 15 preset lighting effects.
Backlight Control
Speed Up
Speed Down
8

• “FN” + “Z” Default FPS Mode: W/A/S/D/↑/↓/←/→
• “FN” + “X” Default LOL Mode: Q/W/E/R/D/G/F/B/V/L-Ctrl/L-Alt/Tab/Space/1-6/Esc
• “FN” + “C” Default 37-Key Office Mode: A-Z /[/]/;/’/./,///↑/↓/←/→
Press "FN" and "Z" or "X" or "C" to customize three groups of backlight effects.
• Customizable Backlight Setup
• Keyboard Factory Reset
• Backlight Recording
Press "FN" and "Shift" to record or save the lighting mode for the above three backlight effects. When recording, press "FN" and "Shift" once
for one color, a total of 8 colors.
Press and hold "FN" and "BACKSPACE" for 3 seconds or 5 seconds to clear the recording and restore factory settings.
9

The straight slide potentiometer on the left side of the keyboard
Slide up to increase the volume and slide down to decrease the volume
The two straight slide potentiometers on the right side of the keyboard
Connection-Mode Switch and Operating-System Switch
• Volume Slider • Mode Switch
Side Function Key
10

GLOBAL: [email protected]
INDIA: [email protected]
GLOBAL: +852 6940 4955 (Mon to Fri 9:00 am-6:30 pm, UTC +8 HKT)
INDIA: +91-8929-369-620 (Mon to Fri IST 9:30 am-5:30 pm)
www.eksa.net/warranty
Limited Warranty/Eingeschränkte Garantie/GarantieLimitée/Garanzia Limitata/
Garantía Limitada/保証

FCC WARNING
This device complies with part 15 of the FCC Rules. Operation is subject to the following two conditions: (1) this device may not cause harmful
interference, and (2) this device must accept any interference received, including interference that may cause undesired operation.
Any changes or modifications not expressly approved by the party responsible for compliance
could void the user's authority to operate the equipment.
NOTE: This equipment has been tested and found to comply with the limits for a Class B digital device, pursuant to Part 15 of the FCC Rules.
These limits are designed to provide reasonable protection against harmful interference in a residential installation. This equipment generates,
uses and can radiate radio frequency energy and, if not installed and used in accordance with the instructions, may cause harmful interference
to radio communications. However, there is no guarantee that interference will not occur in a particular installation.
If this equipment does cause harmful interference to radio or television reception,
which can be determined by turning the equipment off and on, the user is encouraged to try to correct the interference by one or more of the
following measures:
-- Reorient or relocate the receiving antenna.
-- Increase the separation between the equipment and receiver.
-- Connect the equipment into an outlet on a circuit different
from that to which the receiver is connected.
-- Consult the dealer or an experienced radio/TV technician for help. ThedevicehasbeenevaluatedtomeetgeneralRFexposure statement.
Thedevicecanbeusedinportable exposureconditionwithoutrestriction
FCC ID: 2A25A-EK3000
Warning: Changes or modifications to this unit not expressly approved by the part responsible for compliance could void the user’s authority to
operate the equipment

Table of contents
