Electroflash Resourcing Electric Paint User manual

How to use Electric Paint with LEDs
Electric Paint is a great and fun way to connect baeries and LEDs together on paper. But there are some
things that you need to know when using Electric Paint in circuits. In this tutorial, we’re going to give you an
overview on how to use Electric Paint with LEDs. We aren’t going to dive too deep into the science of electric
circuits and LEDs, but if you would like to learn more about that, we’d recommend this excellent arcle:
hps://learn.sparkfun.com/tutorials/light-eming-diodes-leds
Some things to keep in mind:
• Make sure you check the voltage rang of your LEDs and baery before you begin. In this example, we are
using a 5V baery to power the LEDs. Using too much power might damage the LEDs.
• Circuit not working? Make sure the Electric Paint is completely dry and that the LED and baery polarity
are the right way around.
• CAUTION! Do not connect the wires of the baery together as this will cause a short circuit. This could
damage your baeries or start a re!
Step 1
LED Fundamentals
In order to light up an LED, it needs to be connected to
a power source, for example, a baery or the digital pin
from the Touch Board. When you connect the LED to a
power source with a wire, you need to connect a resistor
in series with the LED. This to limit the current that runs
through the LED.
When you connect the LED to the baery with Electric
Paint, you don’t need to add a resistor, because the
paint itself is quite resisve. The resistance of the paint
depends on how thick, wide and long the paint is applied.
Generally, the longer the line of Electric Paint, the higher
the resistance.
Step 2
Applying Electric Paint with the tube
When you apply the paint with the tube, you can
work from two angles: either 90⁰ or 45⁰. If you hold
the tube at a 90⁰ angle while applying, then you will
get a nice thin layer of Electric Paint. If you apply
the paint at an angle of 45⁰, you get a thicker line
of paint. Thicker lines of paint are generally less
resisve than the thin layer, but it takes longer to dry.
To get the least resistance with Electric Paint, we’d
recommend screen prinng or stenciling.
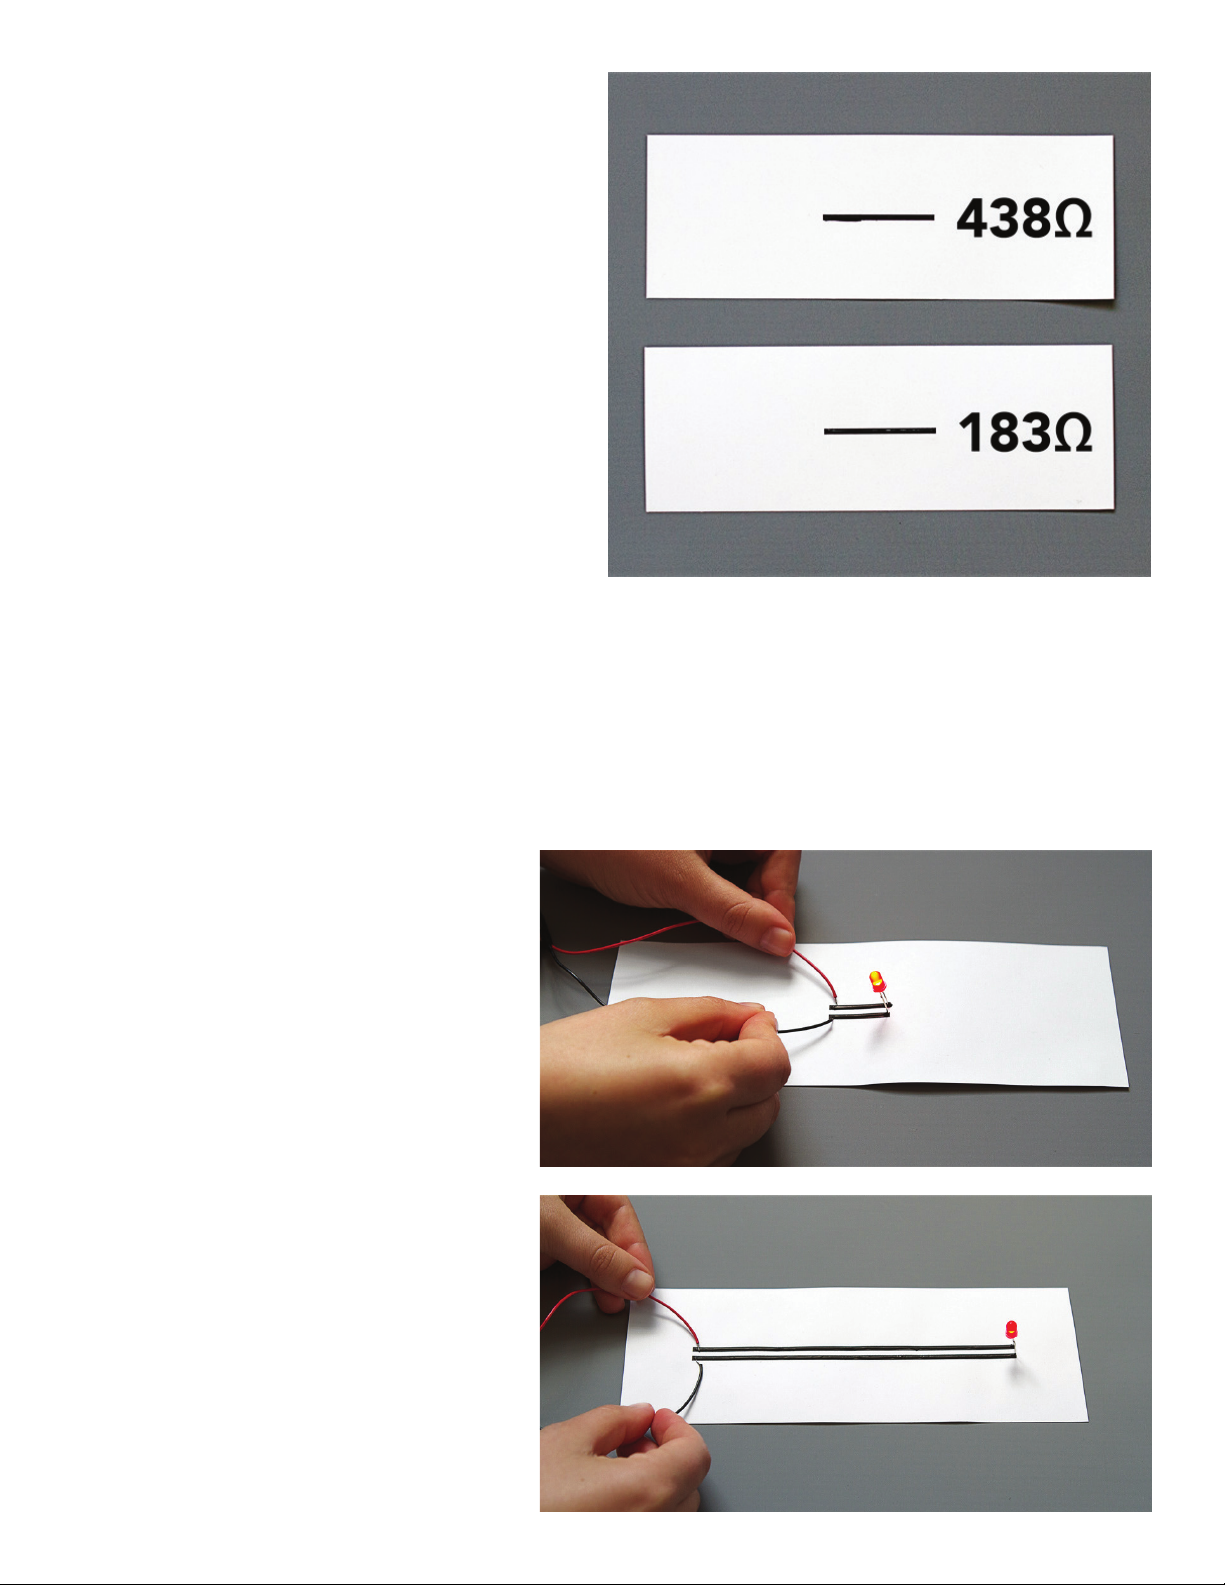
On the right, we have two lines. The upper line was
made with the paint applied at a 90⁰ angle, the
boom line at a 45⁰ angle. When the resistance is
measured with a mulmeter, it shows that the paint
applied at a 45⁰ angle has less resistance than the
paint applied at a 90⁰ angle. Click here to nd more
informaon about how to measure the resistance of
the paint with a mulmeter.
Step 3
Resistance and LEDs
The amount of resistance in the circuit
maers, because the larger the resistance,
the less current there is for the LED. So if you
draw very long lines and aach an LED at the
end of the lines, then the LED might not get
enough current to won’t light up.
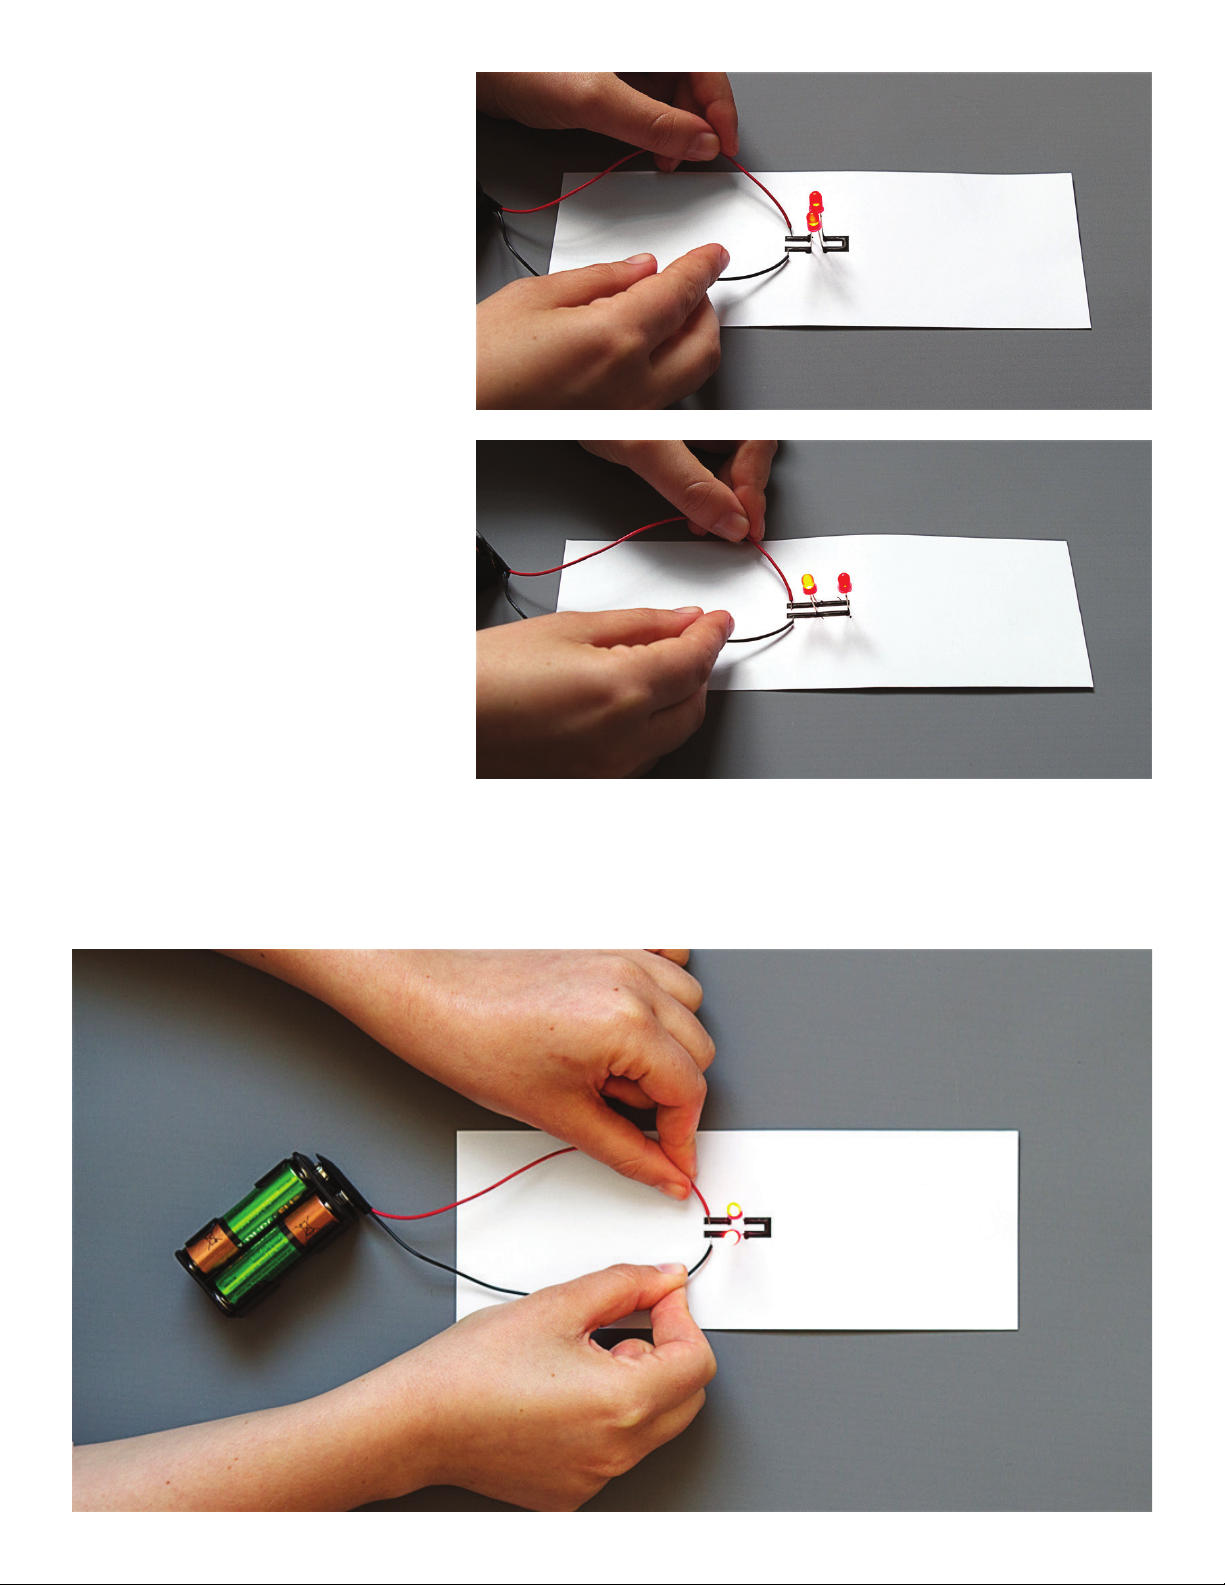
On the right are two examples, one where
there are short Electric Paint tracks and one
with tracks that are three mes as long. As
you can see on the example with the longer
tracks, the LED isn’t as bright.
Step 4
In parallel and in series
You can sll connect mulple LEDs
with Electric Paint, but remember that
when they are connected in series or
in parallel, the LEDs might not have
current to light up.
As you can see in the example, the
second LED in the parallel circuit
doesn’t have enough current.
Table of contents


