manuals.online logo
Brands
  1. Home
  2. •
  3. Brands
  4. •
  5. Esoteric
  6. •
  7. CD Player
  8. •
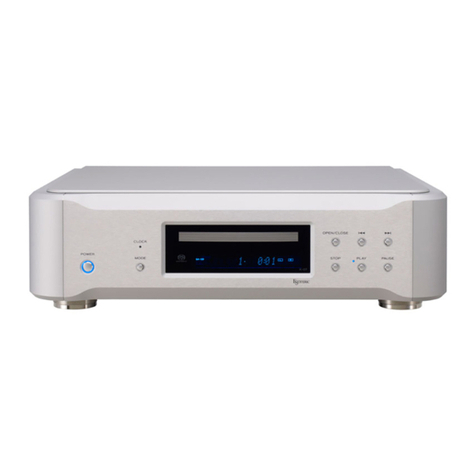
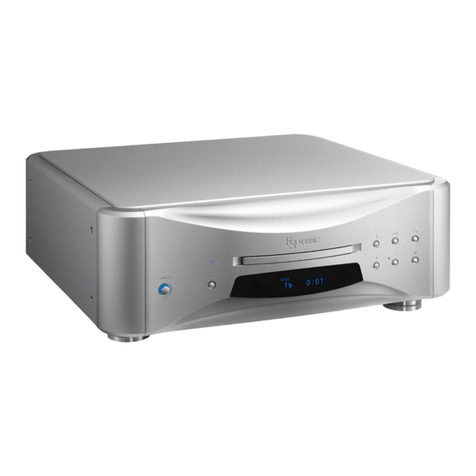
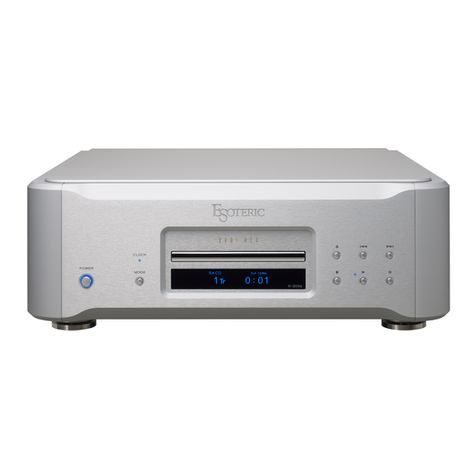
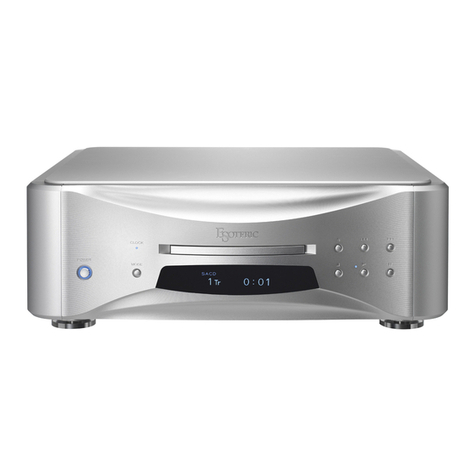
  9. Esoteric Grandioso K1X Use and care manual

Esoteric Grandioso K1X Use and care manual

1
GrandiosoK1X Firmware update manual
Model covered
GrandiosoK1X
Equipment used
Windows computer (with built-in USB 2.0 port)
Micro USB cable
oCables designed only for charging cannot be used. Always use a
micro USB cable that supports data transmission.
Supported operating systems
Windows 8 (32/64-bit)
Windows 8.1 (32/64-bit)
Windows 10 (32/64-bit)
(as of February, 2020)
1. Preparation
A micro USB cable is necessary to update the firmware. Use a
commercially-available micro USB cable.
Download the DFU driver and updaters to any location on the
computer from the following download link.
oDouble-click the downloaded files to decompress them.
https://www.esoteric.jp/en/product/k1x/download
DFU driver
oWin_DFU_driver.exe
Updaters
oK1X_IFvxxx_updater.exe
oFPGA_updater_K1X_DIGITAL_Vxxx_DAC_Vxxx.exe
oMQA_vxxxxxx_updater.exe
IMPORTANT NOTICE
Different firmware update programs are made for every
model. Execution of a firmware update program for a different
model will make the GrandiosoK1X unusable.
NOTE
The screens used in these instructions are from Windows10.
2. Install the DFU driver
After installing this on the computer once, installing it again will not
be necessary. Proceed to “3. Update the I/F firmware”.
1 Double-click Win_DFU_driver.exe.
2 When “Press any key to continue...” appears,
press the Enter key.
Display example
* DFU driver for“Windows10 32bit” will be installed.
Press any key to continue...
NOTE
If a “User Account Control” pop-up message appears during
installation, click “Yes”.
3 When the Device Driver Installation Wizard
appears, click “Next”.
4 Click “Finish”.
Microsoft and Windows are either registered trademarks or trade-
marks of Microsoft Corporation in the United States and/or other
countries.
Other company names and product names in this document are
the trademarks or registered trademarks of their respective owners.
GrandiosoK1X Firmware update manual
2
3. Update the I/F firmware
oDo this after installing the DFU driver (page1).
1 Turn the unit o.
2 Use a micro USB cable to connect the computer
to the USB Micro-B SOFTWARE maintenance
port on the back of the unit.
Computer
Micro USB cable
oRefer to the unit’s operation manual for the location of the
SOFTWARE maintenance port.
oCables designed only for charging cannot be used. Always
use a micro USB cable that supports data transmission.
oThe USB driver will be installed on the computer automatically.
Wait until it is complete. When first connected, loading the
driver takes some time.
3 Press the POWER button on the unit to turn it on.
The CLOCK indicator on the unit blinks. Nothing will appear on
the unit’s OEL display.
4 Double-click K1X_IFvxxx_updater.exe.
* I/F firmware updater
K1X_IFvxxx.dfu
1. Shut down the target unit.
2. Connect the micro USB cable from PC to target.
3. Push power SW of target.
Then CLOCK LED will be flashing.
Press any key to continue...
5 Conrm that “K1X_IFvxxx.dfu” is shown on the
screen, and press the Enter key.
Do not turn the unit power off or disconnect the micro USB
cable while updating. Doing so could make the unit not operate
properly.
NOTE
The following screen will appear if the unit is not recognized
by the computer. Click the × at the top right of the window to
close it.
0 Device(s) found. Plug your DFU Device !
Target 00: Error Code: Unknown error 0x12340005.
Target: 00
Error Code: Unknown error 0x12340005.
TransferSize: 0
DFU State: (Unknown 0x74)
DFU Status: STATUS_OK
Request: (unknown 0x2A59AD94).
CurrentNBlock: 0xF9743F6A
CurrentLength: 0x76C4EF
Percent: 0
If the screen shown above appears, check the following items
and repeat step 4.
oThe DFU driver is installed (page1).
oThe unit is put in firmware update mode. (The unit is turned
on by pressing the POWER button.)
oThe computer is connected to the USB Micro-B SOFTWARE
maintenance port on the back of the unit using a micro USB
cable.
ATTENTION
oCables designed only for charging cannot be used for firm-
ware updates. Always use a micro USB cable that supports
data transmission.
oConnecting to a different USB port on the computer might
allow it to recognize the unit.
oTo cancel updating when the above screen appears, discon-
nect the power cord of the unit from the outlet once.
6 When “* Writing is completed.” appears, press
the Enter key to close the window.
3
GrandiosoK1X Firmware update manual
1 Device(s) found:
Device [1]: STM Device in DFU Mode, having [4] alternate targets
Target 00: Upgrading - Download Phase (100)...Duration: 00:00:14
Upgrade successful !
* Writing is completed.
* Please unplug the micro USB cable.
Press any key to continue...
7 Disconnect the micro USB cable from the
SOFTWARE maintenance port on the back of
the unit.
This turns the unit off.
4. Update the audio program
oDo this after installing the DFU driver (page1).
oBefore starting this procedure, confirm that a micro USB cable is
not connected to the SOFTWARE maintenance port on the back
of the unit.
1 Press the POWER button on the unit to turn it
on.
2 Press and hold the MODE button for two or
more seconds to open the Settings1 screen.
3 Press and hold the MODE button for two or
more seconds again to open the Settings2
screen.
4 Press the MODE button repeatedly to show
“AUD_UPDATE”.
5 Press the play (7) button to show “AUD
WRITE” on the unit’s display.
6 Use a micro USB cable to connect the computer
to the USB Micro-B SOFTWARE maintenance
port on the back of the unit.
ATTENTION
oCables designed only for charging cannot be used for firm-
ware updates. Always use a micro USB cable that supports
data transmission.
7 Double-click updater_K1X_DIGITAL_Vxxx_
DAC_Vxxx.exe.
* FPGA upgrade program
K1X_DIGITAL_V003_DAC_V003.dfu
1. Turn on the target and select MENU-[AUD UPDATE
* Don’t connect the micro USB cable from PC to target yet!!
2. Push “PLAY” or “>” key. Then “AUD WRITE” message is displayed.
3. Connect the micro USB cable from PC to target.
(The DFU driver must be installed on the PC.)
Press any key to continue...
Continued on the next page e
GrandiosoK1X Firmware update manual
4
8 Conrm that “K1X_DIGITAL_Vxxx_DAC_Vxxx.
dfu” is shown on the screen, and press the
Enter key.
Do not turn the unit power off or disconnect the micro USB
cable while updating. Doing so could make the unit not oper-
ate properly.
NOTE
The following screen will appear if the unit is not recognized
by the computer. Click the × at the top right of the window to
close it.
step1: Upgrading Digital FPGA
0 Device(s) found. Plug your DFU Device !
Target 00: Error Code: Unknown error 0x12340005.
Target: 00
Error Code: Unknown error 0x12340005.
TransferSize: 0
DFU State: (Unknown 0x75)
DFU Status: STATUS_OK
Request: (unknown 0xACEC7D69).
CurrentNBlock: 0x6976892C
CurrentLength: 0x76EA3C
Percent: 0
If the screen shown above appears, check the following items
and repeat step 5.
oThe DFU driver is installed (page1).
o“AUD WRITE” appears on the unit’s display.
oThe computer is connected to the USB Micro-B SOFTWARE
maintenance port on the back of the unit using a micro USB
cable.
ATTENTION
oCables designed only for charging cannot be used for firm-
ware updates. Always use a micro USB cable that supports
data transmission.
oConnecting to a different USB port on the computer might
allow it to recognize the unit.
9 When “* Writing is completed.” appears, press
the Enter key to close the window.
step1: Upgrading Digital FPGA
1 Device(s) found:
Device [1]: STM Device in DFU Mode, having [3] alternate targets
Target 00: Upgrading - Download Phase (100)...Duration: 00:00:06
Upgrade successful !
step2: Upgrading DAC Lch FPGA
1 Device(s) found :
Device [1]: STM Device in DFU Mode, having [3] alternate targets
Target 01: Upgrading - Download Phase (100)...Duration: 00:00:08
Upgrade successful !
step3: Upgrading DAC Rch FPGA
1 Device(s) found :
Device [1]: STM Device in DFU Mode, having [3] alternate targets
Target 01: Upgrading - Download Phase (100)...Duration: 00:00:08
Upgrade successful !
* Writing is completed.
* Please unplug the micro USB cable.
Press any key to continue...
10 Disconnect the micro USB cable from the
SOFTWARE maintenance port on the back of
the unit.
This restart the unit.
5
GrandiosoK1X Firmware update manual
0720 MA-3110B
5. Update the MQA decoder firmware
oDo this after updating the firmware of the unit.
oBefore starting this procedure, confirm that a micro USB cable is
not connected to the SOFTWARE maintenance port on the back
of the unit.
1 Turn the unit o.
2 Press the POWER button on the unit to turn it
on.
3 Press and hold the MODE button for two or
more seconds to open the Settings1 screen.
4 Press and hold the MODE button for two or
more seconds again to open the Settings2
screen.
5 Press the MODE button repeatedly to show
“MQA_UPDATE”.
6 Press the play (7) button to show “MQA
WRITE” on the unit’s display.
7 Use a micro USB cable to connect the computer
to the USB Micro-B SOFTWARE maintenance
port on the back of the unit.
ATTENTION
oCables designed only for charging cannot be used for firmware
updates. Always use a micro USB cable that supports data
transmission.
8 Double-click MQA_vxxxxxx_updater.exe.
9 Click “Connect”.
10
Click the“Download”button to start the update.
11
When “Succeeded” appears, press the POWER
button on the unit to turn it off. Then, dis-
connect the micro USB cable from the unit’s
SOFTWARE maintenance port.
c

Other manuals for Grandioso K1X

1

Other Esoteric CD Player manuals

Esoteric X-05 User manual

Esoteric

Esoteric X-05 User manual

Esoteric K-05 User manual

Esoteric

Esoteric K-05 User manual

Esoteric K-01XD User manual

Esoteric

Esoteric K-01XD User manual

Esoteric Esoteric SA-10 User manual

Esoteric

Esoteric Esoteric SA-10 User manual

Esoteric K-05 User manual

Esoteric

Esoteric K-05 User manual

Esoteric P-01 User manual

Esoteric

Esoteric P-01 User manual

Esoteric X-01 User manual

Esoteric

Esoteric X-01 User manual

Esoteric SA-50 User manual

Esoteric

Esoteric SA-50 User manual

Esoteric Esoteric X-03SE User manual

Esoteric

Esoteric Esoteric X-03SE User manual

Esoteric K-03 User manual

Esoteric

Esoteric K-03 User manual

Esoteric K-05XD User manual

Esoteric

Esoteric K-05XD User manual

Esoteric K-07 User manual

Esoteric

Esoteric K-07 User manual

Esoteric Grandioso K1X User manual

Esoteric

Esoteric Grandioso K1X User manual

Esoteric X-05 User manual

Esoteric

Esoteric X-05 User manual

Esoteric K-05X User manual

Esoteric

Esoteric K-05X User manual

Esoteric P-02 s User manual

Esoteric

Esoteric P-02 s User manual

Esoteric K-01Xs User manual

Esoteric

Esoteric K-01Xs User manual

Esoteric K-07 User manual

Esoteric

Esoteric K-07 User manual

Esoteric Grandioso P1 User manual

Esoteric

Esoteric Grandioso P1 User manual

Esoteric P-02X User manual

Esoteric

Esoteric P-02X User manual

Esoteric X-03 User manual

Esoteric

Esoteric X-03 User manual

Esoteric Grandioso P1X Use and care manual

Esoteric

Esoteric Grandioso P1X Use and care manual

Esoteric X-01 User manual

Esoteric

Esoteric X-01 User manual

Esoteric K-01 User manual

Esoteric

Esoteric K-01 User manual

Popular CD Player manuals by other brands

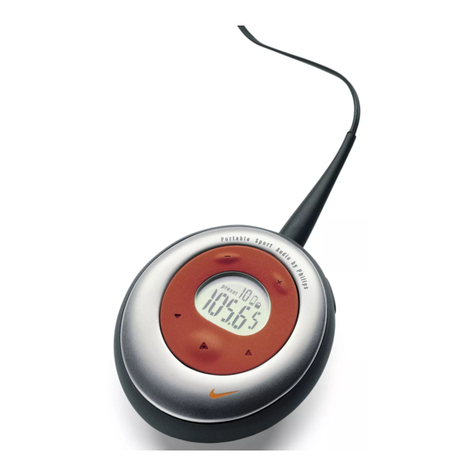
Philips AZ7261 - Cd Personal Instructions for use

Philips

Philips AZ7261 - Cd Personal Instructions for use

Memorex MP3227 user guide

Memorex

Memorex MP3227 user guide

Sony Walkman D-NE240 operating instructions

Sony

Sony Walkman D-NE240 operating instructions

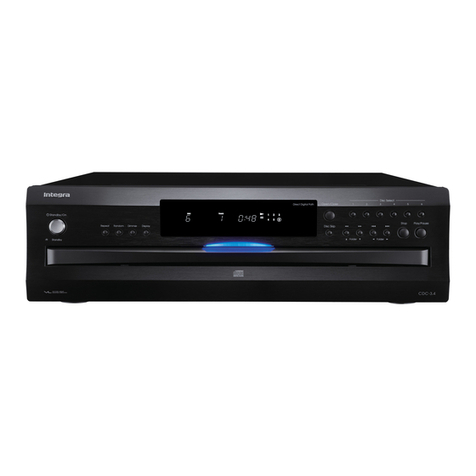
Integra CDC-3.4 instruction manual

Integra

Integra CDC-3.4 instruction manual

Norma REVO CDP manual

Norma

Norma REVO CDP manual

moon MOON Andromeda owner's manual

moon

moon MOON Andromeda owner's manual

Philips PSA[FM ACT100 manual

Philips

Philips PSA[FM ACT100 manual

American DJ PRO-DJ2 manual

American DJ

American DJ PRO-DJ2 manual

Arcam Delta 250 Handbook

Arcam

Arcam Delta 250 Handbook

Aiwa 2ZM-3MK2 YPR4NM Service manual

Aiwa

Aiwa 2ZM-3MK2 YPR4NM Service manual

Aiwa XP-V36 Service manual

Aiwa

Aiwa XP-V36 Service manual

April Music Stello CDA200 owner's manual

April Music

April Music Stello CDA200 owner's manual

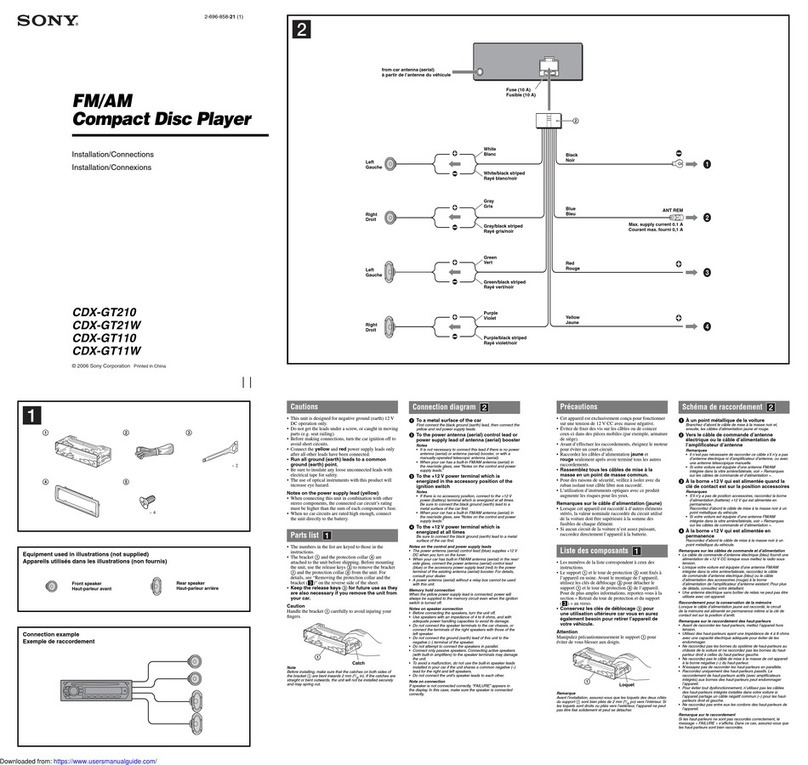
Sony CDX CDX-GT210 Installation/connections

Sony

Sony CDX CDX-GT210 Installation/connections

Philips AZ1518 Instructions for use

Philips

Philips AZ1518 Instructions for use

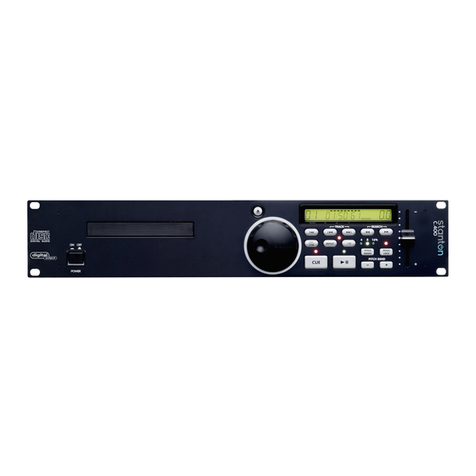
Stanton C.400 user manual

Stanton

Stanton C.400 user manual

Pioneer PD-S605 Service manual

Pioneer

Pioneer PD-S605 Service manual

Philips AZ1116 Specification sheet

Philips

Philips AZ1116 Specification sheet

Philips AZ1560/11 user manual

Philips

Philips AZ1560/11 user manual

manuals.online logo
manuals.online logoBrands
  • About & Mission
  • Contact us
  • Privacy Policy
  • Terms and Conditions

Copyright 2025 Manuals.Online. All Rights Reserved.