Europalms Snowmen Family User manual

S
NOWING CHRISTMAS STAGE
www.europalms.de

WEIHNACHTSBÜHNE "SCHNEEMANNFAMILIE"
1
Weihnachtsbühne "Schneemannfamilie"
Die Weihnachtsbühne mit Beleuchtung und Schneefall sorgt
für eine fröhliche Weihnachtsstimmung und dient zur
Dekoration. 25 Weihnachtsmelodien können zugeschaltet
werden. Die Spannungsversorgung erfolgt über das
beiliegende Netzteil.
Sicherheitshinweise
•Stellen Sie das Produkt auf einer festen, ebenen und
windgeschützten Fläche auf.
•Nicht für Kinder geeignet.
•Wartungs- und Servicearbeiten sind ausschließlich dem
autorisierten Fachhandel vorbehalten. Schäden, die durch
manuelle Veränderungen verursacht werden, fallen nicht
unter den Garantieanspruch.
•Wird das Produkt zweckentfremdet oder falsch
angeschlossen, kann dies zu Schäden führen und der
Garantieanspruch erlischt.
•Ist das Produkt nicht mehr funktionsbereit oder weist
sichtbare Beschädigungen auf, ist es außer Betrieb zu
setzen, um Gefahren zu vermeiden.
•Dieses Produkt ist nur für die auf dem Typenschild
angegebene Spannung zugelassen und wurde
ausschließlich zur Verwendung in Innenräumen konzipiert.
Das Produkt entspricht Schutzklasse 3, das Netzteil
Schutzklasse 2.
•Vermeiden Sie Feuchtigkeit und Hitze. Der zulässige
Temperaturbereich liegt zwischen -15° C und +45° C.
•Das F-Zeichen bedeutet: Dieses Produkt darf auf normal
entflammbaren Oberflächen installiert werden.
•Gerät bei Nichtbenutzung und vor jeder Reinigung vom Netz
trennen. Verwenden Sie zur Reinigung ein fusselfreies,
angefeuchtetes Tuch. Auf keinen Fall Alkohol oder
irgendwelche Lösungsmittel!
•Verwenden Sie immer nur das mitgelieferte Netzteil.
Montage
Unterbau
8 x a= 63,3 cm
4 x b= 51,8 cm
4 x c= 31,0 cm 4 x gerader Verbinder
8 x T-Verbinder
Stoffüberzug
Nehmen Sie die Bauteile für die rechteckige Unterkonstruktion
aus der Verpackung und fügen Sie zunächst zwei lange Stäbe
(Größe a) mit einem geraden Verbinder zusammen. Dazu
lassen sich die Verbinder auf- und zuschrauben. Wiederholen
Sie den Vorgang dreimal, bis alle langen Stäbe miteinander
verbunden sind.

WEIHNACHTSBÜHNE "SCHNEEMANNFAMILIE"
2
Schieben Sie abschließend alle Stäbe durch die Schlaufen des
Stoffüberzugs wie abgebildet und fixieren Sie sie mit den T-
Verbindern.
Aufbau
16 x d= 63 cm
7 x e= 29 cm
2 x gerader Verbinder
14 x T-Verbinder
Nehmen Sie die Bauteile für den Aufbau aus der Verpackung
und verbinden Sie nacheinander 8 lange Stäbe (Größe d)
mithilfe von 7 T-Verbindern und 1 geradem Verbinder. Achten
Sie darauf, dass die Enden der Stäbe jeweils vollständig in die
Verbinder geschoben sind, um eine stabile Konstruktion zu
erhalten. Richten Sie alle T-Verbinder in die gleiche Richtung
aus.
Verbinden Sie nun die Konstruktion zu einem Ring wie
abgebildet. Um Unfällen vorzubeugen, achten Sie darauf, dass
sich keine Personen oder zerbrechlichen Gegenstände im
nahen Umkreis befinden, falls einer der Stäbe aus den Händen
gleiten sollte.

Unterbau und Aufbau zusammensetzen
• Stellen Sie den Aufbau auf dem Unterbau.
• Ziehen Sie die Kabelfernbedienung, die mit der Gebläse-
einheit verbunden ist, heraus und hängen Sie sie seitlich am
Unterbau ein (siehe Abbildung).
• Lassen Sie den Stofflappen im Inneren des Unterbaus als
Barriere für die Schneeflocken herunterhängen.
Gebläseeinheit anschließen
WEIHNACHTSBÜHNE "SCHNEEMANNFAMILIE"
3
Fügen Sie auf die gleiche Weise einen zweiten Ring zusammen
und verbinden Sie dann beide Ringe mit den verbliebenen 7
kurzen Stäben (Größe e).
Platzieren Sie die Ringkonstruktion im Stoffüberzug wie
abgebildet. Die geraden Verbinder (Punkt A) der Ring-
konstruktion müssen sich dabei unten am Stoffüberzug
befinden, d. h. hinter der Kordel (Punkt B) und über der
Gebläseeinheit (Punkt C). Ziehen Sie abschließend die Kordel
fest zusammen und verknoten Sie sie. Dadurch erhält der
Aufbau seine Form.
Stofflappen
Fernbe-
dienung
Abb. 1
Abb. 2

WEIHNACHTSBÜHNE "SCHNEEMANNFAMILIE"
4
Bringen Sie die Clips innen am Rahmen an (
Abb. 1).
Verbinden Sie den Schlauch mit der Gebläseeinheit und
befestigen Sie ihn dann von unten nach oben an den Clips
(Abb. 2).
Funktionstest
• Schließen Sie das Anschlusskabel der LED-Lichtkette, die
sich im Aufbaurahmen befindet, an die gelbe Cinch-Buchse
an der Gebläseeinheit an.
• Verbinden Sie die Anschlussleitung des Netzteils mit der
Netzanschlussbuchse auf der Rückseite des Geräts und
stecken Sie das Netzteil in eine Steckdose (230 V, 50 Hz~).
• Verteilen Sie für einen kurzen Funktionstest eine kleine
Menge Schneeflocken am Boden des Aufbaus. Vergewissern
Sie sich bitte, dass sich keine störenden Gegenstände im
Aufbau befinden, die die Zirkulation der Schneeflocken
behindern könnten.
• Schalten Sie das Gerät mit dem Betriebswahlschalter an der
Kabelfernbedienung ein und prüfen Sie, ob oben aus dem
Schlauch Schneeflocken herausrieseln, die Lichtkette
leuchtet und je nach Betriebsart die Musik spielt. Falls nicht,
überprüfen Sie bitte die Konstruktion und alle Anschlüsse bis
alles ordnungsgemäß funktioniert.
Bühnenbild
• Montieren Sie die Figuren und die Straßenlaterne wie
abgebildet: Schrauben Sie dazu die Halterungen an der
Auflagerost fest und stecken Sie die Figuren und den
Laternenmast auf. Verschrauben Sie den Mast mit seiner
Halterung. Stecken Sie die beiden oberen Laternenteile auf
den Mast und verschrauben Sie die elektrischen Kontakte an
jeder Seite mit dem Mast. Bringen Sie den Tannenkranz an
der Laterne an.
• Hängen Sie den Auflagerost seitlich an den Stäben im
Rahmen ein. Die Montage ist damit abgeschlossen. Wir
wünschen Ihnen nun viel Freude mit diesem Produkt.

Technische Änderungen ohne vorherige Ankündigung und Irrtum vorbehalten.
17.09.2010 ©
WEIHNACHTSBÜHNE "SCHNEEMANNFAMILIE"
5
Betriebsart und Windmenge einstellen
Geben Sie Schneeflocken auf den Auflagerost und stellen Sie
den Betriebswahlschalter in die gewünschte Position:
• Position ON I: Betrieb ohne Weihnachtsmelodien
• Position ON II Ê: Betrieb mit Weihnachtsmelodien
• Position OFF: schaltet das Gerät aus
Die Windmenge und damit die Schneefallstärke lässt sich
stufenlos mit dem Regler von niedrig bis hoch einstellen.
Technische Daten
Spannungsversorgung: .......230 V AC, 50 Hz ~ über mitge-
.............................................liefertes Netzteil 12 V AC, 1000 mA
Gesamtanschlusswert:.........14 W
Maße (L x B x H):..................360 x 160 x 1830 mm
Gewicht: ...............................7,5 kg
www.europalms.de

S
NOWING CHRISTMAS STAGE
"
SNOWMEN FAMILY"
6
Snowing Christmas Stage "Snwomen Family"
The Christmas stage with illumination and snowfall creates a
jolly Christmas mood and is used for decoration. Additionally,
25 Christmas melodies can be switched on. Power supply is
via the enclosed power unit.
Safety Instructions
•Set up the unit at solid and planar surface protected from the
wind.
•Keep away children.
•Maintenance and service operations are only to be carried
out by authorized dealers. Damage caused by manual
modifications on this device is not subject to warranty.
•If the product is used for other purposes than originally
intended, if it is not correctly connected, damage may result
and the guarantee becomes void.
•To avoid danger do not operate the product when it no
longer functions or when it is visibly damaged.
•This product is only allowed to be operated with the voltage
given on the technical label and was designed for indoor use
only. The product falls under protection class 3, the power
unit under protection class 2.
•Avoid excessive humidity and heat. The recommended
temperature range lies between -15° C and +45° C.
•The F-symbol means: This device can be installed on normal
inflammable surfaces.
•Always disconnect from the mains, when the product is not in
use or before cleaning it. Use a soft lint-free and moistened
cloth for cleaning. Never use alcohol or solvents!
•Use the unit only with the supplied power unit.
Assembly
Base
8 x a= 63.3 cm
4 x b= 51.8 cm
4 x c= 31.0 cm 4 x linear connector
8 x T-connector
Base fabric
Unpack the parts for the square base and connect two long
poles (size a) with a linear connector. The connectors can be
screwed and unscrewed. Repeat the process three times until
all long poles are connected with each other.

S
NOWING CHRISTMAS STAGE
"
SNOWMEN FAMILY"
7
Insert all poles into the corresponding loops of the base fabric
as shown and fix them with the T-connectors.
Frame
16 x d= 63 cm
7 x e= 29 cm
2 x linear connector
14 x T-connector
Unpack the parts for the frame and successively connect 8
long poles (size d) with 7 T-connectors and 1 linear connector.
Both ends of the poles must be fully inserted into the
connectors to ensure a stable structure. Turn all T-connectors
into the same direction.
Now bend the connected poles into a circle as shown. Make
sure there is no bystander or fragile object nearby, so as not to
cause injury or damage in the event any connecting pole slips
out of hand.

S
NOWING CHRISTMAS STAGE
"
SNOWMEN FAMILY"
8
Assemble a second circle the same way and then connect both
circles with the remaining 7 short poles (size e).
Place the frame into the round fabric as shown. The linear
connectors (point A) of the frame must be placed at the bottom
of the fabric, i.e. behind the drawstring (point B) and above the
fan unit (point C). Finish by tightening the drawstring with a
knot so as to give the frame its round shape.
Putting frame and base together
• Put the frame on the base.
• Pull out the cable remote control connected to the fan unit
and clip it sideways to the base as shown.
• Let the cloth inside the base fabric hang as a barrier between
the base and the frame, so as to avoid snowflake leakage.
Connecting the fan unit
Cloth
remote
control
Fig. 1
Fig. 2

S
NOWING CHRISTMAS STAGE
"
SNOWMEN FAMILY"
9
Attach the clips inside on the frame (
fig. 1). Connect the hose
to the fan unit and then attach it to the clips from bottom to top
(fig. 2).
Performance check
• Connect the cable of the LED light chain inside the frame to
the yellow RCA jack at the fan unit.
• Connect the cable of the power unit to the power input at the
back of the base and the power unit to a power outlet (230 V,
50 Hz~).
• Fill the bottom of the frame with a small amount of
snowflakes for a short performance check. Please make sure
that there are no foreign objects in the frame that could block
the circulation of the snowflakes.
• Switch on the device with the operating mode selector at the
cable remote control and check if snowflakes come trickling
down from the hose, the light chain lights and if the music is
playing. If not, please check the assembly and al connections
until all functions work properly.
Stage design
• Mount the figures and the street lamp as shown: Screw the
holders to the bearing plate and put the figures on the
corresponding holders. Screw the lamppost to its holder. Put
both upper street lamp parts on the post and screw the
electric contacts on each side to the post. Mount the
Christmas wreath to the street lamp.
• Clip the bearing plate to the poles on each side of the frame.
Assembly is now completed. We hope you will enjoy this
product.

Every information is subject to change without prior notice. 17.09.2010 ©
S
NOWING CHRISTMAS STAGE
"
SNOWMEN FAMILY"
Adjusting operating mode and wind
Pour snowflakes on the bearing plate and select the desired
operating mode with the mode selector:
• position ON I: operation without Christmas melodies
• position ON II Ê: operation with Christmas melodies
• position OFF: turns off the unit
The wind rate and thus the snowfall can be steplessly adjusted
with the rotary control from low to high.
Technical Specifications
Power supply: ......................230 V AC, 50 Hz ~ via included
.............................................power unit 12 V AC, 1000 mA
Power consumption: ............ 14 W
Dimensions (L x W x H):.......360 x 160 x 1830 mm
Weight: .................................7.5 kg
www.europalms.de
10

00054772.DOC, Version 1.0
Item number/Artikelnummer
83501672.
www.europalms.de
Table of contents
Languages:
Popular Indoor Fireplace manuals by other brands

Montigo
Montigo L52-DF Installation & maintenance manual
kozy heat
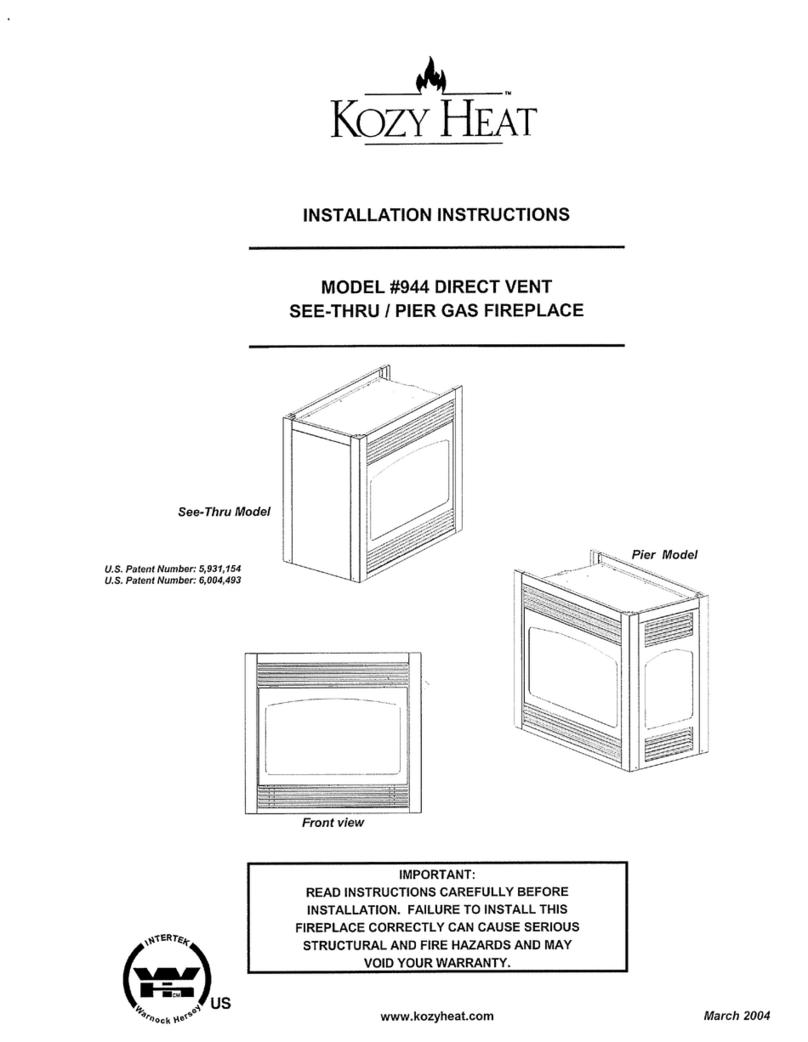
kozy heat 944 SEE-THRU installation instructions

Amantii
Amantii BI-DEEP-XT Fix Manual
Archgard
Archgard Chantico 31 Installation, operation and maintenance manual
Muskoka
Muskoka Dwyer MMTVSC2513SE-2 Assembly instructions
Nordpeis
Nordpeis Capri Low installation manual

FPI
FPI U32-NG3 Owners & installation manual
Style selections
Style selections 88287/26MM8715-Z248 manual
Ameriwood HOME
Ameriwood HOME 2144335COM Instruction booklet

Valor
Valor 1200EAN (NG) Installation and owner's manual

Spirit Fires
Spirit Fires FR850-NV Technical manual & user handbook
A.I.&.E
A.I.&.E Lugano AJ56-LED Operation and safety notes
