Explore One 88-50105 User manual
1
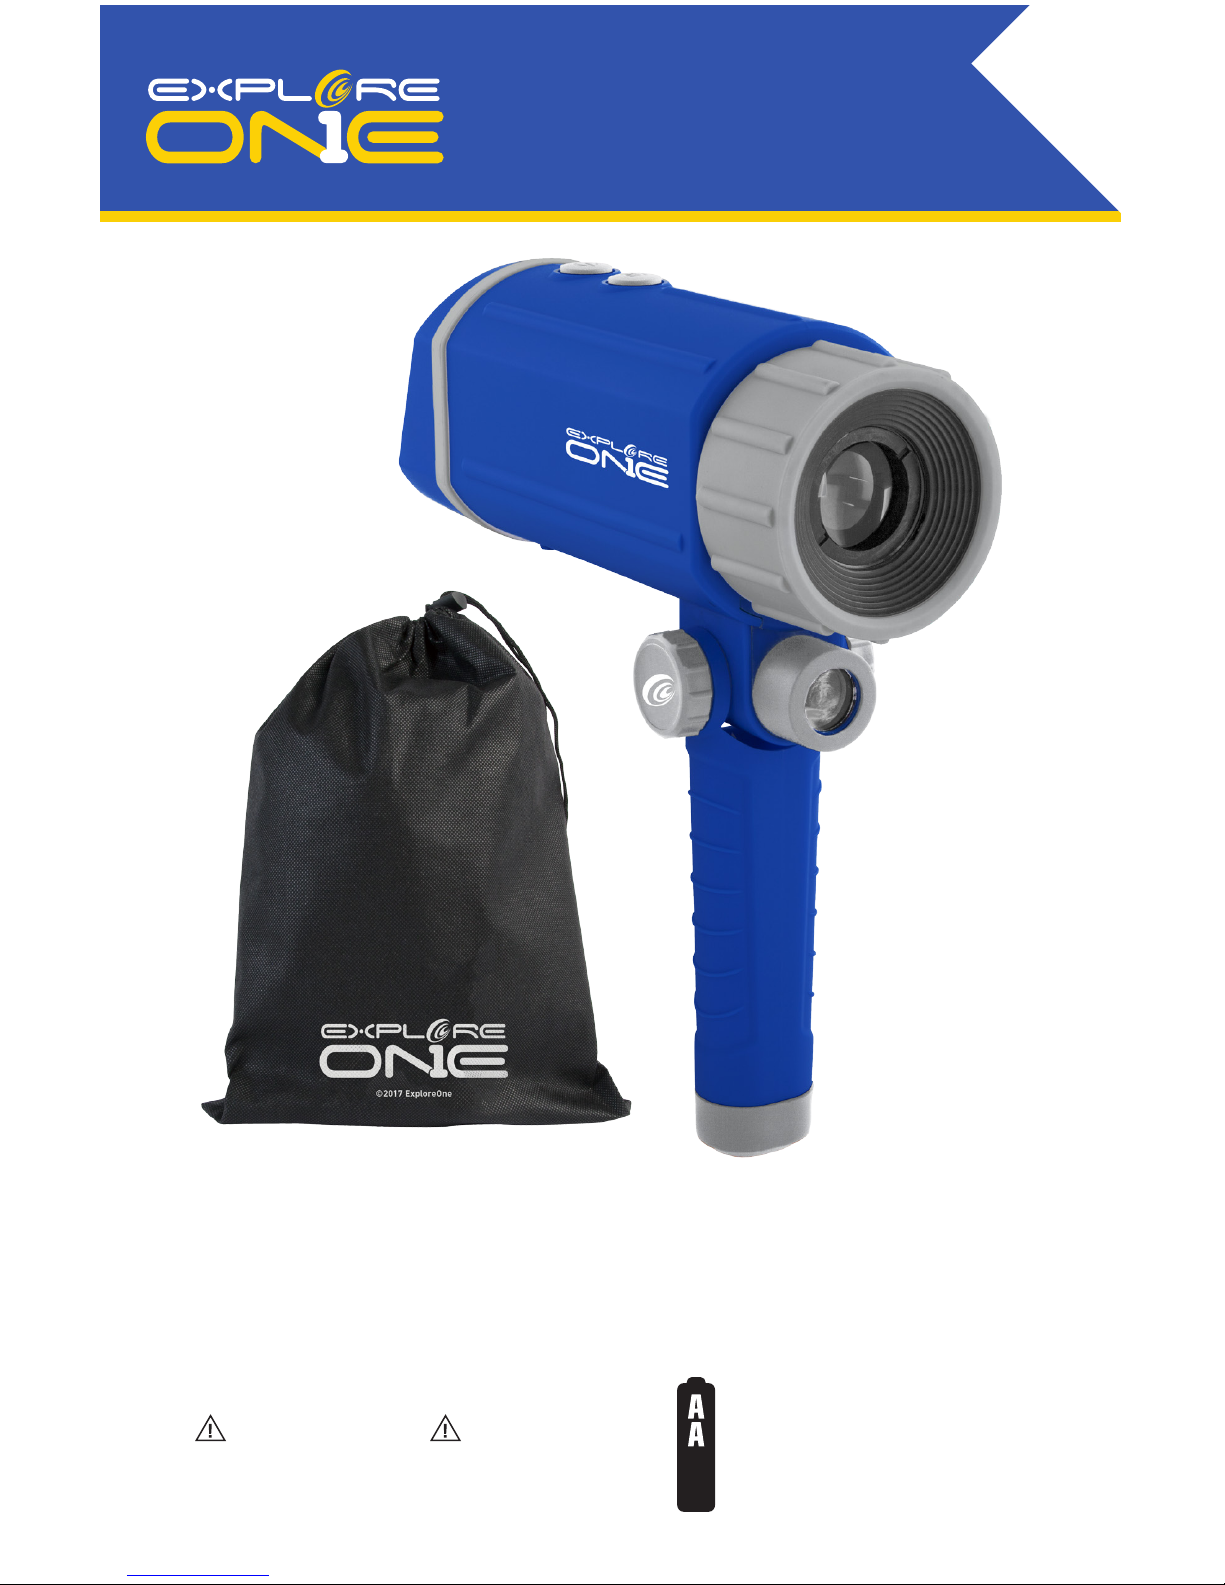
NIGHT VISION SCOPE
Instruction Manual
SUN HAZARD
— Never look directly at the sun
with this device.
WARNING:
CHOKING HAZARD
— Small parts.
Not for children under 3 years.
WARNING:
88-50105
NOT INCLUDED
X4
1.5V
Do not mix old and new batteries. Do not mix alkaline,
standard (carbon-zinc), or rechargeable (ni-cad, ni-mh, etc.) batteries.
AGES
8
+
2
WARNING: NEVER ATTEMPT TO OBSERVE THE SUN WITH THIS DEVICE!
OBSERVING THE SUN – EVEN FOR A MOMENT – WILL CAUSE INSTANT AND
IRREVERSIBLE DAMAGE TO YOUR EYE OR EVEN BLINDNESS. Eye damage is often
painless, so there is no warning to the observer that the damage has occurred until it
is too late. Do not point the device at or near the Sun. Do not look through the device
as it is moving. Children should always have adult supervision while observing.
SUN WARNING
Customer Service: Call 1-866-252-3811
Experience Night Vision!
In low light or no light, this Night Vision device can give your eyes the illumination boost they need for
activities like nocturnal wildlife watching, exploring, camping and more. In total darkness, you can see
objects more than 20 yards away using the infrared illuminator. In low light conditions, the device will
amplify residual light and allow you to observe objects more than 50 yards away. This lightweight optical
aid is designed for on-the-go adventure. Take it outside and scan your surroundings for opossums,
raccoons, owls or other nighttime visitors. Peer into caves to see what structures and species might lie
within. Or, simply use it for a fun game of hide-and-seek.
Did You Know?
Rods and cones are two types of cells in the human retina that determine how our eyes react to light.
The rods, which outnumber the cones by millions, are the most sensitive to light and determine
how well we can see in the dark. Cones, which need strong light to work well, are responsible for
perceiving color.
SAFETY WARNINGS
• Respect privacy: When using
this device, respect the
privacy of other people. For
example, do not use them to
look into people’s homes.
• Choking hazard: Children
should only use device
under adult supervision.
Keep packaging materials
like plastic bags and rubber
bands out of the reach of
children as these materials
pose a choking hazard.
• Risk of blindness: Never
use this device to look
directly at the Sun or in the
direct proximity of the Sun.
Doing so may result in a
permanent loss of vision.
• Risk of fire: Do not place
device, particularly the
lenses, in direct sunlight.
The concentration of light
rays could cause a fire.
• Do not disassemble this
device. In the event of a
defect, please contact
your dealer. The dealer
will contact the Customer
Service Department and
can send the device in to
be repaired if necessary.
• Do not subject the
device to temperatures
exceeding 60° C (140° F).
• Disposal: Keep packaging
materials, like plastic bags
and rubber bands, away
from children as they a
pose a risk of suffocation.
Dispose of packaging
materials as legally
required. Consult the local
authority on the matter
if necessary and recycle
materials when possible.
Read and follow the instructions, safety rules, and first aid information.

3
Parts Overview
1. Night Vision Scope
2. Device power button
3. Multifunction button
4. Infrared illuminator
5. Battery compartment
6. Viewing screen
7. Objective lens
8. Focuser
9. Collapsible handle
10. Carry bag
1
2
3
4
5
6
7
9
10 8
Getting Started:
The device requires four AA batteries, which are not included. Operating time with quality batteries
should be around eight hours with the infrared illuminator switched off or around four hours with the
illuminator switched on.
To install the batteries, use an eyeglass screwdriver to loosen the screw that secures the cover to
the battery compartment, which is located on the underside of the device. Once the cover is removed,
insert the batteries following the polarity (+)(-) inside the fitted battery compartment. Do not force a
battery into place with the polarity reversed because this can damage the device. Replace the battery
door and secure the cover in place.
Powering ON/OFF Your Device:
Now that you have installed the batteries, power the unit on by pressing the power button located on
the top of the device closest to the viewing screen for 1 to 2 seconds. A battery strength indicator will
appear in the bottom right corner of the display screen. This same button is used to power off the
device.

4
Using The Multifunction Button:
This button, which is located on the top of the unit, serves multiple purposes. It can be used to turn
the infrared illuminator on and off. It also can be used to change the brightness of the infrared
illuminator or the display screen.
• To turn on the infrared illuminator, press the button labeled IR on the top of
the device for approximately 1 second. An indicator will appear in the lower left
corner of your display screen.
• To change the brightness of the infrared illuminator, press the same IR button
for about 1 second. The brightness will increase or decrease if it is already
at the maximum brightness with each press. The number of lines around the
IR indicator icon on the display screen indicates the current brightness level.
The number of lines increases as the brightness goes up. To quickly reach the
maximum brightness level, hold the button down for 2 to 3 seconds.
• To turn off the infrared illuminator, press the IR button in 1-second bursts until
the IR icon disappears from the display screen.
• To adjust the brightness of the display screen, quickly press the IR button for
less than 1 second until the level of brightness that you need is achieved.
Focusing:
To get the best view of the object or subject you are looking at, you will need to adjust the focus by
turning the objective lens until you achieve a clear image. As the distance between you and your target
increases or decreases, you probably will need to adjust your focus again.
Cleaning instructions
To clean the lens and screen on this device, only use a soft, lint-free cloth like a microfiber cloth. Do
not apply excess pressure to the cloth to avoid scratching the lens. To remove more stubborn dirt,
moisten the cleaning cloth with an eyeglass-cleaning solution and wipe these areas gently being
careful to avoid excess pressure. Protect this device from dust and moisture. When using in high
humidity conditions, let the device acclimatize for a short period of time before storing in the included
bag so that residual moisture can dissipate.
© 2017 Explore Scientific®, LLC.
1010 S 48th Street, Springdale, AR 72762
exploreone.com | 866.252.3811
All rights reserved. Made in China.
CONFORMS TO THE SAFETY
REQUIREMENTS OF ASTM F963
Table of contents
Other Explore One Toy manuals

Popular Toy manuals by other brands


V-tech
V-tech Toot-Toot Friends Advent Calendar Parents' guide

Hot Wheels
Hot Wheels PIT STOP STATION instructions

V-tech
V-tech Go! Go! Cory Carson O'Tool's Construction... Parents' guide

V-tech
V-tech Ring Around the World user manual

V-tech
V-tech Get Ready for School Learning Desk instruction manual

V-tech
V-tech Click Box - Xtreme Power user manual

Lightmybricks
Lightmybricks LEGO Hogwarts Clock Tower installation guide

E Star
E Star Bleriot XI La Manche instructions

Pro Boat
Pro Boat WidowMaker 22 owner's manual

Pro Boat
Pro Boat Westward 18 Sailboat RTR owner's manual

V-tech
V-tech Zoo Jamz Doggy Xylophone instruction manual

V-tech
V-tech Disney Sofia the First Enchanted Smartphone user manual