3.1.3 Parameter adjustment of a green menu.
A green menu is one in which there is only one adjustable parameter. There are
two ways to adjust the parameter in a green menu.
1. Press the green LCD button. This will increment the value in that window.
This is most frequently done when the menu parameter is Textural for
example switching a parameter between ON and OFF. In this case a
button press is most natural.
2. Use the Rotary digipot (A,B,C or D) to adjust the parameter in the
respective LCD window (A,B,C or D). The direction and speed of rotation
enable numeric values to be set easily.
3.1.4 Parameter adjustment of a red menu
A red menu is one in which there is two or three adjustable parameters. In this
case it is necessary to first select the menu by pressing the red button. When the
red button is pressed it will turn green and either two or three of the rotary digipot
LEDS will flash indicating that the respective rotary digipot will operate the
respective parameter.
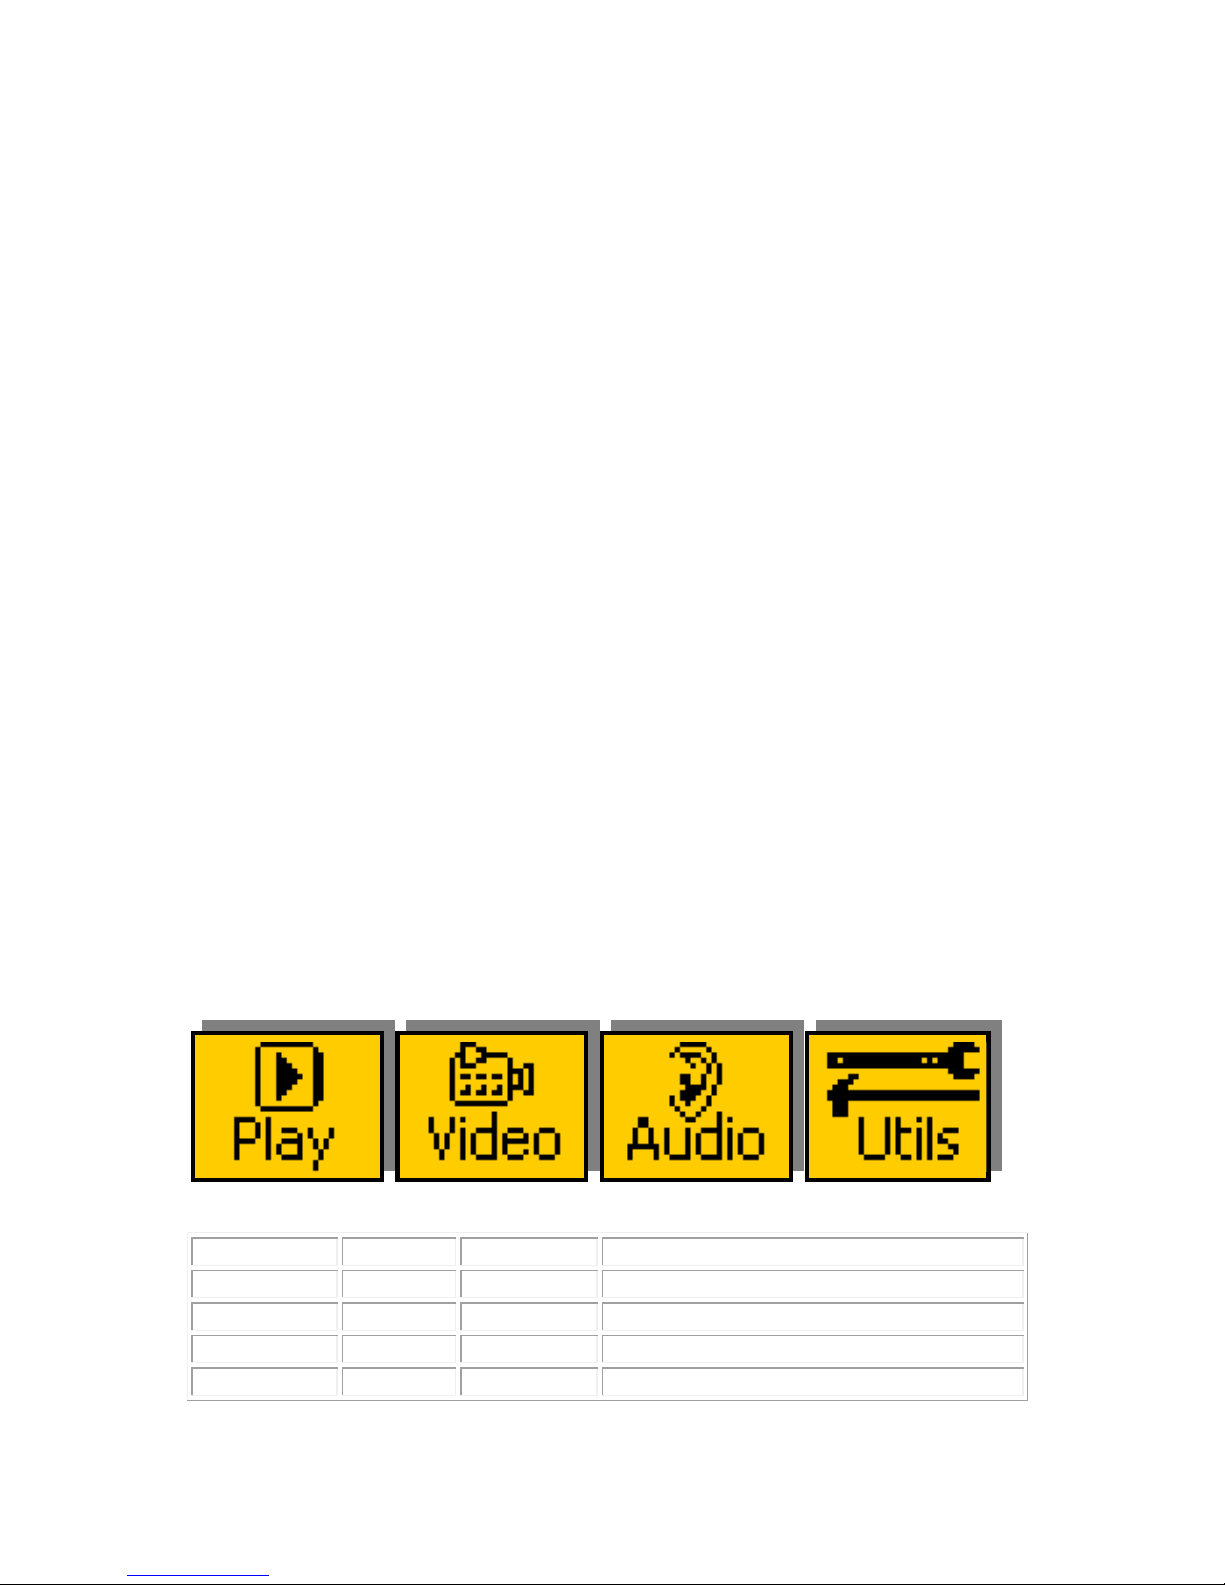
3.1.5 Information display
A Yellow menu (Which on most panels does look a light orange!) is one in which
only information is displayed. An example of this is the software version display.
3.2 Memories
3.2.1 User Memories
The user memories are a generic feature of all eyeheight geNETics products. Six
of these are included in the MW-2E. Parameters as shown in the RED menu
numbers are saved.
3.2.2 Naming User Memories
The user memories can be named with up to 6 characters. To do this plug in a
PS-2 Keyboard into a Flexipanel and select the appropriate processor card with a
device button. (See Figure 8 for connector location). To name memory 1,
“TXroom”
1. Hit F9 function key. The LCD displays will change to text entry mode
2. Type “M01:TXroom” and then press enter.
3. You may get a “not acknowledged” message, this does not matter.
Other memories can be named in the same way but changing the 01 to another
memory number.
- 9 -
eyeheight Unit 34 Park House Watford Business Park Greenhill Crescent Watford Herts GB WD18 8PH
Reg. No. 2855535 Telephone: +44 (0) 1923 256 000 Fax: +44 (0) 1923 256 100 email: eyesales@eyeheight.com