Eyeheight MW-3EM User manual

MW-3EM
A/B Video and embedded audio mixer.
user manual
eyeheight

- 2 -
eyeheight
Unit 34 Park House Watford Business Park Greenhill Crescent Watford Herts GB WD18 8PH
Reg. No. 2855535 Telephone: +44 (0) 1923 256 000 Fax: +44 (0) 1923 256 100 email: eyesa[email protected]
User Manual Versions
Versions
Changes
Date
SW Vers
1.00
Original Version
16/3/2008
8.00
1.10
Automatically extracted automation parameters added. Various
corrections. Additional information on Memories.
17/5/2009
8.10

- 3 -
eyeheight
Unit 34 Park House Watford Business Park Greenhill Crescent Watford Herts GB WD18 8PH
Reg. No. 2855535 Telephone: +44 (0) 1923 256 000 Fax: +44 (0) 1923 256 100 email: eyesa[email protected]
Table of Contents
1 System Overview ...............................................................................................6
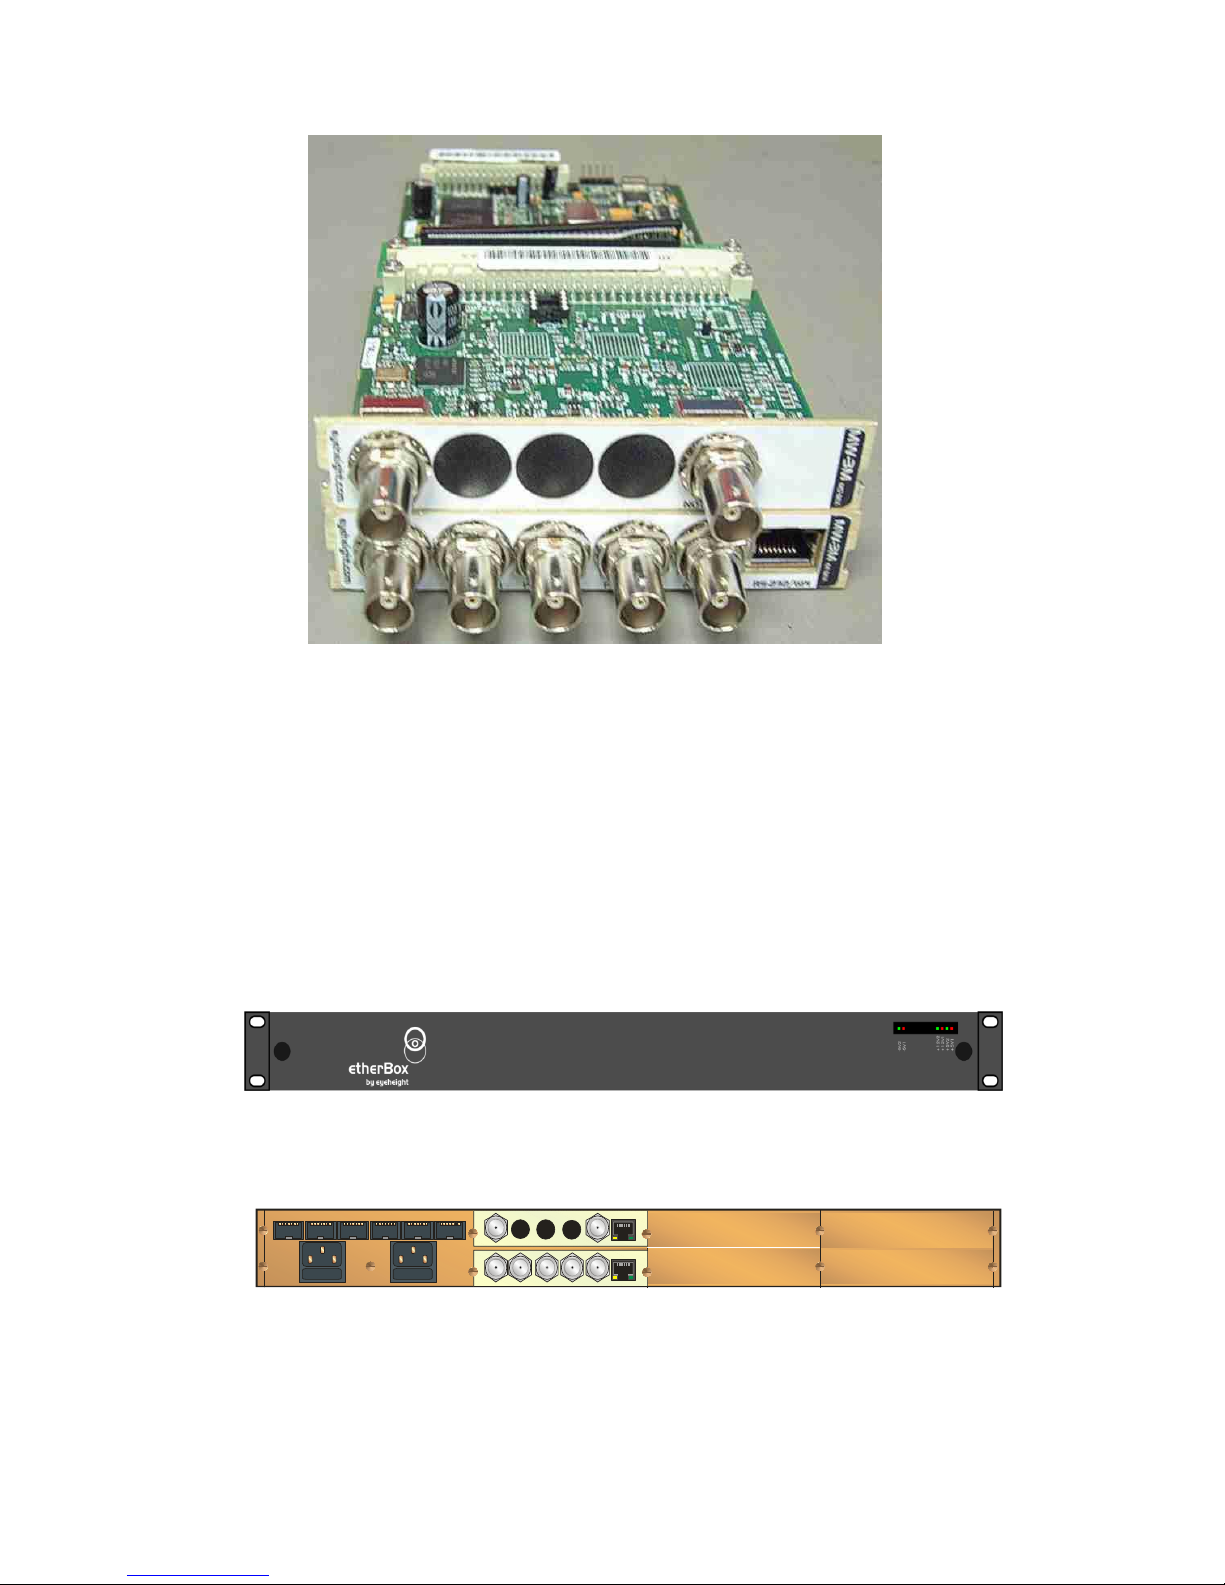
1.1 The MW-3EM Product ............................................................................6
Associated Equipment for the MW-3EM...........................................................7
2 Installation..........................................................................................................9
2.1 Connections on the MW-3EM product....................................................9
2.2 Video Processing, MW-3EM, MW-3M...................................................10
2.3 Video Preview output............................................................................10
2.4 Audio Processing, MW-3EM, MW-3M...................................................10
2.5 Audio Preview output............................................................................10
3 Menu Control of the MW-3EM..........................................................................11
3.1 Flexipanel controls................................................................................11
3.1.1 Device Buttons...................................................................................11
3.1.2 Menu Navigation................................................................................11
3.1.3 Parameter adjustment of a green menu.............................................12
3.1.4 Parameter adjustment of a red menu.................................................12
3.1.5 Information display.............................................................................12
3.2 Memories..............................................................................................12
3.2.1 User Memories...................................................................................12
3.2.2 User Memories change for each line standard ..................................12
3.2.3 Remembering setups on power up....................................................12
3.2.4 Naming User Memories.....................................................................13
3.3 Tamper Locking the MW-3EM. .............................................................13
3.4 GPI/Tally Set-up....................................................................................13
3.4.1 On-Board GPI’s..................................................................................13
3.4.2 On-Board Tally...................................................................................14
3.5 Configuring tallies on the etherbox........................................................14
3.6 The MW-3EM Menu Set........................................................................14
4 Technical Appendix..........................................................................................27
4.1 GPI/Tally/RS232/ technical information. ...............................................27
4.1.1 GPI Inputs..........................................................................................27
4.1.2 Tally Output. ......................................................................................28

- 4 -
eyeheight
Unit 34 Park House Watford Business Park Greenhill Crescent Watford Herts GB WD18 8PH
Reg. No. 2855535 Telephone: +44 (0) 1923 256 000 Fax: +44 (0) 1923 256 100 email: eyesa[email protected]
4.1.3 RS232 Interface.................................................................................28
4.2 On-Board automation protocol..............................................................29
4.2.1 Implimentation on RS232...................................................................29
4.3 geNETics Automation Protocol Parameter table...................................30
4.3.1 -625 automatically extracted menu parameters. V8.10......................31
4.3.2 -525 automatically extracted menu parameters. V8.10......................32
4.3.3 -720pautomatically extracted menu parameters. V8.10.....................34
4.3.4 -1080i automatically extracted menu parameters. V8.10...................36
4.4 Technical Specification .........................................................................38

- 5 -
eyeheight
Unit 34 Park House Watford Business Park Greenhill Crescent Watford Herts GB WD18 8PH
Reg. No. 2855535 Telephone: +44 (0) 1923 256 000 Fax: +44 (0) 1923 256 100 email: eyesa[email protected]
Table of Figures
Figure 1 MW-3EM Processing card.......................................................................7
Figure 2 - Front view of etherbox (FB-9E) fitted with FF-9 blank panel.................7
Figure 3 Rear view of etherbox with a single MW-3EM installed...........................7
Figure 4 FP-9 Flexipanel can be fitted on the FB-9E or remotely using and RR-9
kit. ..................................................................................................................8
Figure 5 MW-3EM connections.............................................................................9
Figure 6 - Typical connections for an MW-3EM Module........................................9
Figure 7 Flexipanel (FP-9) controls.....................................................................11
Figure 8 Types of menus showing their characteristic colours............................11
Figure 9 Typical GPI Input...................................................................................27
Figure 10 Tally Output.........................................................................................28
Figure 11 Tally interface to relay.........................................................................28

- 6 -
eyeheight
Unit 34 Park House Watford Business Park Greenhill Crescent Watford Herts GB WD18 8PH
Reg. No. 2855535 Telephone: +44 (0) 1923 256 000 Fax: +44 (0) 1923 256 100 email: eyesa[email protected]
1System Overview
1.1 The MW-3EM Product
This manual describes the function of the MW-3EM, mixer/wipe unit. This unit is
similar to the older eyeheight MW-3E but will also function in HD-SDI modes. The
MW-3EM product also has a full 16 channels of audio as standard. The system is
also available as an MW-3M which has no audio processing capability.
The MW-3EM is an A/B (2-Input) SDI Mixer unit which will perform a variety of
transitions commonly used in transmission and post production. The main
features are as follows:
A/B Mix/Cut transitions
A/B Wipe transitions with 8 wipe patterns with coloured/soft borders
16 channel embedded Audio Mixing follows video transitions. (configurable
as mix or cut transitions, cut transitions suitable for dolby E splice) **
Embedded audio manipulation (LR swap, Mono….) **
Programmable (Auto) or manual transitions
Preview Output with safe area generator built in.
Internal Matte and Black Generator.
Up to +/- ½ Line user definable synchronisation window for A/B Inputs
External Digital Reference Input ensures output stability
6 user memories
Compatible with etherbox GPI/Tallies.
FULLY software and firmware updatable using Flash technology.
Compatible with eyeheight geNETics automation protocol.
** MW-3ME only, not available on the MW-3M.

- 7 -
eyeheight
Unit 34 Park House Watford Business Park Greenhill Crescent Watford Herts GB WD18 8PH
Reg. No. 2855535 Telephone: +44 (0) 1923 256 000 Fax: +44 (0) 1923 256 100 email: eyesa[email protected]
Figure 1 MW-3EM Processing card.
Associated Equipment for the MW-3EM
The MW-3EM processing card requires the following in order to set up and
operate the unit.
1. An etherbox chassis (FB-9E). Up to three MW-3EM units and be
installed in one chassis.
2. A Flexipanel control surface such as an FP-9 or an FP-10.
Figure 2 - Front view of etherbox (FB-9E) fitted with FF-9 blank panel
Slot 2
Slot 5
Slot 3
Slot 4 Slot 6
PANEL I-BUS 232/422 ETHNET GPI/0-2 GPI-1GPI-1
PSU 1
PSU 2
REF PGM1 PGM 2 PVW A IN RS232
B IN |----------N O T U S E D----------|
Figure 3 Rear view of etherbox with a single MW-3EM installed.

- 8 -
eyeheight
Unit 34 Park House Watford Business Park Greenhill Crescent Watford Herts GB WD18 8PH
Reg. No. 2855535 Telephone: +44 (0) 1923 256 000 Fax: +44 (0) 1923 256 100 email: eyesa[email protected]
Figure 4 FP-9 Flexipanel can be fitted on the FB-9E or remotely using and RR-9 kit.

- 9 -
eyeheight
Unit 34 Park House Watford Business Park Greenhill Crescent Watford Herts GB WD18 8PH
Reg. No. 2855535 Telephone: +44 (0) 1923 256 000 Fax: +44 (0) 1923 256 100 email: eyesa[email protected]
2Installation
This unit requires SDI digital video connections to the BNC connectors. The user
should refer to the etherbox user manual for installation of the MW-3EM into a
chassis and connection of flexipanels. This will also describe the process of
acquiring a processing card (in this case the MW-3EM) by the Flexipanel which is
necessary to access the menu structure within the MW-3EM.
2.1 Connections on the MW-3EM product
Slot 2
REF PGM1 PGM 2 PVW A IN RS232
B IN |----------N O T U S E D----------|
Figure 5 MW-3EM connections
A Typical Connection diagram for the MW-3EM is shown below. All signals,
including the reference, are SDI.
A Input PGM Output
MW-3EM Module
Ref
B Input PST Output
REF
VTR 1 op
Mon V+A
REF
VTR 2 op
Mon V+A
SPG
Figure 6 - Typical connections for an MW-3EM Module

- 10 -
eyeheight
Unit 34 Park House Watford Business Park Greenhill Crescent Watford Herts GB WD18 8PH
Reg. No. 2855535 Telephone: +44 (0) 1923 256 000 Fax: +44 (0) 1923 256 100 email: eyesa[email protected]
2.2 Video Processing, MW-3EM, MW-3M.
The MW-3EM and the MW-3M have exactly the same video processing abilities.
The system will operate over a wide range of Video standards. Please see
section 4.4 for a full list. In each case it must be understood that a suitable digital
reference must be available in the operating line standard. For example if the
system is being switched from 525 line standard to 1080i/50, then the reference
must also be switched from a synchronous 525 digital standard to a 1080i/50 line
standard.
2.3 Video Preview output.
The Preview output will always show the “other” input that is not on air. It is
configured not to show Matte or Black outputs as these are often used internally
as intermediate sources. For example when a U or V fade is performed.
2.4 Audio Processing, MW-3EM, MW-3M.
The MW-3EM has full 16 channel audio processing. Normally this means that if
the Video mixes then the audio will also mix from one source to another. In the
case of transitions through Matte or Black these sources are treated as mute.
This results in a smooth audio transition on all 16 audio channels. Each audio
input can also be configured for Stereo, stereo swap, mono and other styles. As
well as this any audio pair from any group can be configured to cut (splice) rather
than mix. This is guaranteed to splice correctly with Dolby-E sources assuming
that they are correctly synchronous.
The MW-3M has no audio processing ability. This will simply pass all the vertical
and horizontal data (including the audio) unprocessed. The data in blanking is
passed at the end of each transition.
2.5 Audio Preview output.
The audio on the preview channel will always be the “other” input that is not on
air. The preview audio is unprocessed and is spliced with the video from source
to source.

- 11 -
eyeheight
Unit 34 Park House Watford Business Park Greenhill Crescent Watford Herts GB WD18 8PH
Reg. No. 2855535 Telephone: +44 (0) 1923 256 000 Fax: +44 (0) 1923 256 100 email: eyesa[email protected]
3Menu Control of the MW-3EM
All GeNETics products are controlled using a generic menu system. This generic
menu system is operated from a generic panel (Flexipanel FP-9 or FP-10). An
FP-9 is shown below (An FP-10 has the same controls in a different layout style).
For information about acquiring processor cards for control on a Flexipanel see
the etherbox manual section 4.
3.1 Flexipanel controls.
Figure 7 Flexipanel (FP-9) controls.
3.1.1 Device Buttons.
There are 8 grey device buttons. These switch between the currently selected
processing cards installed in the etherbox. It is also possible to select cards in
another chassis if the I-Bus is connected to the other chassis.
3.1.2 Menu Navigation.
There are two ways to navigate from menu to menu.
1. Using the NEXT ane PREV buttons. These are for “Flat” menu structures.
The NEXT and PREV LEDS will flash while further menus are available.
2. Using a GOTO ANOTHER MENU LCD button (as below coloured orange).
This is more common and will take you straight to a relevant set of menus.
Examples are the Play and UTILS menu’s shown on Figure 8.
GOTO
ANOTHER
MENU
SINGLE
PARAMETER
ADJUSTMENT
DOUBLE OR
TRIPLE
PARAMETER
ADJUSTMENT
INFORMATION
DISPLAY
Figure 8 Types of menus showing their characteristic colours

- 12 -
eyeheight
Unit 34 Park House Watford Business Park Greenhill Crescent Watford Herts GB WD18 8PH
Reg. No. 2855535 Telephone: +44 (0) 1923 256 000 Fax: +44 (0) 1923 256 100 email: eyesa[email protected]
3.1.3 Parameter adjustment of a green menu.
A green menu is one in which there is only one adjustable parameter. There are
two ways to adjust the parameter in a green menu.
1. Press the green LCD button. This will increment the value in that window.
This is most frequently done when the menu parameter is Textural for
example switching a parameter between ON and OFF. In this case a
button press is most natural.
2. Use the Rotary digipot (A,B,C or D) to adjust the parameter in the
respective LCD window (A,B,C or D). The direction and speed of rotation
enable numeric values to be set easily.
3.1.4 Parameter adjustment of a red menu
A red menu is one in which there is two or three adjustable parameters. In this
case it is necessary to first select the menu by pressing the red button. When the
red button is pressed it will turn green and either two or three of the rotary digipot
LEDS will flash indicating that the respective rotary digipot will operate the
respective parameter.
3.1.5 Information display
A Yellow menu (Which on most panels does look a light orange!) is one in which
only information is displayed. An example of this is the software version display.
3.2 Memories
3.2.1 User Memories
The user memories are a generic feature of all eyeheight geNETics products. Six
of these are included in the MW-3EM. Parameters as shown in the RED menu
numbers are saved.
3.2.2 User Memories change for each line standard
It is important to realise that although there are 6 user memories, each of these
user memories is dependent of the line standard being used. There are 4 generic
line standards recognised. These are 625i, 525i, 720p and 1080i. Each of these
line standards has there OWN set of 6 memories. This can cause confusion but it
is usually a very helpful feature as parameters have different ranges in different
line standards.
3.2.3 Remembering setups on power up.
The eyeheight memory system also has a “Power on” Memory. If the user
requires a particular setup upon power up then this setup MUST be stored in the
power-on Memory. Like the User Memories, the power-on memories are
dependent on line standard. There are 4 generic line standards recognised.
These are 625i, 525i, 720p and 1080i. Each of these line standards has it’s OWN

- 13 -
eyeheight
Unit 34 Park House Watford Business Park Greenhill Crescent Watford Herts GB WD18 8PH
Reg. No. 2855535 Telephone: +44 (0) 1923 256 000 Fax: +44 (0) 1923 256 100 email: eyesa[email protected]
power-on memory. To store a setting in a power on memory ensure that the
appropriate line standard is being applied to the BG input to the device, then
adjust the settings as required for power-on, then Navigate to the “Save As
Power-On Memory” menu. (UTILSSETUPMORERESETSSET AS POW-
ON MEM.)
3.2.4 Naming User Memories
The user memories can be named with up to 6 characters. To do this plug in a
PS-2 Keyboard into a Flexipanel and select the appropriate processor card with a
device button. (See Figure 8 for connector location). To name memory 1,
“TXroom”
1. Hit F9 function key. The LCD displays will change to text entry mode
2. Type “M01:TXroom” and then press enter.
3. You may get a “not acknowledged” message, this does not matter.
Other memories can be named in the same way but changing the 01 to another
memory number.
3.3 Tamper Locking the MW-3EM.
The user can lock specific menus or all the menus on the MW-3EM so that it
cannot be adjusted with a manual control panel. This does not effect automation.
To do this plug in a PS-2 Keyboard into a Flexipanel and select the appropriate
processor card with a device button. (See Figure 8 for connector location). To
lock only menu 8 (Transition type)
1. Hit F9 function key. The LCD displays will change to text entry mode
2. Type “L08:” and then press enter.
A padlock symbol will appear on the menu and it cannot be adjusted. To unlock
menu 8, type “A08:” as step 2 above. Other menus are done in the same way
To lock the whole product type “L:” as step 2 above and to unlock the whole
product type “A:” as step 2 above.
3.4 GPI/Tally Set-up.
3.4.1 On-Board GPI’s
The MW-3EM is a geNETics product. The geNETics system uses generic
Input/Output cards which have 3 GPI’s and one Tally output. These have been
used in this system as opportunistic GPI’s which may be of use to the user. They
do not provide a comprehensive GPI control but may be used as part of a GPI
solution in conjunction with the GPI’s on the etherbox.
The operation of these is explained in the table below.

- 14 -
eyeheight
Unit 34 Park House Watford Business Park Greenhill Crescent Watford Herts GB WD18 8PH
Reg. No. 2855535 Telephone: +44 (0) 1923 256 000 Fax: +44 (0) 1923 256 100 email: eyesa[email protected]
Table 1 - On-Board GPI settings
GPI
Effect
1
Momentary activation to Ground >50mS will cause a TAKE to the
“A” side of the mixer.
2
Momentary activation to Ground >50mS will cause a TAKE to the
“B” side of the mixer.
3
Momentary activation to Ground >50mS will cause a TAKE to the
“Other” side of the mixer. (If PGM on “A” it will go to “B”)
0=Short to ground or logic 0V, 1=Pulled up internally or logic +3+12V
3.4.2 On-Board Tally
The single tally output simply indicates “Low” (Transistor activated) when the “B”
side is on-air. Otherwise it indicates “HIGH”.
3.5 Configuring tallies on the etherbox.
The MW-3EM can make use of the three configurable tallies on the etherbox
chassis. The etherbox chassis has three usable tallies. These are numbered
tallies 11,12 and 13. Set up these menus for the box number and tally number for
A channel and B channel inputs of the mixer on menu number 45. If you do not
wish to use a tally set the box number to 0. Refer to the etherbox manual for
interface information.
3.6 The MW-3EM Menu Set.
Menus 00-03 Top Level Menus
Menu Num.
Heading
Automation
Function
00
PLAY
none
Go To the main Play menus (4-7)
01
VIDEO
none
Go To the main Video menus (8-23)
02
AUDIO
none
Go To the main Audio menus (108-127)

- 15 -
eyeheight
Unit 34 Park House Watford Business Park Greenhill Crescent Watford Herts GB WD18 8PH
Reg. No. 2855535 Telephone: +44 (0) 1923 256 000 Fax: +44 (0) 1923 256 100 email: eyesa[email protected]
03
UTIL
none
Go To the main Utility menus (36)
Menus 04-07 PLAY Menus
PROGM
A
PRSET
B
BACK
TAKE
Menu Num.
Heading
Automation
Function
04
TAKE
1=take B
2=take A
This Causes the Auto Transition to
occur.
05
PROGM
0=In A
1=In B
2=Matte
3=Black
This Shows the currently selected
“On-air” Source. A,B matte or black
(matte and black are internal sources)
06
PRSET
0=In A
1=In B
2=Matte
3=Black
This Shows the Next selected “On-air”
Source. A,B matte or black
(matte and black are internal sources)
07
BACK
none
Go To the Top Level Menus
Menus 08-11 VIDEO Transition Set-up Menus (NEXT for more)
TIMES
Tr=25F
Hd=25F
BACK
TRANS:
WIPE
Menu Num.
Heading
Automation
Function
08
TRANS
0=Mix
1=Wipe
2=Cut
3=Cut-Cut
4=Cut-Fade
5=Fade-Cut
6=Fade-Fade
This sets the transition type between
Mix, Wipe and Cut and “U” and “V”
fade types. “U” and “V” fades
Transition to either “Black” or “Matte”
and then “Hold” for a period before
then transitioning to the Preset
Source.

- 16 -
eyeheight
Unit 34 Park House Watford Business Park Greenhill Crescent Watford Herts GB WD18 8PH
Reg. No. 2855535 Telephone: +44 (0) 1923 256 000 Fax: +44 (0) 1923 256 100 email: eyesa[email protected]
09
TIME
Menu Level “A”
1-200
Menu Level “B”
1-200
Press this button and the two digipots
indicated by the lit LED’s will change
the transition time (in fields - Tr) and
the Hold time (in fields –Hd). The
Hold time is the time that the “U” and
“V” fades stay on Black (Or Matte).
10
WIPE
(Pattern)
0=Vertical
1=Horiz
2=Vert Curtain
3=Horiz Curtain
4=Diagonal
5=Diamond
6=Arrow Left
7=Arrow Up
This shows a representation of the
shape of the currently selected Wipe
Transition.
11
BACK
none
Go To the Top Level Menus
Menus 12-15 VIDEO Transition Set-up Menus (NEXT/PREV to navigate)
BORDER
SIZE
=10
COLOUR
DEPTH
=50%
BACK
BORDER
=SOFT
Menu Num.
Heading
Automation
Function
12
BORDER
0=Off
1=Soft
2=Colour
3=Soft&Col
This selects the Type of Border on the
Wipe edge between; No Border, Soft,
Coloured and Soft and coloured.
13
BORDER
SIZE
1-49
This sets up the Wipe Border Size
between “1” (min) and “49”, (max)
14
COLOUR
DEPTH
0-511
This represents the amount of colour
in the border when the “Soft and
coloured” border option is selected.
(0-100%)
15
BACK
none
Go To the Top Level Menus
Menus 16-19 VIDEO Transition Set-up Menus (NEXT/PREV to navigate)
L=50%
H=112d
S=50%
MANUAL
TRAN
=0%
BACK
BORDER
COLOUR
--->
Menu Num.
Heading
Automation
Function

- 17 -
eyeheight
Unit 34 Park House Watford Business Park Greenhill Crescent Watford Herts GB WD18 8PH
Reg. No. 2855535 Telephone: +44 (0) 1923 256 000 Fax: +44 (0) 1923 256 100 email: eyesa[email protected]
16
BORDER
COLOUR
NONE
Points to adjacent menu for
information only.
17
L=
H=
S=
Menu Level “A”
0-255 (L)
Menu Level “B”
0-255 (H)
Menu Level “C”
0-255 (S)
Press this button and the three
digipots indicated by the lit LED’s will
change the Luma, Hue and Saturation
of the border colour.
18
MANUAL
TRAN
0-799
This will manually move the Transition
point between PGM and PST.
(0-100%)
19
BACK
none
Go To the Top Level Menus
Menus 20-23 VIDEO Transition Set-up Menus (PREV for less)
L=50%
H=112d
S=50%
HOLD
TO
Black
BACK
MATTE
COLOUR
--->
Menu Num.
Heading
Automation
Function
20
MATTE
COLOUR
none
Points to adjacent menu for
information only.
21
L=
H=
S=
Menu Level “A”
0-255 (L)
Menu Level “B”
0-255 (H)
Menu Level “C”
0-255 (S)
Press this button and the three
digipots indicated by the lit LED’s will
change the Luma, Hue and Saturation
of the Matte colour.
22
Hold To
0=Black
1=Matte
This is the “Intermediate” source for
the “U” and “V” Fades
23
BACK
none
Go To the Top Level Menus
Menus 24-35 Hidden AUDIO Set-up Menus for automation only.

- 18 -
eyeheight
Unit 34 Park House Watford Business Park Greenhill Crescent Watford Herts GB WD18 8PH
Reg. No. 2855535 Telephone: +44 (0) 1923 256 000 Fax: +44 (0) 1923 256 100 email: eyesa[email protected]
Menus 36-39 Utility Menus Nested Menus
Menu Num.
Heading
Automation
Function
36
Preview
none
Go To preview output menus (40-43)
37
Set-up
none
Go To system set-up menus (44-47)
38
Memories
none
Go To memory menus (48-51)
39
Back
none
Go To the main Utility menus (0-3)
Menus 40-43 Utility Menus: Safe Area Gen
<-SACT
<-16:9
<-Thin
16s
BACK
SAFE
ACTION
ON
Menu Num.
Heading
Automation
Function
40
SAFE
ACTION
None
This Switches on and off the currently
selected area. Pressing the "Red"
switch next to this one and adjusting
the rotary digipots with the lighted
green LED's chooses the Selected
area.
41
None
Menu
Level “A”
0=S.Action
1=S.Capt.
2=DigEdge
3=An Edge
Menu
Level “B”
0=4:3
When this button is pressed to
"Green". The Three-line display in the
window indicates the three options,
which can be changed by adjusting
the three rotary digipots A, B and C.
Digipot A
Determines the basic Function
Selects "Safe Action" option
Selects "Safe Caption" option
Selects "Digital Edge" option
Selects the "An. Edge" option
Digipot B
Determines the Screen Format
Standard 4:3 Screen

- 19 -
eyeheight
Unit 34 Park House Watford Business Park Greenhill Crescent Watford Herts GB WD18 8PH
Reg. No. 2855535 Telephone: +44 (0) 1923 256 000 Fax: +44 (0) 1923 256 100 email: eyesa[email protected]
1=16:9
2=16p4:3
3=16p149
4=43p16:9
Menu Level “C”
0=Thin
1=Thick
2=Shade
3=Black
Standard 16:9 Screen
16:9 Shoot to protect 4:3
16:9 Shoot to protect 14:9 (*)
4:3 Shoot to protect 16:9 (*)
(*) -- Not available in 525
Digipot C
Determines the Style of Indicate
Thin White lines are used
Thick White lines are used
Shade is used for "danger area"
Black is used for "danger area"
42
<Number>
This is a Timecode seconds count for
timecode triggered automation. This
records the “seconds” on the VITC on
the reference input. This is only
relevant in a Playout Compact
system.
43
BACK
none
Go To the Top Level Menus
Menus 44-47 Utility Menus: Timing, EDH and S/W version
Chan A
Box=1
Tal=11
More
BACK
Timing
=864Px
=0 Ln
Menu Num.
Heading
Automation
Function
44
Timing
Menu Level “A”
0-1439
Menu Level “B”
0-624
Press this button and the
two digipots indicated by
the respective LED’s will
cause modification to the
Pixel Timing (37nS per
step) and Line Timing
(64uS per step)
45
These are
always
remembered
on power
up.
External
Tally
Set-Up
Not Usable
This unit can activate an
external Tally on the FB-9E
etherbox. The meaning of
this set-up is explained in
the section 3.5
“Configuring tallies on the
etherbox.”
46
More
none
Takes you to the Resets
and Software upgrade
menus. Go to menu 136

- 20 -
eyeheight
Unit 34 Park House Watford Business Park Greenhill Crescent Watford Herts GB WD18 8PH
Reg. No. 2855535 Telephone: +44 (0) 1923 256 000 Fax: +44 (0) 1923 256 100 email: eyesa[email protected]
47
BACK
none
Go To the Top Level
Menus
Menus 48-51 Utility Menus: Memories (NEXT for more)
MEM2
------
------
MEM3
------
------
BACK
MEM1
------
------
Menu Num.
Heading
Automation
Function
48
MEM1
1=Recall
Pressing this will recall Memory
number 1.User Names can be
programmed in to the memories using
a keyboard. See “geNETics User
guide”, section “Giving product
Memories names”
49
MEM2
1=Recall
Pressing this will recall Memory
number 2.
50
MEM3
1=Recall
Pressing this will recall Memory
number 3.
51
BACK
none
Go To the Top Level Menus
Menus 52-55 Utility Menus: Memories (NEXT/PREV to navigate)
MEM5
------
------
MEM6
------
------
BACK
MEM4
------
------
Menu Num.
Heading
Automation
Function
52
MEM4
1=Recall
Pressing this will recall Memory
number 4.
53
MEM5
1=Recall
Pressing this will recall Memory
number 5.
54
MEM6
1=Recall
Pressing this will recall Memory
number 6.
55
BACK
none
Go To the Top Level Menus
Table of contents
Other Eyeheight Music Mixer manuals
Popular Music Mixer manuals by other brands

Roland
Roland V-mixing station VM-3100 owner's manual

Midas
Midas XL3 user manual

Air Comm Systems
Air Comm Systems ACS 300A-101 Installation and operation manual

Stanton
Stanton RM-22 owner's manual

Electro-Voice
Electro-Voice STEREO POWERED MIXER PSX1000 Service manual

Philips
Philips CD 6660 Instructions for use