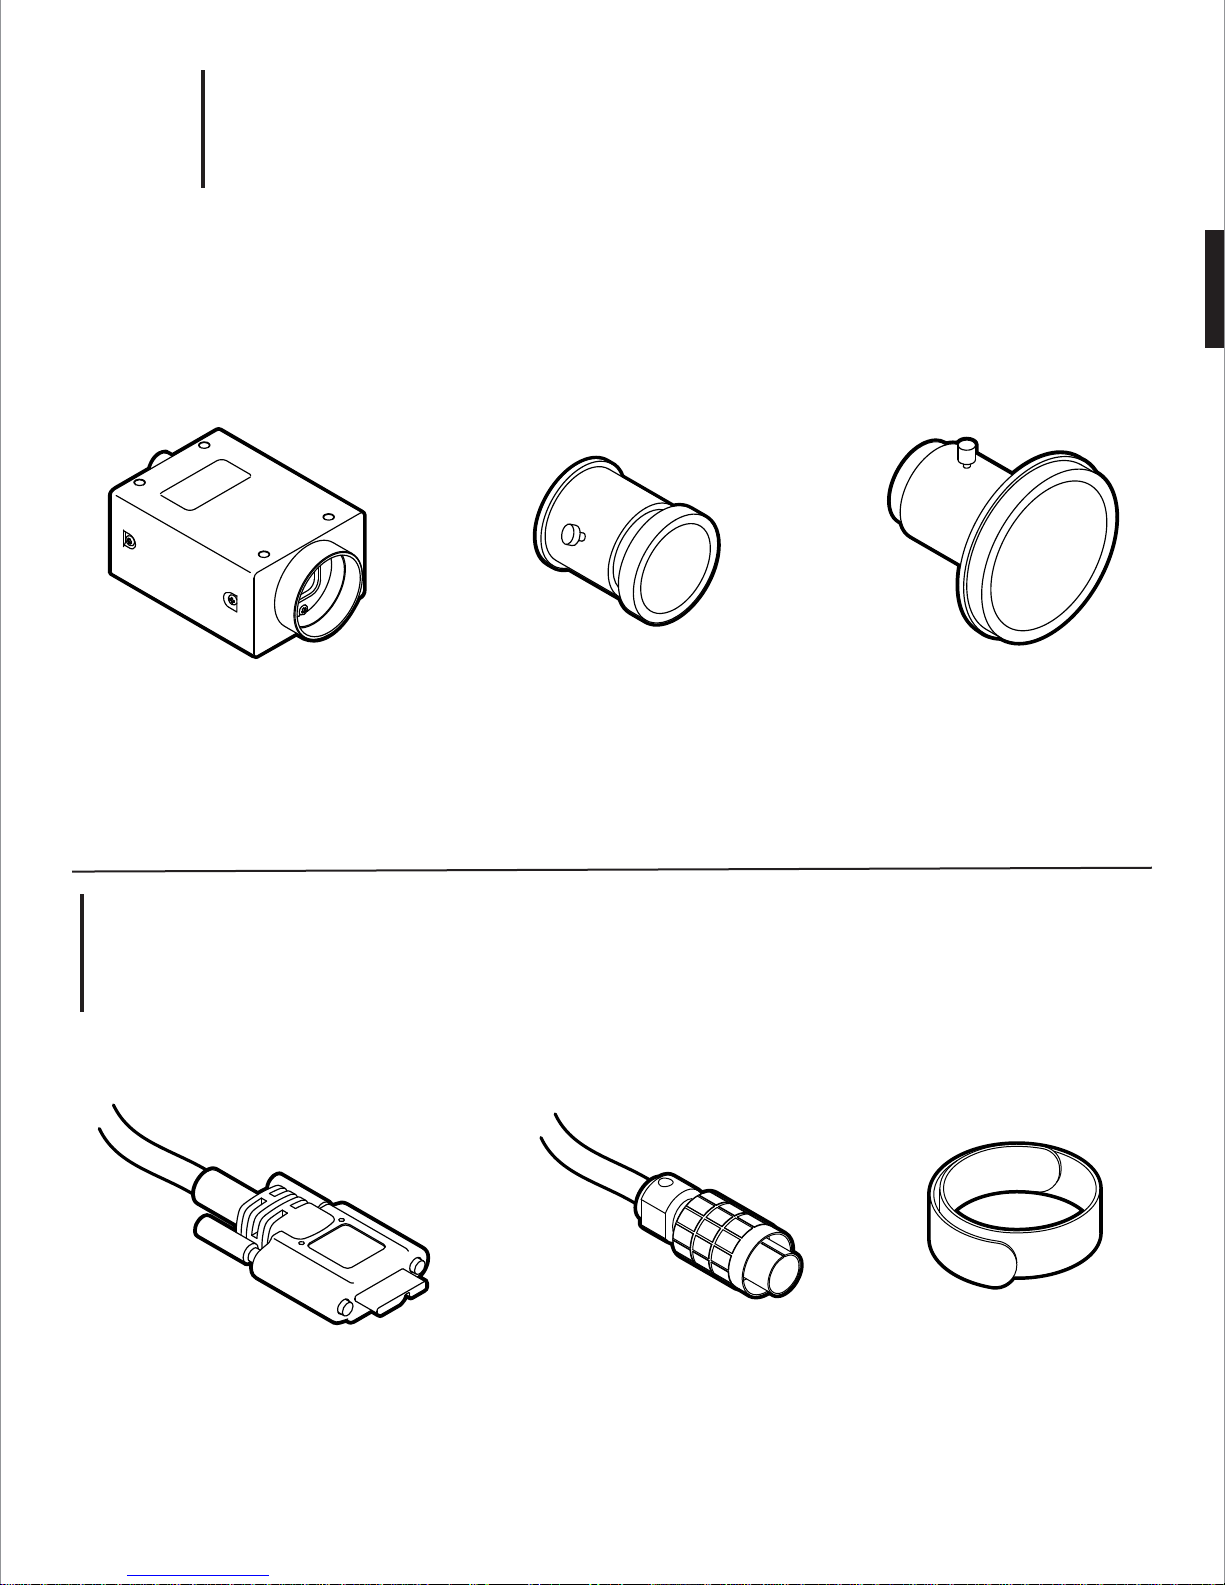
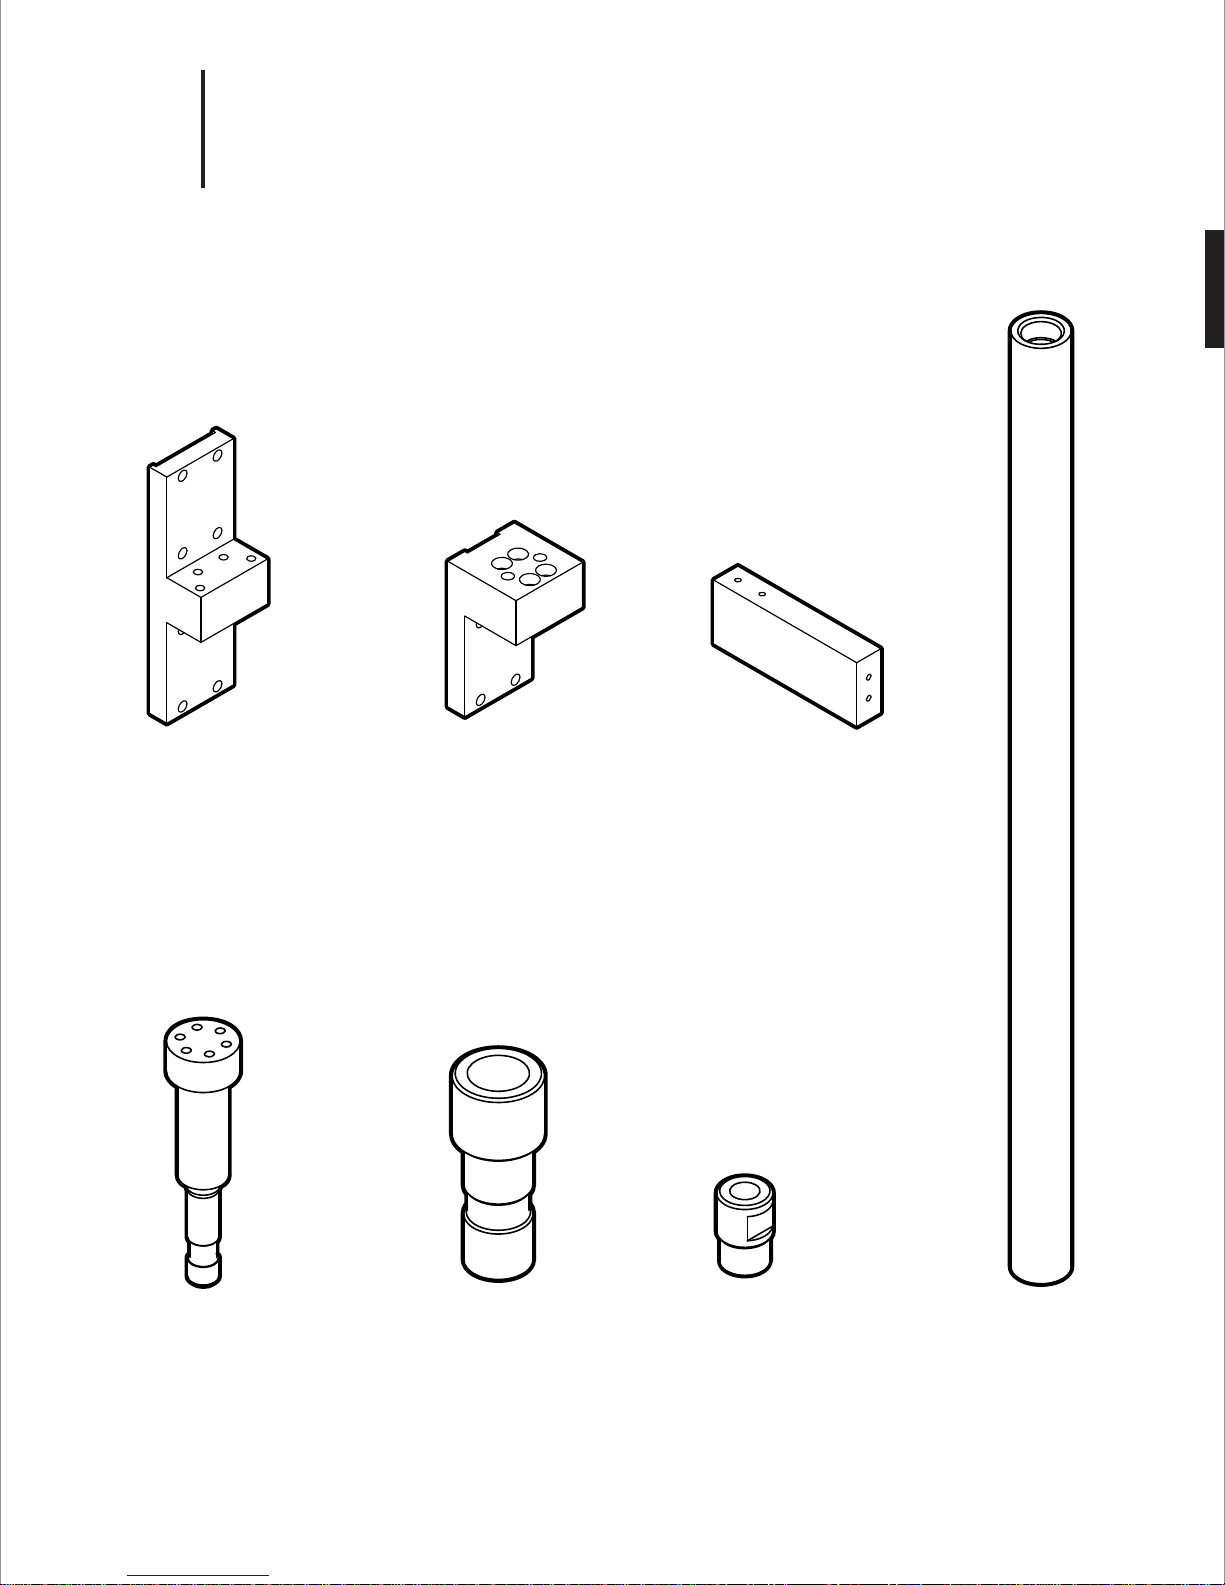
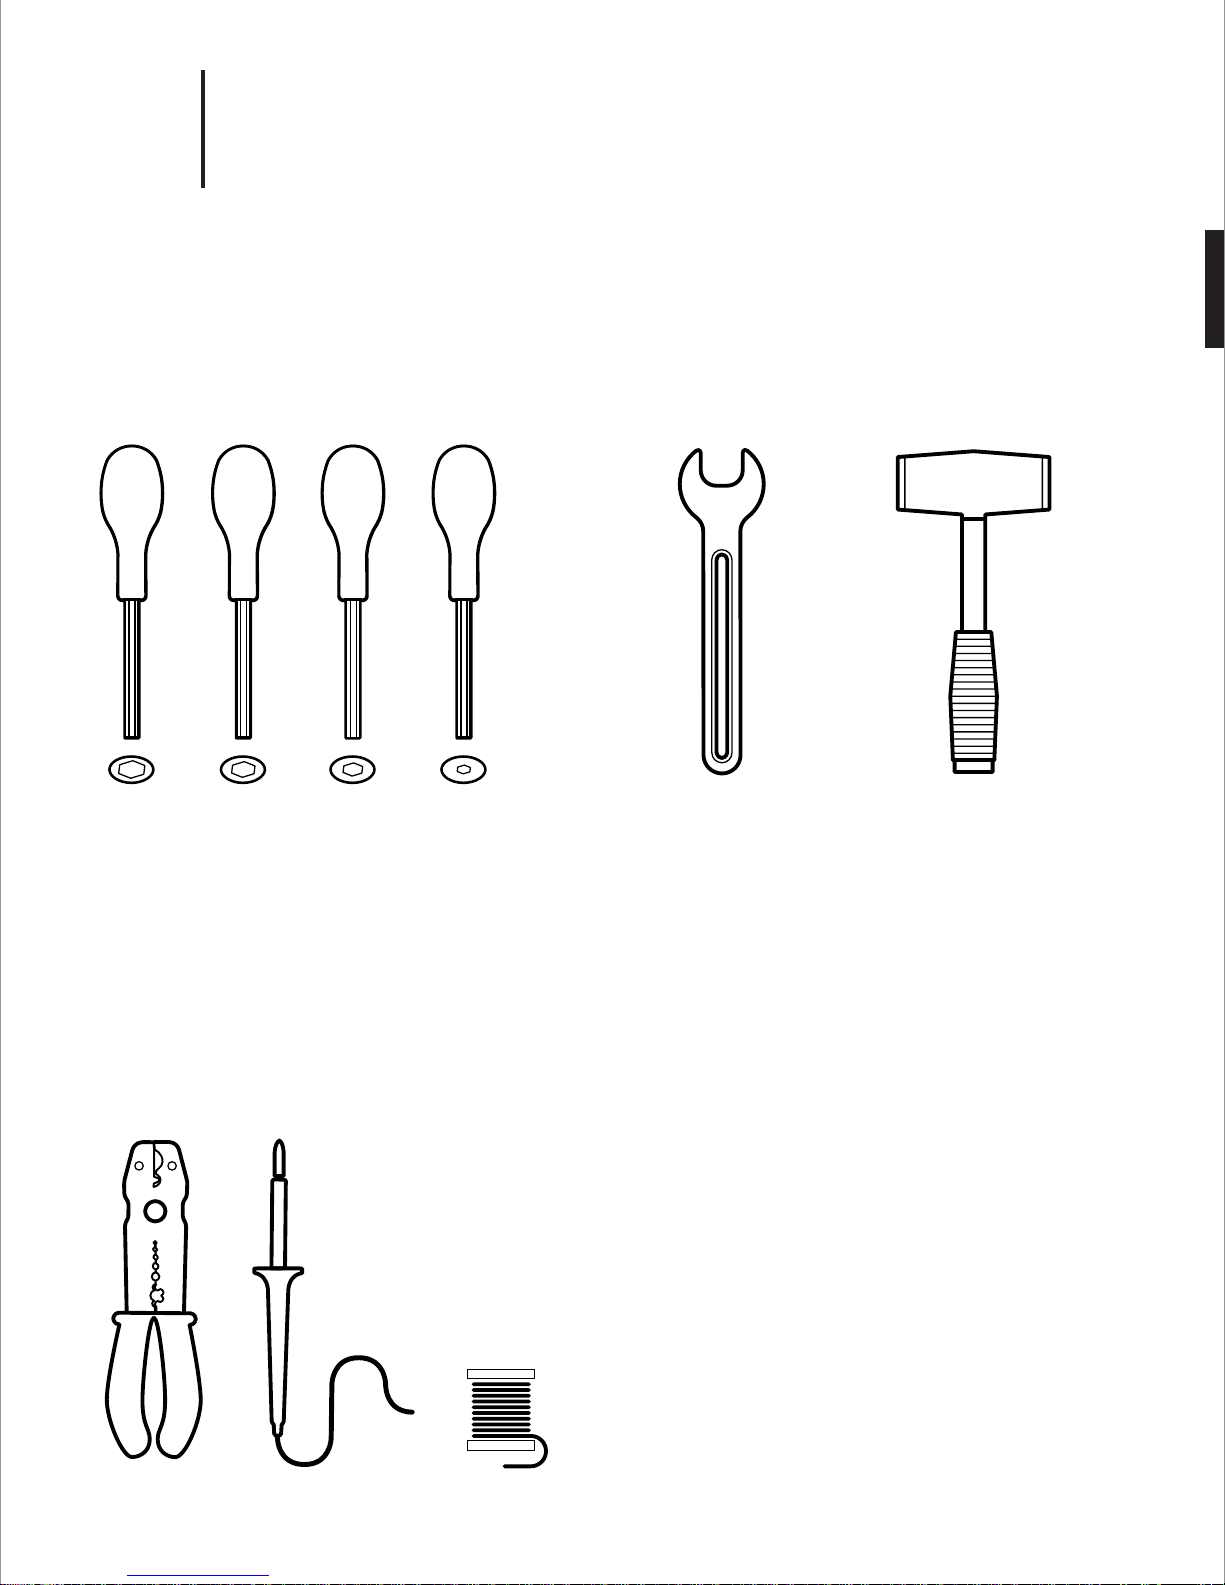
Facebook Surround 360 User manual


Parts List
1. 1 - 9
Table of Contents
Before You Start
2. 1 - 6
Camera Assembling Instructions
3. 1 - 18
Camera Info
4. 1 - 2
System Set Up Instructions
5. 1 - 7
Pro Tips
7. 1 - 5
System Specifications
8. 1 - 2
Capturing & Rendering Instructions
6. 1 - 6

1
Parts List

17x
17x 17x
3x14x
Camera Fisheye Lens
(FB360_V1_06)
Wide-Angle Lens
with custom focusing barrel
(FB360_V1_05, _33)
Point Grey GS3-U3-41C6C-C
Fujinon FE185C086HA-1
Sunex DSL318B-650-F2.4
OPTIONAL:
M3 brass jam nuts (14x)
OPTIONAL:
M2 thread, 0.4mm pitch, 20mm long
replacement screw
USB Cable GPIO Cable
(FB360_V1_05, _33)
Velcro Straps
Type A to Micro-B
Hirose HR25 circular connector, 8 pins
Camera & Lenses
1.
1
Wiring
2.

1x 1x
Top Cover
(FB360_V1_30)
Bottom Cover
(FB360_V1_29)
mild steel,
painted finish mild steel,
painted finish
1x 1x
Top Plate
(FB360_V1_22)
Base Plate
(FB360_V1_21)
1/4˝ thick Mic-6 aluminum,
black anodize finish 3/8˝ thick Mic-6 aluminum,
black anodize finish
Machined Parts
3.
1

1x 1x
1x
14x
Upright
(FB360_V1_23)
6061 aluminum,
black anodize finish
Camera Bracket
(FB360_V1_24)
6061 aluminum,
black anodize finish
Shell Support
(FB360_V1_28)
6061 aluminum,
black anodize finish
1x 1x 1x
Post
(FB360_V1_25)
1144 carbon steel,
black oxide finish
Adapter
(FB360_V1_27)
1144 carbon steel,
black oxide finish
Stop Nut
(FB360_V1_31)
Brass
Support Tube
(FB360_V1_26)
4130 CR tubing,
black oxide finish
Machined Parts
4.
1

M3 Flanged
Button-Head
Socket Cap Screw
Black-oxide,
M3 thread, 10mm length,
0.5mm pitch
M3 Socket-Head
Cap Screw
Type 18-8 stainless steel
M3 thread, 6mm length,
0.5mm pitch
152x
M3 Belleville Spring
Lock Washer
Type 18-8 stainless steel
M3 screw size
152x 28x
Steel Threaded Rod
(FB360_V1_32)
ASTM A193 grade B7 steel
5/16"-18 thread
20-1/4˝ long
fully threaded
8x
1x
Steel Rotating
Flanged Nut
Black-oxide steel,
5/16"-18 thread size
3/4" flange diameter
7/16" overall height
1x
M6 Socket-Head
Cap Screw
Type 18-8 stainless steel
M6 thread, 40mm length,
1.0mm pitch
M2 Socket-Head
Cap Screw
Type 18-8 stainless steel
M2 thread, 20mm length,
0.4mm pitch
(replace USB locking screws)
M3 Jam Nut
Brass, M3 thread size,
5.5mm Wide, 1.8mm
High
(lock nut for Sunex barrel)
2x
Optional
M6 Flat-Head Screw
Type 18-8 stainless steel
M6 thread, 50mm length,
1.0mm pitch
4x
M6 Belleville Spring
Lock Washer
Type 18-8 stainless steel
M6 screw size
16x
M6 Flat-Head Screw
Type 18-8 stainless steel
M6 thread, 14mm length,
1.0mm pitch
Hardware
5.
1

5mm
HEX 2.5mm
HEX 2mm
HEX 9/16˝
Wrench Rubber
Mallet
Wire
Cutter Soldering
Iron
Solder
Hand Tools
Wiring Tools
4mm
HEX
Tools
6.
1

Tools
7.
1
Torque Wrench
2.5mm
HEX
4mm
HEX
5mm
HEX
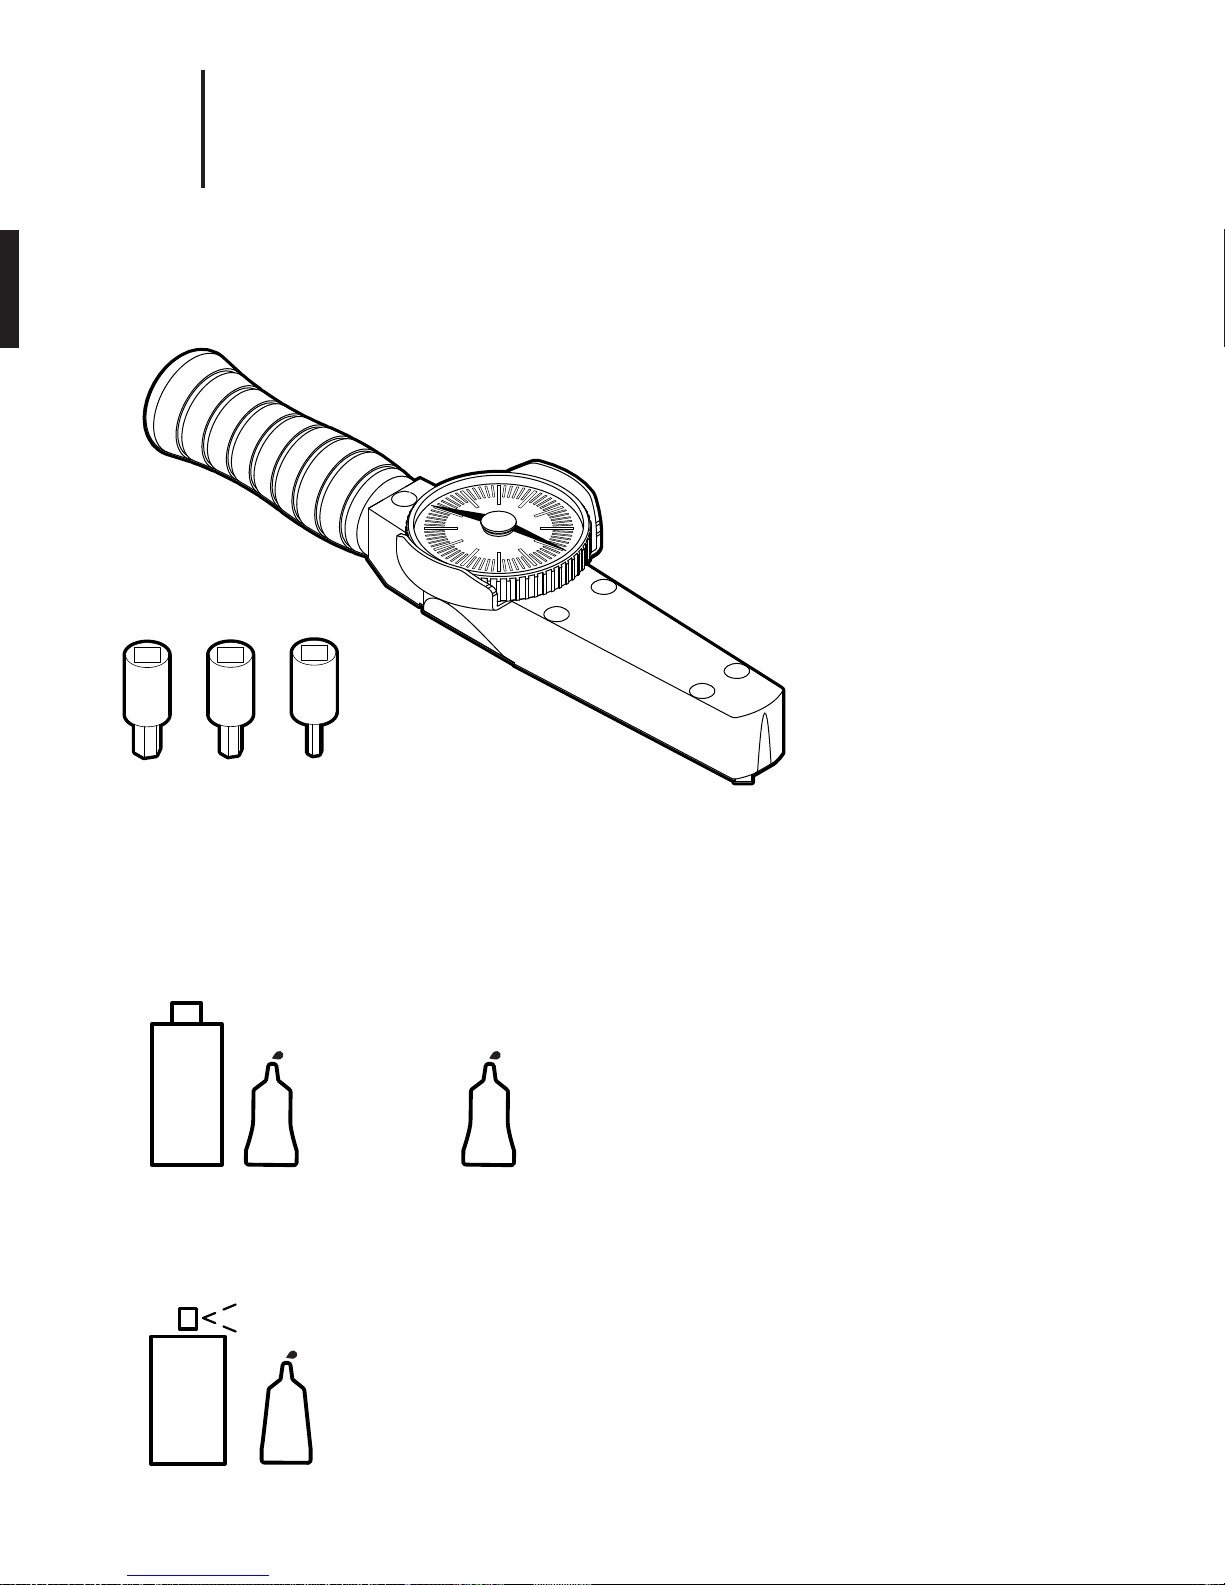
Metric 1/4" Square Drive
Hex Bit Socket
Permanent
Threadlocker
Threadlocker Instructions:
Adhesive Instructions:
1. Apply the surface activator to both surfaces.
2. Wait 20 seconds for the activator to completely dry.
3. Apply glue sparingly to one side only using approximately one
drop per square inch of surface.
4. Press parts together immediately.
5. Hold in place for 30 seconds or until bond sets.
1. Apply primer to surface of bolt and nut.
2. Apply several drops of the threadlocker onto the bolt at the nut
engagement area.
3. Assemble parts and tighten as required. Sets in approximately
10 minutes and fully cures in 24 hours.
Torque Wrench Instructions:
1. Turn the bezel until pointer is resting on zero.
2. Attach a socket or attachment to the square drive.
3. Place the socket or attachment over the fastener to be torqued.
The torque wrench handle must be perpendicular (90 degrees)
to the centerline of the drive, socket and fastener.
4. Load the torque wrench at a slow and steady rate until the pointer
indicates the desired torque.
5. Stop applying force. The pointer should return to zero.
Cyanoacrylate
Adhesive
Removable
Threadlocker
Locktite
222
Locktite
263
Locktite
324
Locktite
7075
Locktite
7649
Threadlockers & Adhesive
PURPLE
RED
GLUE
PRIMER
ACTIVATOR

1x
1x
Computer Hardware
8.
1
Camputer - Ruggedized “Lunchbox” Computer
APOLLO-A1 MODEL
- Intel Core i7-5960X Haswell-E 8-Core 3.0 GHz LGA 2011-v3*
- GIGABYTE GA-X99P-SLI (rev. 1.0) LGA 2011-v3 Intel X99 Motherboard*
- 8GB DDR4 2400 288-PIN Memory = (64GB of Memory Installed)*
- CPU COOLING FAN FOR LGA 2011-v3*
- 1GB NVIDIA PCIe x16 VIDEO CARD*
- 700 WATT POWER SUPPLY*
- 2.5" 128GB SSD*
- OPERATING SYSTEM - UBUNTU 14.04 LTS†
* Recommended
† Required
PCIe Expansion Enclosure
OSS-PCIe3-ENCL-M-CUBE3-8
Expansion Backplane
OSS-BP-452
8-bay 12G SAS RAID Tower
ARC-4038
1x
iAssembly Note
See system setup instructions for details

Computer Hardware
9.
1iAssembly Note
See system setup instructions for details
8x
1TB SSD
MZ 7KE1T0BW
1x
Shunt
Jumper
390088-1
2x 5x
PCIe x8 Gen 3 Cable Adapter
OSS-PCIe-HIB38-x8-DUAL
USB 3.0 Expansion Card
UE-1008 or UE-1004
1x
PCIe 3.0 x8 SAS RAID Adapter
ARC-1883X
2x
External 4x HD Mini-SAS Cable
SFF-8644 to SFF-8644
1x
PCIe x8 Active Optical Cable
OSS-PCIe3-CBL-ACT-x8-50M-1x

Before You Start
2

GS3-U3-41C6C-C
XXXXXXX
GS3-U3-41C6C-C
XXXXXXX
GS3-U3-41C6C-C
XXXXXXX
GS3-U3-41C6C-C
XXXXXXX
GS3-U3-41C6C-C
XXXXXXX
GS3-U3-41C6C-C
XXXXXXX
GS3-U3-41C6C-C
XXXXXXX
GS3-U3-41C6C-C
XXXXXXX
GS3-U3-41C6C-C
XXXXXXX
GS3-U3-41C6C-C
XXXXXXX
GS3-U3-41C6C-C
XXXXXXX
GS3-U3-41C6C-C
XXXXXXX
GS3-U3-41C6C-C
XXXXXXX
GS3-U3-41C6C-C
XXXXXXX
GS3-U3-41C6C-C
XXXXXXX
GS3-U3-41C6C-C
XXXXXXX
GS3-U3-41C6C-C
XXXXXXX
00
1/8” min.
01
02
03
04
05
06
07
08
09
10
11
12
13
14
15
16
Label Cameras # 00 - 16
2.
Tip:
Keep labels 1/8” min. away
from bottom of camera to clear
mounting plate
GS3-U3-41C6C-C
XXXXXXX
GS3-U3-41C6C-C
XXXXXXX
Arrange Cameras in Ascending Sequential Order (Per Serial Number)
1.
2

01
02
03
04
05
06
07
08
09
10
11
12
13
14
00
15
16
Fujinon Fisheye - # 00, 15, 16
Step 1:
Remove thumb screw
Replace Focusing Barrel of Wide-Angle Lenses (# 01 - 14)
3.
2
Mount Lenses
4.
Step 2:
Remove existing barrel
and internal spring
(counterclockwise)
Step 3:
Screw on new focusing barrel* clockwise
and tighten thumb screw
Step 4 (Optional):
Tighten optional lock nuts (M3 brass jam nuts)
* Refer to DWG FB360_V1_33
Sunex Wide-Angle - # 01 - 14
Tip:
Screw lens onto camera
clockwise till its snudge

Step 1:
Download and install FlyCapture from Point Grey (https://www.ptgrey.com/support/downloads)
Firmware Version Required: 2.23.3.0
Follow instructions in camera control README file
Step 2:
Connect camera (with lens) to PC or Linux computer
Step 3:
Set camera on a tripod about 10 feet away from chart* on wall
Step 4:
Loosen focusing thumb screw on lens and rotate focusing barrel
till image in preview pane is sharp. Zoom in when necessary
Step 5:
Tighten focusing thumb screw
(optional: add lock nut for security)
* Use ISO 12233 chart or equivalent
10´-0"
Firmware Update
5.
2
Focusing Lenses
6.

Camera # 00 (Top) = Master Camera
Camera # 01-16 = Slave C0ameras
B - Cable Lengths From Boot to Boot
A - Wiring Diagram
1
32 4
R=10K
65 7
8
1
32 4
65 7
8
1
32 4
65 7
8
1
32 4
65 7
8
1
32 4
65 7
8
3
PIN IO2 - Input/Output/Serial Transmit (TX)
IO3 - Input/Output/Serial Receive (RX)
GND - Ground for bi-directional IO, VEXT , +3.3V pins
+ 3.3V - Power external circuitry up to 150mA
4
PIN
5
PIN
8
PIN
* Refer to DWG FB360_V1_34
00 15 14 13 16 12 11 10 09 08 07 06 05 04 03 02 01
GPIO Trigger Cable
7.
2
3" effective length
from boot to boot
6" effective length
from boot to boot
10K
resistor

Camera Assembling Instructions
3

Screw Brass Nut Onto Threaded Rod
1.
3
Gluing Adapter to Tube
2.
Leaving 1/2˝ gap at
bottom of steel rod
Apply glue and
activator to tube
before sliding on
adapter
Check orientation of tube
Tip:
Tip:
Set aside to wait for threadlocker to set
Brass Stop Nut
Steel Threaded Rod
1/2˝
RED
PRIMER
22-1/4˝
Set aside to wait for threadlocker to set
Tube
Adapter
GLUE
ACTIVATOR
Locktite
263
Locktite
7649
RED
PRIMER
Locktite
324
Locktite
7075
GLUE
ACTIVATOR

Bottom Camera (#16) & Camera Bracket
3.
3
Bottom Camera (#15) & Upright
4.
2.5mm HEX
Hand tight for now,
will need to remove for wiring
Socket-Head
Cap Screw
M3, 6mm
2x
Belleville Spring
Lock Washer
M3 screw size
4x
15
Mount camera #15
normally on upright.
Use 4 M3 screws
2.5mm
HEX
2.5mm HEX
Hand tight for now,
will need to remove for wiring
Socket-Head
Cap Screw
M3, 6mm
Belleville Spring
Lock Washer
M3 screw size
Remove fisheye
lens from camera
Tip:
Mount camera #16
backward.
Use 2 M3 screws
Remove fisheye
lens from camera
Tip:
Tip:
Tip:
Table of contents