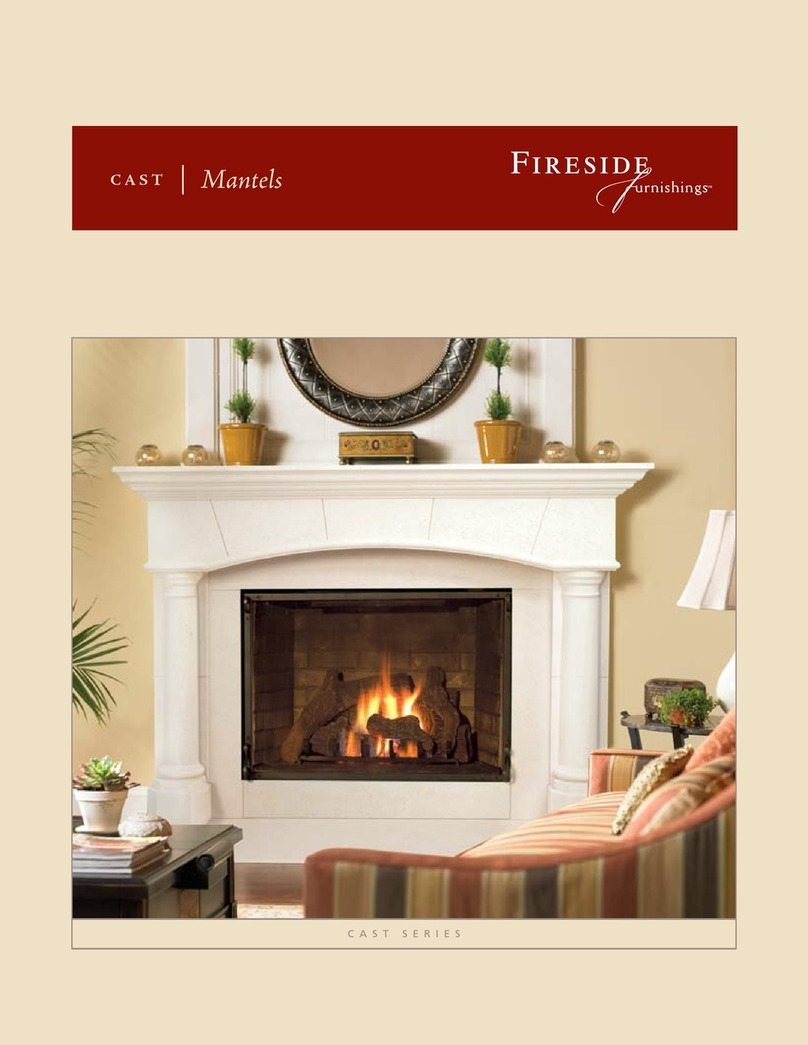
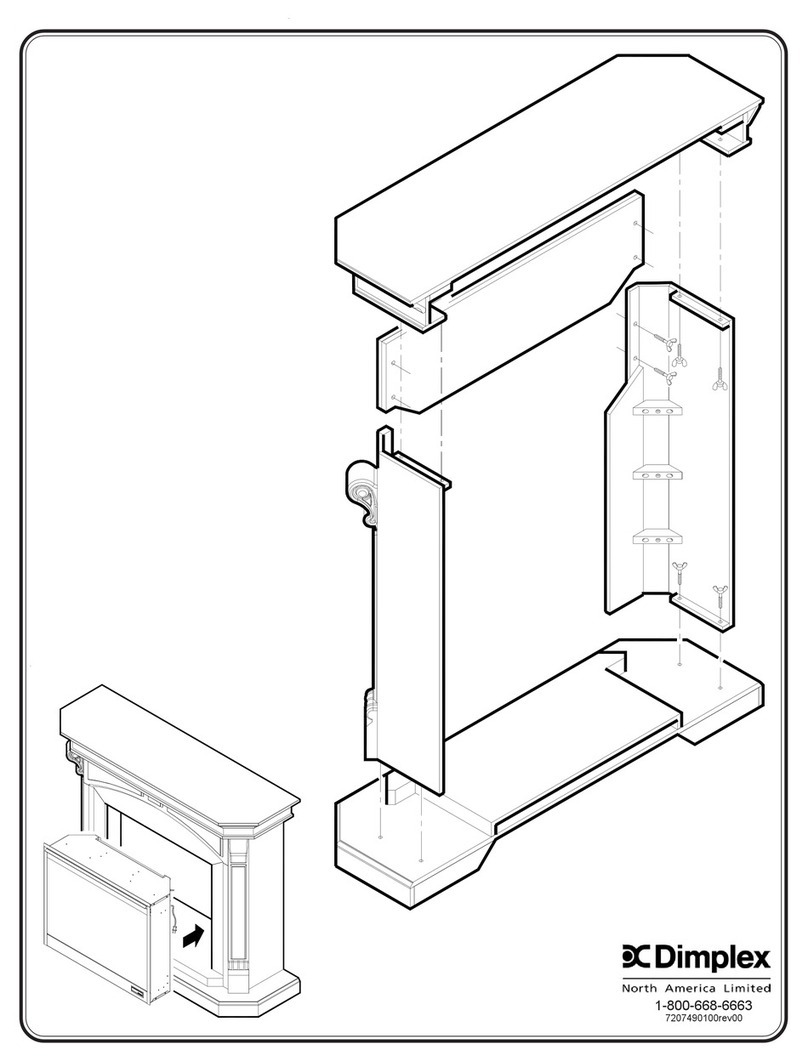
Fireside mantels & surrounds Kenwood Flush User manual

1
6200-002
REV. A
04.16.2009
www.fireplaces.com
Assembly / Installation Guide
Kenwood Flush mantel
PLEASE READ
These instructions apply only to the cabinetry and facing material that will surround the firebox.
PLEASE SEE THE FIREPLACE MANUFACTURER’S INSTALLATION INSTRUCTIONS TO ENSURE THAT ALL CLEARANCE AND
INSTALLATION REQUIREMENTS ARE BEING MET.
Notice !! Warning !!
For field finishing the following
two products have been
approved for use on this
product:
1. Lacquer - Sherwin Williams
“Wood Classics A68F90”.
2. Paint - Sherwin Williams
“Duration Home A98W151
Interior Latex Paint”.
All other products may result
in discoloration or undesired
results.
• Improper installation,
adjustment, can cause injury
or property damage. For
assistance or additional
information, consult a
qualified installer, service
agency, or the gas supplier.
• Comply with all minimum
clearances to combustibles
as specified in firebox manual.
Failure to comply may cause
house fire.
Kenwood mantel with optional base.
Note: Using the base will raise the fireplace by 9-1/4” above
finished floor level. All dimensional requirements of fireplace
installation should be ajusted accordingly.
Kenwood mantel without optional base.

2
6200-002
REV. A
04.16.2009
www.fireplaces.com
BeforeBefore
BeforeBefore
Before
you staryou star
you staryou star
you startt
tt
t
The walls and floor in the area of the installation should be clean, plumb and
level. Any major deviation should be remedied before installing the fireplace,
marble or the mantel /cabinet.
a. Is base molding already installed?
b. Where are the electrical outlets or firebox switch?
c. Is there enough distance between windows and edge of cabinet?
d. Is the fireplace centered between walls?
e. Return air vent location?
f. Is the fireplace centered between windows?
g. Where are the electrical & cable outlets positioned?
h. Is there hardwood or carpet going in?
Above is a diagram of issues that may prevent an installation of wood products around a firebox:
Parts List and Diagram
MANTEL PARTS:
1 Top assembly (a)
1 Left leg assembly (b)
1 Right leg assembly (c)
3 Left, right, top scribe molding (d)
1 Hearth base (optional) (e)
8 Cams (installed) (f)
4 Double head pins
(installed) (g)
4 Wooden dowels (installed) (h)
4 16D Finishing nails (not shown)
9 4D Finishing nails (not shown)
fgh
Tools and supplies needed:
- #2 Philips screwdriver
- Carpenter’s level
- Tape measure, pencil
- Construction adhesive
- Shim material
- Portable drill
- 1/16” and 3/32” drill bits
- Flat head screwdriver
- Hammer
- High temp. silicon adhesive
- Stud finder
- nail set

3
6200-002
REV. A
04.16.2009
www.fireplaces.com
Assembly steps
Position the top assembly (a) of mantel upside down on a flat,
clean, non-abrasive surface. If scribe molding (d) was shipped
attached to the leg and breast board, remove it before begin-
ning assembly. Pry gently from the rear with a flat screwdriver.
Attach one leg assembly (B) to breastboard assembly by
inserting dowels and cam pin into matching holes on ends of
breastboard. Before inserting, make sure that the arrow on the
cam in breastboard points toward the edge of board as shown in
inset. (Dowels and cam pins are shipped pre-inserted in the
end of the leg assembly.)
Push down on the leg until dowels are fully inserted into the
breastboard and there is no gap between leg and breastboard.
Using a philips screwdriver, turn the cams in breastboard clock-
wise until snug. Do not rely on the cam to pull the two together.
Do not over-tighten, as too much torque can break the cam.
Repeat the last two steps for the other leg. Your mantel is now
assembled, except for the scribe, which will be re-attached
after the mantel is permanently fixed to the wall.
Make sure the fireplace is installed according to local
codes.
In order to use the optional hearth base, the bottom of the
fireplace must have been installed 9-1/4” above the finished
floor level. A good way to verify the vertical location of the
fireplace is to place the hearth base in front of the fireplace.
Once the base is in proper position, 1/4” of lower fireplace
surround will be exposed above the top surface of the base.
1. 2.
3. 4.

4
6200-002
REV. A
04.16.2009
www.fireplaces.com
Also check the outer edge of mantel where it fits against the
wall to see that there are no excessively large gaps. Small gaps
will be filled later with caulk. Any large gaps (more than 3/16”)
may require that you trim the mantel return to conform to the
irregularities in the wall, or that you consider straightening the
wall before you install the mantel.
The method used for fastening your mantel to the wall may vary
depending on your situation. Mantels can be nailed, glued,
screwed (preferably with finish-head screws), attached with
brackets of various types.
The most common method is to nail through the top of the
mantel into studs in the wall. That method will be explained
here.
Install optional hearth base. Position and center the base in the
front of the fireplace. Secure the base using construction adhe-
sive or finishing nails. If using finishing nails, use a stud finder or
other method, locate at least two studs in the wall above the base.
Push the base tightly against the wall, drill 3/32” pilot holes at a
45 degree angle down through the top, as shown in above.
Using 16d finish nails, nail the base to the wall. Use a nail set
to set the nail head below surface of the top, and fill the result-
ing hole with an appropriate filler.
Using a stud finder or other method, locate at least two studs in
the wall above the fireplace. Holding the mantel tightly against
the wall, drill
3/32” pilot holes at a 45 degree angle down through the top of
the shelf, as shown in above.
Using 16d finish nails, nail the mantel to the wall. Use a nail set
to set the nail head below surface of mantel, and fill the result-
ing hole with an appropriate filler.
If the mantel requires nailing at the legs, repeat the drilling and
nailing process at a location where there is a stud or other
backing in the wall.
[Alternate method if you choose not to use nails in your new
mantel: Carefully mark the correct position of the mantel on
the wall. Remove mantel from the wall and run a bead of
silicone along the rear edge of return and top where it contacts
the wall, all the way around. Press mantel firmly against the
wall being careful to locate it properly with the marks you made.
Hold the mantel against the wall with diagonal braces or other
means until the silicone is set.]
5. 6.
7. 8.
Install non-combustible facing material such marble, granite, tile
using High Temp. adhesive.
Have someone hold the mantel tightly against the wall while you
view it from all sides to make sure everything is fitting properly
and that visible portions of marble legs are equal. The inner
edge of the mantel should lap the outer edge of the surround
material around the firebox. Remember that the scribe will
close the gap between mantel and stone and cover another
1/2” of the stone once it is installed.

5
6200-002
REV. A
04.16.2009
www.fireplaces.com
9. 10.
Caulk the mantel to the wall all the way around, using a caulk
that matches your mantel color. This will eliminate any remain-
ing gap between mantel and wall.
11.
Cut scribe to
fit stone.
If using a hearth that fits between the leg opening, cut the scribe
to allow for stone height between the legs. Place the scribe molding
as shown above, positioning it so that it just contacts the non-
combustible surround. Be careful not to hit the facing material
when nailing the scribe in place. No cutting is needed if hearth
exceeds mantel legs.
CAUTION: ALDER IS A HARD WOOD AND PRONE TO
SPLITTING. IF THIS MANTEL IS MADE FROM ALDER
IT IS RECOMMENDED TO PREDRILL 1/16” HOLES ON
THE INSIDE SCRIBE PIECES PRIOR TO ATTACHING
THEM TO THE MANTEL TO AVOID SPLITTING.
Attach the scribe, making sure it is pushed back against noncom-
bustible facing. Nail with 4D finishing nails (provided), breast board
first. Be careful not to hit the stone as you nail the scribe in place.
Protect the stone with a piece of corrugated cardboard held or
taped between stone and hammer as you nail.
YOUR INSTALLATION IS COMPLETE.

6
6200-002
REV. A
04.16.2009
www.fireplaces.com
Fireside Furnishings, a brand of Hearth & Home Technologies, Inc.
www.fireplaces.com
Please contact your Fireside Furnishings dealer with any
questions or concerns.
-Notes-
__________________________________________________
__________________________________________________
__________________________________________________
__________________________________________________
__________________________________________________
__________________________________________________
Table of contents
Other Fireside Fireplace Accessories manuals
Popular Fireplace Accessories manuals by other brands

Town & Country Fireplaces
Town & Country Fireplaces 22150051 instructions
pleasant hearth
pleasant hearth LS938-96LC Assembly
Munters
Munters PI0848 instruction manual
pleasant hearth
pleasant hearth 18-45-66 Assembly instructions
Nordpeis
Nordpeis N-29U installation manual
Monessen Hearth
Monessen Hearth ARTISAN Series installation manual

SimpliFire
SimpliFire SF-OD43 owner's manual
Desa
Desa GB38 instruction sheet
Dimplex
Dimplex DFP4743 install guide
Hargrove
Hargrove CLBN 5-18 Installation and operation guide
Empire Comfort Systems
Empire Comfort Systems DVVK-4FV installation instructions
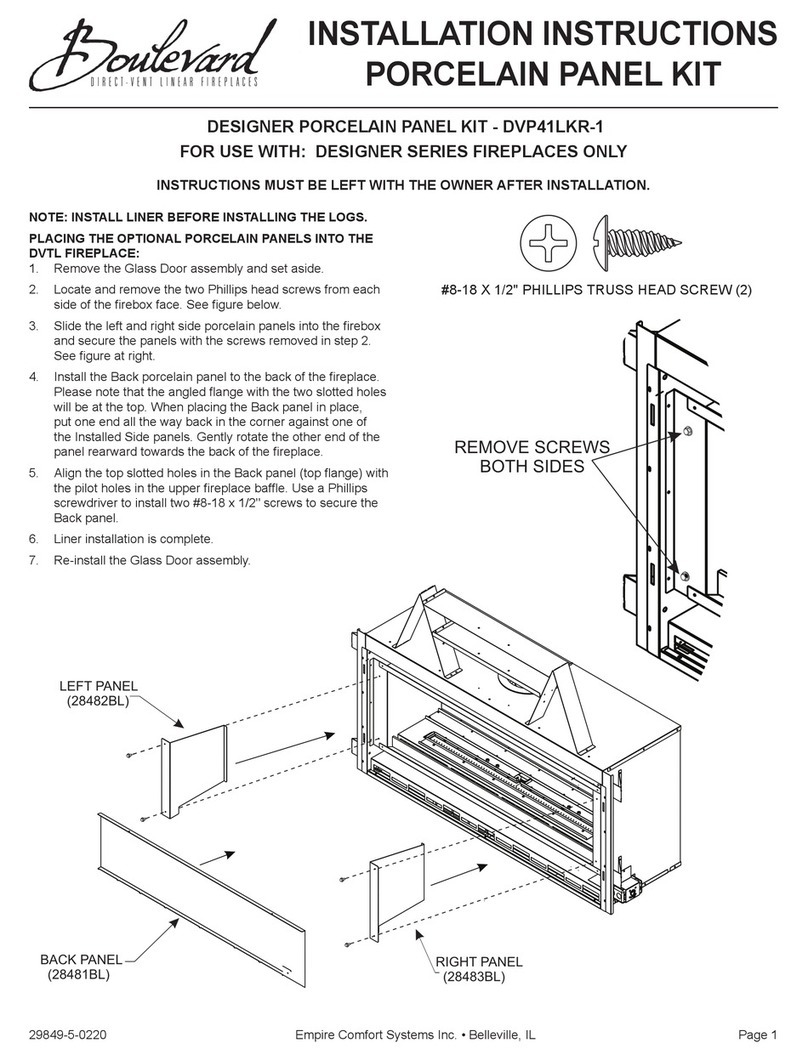
Boulevard
Boulevard DVP41LKR-1 installation instructions
