Collection Kyoto
Assembly Instruction rectangular Kyoto Tables – Item No 1819, 1874, 1878, 1879
Congratulations! You have made the right decision in selecting a piece of furniture from our
Collection Kyoto. By purchasing this fine piece of furniture you have acquired a high quality
product.
For packing reasons and to ensure a safe and faultless delivery this product is only partially
assembled.
We have illustrated the assembly procedure clearly and in detail. It only takes a few simple
steps to assemble the table. No special skills are required. Just follow our easy to understand
instructions below.
For assembly, place the parts of the table on a soft pad (i.e. the delivery carton) to avoid any
damage. It is advisable to assemble with two persons.
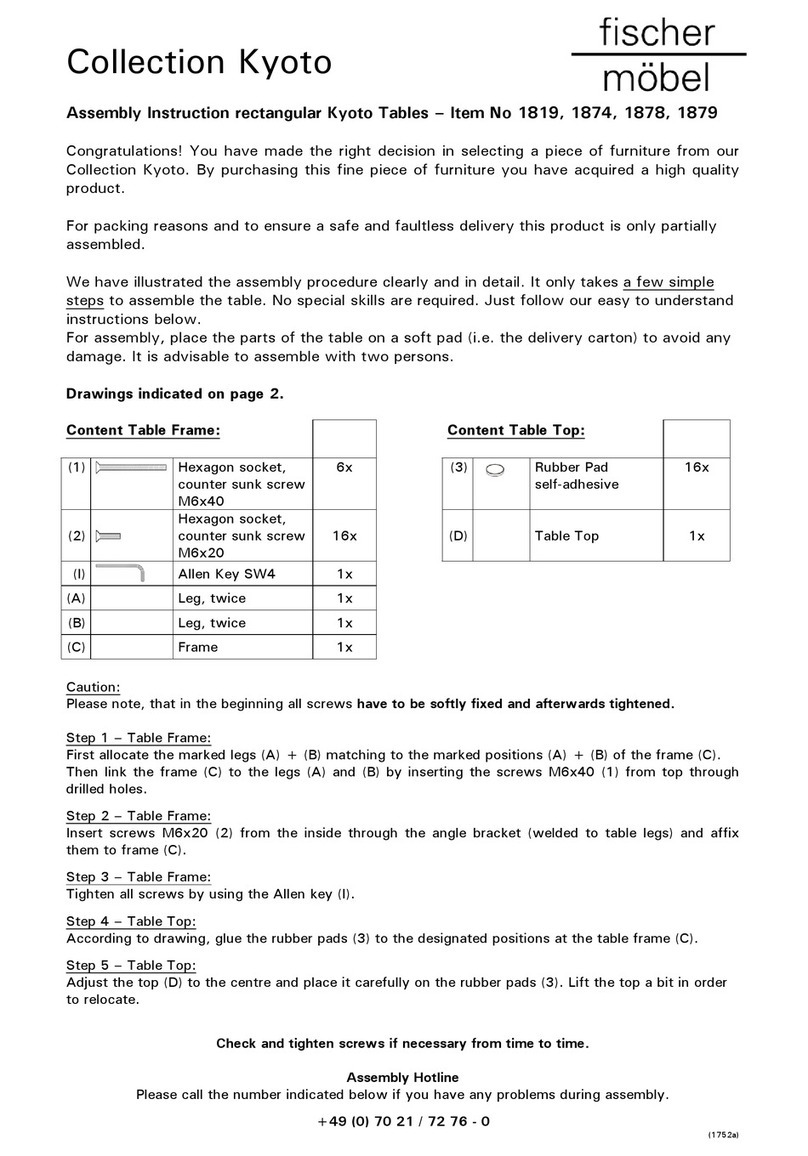
Drawings indicated on page 2.
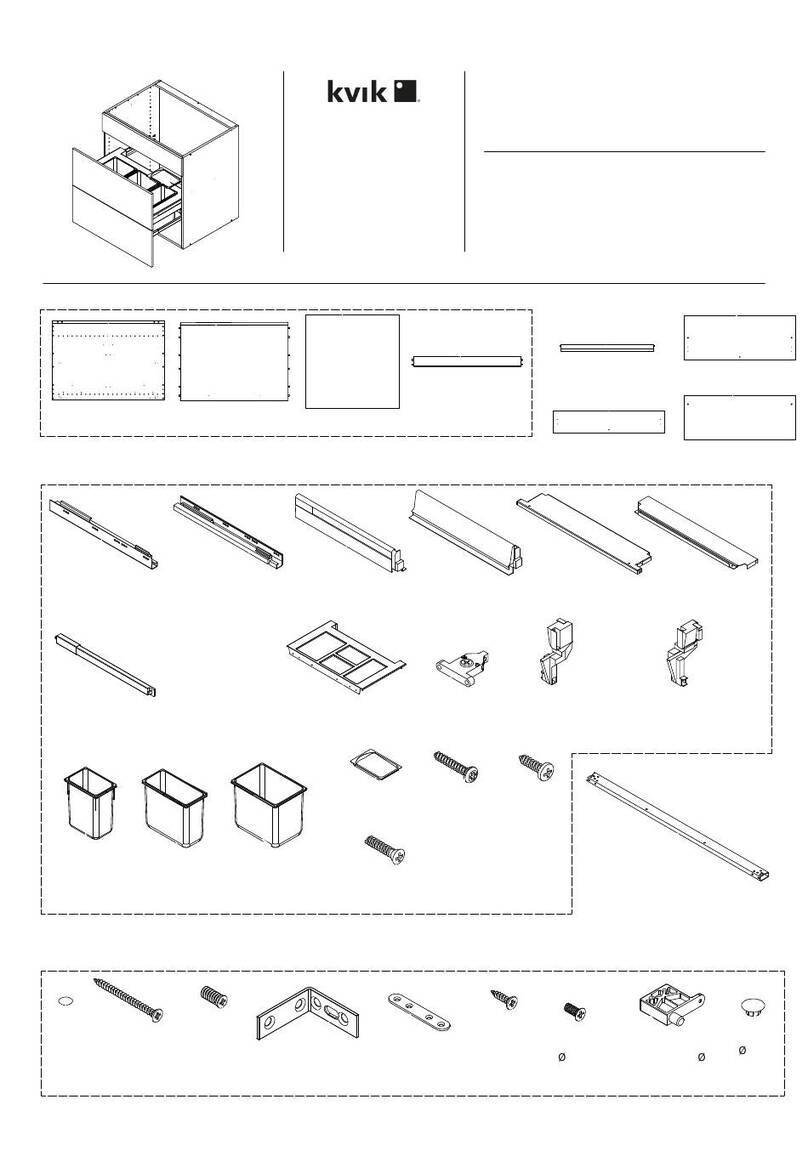
Content Table Frame:
Content Table Top:
(1) Hexagon socket,
counter sunk screw
M6x40
6x (3)
Rubber Pad
self-adhesive
16x
(2)
Hexagon socket,
counter sunk screw
M6x20
16x (D)
Table Top 1x
(I) Allen Key SW4 1x
Caution:
Please note, that in the beginning all screws have to be softly fixed and afterwards tightened.
Step 1 – Table Frame:
First allocate the marked legs (A) + (B) matching to the marked positions (A) + (B) of the frame (C).
Then link the frame (C) to the legs (A) and (B) by inserting the screws M6x40 (1) from top through
drilled holes.
Step 2 – Table Frame:
Insert screws M6x20 (2) from the inside through the angle bracket (welded to table legs) and affix
them to frame (C).
Step 3 – Table Frame:
Tighten all screws by using the Allen key (I).
Step 4 – Table Top:
According to drawing, glue the rubber pads (3) to the designated positions at the table frame (C).
Step 5 – Table Top:
Adjust the top (D) to the centre and place it carefully on the rubber pads (3). Lift the top a bit in order
to relocate.
Check and tighten screws if necessary from time to time.
Assembly Hotline
Please call the number indicated below if you have any problems during assembly.
+49 (0) 70 21 / 72 76 - 0
(1752a)
All manuals and user guides at all-guides.com
