4
Water supply
For best operating conditions your hot water
should be approximately 65°C. Your cold water
should not exceed 35°C or your hot water exceed
75°C. Temperatures above these may cause the
machine to fault or cause damage to the machine.
If you have an uncontrolled water heating source
(eg a wet back or solar heating system) you should
fit a Safe Valve. This will ensure the hot water temperature remains within safe limits.
Inlet water pressure: Max.1 MPa (150 psi) Min. 34 Pa (5 psi)
Inlet water flow rate: Min. 3 litres/min
Minimum height of taps to clear the top of the machine is 1150 mm.
Draining
Regularly check that your standpipe or tub is free from lint or other obstructions, which may
affect how your machine works or may cause flooding.
In multi-storey apartments or any upper floor, the machine should be installed on a drained floor.
Draining must comply with local by-laws.
Clothes washer safety
This clothes washer is not intended for use by children and persons with reduced physical,
sensory or mental capabilities, or lack of experience and knowledge, unless they have been given
supervision or instruction concerning use of the appliance by a person responsible for their safety.
Your Smart Drive™ can be opened while it is filling and agitating. Supervise children at all times
to ensure they do not play with the washer.
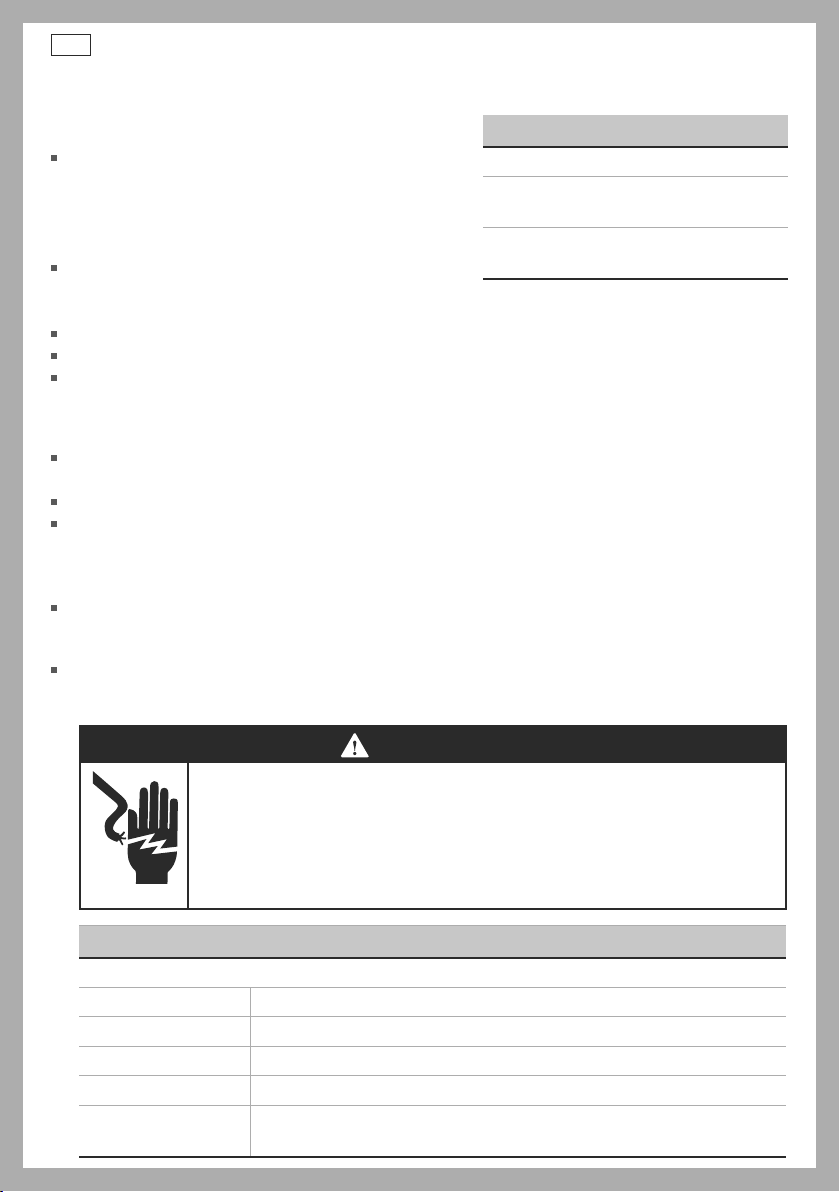
WARNING!
Electrical Shock Hazard
If you are using an extension cord or a portable electrical outlet device
(eg multi-socket outlet box), ensure that it is positioned so that it does
not come into contact with water or moisture.
Failure to do so may result in death or electrical shock.
Accessories and spare parts
Available from your Fisher & Paykel Dealer or Authorised Repairer.
Inlet Valve Cap Part No. 388491
Hose Inlet Long (2m) Part No. 422680
Hose Inlet Large Bore Part No. 426123
Drain Hose Extension Part No. 425627p
Power Cord If the power cord of your clothes washer is damaged it must be replaced
by a Fisher & Paykel Authorised Repairer, as it is not a standard power cord.
Installation instructions
Hot ‘N’ Safe Valves available are:
RMC TVA 50HF
RMC TVA 75HFS
Adjustable between 35°C – 55°C
RMC TVA 50HP
For instantaneous gas hot water supply