Flaglamps Original User manual
QuickStartGuide
WHITELEDLIGHTS&
BLUETOOTHSPEAKERS
Page2
QuickStartGuide(English)
Introduction
Thankyouforyourinterestinus!WearethehomeofTheOriginalSolarFlagLamps.
Yourflags,pennants,banners,signageandequivalentsareasimportanttousas
theyaretoyou.That’swhywedesignandofferproductswithonethinginmind,
tomakeyourhangingdecorationsstandoutwithvividlightsandmusic.
Youcancustomizeyourcelebrationsthroughouttheyear!
PackageContents
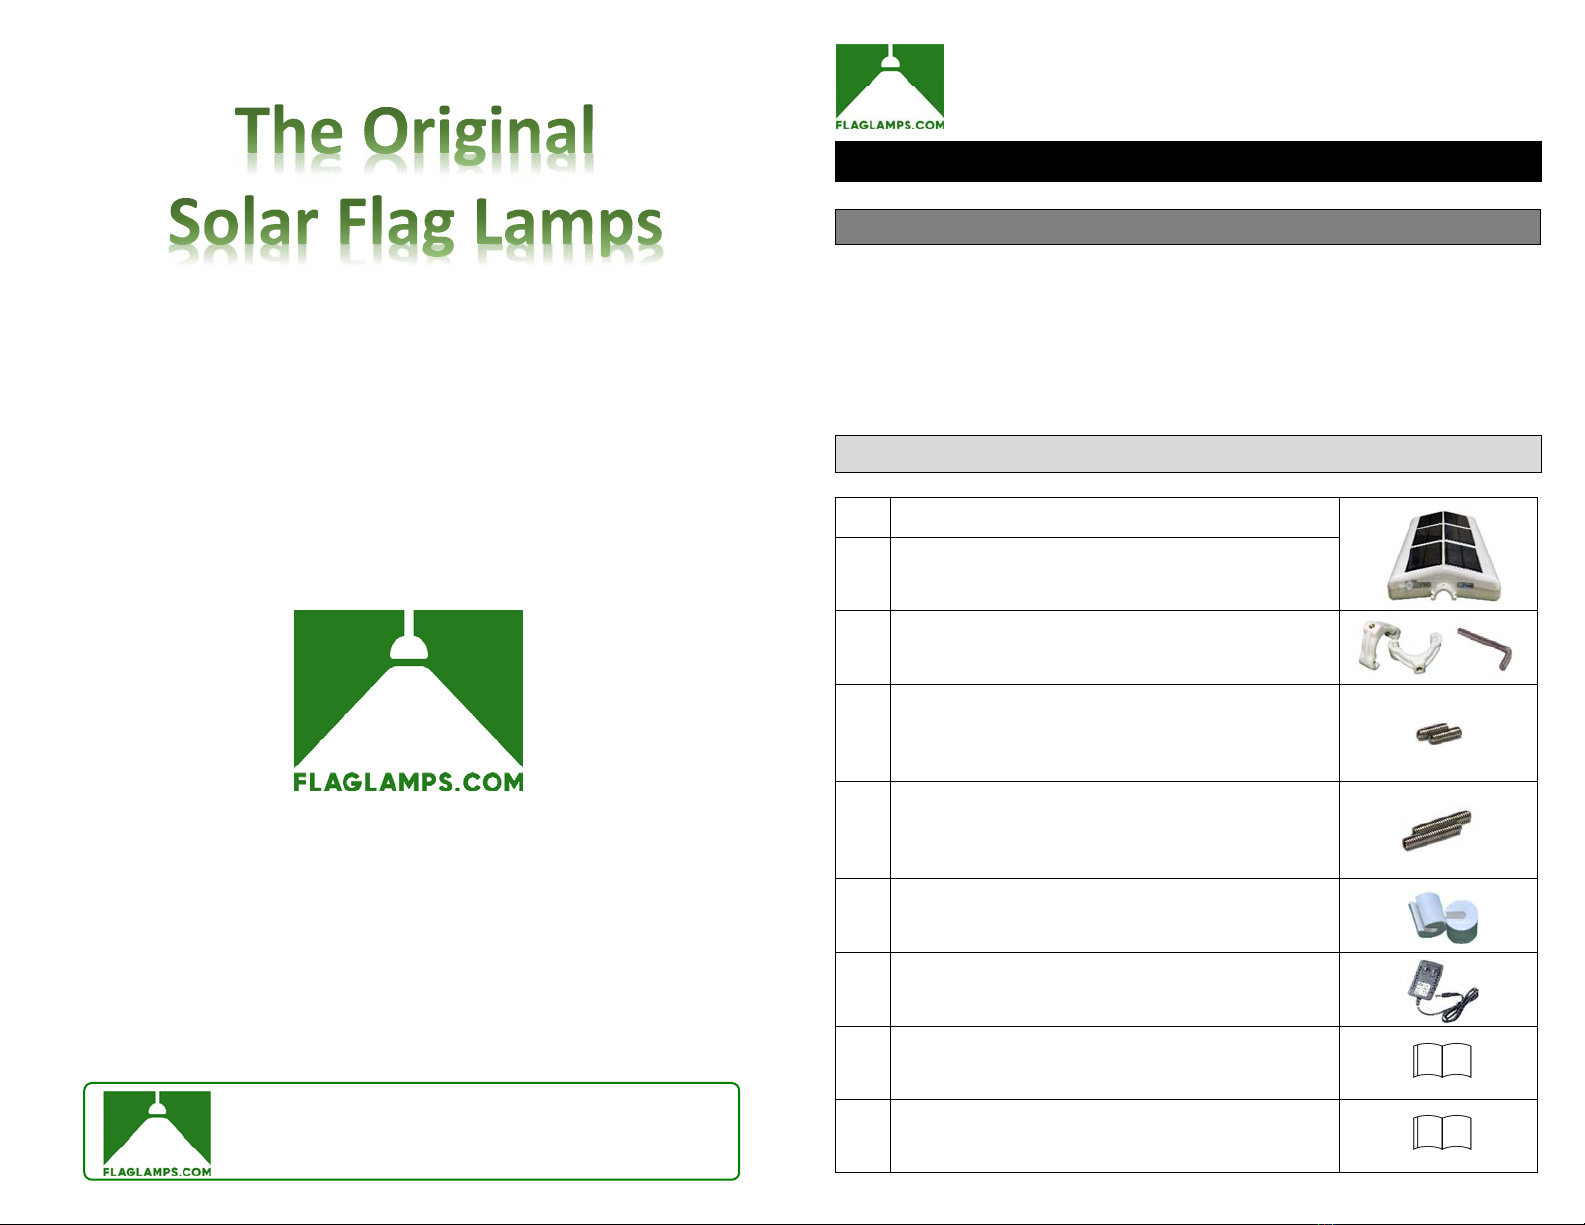
Qty Item
1 TheOriginalSolarFlagLamps(WhiteLEDLights
withBuilt‐inBluetoothSpeakers)
2 CustomClampsandONE3/32”HexTipWrench
2 ClampSetScrews,StainlessSteel,10‐32Thread,
1/2"Long(UsedwithourCustomClampstosecure
unittoaHouse/Structuremountedflagpole)
2 ClampSetScrews,StainlessSteel,10‐32Thread,1"
Long(UsedwithourCustomClampstosecureunit
toaGardenFlagStand)
2
GardenFlagStandClampBushings
(UsedwithourCustomClampstosecureunittoa
GardenFlagStand)
1 AC/DCPowerConverterAdapter
1 QuickStartGuide
1 Safety,Use&CareInstructionsManual

Page3
HowToVideosandSupport
Toviewhowtoinstallvideos:https://flaglamps.com/pages/how‐to‐install‐and‐use
Tocontactus:https://flaglamps.com/pages/contact‐us
OutdoorUseandCare
DesignedtoIPX4standards,TheOriginalSolarFlagLampsarewater‐resistantand
protectedagainstsplashingwaterinanydirection,suchaslightrainorlightwater
spray.PleasereviewthebelowtipstogetthebestperformancefromTheOriginal
SolarFlagLamps.
BringTheOriginalSolarFlagLampsindoorsduringextremeweather.
DONOTplaceTheOriginalSolarFlagLampsinstandingwater.
TheOriginalSolarFlagLampsareintendedtobeusedoutdoorswith
maximumexposuretothesunforoptimalin‐unitbatteryrecharging.
Cleaningofsolarpanelsisgenerallynotnecessaryunlessyouare
usingTheOriginalSolarFlagLampsundertreesorinanareawithhigh
amountsofsmog,dust,dirt,orsandblowingaroundwhichcanlower
productionofsolarpower.Inthesecases,useadampclothtoclean
thesolarpanelsasnecessary.
Keepthesolarpanelsfreeofallobstructionsanddebris.
UseoftheincludedAC/DCAdaptermayberequiredinthesecases:
o Extendeduseofthebuilt‐inspeakers.
o Consecutivedaysofinclementweatherprohibitingafulldayof
sunlighttorechargetheunit.
o Extendedperiodsoftimewithyourinstalledflagbecomingblown
overandaroundtheunit,prohibitingsunlighttoreachtheunit’s
solarpanelsandrechargingtheunit.
Page4
Setup
1. EnsureallitemslistedinthePackageContentsareincludedinthe
package.
2. ReadtheSafety,Use&CareInstructionsManualbeforeusingthe
product.
3. Ensurethebatteryiscompletelychargedpriortofirstuseformaximum
batterylife.
Features
MainPowerButton:Pressthisbuttontopower
TheOriginalSolarFlagLampsONandOFF.
MainPower‐OnIndicator:ThisGreenLEDlightwillbe
ONorOFFbasedontheMainPowerButtonposition.
BatteryLevelIndicator:ThisLEDlightreflectsthefollowing
colors,respectivetotheestimatedchargelevelremaininginthe
unit’son‐boardLithium‐Ionrechargeablebatterypack.
ChargingIn‐ProgressIndicator:ThisLEDemitsa
greenlightrespectiveofthedetectedpowersource.
Whentheunitispluggedintoapoweroutletusing
theprovidedAC/DCpowerconverteradapter,this
indicatorwillbebrightsolidgreen.Whentheunitis
outdoorsinsunlight,thisindicatorwillreflecta
shadeofgreenrespectivetothestrengthofthesun
shiningontheunit’ssolarpanels.
NOTE:TheMainPowerButton
mustbesettoONinorderto
rechargetheunit.Thisindicator
willstopemittingagreenlight
oncetheunitisfullycharged.
BatteryLevelIndicator ~Remainingbatterycapacity
GREEN 100%to56%
YELLOW 55%to26%
ORANGE 25%to10%
RED 9%to2%
Auto‐Off Designednottofullydischargebattery
Page5
Run‐TimeButton:Pressandholdthisbuttonfor5seconds,toenterprogrammingmode.
TheBatteryLevelIndicatorwillbegintoblink,toshowthecurrentrun‐timesetting.
Changingthedefaultrun‐timesetting:Whileinrun‐timeprogrammingmode,quickly
press/releasethisbuttontotogglethroughtheavailablerun‐timesettings.Stopatyour
desiredsetting.Programmingmodewillsaveyourselectionandexitafter60secondsfrom
thelastpressofthebutton.Run‐timetimerbeginseachtimeaduskconditionisauto‐
sensed.Aduskconditioncaneitherbeactualnighttime,adarkenedroomorcoveringthe
solarpanelswithdarkcloth.
AC/DCPowerAdapterPort:UsetheprovidedAC/DCpowerconverteradaptertoconnect
tothisportforconvenientchargingoftheunit’son‐boardLithium‐Ionbatterypack.
NOTE:TheportplugattachedtotheAC/DCPowerAdapterPortmustbekeptinthisport
whileNOTinuse.ReadtheSafety,Use&CareInstructionsManualformoredetails.
BluetoothSpeakersPowerButton:PressthisbuttontopowerON/OFFthebuilt‐in
Bluetoothspeakers.Theunit’sdefaultsettingistobeOFF.Theunitwillwait10‐minutes
topaireachtimeitispressed.ItwillturnOFFwhenpairingislostornotachieved.
BluetoothSpeakersIndicator:OnceBluetoothSpeakersPoweristurnedON,thisLED
emitsaquickblinkingbluelighttosignifyunitisreadyforpairing.IntheSettingssection
ofyoursmartphone,turnONBluetooth,thenconnectyoursmartphonetotheFlagLamp
MusicBluetoothdevice.Onceconnected,thisindicatorwillemitasolidbluelight.Itwill
slowlyblinkwhilestreamingmusictotheunit,andturnoffifunpaired.
FastenerNeck:TheOriginalSolarFlagLampshaveFastenerNecksoneachendoftheunit,
tobeusedwithourCustomClampstosecuretheunittoeitherahouse/structure
mountedflagpoleoragardenflagstand.
WhiteLEDLightProgrammingFeatures
SettingRunTime:SeetheRun‐TimeButtonInstructionsintheFeaturessection.
IMPORTANTNOTE:TheWhiteLEDlightsofthisunitwillNOTturnonwhiletheunitisina
chargingcondition.Chargingconditionsarewheneitherofthesecasesistrue:
Solarpanelsaredetectingalightsourcecapableofchargingtheunit.
TheprovidedAC/DCPowerConverterAdapterisconnectedtotheunit’sAC/DCPower
AdapterPort.
Thisisadesignfeature.TheLEDlightsaredesignedonlytoilluminateindusk/dark
conditionsANDwhilenotinachargingcondition.
AvailableRun‐
TimeSettings Unit’srun‐time DefaultRun‐TimeSetting Information
1,2,3,4,5,and6
shortblinks
1,2,3,4,5,and6
hoursrespectively
Thedefaultrun‐timesettingis6hours.
UsingthePowerButtonwillsettherun‐
timetothedefaultrun‐timesetting.
Onelongblink Allnight
Page6
Installation
TheOriginalSolarFlagLampsaredesignedforinstallingontoa
house/structuremountedflagpoleorthecrossbarofagardenflagstand,
with1”and.31”diametersrespectively.
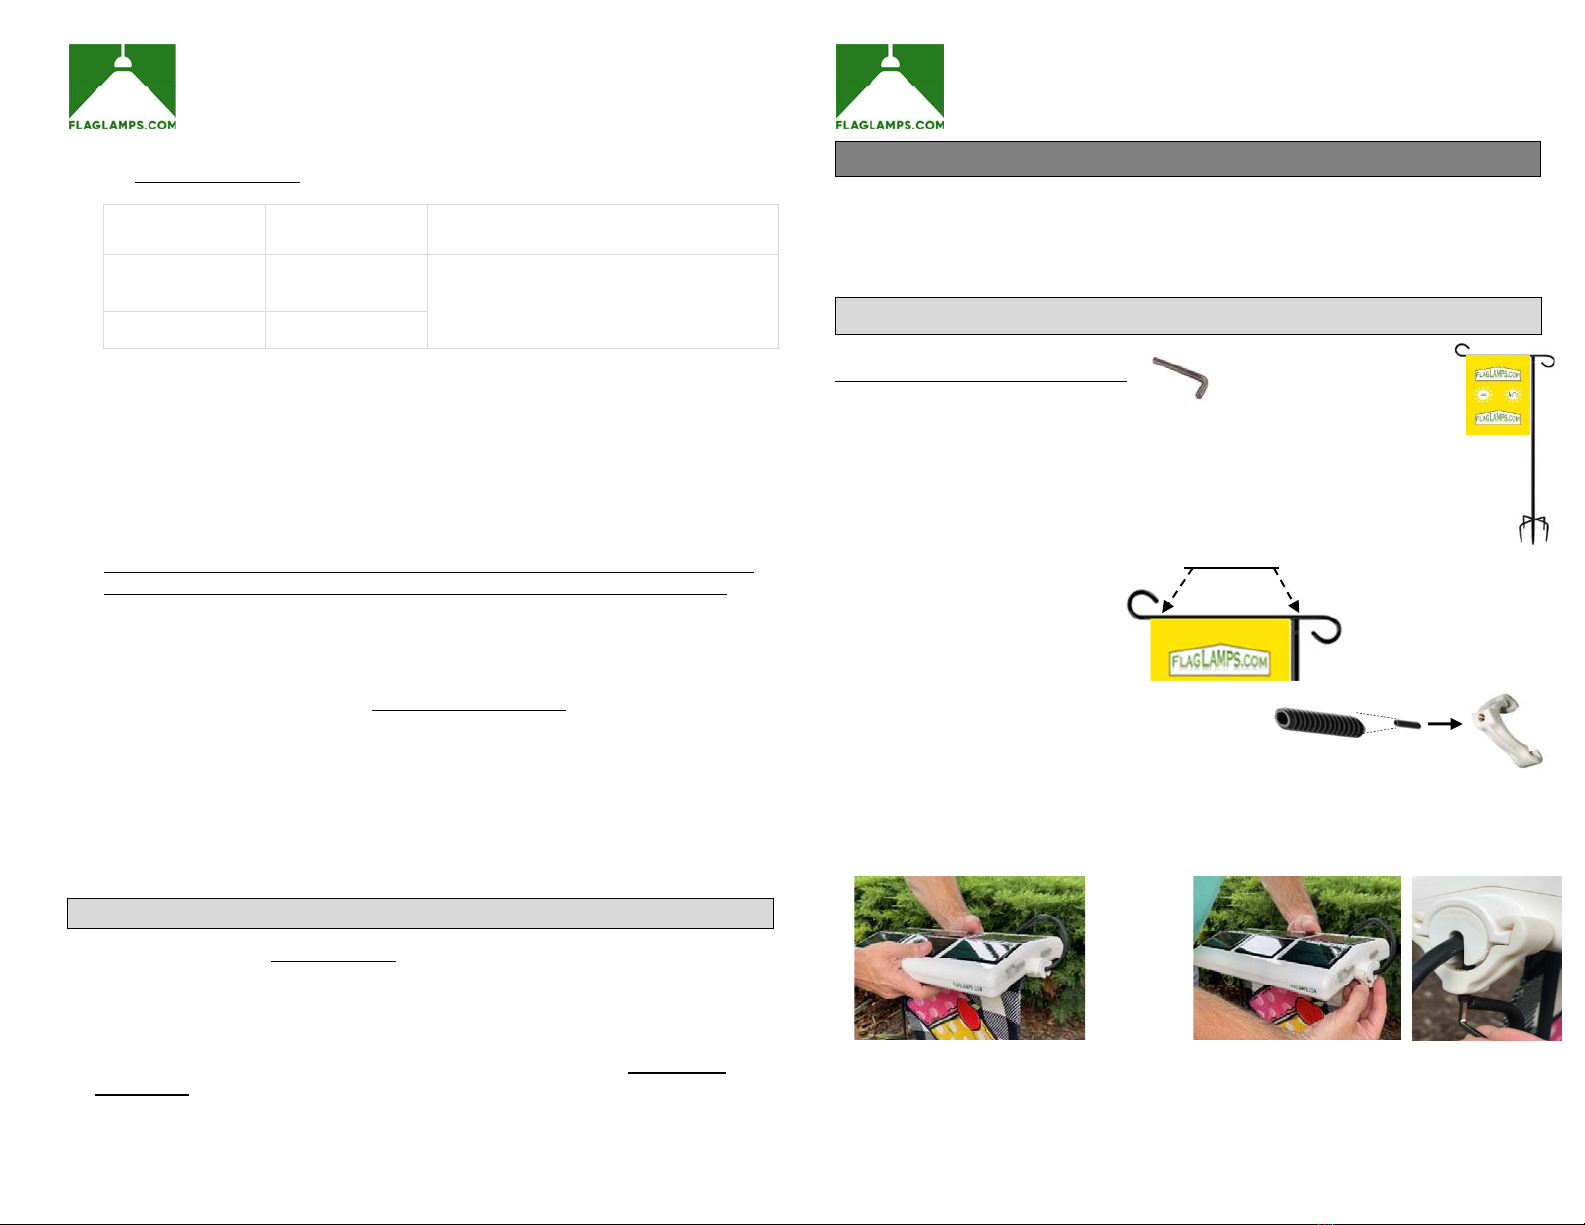
InstallingontoaGardenFlagStand(GFS)
Toolneeded:3/32”HexTipWrench
Beforeyoubegin,completethestepsintheSetupSection.
1. InstallyourgardenflagontoyourGFS.UsingtheguidanceintheOutdoorUseand
Caresection,installyourGFSinalocationwhereyouwishtodisplayyourspecial
flagsandlistentoyourmusictoo.
2. PlacetheprovidedClampBushingsontooppositeendsofthehorizontalbar
oftheGFS.
3. Installtheprovided1”ClampSetScrewsintoeachofthe
CustomClamps.
4. Placeyourunitontothehorizontalbarof
theGFS.TakecarethattheClamp
BushingsareundereachoftheFastener
Necks.
5. PlacetheprovidedClampsontotheFastener
Necksofyourunitandsecurewitha3/32”
hextipwrench.
***DONOTOVERTIGHTEN***
6. ThemanufactureddefaultsettingfortheLEDlightfeatureissixhours,onceadusk
conditionisdetected.IntheFeaturessection,seeRun‐TimeButtoninstructionsto
changethisdefaultsetting.
Page7
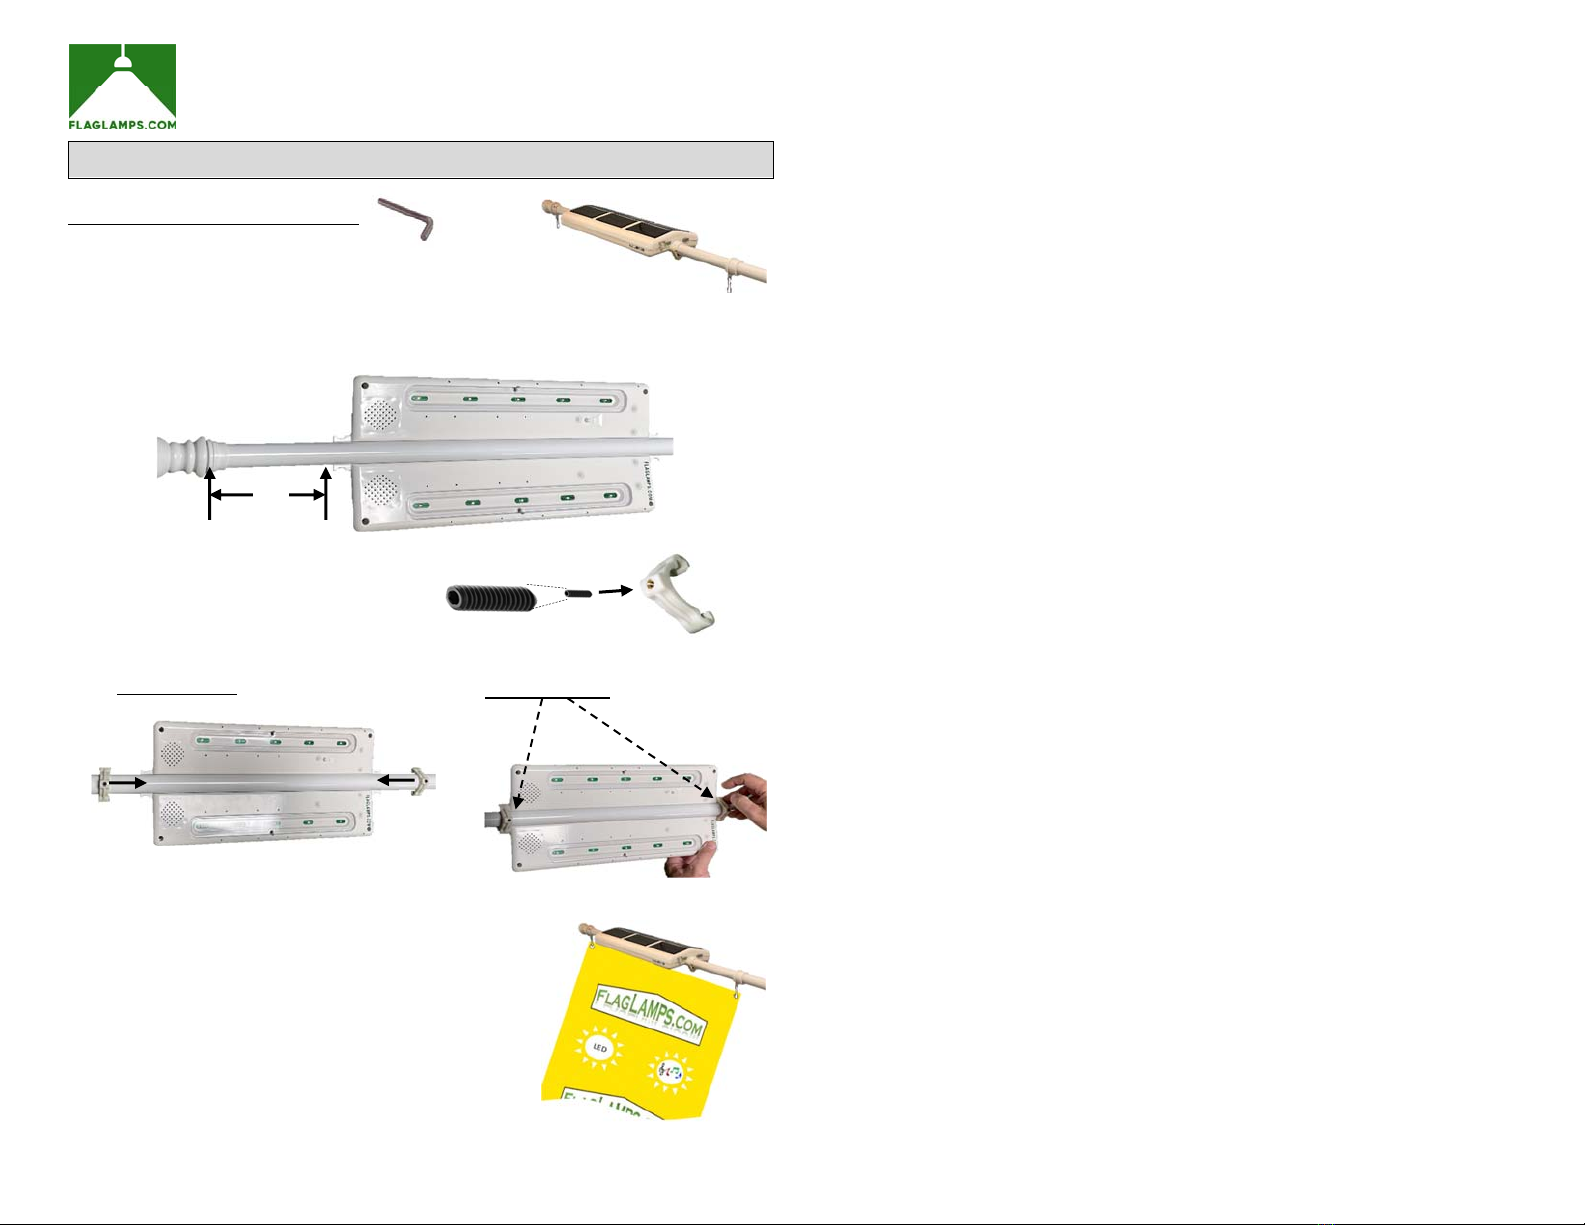
InstallingontoaHouse/StructureMountedFlagPole
Toolneeded:3/32”HexTipWrench
Beforeyoubegin,completethestepsintheSetupSection.
1. Placeyourunitonaflatstablesurface,andplaceyourhouse/structuremountingflag
poleintheunit’scenterchannel.Takecarethattheunitisapproximatelysix(6)inches
fromtheendoftheflagpole.
2. Installtheprovided1/2”ClampSetScrewsintoeachoftheCustom
Clamps.
3. PlacetheprovidedClampsontotheflagpole
andslidetheClampsovertheunit’sFastener
Necks.
4. Using3/32”hextipwrench,tightenthe
ClampSetScrewstosecureunit.
***DONOTOVERTIGHTEN***
5. ThemanufactureddefaultsettingfortheLEDlightfeature
issixhours,onceaduskconditionisdetected.Inthe
Featuressection,seeRun‐TimeButtoninstructionsto
changethisdefaultsetting.
6. Installyourflagontoyourflagpole.Usingtheguidancein
theOutdoorUseandCaresection,installyourflagpoleina
locationwhereyouwishtodisplayyourspecialflagsand
listentoyourmusictoo.
6”
Popular Outdoor Light manuals by other brands

Kichler Lighting
Kichler Lighting HELEN 37536 instructions

Thorn
Thorn OXANE L installation instructions

esotec
esotec Solar Globe Light multicolor 20 operating instructions

mitzi
mitzi HL200201 ELLIS Assembly and mounting instructions

HEPER
HEPER TILA S AFX 3 Module Installation & maintenance instructions

Designplan
Designplan TRON 180 installation instructions


BEGA
BEGA 84 253 Installation and technical information

HEPER
HEPER LW8034.003-US Installation & maintenance instructions

HEPER
HEPER MINIMO Installation & maintenance instructions

LIGMAN
LIGMAN BAMBOO 3 installation manual

Maretti
Maretti TUBE CUBE WALL 14.4998.04 quick start guide

Maxim Lighting
Maxim Lighting Carriage House VX 40428WGOB installation instructions