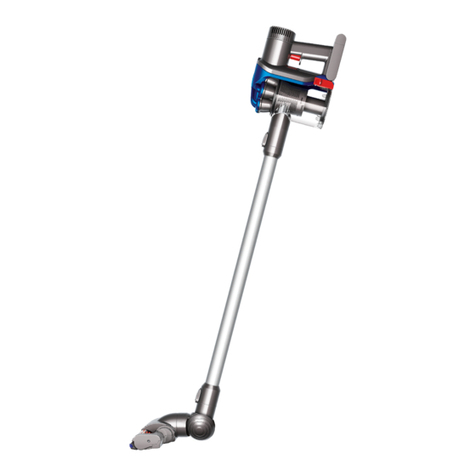
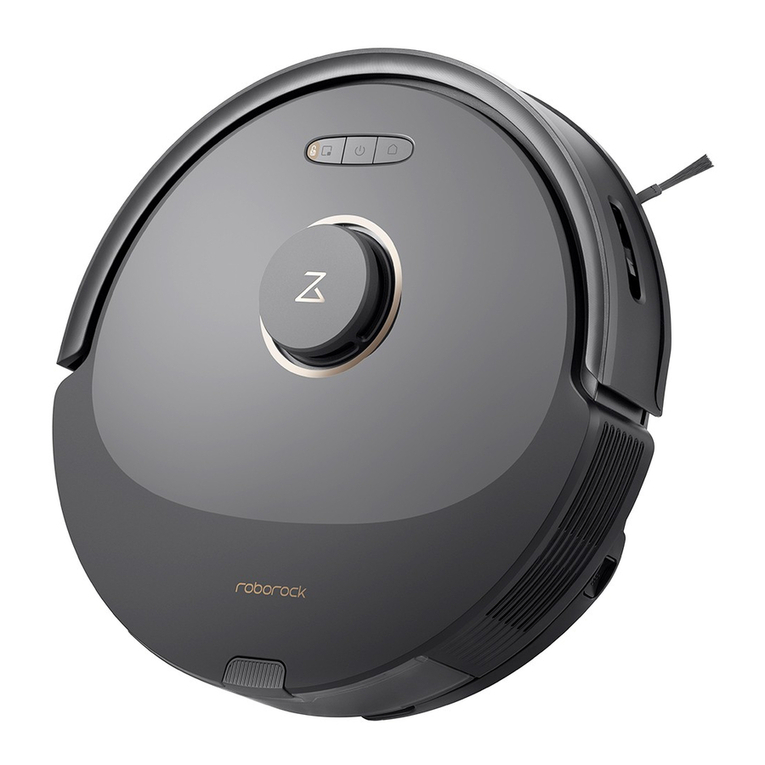
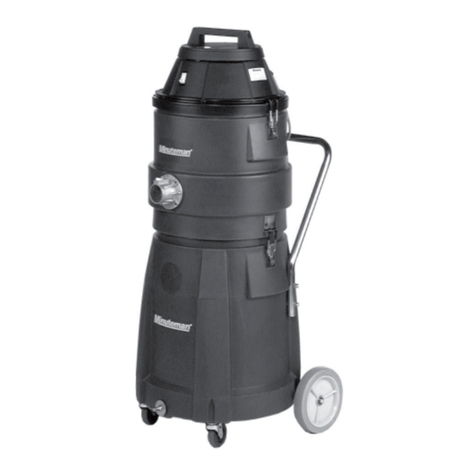
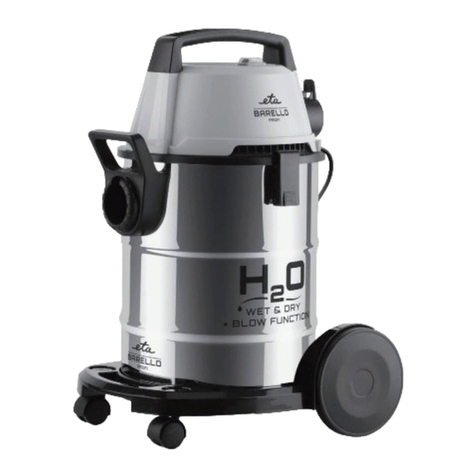
FLOATVAC FV-2016 User manual

Vacuum Cleaner
for household use only
User Manual
MODEL: FV-2016

2
IMPORTANT SAFETY INSTRUCTIONS
FloatVac
WARNING: TO REDUCE THE RISK OF FIRE, ELECTRIC SHOCK, OR INJURY
BEFORE USING
•Do not handle appliance or plug with wet hands.
•Do not put any objects into openings. Do not use while any openings are blocked; keep free of dust, lint, hair, and
•
•
•
................2
Before Using .............................................................2
.................................................................3
Caring for your FloatVac ...........................................3
...........................................3
Warranty & Customer Care.......................4
Customer Care..........................................................4
Unpacking & Assembly ...............................5
Parts List ...................................................................5
...................................................6
Installing the Wall Mount .........................................7
...........................................................7
.........................................7
How to Use...............................................................8
......................................................................8
Maintenance & Storage..............................8
Emptying the Dust Bin..............................................8
Cleaning or Changing the Filters...............................9
Storing your FloatVac .............................................10
.....................................................11
Table of Contents

3
OPERATION
•
•
•Do not use on wet surfaces.
•
intended for use by children under 12 years of age.
•Do not use when vacuum’s cord or plug is damaged. If vacuum is not working as it should, has been dropped,
Float-
Vac Customer Service by telephone:
•Use extra care when cleaning on stairs. To avoid personal injury or damage, and to prevent the vacuum from
Do not place the cleaner on the stairs or on furniture.
•
may be present.
•
CARING FOR YOUR FLOATVAC
•To prevent damage, treat your vacuum’s cord with care: do not pull or carry by its cord or use the cord as a handle,
close a door on the cord, or pull the cord around sharp corners. Always keep the electrical cord away from heated
surfaces.
•Do not unplug your vacuum by pulling on the cord; instead, grasp the plug and pull.
•Do not modify the machine in any way.
•
•
•Do not use the machine on any other voltage other than that which is stated and corresponds to the voltage
marked on the motor (120V).
POLARIZATION INSTRUCTIONS
To reduce the risk of electric shock, this vacuum has a polarized plug, meaning one prong is wider than the
Do not use your FloatVac to pick up hazardous dust such as soot, ash, ceramic dust, drywall and
plaster dust, asbestos or asbestos dust, or to pick up toxic or greasy materials.
Note: The FloatVac is intended solely for household use.

4
WARRANTY & CUSTOMER CARE
WARRANTY
2 Years Limited Warranty
Your FloatVac VacuumCleaner, parts, motor, and accessories are warranted against original defects in material
and workmanship for a period of 2 years from the date of purchase when used for private household purposes
in accordance with the FloatVac Owner’s Manual. The warranty provides, at no extra cost to you, all labourand
This warranty is subject to the following terms:
FloatVac Inc. shall notbe liable for costs, damages, or repairs incurred as a resultof:
•Machines purchased from an unauthorized dealer
•Clearingblockages from your machine
•Use of parts notin accordance with the Owner’s Manual
•External sources, such as weather
•
•-
es)
•Use of parts and accessories other than those produced or recommended by FloatVac Inc. Warranty Service
-
-
CUSTOMER CARE
-
FloatVac, we encourage you to
contact us at our Customer Care line or to visit us at our Website.
Call: + 1 (844) 549-8839 Monday to Friday, 8:00am to 5:00pm
Connect:
product purchase.

5
UNPACKING &
ASSEMBLY
FLOATVAC PARTS LIST
Part # Item Name Qty. Part # Item Name Qty.
FV-001 Base 1 FV-021 Vacuum Hose-Flex 1
FV-002 Motor Housing 1 FV-022 Short Wire Harness 1
FV-003 Exhaust Cover 1 FV-023 Wand 1
FV-004 1 FV-024 Pneumatic Power Head 1
FV-005 Dirt Bin Back Plate 1 FV-025 Floor Tool 1
FV-006 Motor Support 1 FV-026 Crevice Tool 1
FV-007 Dirt Bin Latch 1 FV-027 Small Floor Tool 1
FV-008 Top Body 1 FV-028 Upholstery Brush 1
FV-009 Motor Exhaust Housing 1 FV-029 Latch Spring 1
FV-010 Dirt Bin 1 FV-030 Short Screws 12
FV-011 Dirt Bin Seal 1 FV-031 Long Screws 5
FV-012 Handle 1 FV-032 Decal 2
FV-013 Cord Management Tabs 2 FV-033 Grommet-Motor Housing 1
FV-014 Power Cord Grommet 1 FV-034 1
FV-015 Power Cord 1 FV-035 Short Screw with Washer 4
FV-016 1 FV-036 Motor Exhaust Filter 1
FV-017 Wire Harness 1 FV-037 Wall Mounting Bracket 1
FV-018 Motor 1 FV-038 #8 Wood Screw 2
FV-019 Filter 1 FV-039 #8 Wall Plug 2
FV-020 Pre Filter 1 FV-040 Mesh Utensil Bag 1

6
USING ATTACHMENTS
Attaching Hose to Base Unit
1.
faces upwards
2.
the dust bin
3.
into place
4. When removing the hosefrom the dirt bin,
and pull out
Connecting the Wand to the Flex Hose
1.
metal extension wand.
2.
wand
Extending the Metal Wand
1. With onehand, grip the inner wand
2. With the other hand, grasp the outer wand
3. Pull the inner wand out to create the desired
length for the metal extension wand
4.
on one of the divots provided on the inner
wand
Attaching Accessories
1.
upholstery brush to the wand, simply slide the
you wish to use
2.
method
3. -

7
INSTALLING THE WALL MOUNT
1. Find a place in your home you would like to store your FloatVac
2.
3.
using the two holes on the back of the mount for reference
4. Remove the wall mount and, using a ¼” wood drill, drill holes where
you creat
Tip #1: If you don’t have a drill, use a hammer and a nail to create the holes instead
5. Insert the #8 Wall Plugs into the drilled holes
6. Align the wall mount against the wall and insert the #8 Wood screws into the wall plugs
7.
the wall mou
Tip #2:
simply drive the screw into the wall and hang the wall mount
OPERATION
SELECTING THE PROPER TOOL
Floor Tool
•-
Pneumatic Power Head
•With thick bristles and an extra widehead, this tool cleans carpets in a snap. Pet hair, dust, and dirt
-
Crevice Tool
•
in the bedroom, living room, dining room – anywhere that dust or dirt can hide.

8
Small Floor Tool
•
other fabrics. The lint-catching strip is great for removing dust and hair.
Upholstery Brush
•
more delicate trinkets and souvenirs.
HOW TO USE
•Unwind the cord from around the cord management tabs
Tip: To remove the cord from around the tabs quickly and easily, the management tabs can be rotated in
order to free the cord from its wrapping
•
depressed
•-
•
SUCTION
•
•
•
MAINTENANCE & STORAGE
hine and unplug from wall socket.
EMPTYING THE DIRT BIN
1.
2.
3.

9
4. Detach dirt bin back plate from dirt bin by grasping the front of the dirt bin - use the hose entrance to
of the dirt bin.
5.
hold of both pieces
6. Pull pieces away from each other to detach
7.
CLEANING OR CHANGING THE FILTERS
Note: Should yourFloatVac stop floa�ng, it may indicate that your filters need to be emp�ed or
cleaned.

10
Accessing the Filters
1.
2.
3.
4.
5.
Cleaning the Filters
1.
2.
3.
Accessing & Cleaning the Motor Exhaust Filter
1.
2. Using a screwdriver, remove the two screws which hold the exhaust cover in place
3.
4.
before reassembling
hand or, if needed, rinsed with water.
STORING YOUR FLOATVAC
1.
2. Wind the cable around provided cord hooks
3. Always store the unit indoors, in a cool dry place
Storage Using the Wall Mount

11
1. If utilizing your FloatVac wall mount, hang the base unit from the tab near the top of the mount
4. Secure the telescopic wand to the clip on the left side of the wall mount
5.
6. Place all hose attachments into the mesh utility bag and hang the bag from the hook on the
right side of the wall mount
TROUBLESHOOTING
WARNING
Issue Possible Cause
FloatVac doesn’t turn on
into outlet
Blown fuse or tripped breaker Check fuse or breaker in home,
replace fuse/reset breaker in home
if needed
Unplug and allow vacuum to cool for
15min. (This will reset the thermal
protector)

12
FloatVac stops hovering Exhaust is blocked
Filters need to be cleaned
exhaust can lead to serious dangers
Won’t pick up dust/debris Accessories are blocked, pre-
Air inlet valve is open
Filters need to be cleaned
Check hose entrance, hose, wand,
and any accessories in use for block-
ages
Check to make sure air inlet valve is
closed
FloatVac abruptly stops run-
ning
Vacuum may have overheated Thermal protector may have been
tripped. Unplug and allow vacuum
turn on vacuum again.
1 (844) 549-8839, Monday to Friday, 8:00am to 5:00pm
Table of contents
