Fon La Fontenna User manual

La Fontenna
User Manual

2
INDEX
1. Package Contents............................................................................... 4
2.Hardware Description.......................................................................... 6
2.1. Front Side 7
2.2. Back Side
3.Hardware Insallation........................................................................... 8
4.La Fontenna Mounting Options........................................................... 10
4.1. On a Window 11
4.2. On a Wall
4.1.1. Indoor
4.1.2. Outdoor
5. How Antennas Work........................................................................... 12
6. What is a Directional Antenna?.......................................................... 14
7. Streamline your Performance..............................................................16
8. Antenna Terminology..........................................................................20
9. Antenna Specifications....................................................................... 22
9.1. Range 23
9.2. Dimensions
9.3. Other Specifications
Warranty Statement........................................................................... 24
Safety Notices.................................................................................... 25
Index

3
If you have any comments about this manual,
please send an email to
manual@fon.com
Developed by
© FON Wireless Limited
Department of Marketing
Document file
Name: LA FONTENNA USER MANUAL
First Version Date: May 21st, 2007
Current Version: 1.0
Current Version date: May 21st, 2007
marketing_manual_lafontenna_001

1. Package Contents
Package Contents
1.

5
1. Package Contents
In the La Fontenna package you should find the following items inclu-
ded:
1 La Fontenna
1 Wall mounting kit (two screws + one plastic hanger)
1 Interior mounting kit (two adhesive stickers)
1 Quick Installation Guide
•
•
•
•
Please immediately inform us in the event of any missing or damaged
parts. Visit www.fon.com and choose Help to report any problem or to
visit our support site.t leave it over your La Fonera unless you want to
cohe upper floor of your house or your neighbour’s house above you.

2.Hardware Description
Hardware
Description
2.

7
2. Hardware Description
2.1. Front Side
2.2. Back Side
The La Fontenna has two sides and a cable that you must plug into the
connector of the La Fonera. Don’t forget to first remove its white an-
tenna or you will face some problems trying to get the two connectors
in at the same time.
This side is where the antenna goes in. Place the front of the antenna
towards the area you want to give wifi coverage to. Please, see the La
Fontenna Mounting Options section for proper installation.
The back side of the La Fontenna will be useful for its installation. You
can use the adhesive stickers or the plastic hanger to attach it on a win-
dow or on a wall.
NOTE: As this is a directional antenna, you should not place it
on top of your La Fonera unless you want to cover the upper
floor of your house or your neighbour’s house above you. You
can find more information regarding this matter in the “What’s a
Directional Antenna?” section.
•

3.Hardware Insallation
3.
Hardware Installation

9
3. Hardware Installation
1. Find your La Fonera
2. Remove the antenna
To remove the antenna, hold it by it’s base and unscrew
firmly by turning it counter-clockwise until the antenna is sepa-
rated from the connector.
3. Connect the La Fontenna
Take your La Fontenna connector and screw it (clockwise) into
your La Fonera.
4. Installation is complete.
Now place your La Fontenna in a strategic location.

4.La Fontenna Mounting Options
4.
La Fontenna
Mounting Options

11
4. La Fontenna Mounting Options
The La Fontenna is a panel antenna designed to be used with the La
Fonera. It has an SMA connector which is the same as the one in your
device. In the package you will find mounting kits for internal or exter-
nal use. We recommend you place the embossed side (the one with the
FON logo) facing the area you want to cover. That way your signal will
be more powerful.
NOTE: As a general rule, if you are going to mount the La
Fontenna using the adhesive stickers, we recommend you cut
both stickers with scissors. This way you can fix the stickers on four
different sides, that will ensure that the la Fontenna will be sturdy.
•
4.1. On a Window
This side is where the antenna goes in. You must face it against the area
you want to cover. Please, watch the La Fontenna Mounting Options
section in order to see how to install it properly.
4.1.1. Indoor
Place the four stickers
(see previous note) as
shown.
4.1.2. Outdoor
Place the four stickers
(see previous note) as
shown.
4.2. On a Wall
Screw the plastic han-
ger to the back of the
La Fontenna and fix it
to the wall facing the
street.

5. How Antennas Work
5.
How Antennas Work

13
5. How Antennas Work
Suppose you have a room with the La Fonera and that the device you
want to connect is in another room separated by a wall.
Your apartment walls may weaken the strength of your wifi signal and
you may not have a good wifi coverage. To solve this problem the La
Fontenna is set up to direct wireless signals out the door towards the
room with the La Fonera. Radio frequencies lose significant signal
strength when travelling through concrete and especially metal walls.
To solve this it may be easier to bounce an amplified signal towards the
opening in the room with the La Fonera.
The same happens in spare space. This way, you’ll gain more coverage
if you direct your La Fontenna to a nearby garden or to the buildings
outside.

6. What is a Directional Antenna
6.
What is a Directional
Antenna

15
6. What is a Directional Antenna?
Your La Fonera comes with an omni-directional antenna. This is an
antenna system that radiates power uniformly in one plane with a
directive pattern in a perpendicular plane. Sounds complicated? Think
of it as a candle with a small flame giving off light in all directions. The
La Fontenna is a directional antenna. A directional antenna radiates
greater power in one or more directions allowing increased perfor-
mance on transmission and reception and reducing interference from
unwanted sources. As a directional antenna, your La Fontenna works
more like a torch/flashlight that gives off a lot of light primarily in one
direction. Therefore, it is important that you direct it towards the area
you want to provide the most coverage.
All practical antennas are at least somewhat directional, although usua-
lly only the direction of the plane parallel to the earth is considered.
Practical antennas can easily be omni-directional in one plane.

7. Streamline your Performance
7.
Streamline your
performance

17
Your new La Fontenna is ideal for areas that receive poor coverage, as
you can amplify the signal from the receiving end, i.e. your laptop.
The embossed side with the FON logo is the Hi-Gain side, which may
send out a signal quickly. However, the other end (without the logo),
may not have the strength to send back the signal instantaneously (and
with the same strength).
7. Streamline your Performance
Your wireless connection will be stronger the closer your computer is to
your router. In the same way, your wireless connection and performance
will decrease somewhat as the distance between your router and the
connected devices increases. This may or may not be noticeable to you.
As you move farther from your router, connection speed may decrease.
Factors that can weaken signals simply by getting in the way of your
network’s radio waves include metal appliances or obstructions, and
walls.
If you have concerns about your network’s performance that might be
related to range or obstruction factors, try moving the computer to a
position between five and 10 feet away from the router to see if distan-
ce is the problem.
1. Wireless Router Placement
Place your router, the central connection point of your network,
as close as possible to the center of your wireless network devi-
ces or to the area you want to cover.
Ensure that your router’s networking antennas are parallel to
each other and are positioned vertically (toward the ceiling).
If your router itself is positioned vertically, point the antennas
as much as possible in an upward direction.
•
NOTE: Many factors around you may affect your wifi signal’s
range.
•
NOTE: While some of the items listed below can affect network
performance, they will not keep your wireless network from
functioning. If you are concerned that your network is not
operating at its maximum effectiveness, this checklist may help.
•

18
7. Streamline your Performance
In multistory areas, place the router on a floor that is as close
to the center of the area as possible. This may mean placing
the router on an upper floor.
Try not to place the router near a cordless phone.
2. Avoid Obstacles and Interference
Avoid placing your router near devices that may emit radio
“noise,” such as microwave ovens. Dense objects that can inhibit
wireless communication include:
Refrigerators
Washers and/or dryers
Metal cabinets
Large aquariums
Metallic-based, UV-tinted windows
If your wireless signal seems weak in some spots, make sure
that objects such as the above are not blocking the signal’s path
(between your computers and router).
3. Cordless Phones
If the performance of your wireless network is impaired after
reviewing to the above, and you have a cordless phone:
Try moving cordless phones away from the router and your
wireless-enabled computers.
Unplug and remove the battery from any cordless phone
that operates on the 2.4GHz band (check the manufacturer’s
information). If this fixes the problem, your phone may be
interfering.
If your phone supports channel selection, change the channel
on the phone to the furthest channel from your wireless
network. For example, change the phone to channel 1 and
move your router to channel 11. See your phone’s user
manual for detailed instructions.
If necessary, consider switching to a 900MHz cordless phone.
•
•
•
•
•
•
•
•
•
•
•

19
4. Choose the “Quietest” Channel for your Wireless Network
In locations where homes or offices are close together, such as
apartment buildings or office complexes, there may be wireless
networks nearby that can conflict with yours.
Use the Site Survey capabilities found in the wireless utility of
your wireless adapter or card to locate any other wireless net-
works that are available (see your wireless adapter or card’s user
manual), and move your router and computers to a channel as
far away from other networks as possible.
Experiment with more than one of the available channels in
order to find the clearest connection and avoid interference
from neighboring cordless phones or other wireless devices.
These guidelines should allow you to cover the maximum possible area
with your router.
•
7. Streamline your Performance

8. Antenna Terminology
8.
Antenna Terminology
Table of contents
Popular Wireless Access Point manuals by other brands

Aphelion
Aphelion 500AG user manual
NETGEAR
NETGEAR ME103 - 802.11b ProSafe Wireless Access... user guide
Ruckus Wireless
Ruckus Wireless ZoneFlex 7982 Quick setup guide
Snap One
Snap One TS-PAMP4-125-V2 Regulatory compliance and safety information
Allied Telesis
Allied Telesis AT-TQ4400e Quick installation guide
Ubiquiti
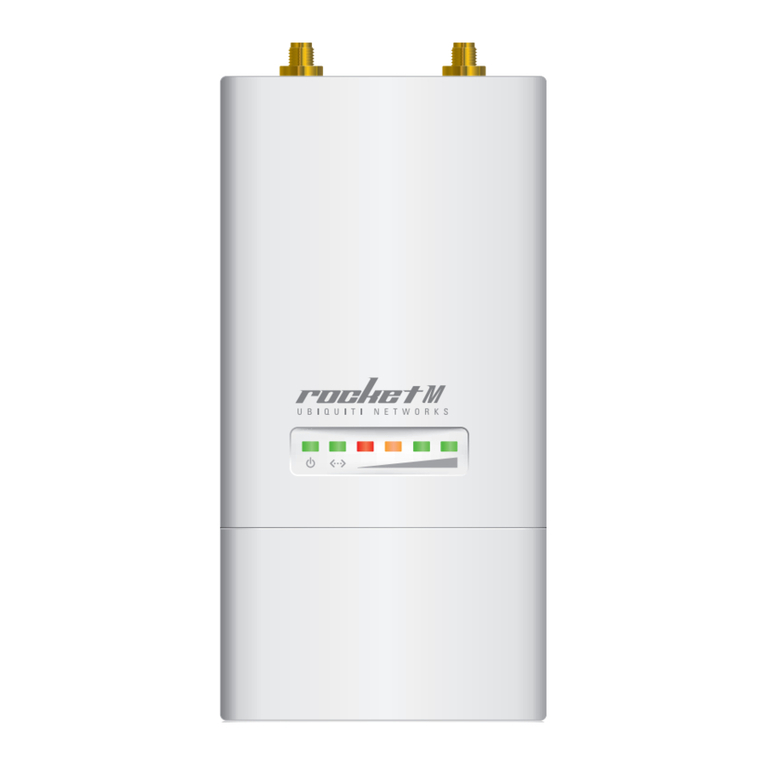
Ubiquiti Rocket M Series user manual
