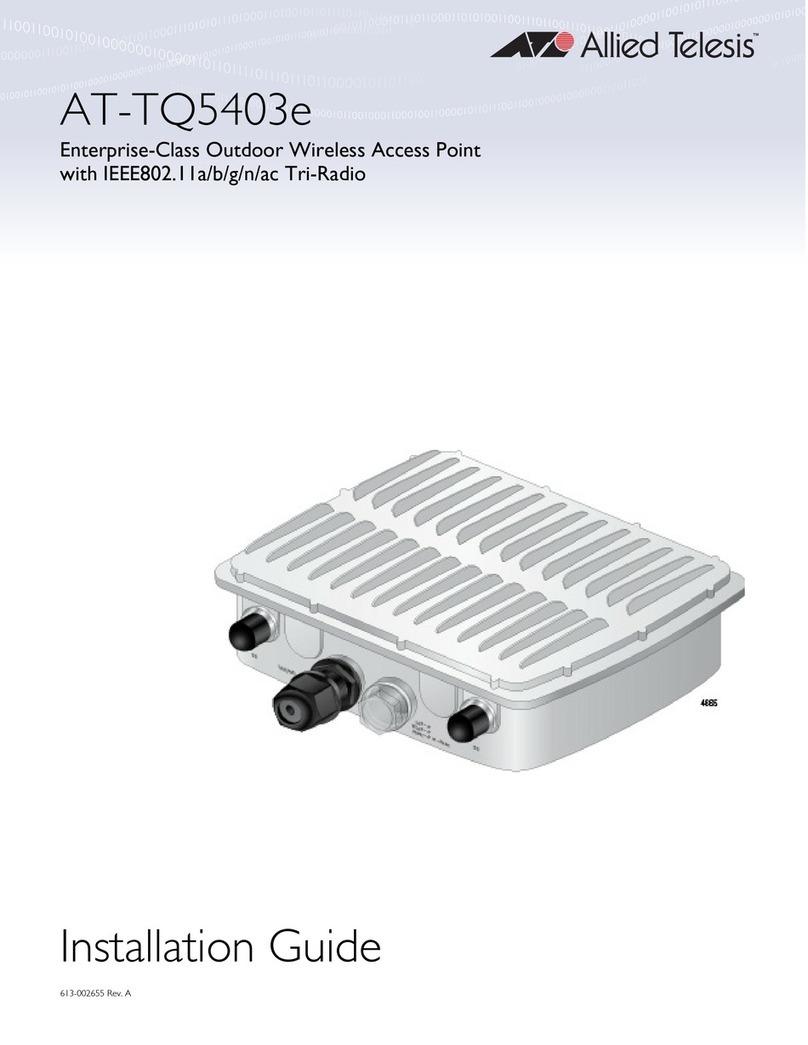
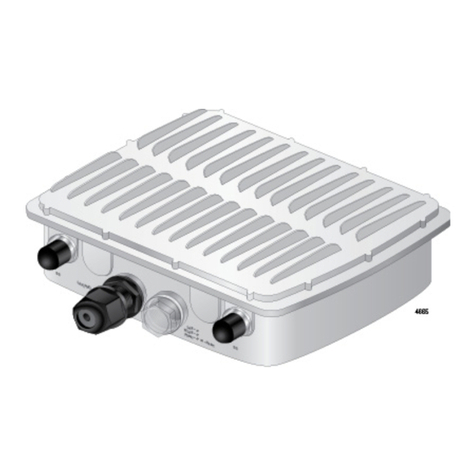
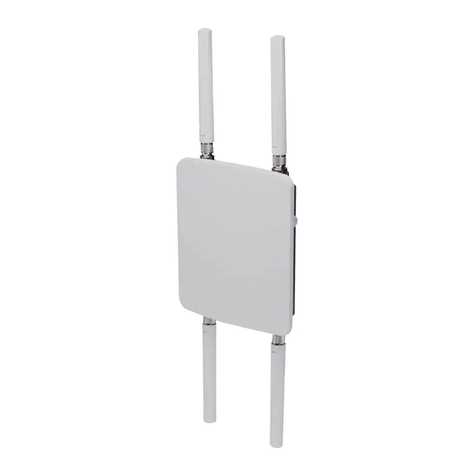
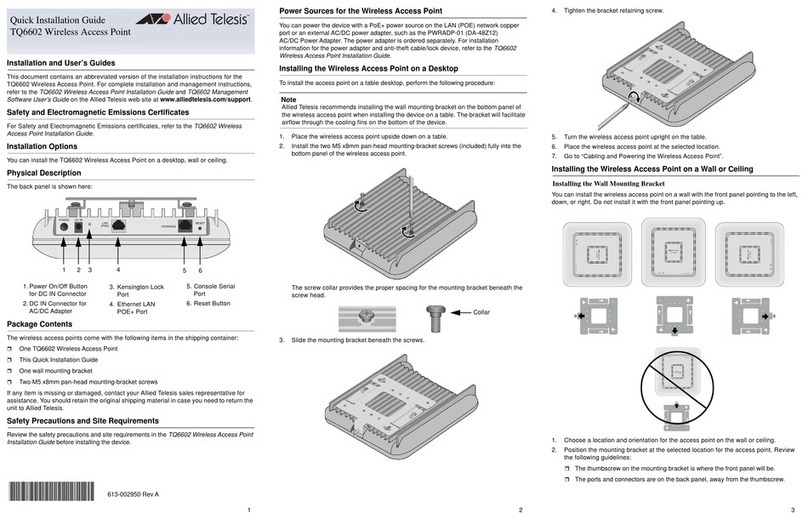
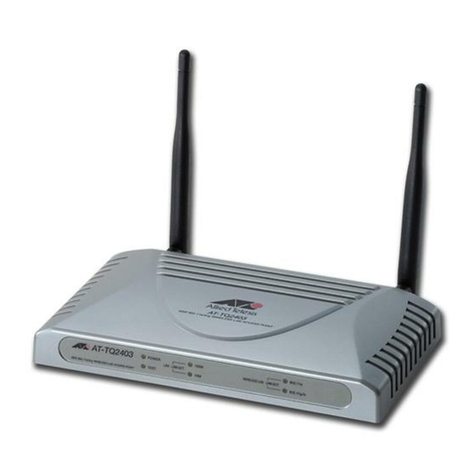
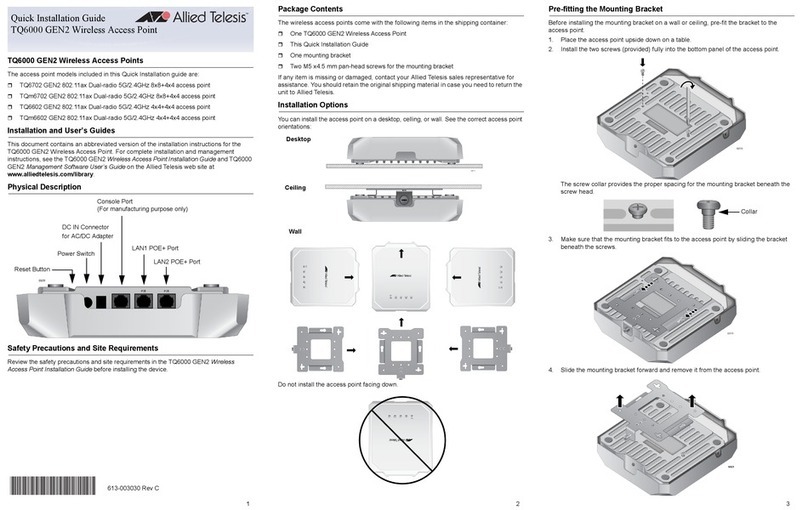
Attaching the Antennas to the Access Point
To attach the antennas the access point, perform the following procedure:
1. Screw a 5GHz antenna into a 5GHz antenna connector. Repeat this step for the
second 5GHz antenna.
2. Screw a 2.4GHz antenna into a 2.4GHz antenna connector. Repeat this step for the
second 2.4GHz antenna.
Starting the Initial Management Session
This section contains an abbreviated version of the procedure for starting the initial
management session. For complete instructions, refer to the AT-TQ4400e installation
Guide or AT-TQ Wireless Access Point Series User’s Guide.
The wireless access point has a DHCP client. The default setting for the client is enabled.
When you connect the access point to a PoE switch for the first time, the access point
queries the subnet on the LAN port for a DHCP server. If a DHCP server responds to its
query, the access point uses the IP address the server assigns to it. If there is no DHCP
server, it uses the default IP address 192.168.1.230.
To start the initial management session, perform the following procedure:
1. Start the web browser on your management workstation.
2. Enter the IP address of the access point in the URL field of the web browser. The
address is one of the following:
If your network does not have a DHCP server, enter the default address
192.168.1.230.
If your network has a DHCP server, enter the IP address the DHCP server
assigned to the access point.
The access point displays the logon prompt.
3. Enter “manager” for the username and “friend” for the password. The username and
password are case-sensitive.
Setting the Country Setting
For instructions on setting the country setting, refer to the AT-TQ4400e installation Guide or
AT-TQ Wireless Access Point Series User’s Guide.
Note
The non-US model of this product has a country code setting that must be set during
the initial management session of the unit. The setting ensures that the unit operates
in compliance with the laws and regulations of your country or region.
The country code for the US model is preset and cannot be changed. Per FCC
regulations, the country code setting for all WiFi products marketed in the US must be
fixed to US operational channels only.
Federal Communication Commission Interference Statement
This device complies with Part 15 of the FCC Rules. Operation is subject to the following
two conditions: (1) This device may not cause harmful interference, and (2) this device
must accept any interference received, including interference that may cause undesired
operation.
This equipment has been tested and found to comply with the limits for a Class B digital
device, pursuant to Part 15 of the FCC Rules. These limits are designed to provide
reasonable protection against harmful interference in a residential installation. This
equipment generates, uses and can radiate radio frequency energy and, if not installed and
used in accordance with the instructions, may cause harmful interference to radio
communications. However, there is no guarantee that interference will not occur in a
particular installation. If this equipment does cause harmful interference to radio or
television reception, which can be determined by turning the equipment off and on, the user
is encouraged to try to correct the interference by one of the following measures:
Reorient or relocate the receiving antenna.
Increase the separation between the equipment and receiver.
Connect the equipment into an outlet on a circuit different from that to which the
receiver is connected.
Consult the dealer or an experienced radio/TV technician for help.
FCC Caution: Any changes or modifications not expressly approved by the party
responsible for compliance could void the user's authority to operate this equipment.
This transmitter must not be co-located or operating in conjunction with any other antenna
or transmitter.
The transmission in the band from 5600-5650MHz is disabled by the software installed on
the device. You cannot change this setting. This device meets all the other requirements
specified in Part 15E, Section 15.407 of the FCC Rules.
Radiation Exposure Statement
This equipment complies with FCC radiation exposure limits set forth for an uncontrolled
environment. This equipment should be installed and operated with minimum distance
34cm between the radiator & your body.
Industry Canada Statement
This device complies with RSS-247 of the Industry Canada Rules. Operation is subject to
the following two conditions: (1) This device may not cause harmful interference, and (2)
this device must accept any interference received, including interference that may cause
undesired operation.
Ce dispositif est conforme à la norme CNR-247 d'Industrie Canada applicable aux
appareils radio exempts de licence. Son fonctionnement est sujet aux deux conditions
suivantes: (1) le dispositif ne doit pas produire de brouillage préjudiciable, et (2) ce
dispositif doit accepter tout brouillage reçu, y compris un brouillage susceptible de
provoquer un fonctionnement indésirable.
Caution:
(i) the device for operation in the band 5150-5250 MHz is only for indoor use to reduce the
potential for harmful interference to co-channel mobile satellite systems;
(ii) the maximum antenna gain permitted for devices in the bands 5250-5350 MHz and
5470-5725 MHz shall comply with the e.i.r.p. limit; and
(iii) the maximum antenna gain permitted for devices in the band 5725-5825 MHz shall
comply with the e.i.r.p. limits specified for point-to-point and non point-to-point operation as
appropriate.
(iv) Users should also be advised that high-power radars are allocated as primary users
(i.e. priority users) of the bands 5250-5350 MHz and 5650-5850 MHz and that these radars
could cause interference and/or damage to LE-LAN devices.
Avertissement:
Le guide d’utilisation des dispositifs pour réseaux locaux doit inclure des instructions
précises sur les restrictions susmentionnées, notamment:
(i) les dispositifs fonctionnant dans la bande 5 150-5 250 MHz sont réservés uniquement
pour une utilisation à l’intérieur afin de réduire les risques de brouillage préjudiciable aux
systèmes de satellites mobiles utilisant les mêmes canaux;
(ii) le gain maximal d’antenne permis pour les dispositifs utilisant les bandes 5 250-5 350
MHz et 5 470-5 725 MHz doit se conformer à la limite de p.i.r.e.;
(iii) le gain maximal d’antenne permis (pour les dispositifs utilisant la bande 5 725-5 825
MHz) doit se conformer à la limite de p.i.r.e. spécifiée pour l’exploitation point à point et non
point à point, selon le cas.
(iv) De plus, les utilisateurs devraient aussi être avisés que les utilisateurs de radars de
haute puissance sont désignés utilisateurs principaux (c.-à-d., qu’ils ont la priorité) pour les
bandes 5 250-5 350 MHz et 5 650-5 850 MHz et que ces radars pourraient causer du
brouillage et/ou des dommages aux dispositifs LAN-EL.
Radiation Exposure Statement:
This equipment complies with IC radiation exposure limits set forth for an uncontrolled
environment. This equipment should be installed and operated with minimum distance
36cm between the radiator & your body.
Déclaration d'exposition aux radiations:
Cet équipement est conforme aux limites d'exposition aux rayonnements IC établies pour
un environnement non contrôlé. Cet équipement doit être installé et utilisé avec un
minimum de 36cm de distance entre la source de rayonnement et votre corps.
European Union Restriction of the Use of Certain Hazardous
Substances
(RoHS) in Electrical and Electronic Equipment
This Allied Telesis RoHS-compliant product conforms to the European Union Restriction of
the Use of Certain Hazardous Substances (RoHS) in Electrical and Electronic Equipment.
Allied Telesis ensures RoHS conformance by requiring supplier Declarations of Conformity,
monitoring incoming materials, and maintaining manufacturing process controls.
Europe - EU Declaration of Conformity
This device complies with Directive 2014/53/EU issued by the Commission of the
European Community. For more information, refer to the AT-TQ4400e Installation Guide.
Note: Contact Allied Telesis for the EU conformity statement. To contact Allied Telesis, visit
our web site at www.alliedtelesis.com.
Product Specifications
For product specifications, refer to the AT-TQ4400e Installation Guide.
Copyright 2017 Allied Telesis, Inc.
All rights reserved.
No part of this publication may be reproduced without prior written permission from Allied
Telesis, Inc.
Allied Telesis and the Allied Telesis logo are trademarks of Allied Telesis, Incorporated. All
other product names, company names, logos or other designations mentioned herein are
trademarks or registered trademarks of their respective owners.
Allied Telesis, Inc. reserves the right to make changes in specifications and other
information contained in this document without prior written notice. The information
provided herein is subject to change without notice. In no event shall Allied Telesis, Inc. be
liable for any incidental, special, indirect, or consequential damages whatsoever, including
but not limited to lost profits, arising out of or related to this manual or the information
contained herein, even if Allied Telesis, Inc. has been advised of, known, or should have
known, the possibility of such damages.
4 5 6
