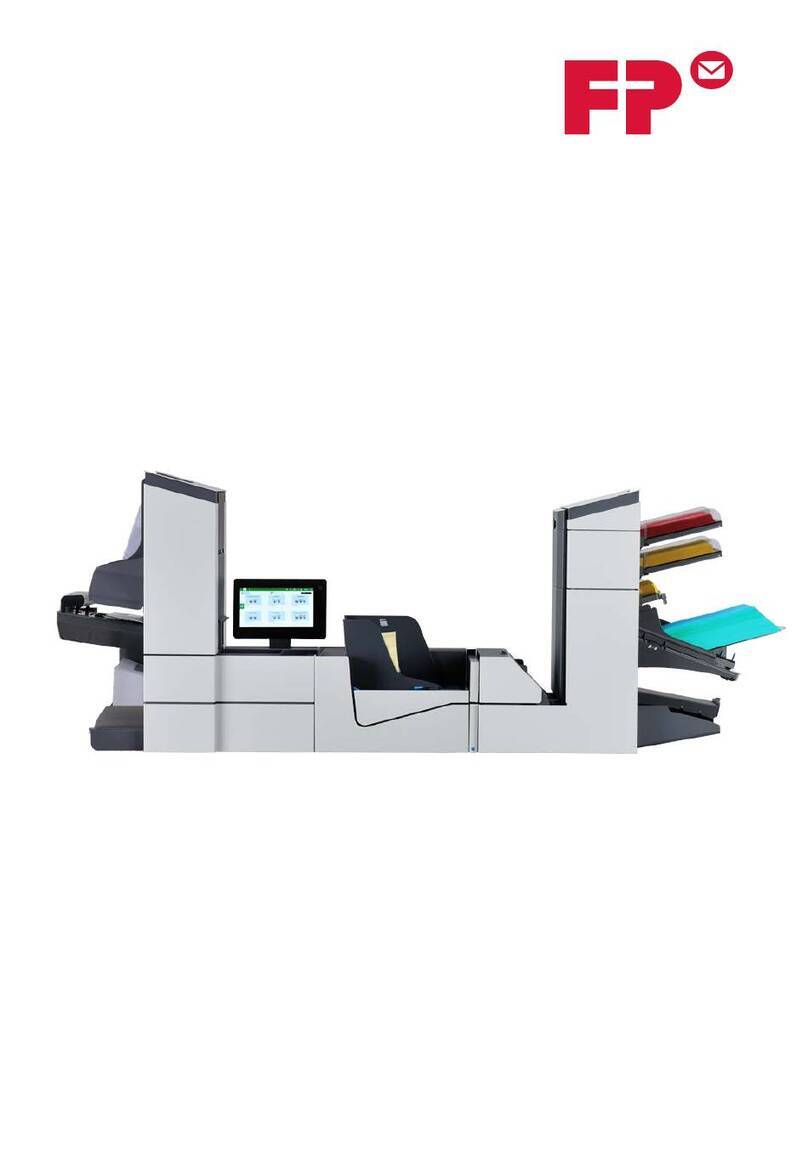
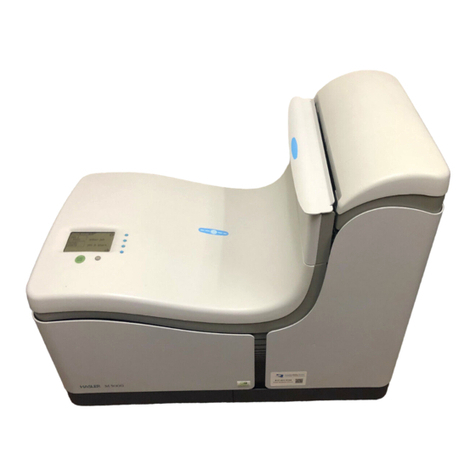
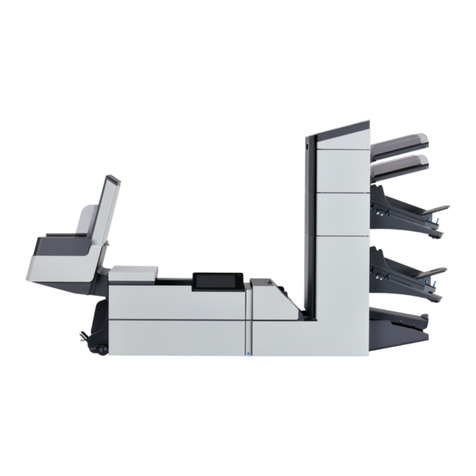
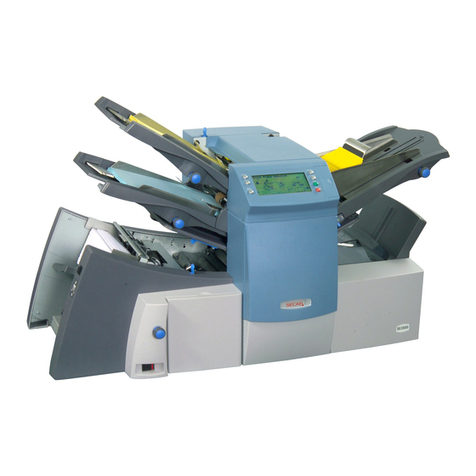
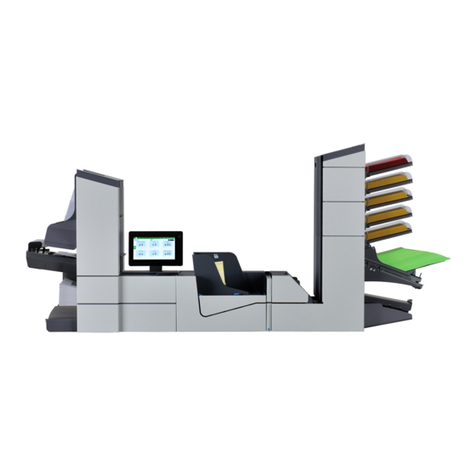
FP FPi 5700 User manual

User Guide I English
FPi 5700
www.fp-usa.com Revised 02/02/2020

Table of Contents
Read this First ...............................................................................................11
Safety...............................................................................................................1
Declaration of Conformity (EU only).................................................................1
About this manual............................................................................................1
How this Help Works ....................................................................................32
Help Menu........................................................................................................3
User Guide.......................................................................................................4
Remote Assistance (optional)..........................................................................5
Meet your Document System ......................................................................63
Introduction......................................................................................................6
System Overview.............................................................................................7
Operating Controls...........................................................................................9
Control Panel.................................................................................................10
Power Up........................................................................................................11
How to Operate the Touch Screen.................................................................13
Use a Web Browser.......................................................................................15
What is a Job?...............................................................................................16
Job List...........................................................................................................17
Job Overview.................................................................................................18
High Capacity Document Feeder (HCDF)......................................................21
MaxiFeeder....................................................................................................22
Installation of the Side Exit.............................................................................23
Catch Tray for Side Exit..................................................................................24
Installation of the High Capacity Vertical Stacker (HCVS-1)..........................25
Shut Down the System...................................................................................26
Working with Jobs ......................................................................................274
Introduction....................................................................................................27
| Page 1 | TOC | Oct-09-2019 11:36 |

Use an Existing Job.......................................................................................27
Create a New Job..........................................................................................28
About Automatic Jobs....................................................................................29
Create an Automatic Job................................................................................29
Create a Manual Job......................................................................................30
Create a test mail set.....................................................................................40
Mail Sets........................................................................................................46
Change to Another Feeder Tray.....................................................................50
Link Feeder Trays...........................................................................................51
Edit a Job.......................................................................................................52
Save a Job.....................................................................................................52
Delete or Move an Enclosure.........................................................................53
Copy a Job.....................................................................................................54
Delete a Job...................................................................................................54
Rename a Job................................................................................................55
Lock a Job......................................................................................................56
Loading the System ...................................................................................575
Document Orientation....................................................................................57
Document Feed Trays....................................................................................58
Load Envelopes.............................................................................................69
Filling the Sealing Liquid Reservoir................................................................71
Settings menu .............................................................................................726
Open the Settings Menu................................................................................72
The Settings Menu Supervisor.......................................................................73
Supervisor Settings Menu..............................................................................74
Connect the System to the Internet ..........................................................917
Options for Connection..................................................................................91
Set up a Wired Connection............................................................................91
Set up a Wireless Connection........................................................................93
Test the Connection.......................................................................................95
| Page 2 | TOC | Oct-09-2019 11:36 |

Reading .......................................................................................................968
Introduction....................................................................................................96
OCR Code Description..................................................................................97
BCR Code Description...................................................................................99
OMR Code Description................................................................................103
Flex Reading Code Description...................................................................107
Create Jobs with Reading............................................................................108
Reading Settings..........................................................................................113
Exit Selection with Reading.........................................................................115
Operator Maintenance ..............................................................................1179
Maintenance Schedule................................................................................117
Clean and replace brushes..........................................................................118
Replace or Clean Moistening Cloth.............................................................118
Calibrate Photocells.....................................................................................119
Fault Finding .............................................................................................12110
Messages.....................................................................................................121
Clearing stoppages......................................................................................124
Operator Troubleshooting.............................................................................130
Troubleshooting Table..................................................................................131
Specifications ...........................................................................................13611
Technical Specifications...............................................................................136
Hopper and Feeder Capacity.......................................................................137
Configuration Dimensions............................................................................137
Document and Insert Specifications............................................................138
Envelope and Document Set Specifications................................................139
maxiFeeder Specifications...........................................................................140
Terminology ..............................................................................................14112
Terminology..................................................................................................141
| Page 3 | TOC | Oct-09-2019 11:36 |

| Page 4 | TOC | Oct-09-2019 11:36 |

Read this First1
Safety
Ensure you have read and fully understood the safety requirements
in the Safety Guide.
Declaration of Conformity (EU only)
The product presented in this guide meets the requirements of applicable directives. For
more details refer to the Declaration of Conformity. Contact your authorized distributor for
availability of this document.
About this manual
Disclaimer
This Guide is published without any warranty. Improvements and changes to the online
Guide necessitated by typographical errors, inaccuracies of current information, or
improvementstoprogramsand/orequipment,maybemadeatanytimeand without notice.
Such changes will, however, be incorporated into new editions of the PDF Guide (if
applicable).
1
| Page 1 | Oct-09-2019 11:36 | Read this First
1
English

Symbols
This manual uses the symbols listed below.
Indicates...This symbol...
WARNING: Indicates a human safety hazard.
ATTENTION: A risk to the equipment or mail could result from an action
you may perform.
NOTE: A remark that explains different cases or specificities.
TIP: Advice to help save you time when processing your mail.
SUPERVISOR: Indicates that you have to use the supervisor menu to
perform the procedure.
Languages
In the EU the user guide must be available in the national language(s) of the country where
the system is delivered. Therefore, if the User Guide is not available in your country’s
language(s), contact your authorized distributor.
Software
The software used for the reading option is based in part on the work of the Independent
JPEG Group.
2
| Page 2 | Oct-09-2019 11:36 | Read this First
1
English

How this Help Works2
Help Menu
The help button [?] gives access to help topics via a pull-down menu.
The contents of the help menu can be different for your situation. The help menu can contain
the following topics:
• Search; use the search engine to find a specific topic.
• User Guide; user instructions describing how to use the system.
• FAQ's (option); when the system is connected to the internet, frequently asked
questions are answered here (option).
• What can I do here; a list with relevant help topics related to the current screen.
• Remote assistance (option); online remote assistance for helpdesk guidance. Call
the phone number that is displayed and follow the instructions of the support assistant.
3
| Page 3 | Oct-09-2019 11:36 | How this Help Works
2
English

User Guide
You can use this guide as follows:
1. Use the contents overview to browse the contents. When you are finished you can
close the User Guide with the Close button.
2. To keep the topic from the User Guide active, you can use the Minimize button. When
you click the active Help button, the User Guide is restored.
3. To search for topics; enter a keyword in the Searchbar and press the Search button.
To navigate through the User Guide:
• Tap to select.
• Swipe up/down to scroll.
• Double tap to zoom.
• Pinch in/out to zoom in/out.
See also How to operate the touchscreen.
4
| Page 4 | Oct-09-2019 11:36 | How this Help Works
2
English

Remote Assistance (optional)
Ask your authorized distributor if this feature is available for your
system/organization.
It is necessary that the system is connected to the internet.
(Online) Remote Assistance is a tool for help desk guidance. The Remote Assistance
screen can be entered by tapping on the "Remote Assistance" button in the Help menu.
Add the support key supplied by the support assistant and follow the instructions as indicated
by the support assistant.
2
English
5
| Page 5 | Oct-09-2019 11:36 | How this Help Works
Table of contents
Other FP Document Inserting System manuals
