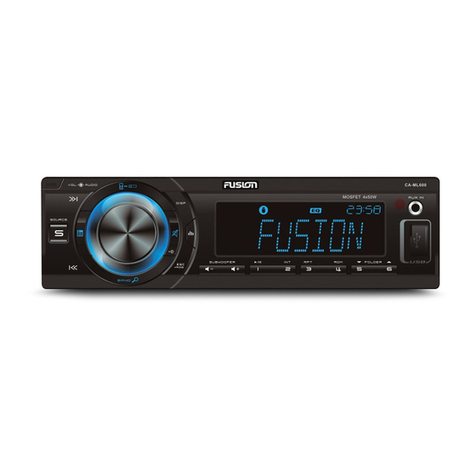
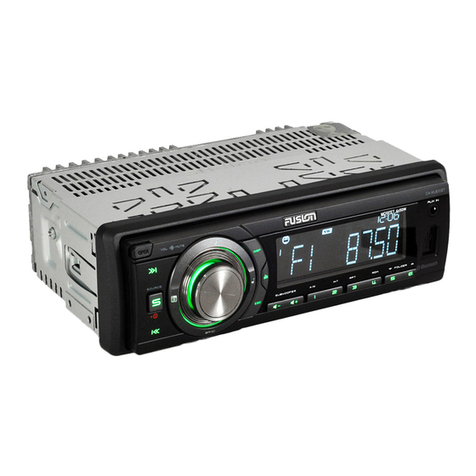
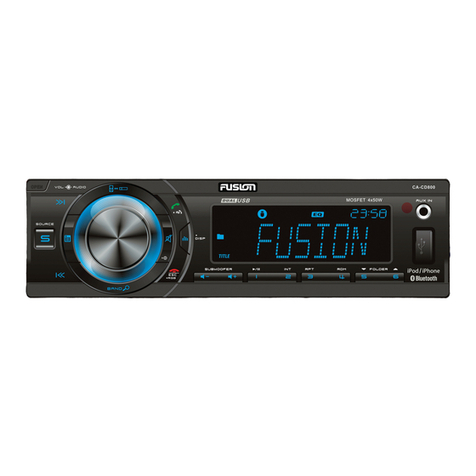
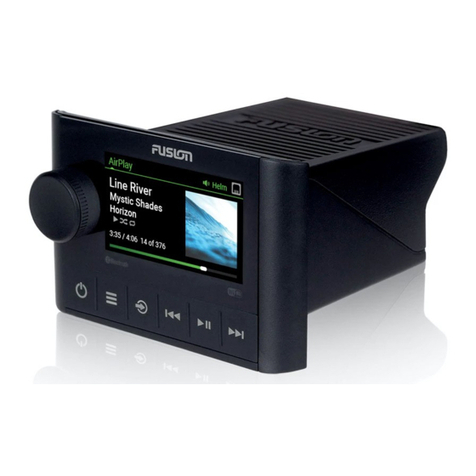
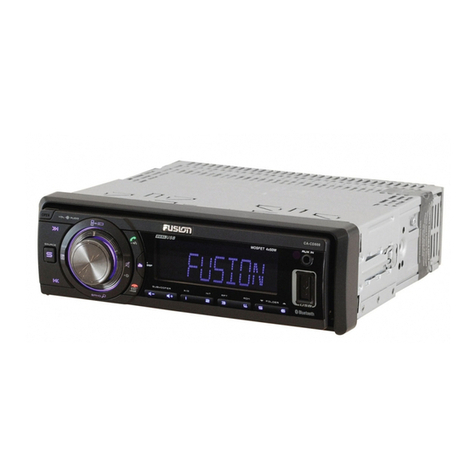
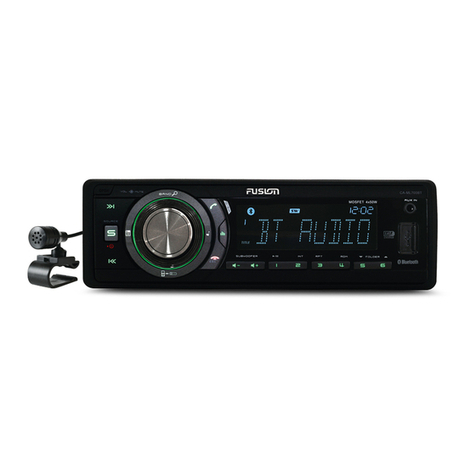
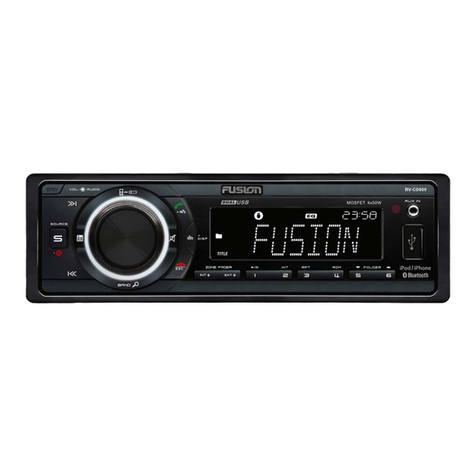
Fusion FCD-100M User manual


1
disc care
DO NOT stick tape on either side of the CD. Using such a CD may cause the
CD to be deformed and the sticker to peel off inside the CD Player. This will
result in malfunction of the unit. Keep you CD’s in a safe clean area to avoid
scratching either side of the disc.
avoid touching the surface
When handling disc’s where possible handle from the edges. Finger prints can
cause the CD Laser from reading the content. If you can see dirt or finger prints
on the media surface then use the method below to clean the CD surface.
special shape disc’s
Be sure to use standard round shape 12cm CD’s only in this unit. Any attempt
to play a non-standard disc may result in damage to the disc and/or CD unit.
cleaning the cd surface
Wipe the CD off gently using a commercially available cleaning cloth or a soft
cotton cloth. Wipe from the centre to the edge.
caution
DO NOT clean CD’s with benzene, thinners, LP record spray or other chemical
based cleaners. These may damage the CD.
new disc’s
When playing a new CD for this first time check that there are no rough edge’s
around the centre hole or outer edge.
contents
Disc care _____________________________ 1
Unit layout ____________________________ 2
Features _____________________________ 3
CD operation __________________________ 4
Radio operation ________________________ 6
disc care
Installation ___________________________ 7
Wiring diagram _______________________ 8
Trouble shooting ______________________ 9
Specifications ________________________ 10

Installation ___________________________ 7
Wiring diagram _______________________ 8
Trouble shooting ______________________ 9
Specifications ________________________ 10
2
1 power: Main Power ON/OFF Key.
2 vol up: Master Volume Increase Key.
3 vol down: Master Volume Decrease Key.
4 reset: Master RESET button behind the fold
down waterproof CD Loader Door.
5 Latch to Open the Waterproof CD Loader Door.
6 mode: Press to change Listening MODE.
RADIO, CD, AUX or CD Changer (optional).
7 eject: Press to eject the CD if loaded.
8 sel: Press to enter the audio adjustment menu,
VOL, BAS, TRE, BAL and FAD Settings. Adjust
Using Volume the VOL UP/DOWN Keys.
9 loud (dimmer): Short Key Press for LOUD
ON/OFF Function or 3 Second Long Key for
DIMMER ON/OFF.
10 play/pause (mute): In CD Mode press to
PLAY or PAUSE the CD. In RADIO and AUX
Mode Press to Mute the Sound.
11 band: In Radio mode press to select which
Radio Band (FM1, FM2, FM3, MW1 and MW2).
12 disp: Press to momentarily display the time.
13 scan: Press to SCAN for the best Radio
Stations, once found the until will pause for 5 secs
then continue to the next strongest.
14 Press automatically SCAN in reverse for a
station. Press and hold for 3 seconds until “MAN”
appears in the screen to indicate manual SCAN
mode. Then use the or buttons to search for
a station. If no button is press within 5 seconds then
“AUTO” will be displayed and automatic scanning
mode will resume.
15 Press
�
to RECALL Preset 1, 3 second press to
STORE into Preset 1.
16 Same as scanning direction but in the forward
direction.
17 Press
in radio mode to recall a preset
station or press for 3 seconds to store a preset.
18 Press
in radio mode to recall a preset
station or press for 3 seconds to store a preset.
19 Press
in radio mode to recall a preset
station or press for 3 seconds to store a preset.
20 Press
in radio mode to recall a preset
station or press for 3 seconds to store a preset.
21 Press
in radio mode to recall a preset
station or press for 3 seconds to store a preset.
22 Press
�
in radio mode to recall a preset
station or press for 3 seconds to store a preset.
23 Press
�
in radio mode to recall a preset
station or press for 3 seconds to store a preset.
24 Press
�
in radio mode to recall a preset
station or press for 3 seconds to store a preset.
25 Press
�
in radio mode to recall a preset
station or press for 3 seconds to store a preset.
26 as/ps (elapse): Press
for 3 seconds
to commence Auto Store proceedure. See Page 4
for more information.
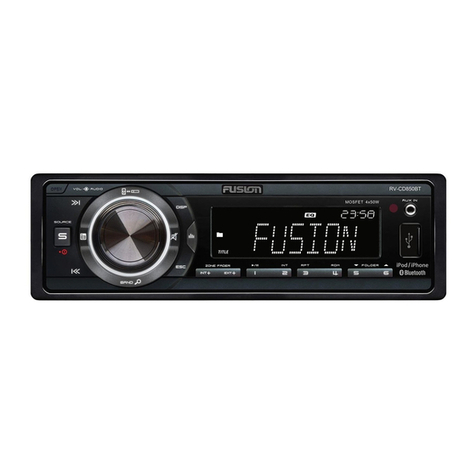
unit layout

3
features
audio beep
Pressing
for more than 3 seconds will toggle the
KEYPAD BEEP ON/OFF. When this function is ON
this icon appears in the lower right hand side of
the display.
loudness
LOUD feature is designed to reinforce the BASS
and TREBLE output at lower volumes. The display
will show “LOUD”. Press
to select or deselect
this function.
dimmer
The DIMMER has two settings. Press
key for
more than two seconds to toggle the backlight
brightness from 100% to 50%. Repeating this
process will go from 50% to 100%.
mute (pause)
- In RADIO or AUX IN mode, pressing the
MUTE key will silence the audio output from
the FCD-100M. Pressing again will resume
normal listening.
- In CD mode, this key will PAUSE the track.
The display will show “PAUS”. Press this key
again to resume normal playback.
mode
Press
to scroll through the available modes
of operation. RADIO, CD, CDC and AUX IN. This
sequence will change if no CD changer is connected.
setting the clock
Press
key for 3 seconds to change the
display to the time flashing, then use the to
change minutes or to change the hours.
display priority
- To LOCK the display with the TIME as
priority, briefly press the and
keys
at the same time, “TIME” will be displayed
briefly. This confirms TIME lock is active.
- To UNLOCK the display and revert back to
FREQUENCY/TRACK TIME priority briefly
press and
keys at the same time,
“FRE” will be displayed briefly. This confirms
FREQUENCY lock is active.
reset
If your unit fails to respond to key or unwanted
operation is happening, resetting the unit may
clear this problem.
- Fold down the Waterproof CD loader
door and locate the RESET button 4 as
shown on Page 3.
- Use a small object like a coin to insert and
depress the reset button.
- The display will dim momentarily and reboot
the unit, if in CD mode the disc will also be
ejected.

4
cd operation
selecting tracks
During CD playback press or to step to the previous track or the next track. The respective track
number will be displayed. Pressing these buttons for more than 2 seconds will commence fast reverse
or fast forward music searching, playback will resume as normal when you release either button.
direct track access
By entering the 2 digit track number using the front keypad buttons
�
~
�
you can directly enter
the track you desire. For example, press button
�
, “T-01” will start flashing on the display, now press
within 2 seconds, now “T-12” will appear in the display and the track will start to play. If you don’t
press any button when “T-01” is flashing then track 1 will be played. If you select a track number that
isn’t valid “NO
TR” will appear on the display, this stands for NO TRACK.
pause playing
Press
to PAUSE playback while listening to a CD, press again to resume play.
repeat the same track
Press
for 3 seconds to engaged current track repeat, “RPT” is displayed during this time. To cancel
press
again for 3 seconds.
preview all tracks
Press
for 3 seconds to preview the first 10 seconds of each track, “INT” is displayed during this
time. To cancel press
again for 3 seconds, playback will continue from the current playing track.
random track playback
Press
for 3 seconds to engaged random track playback, all tracks on the current disc will be
randomly played, “RPT” is displayed during this time. To cancel press
again for 3 seconds.
program cd tracks
This program function allows you to program up to 32 tracks to play in any order. A CD must be
inserted and playing before this function can operate.
- Press
for 3 seconds to enter program playback mode, “PGM” starts flashing and “P-01” is
displayed.
- Press or to select the desired track number, press
to accept this track. “P-02” will now
be displayed.
- Repeat this proceedure until you fulfil you requirements, then press
for 3 seconds start program
playback of the CD. To cancel program playback press
again for 3 seconds.
note: The program function has a maximum playlist length or 32 tracks in any order. When you have
programmed 32 tracks “FULL” will appear on the display.

5
cd operation - cont
To clear the programmed playlist and exit this function, press
for 3 seconds during the program
playback. “CLR” will be displayed at which time the playlist is erased.
If you don’t press the
to start playlist programming within 10 seconds the unit will automatically exit.
If there is no playlist program in memory and you try to start program playback “NO-P” will appear. This
stands for NO PROGRAM available.
eject
Fold down the waterproof CD loader panel, if there is a disc loaded it will eject automatically. If the
waterproof loader cover is down already you can eject the disc by pressing the
button.
track time display
Press
to show running time of track.
direct disc access
To directly access a disc in the CD changer, press
“SHIFT” will appear on the display. Within 5
seconds press or to select the previous or next disc. If no key is pressed within 5 seconds the unit
will automatically exit this mode and return to the previous display. While “SHIFT” is displayed, you can
also enter the the direct access disc number for example pressing
�
will select disc 10. If you enter a
disc location that is empty the unit will display “NO Cd” will appear.
what discs to use
Be sure to use discs with following marks only for the unit to play:
The unit cannot play a CD-R and CD-RW that is not finalized. (Please refer to the manual of your
CD-R/CD-RW recorder or CD-R/CD-RW software for more information on the finalization process).
Depending on the recording status, conditions of the disc and the equipment used for the recording,
some CD-Rs/CD-RWs may not be played on this unit.

6
radio operation
band selection
In tuner mode, press the BAND button to select the desired band. The reception band will change in the
following order
automatically memory storing and program scanning
Automatic memory storing press AS/PS (ELAPSE) button for more than 3 seconds, the radio searches
from the current frequency and automatically checks the signal strength or each station until the 10
strongest stations are stored into the corresponding preset number. When completed, it will change to
scan preset station mode automatically.
program scanning
Press AS/PS (ELAPSE) button to commence preset station scan. The preset radio is holding at that
preset number for several seconds, and then searches again. Press AS/PS (ELAPSE) button again to
stop scanning when desired station is reached.
recalling and storing preset stations
To recall a preset press any button between
�
and
�
. To store a station into any preset memory
location, simply tune to the desired station and press for 3 seconds any preset location, when storing
complete a “CH ##” allocation will be displayed.
scan
Press
to scan through strong stations in the current band. The radio will pause for five seconds at
each strong station, at each pause the frequency will be flashing on the display. Pressing
again will
stop the scan and let you listen to the current station.
selectable frequency spacing
Use this to set the correct mode of operation for the Radio Tuner. USA or European radio frequency
spacing is available.
- While in radio mode, press and hold the BAND button, then press or to toggle between USA or
European frequency spacing.
- For EUROPEAN spacing, hold the BAND key then press
- For USA spacing, hold the BAND key then press
USA radio spacing is 200kHz for FM and 10kHz for AM.
EUROPEAN radio spacing is 50kHz for FM and 9k for AM (DEFAULT SETTING).

7
installation
Take out screw
before install.
Mounting Location
Dashboard
Mounting holes
Dashboard
Mounting Bracket
Mounting paper
Dashboard
Mounting plate
Rubber cover
Screw (M4x30)
Dashboard
Rubber cover
Mounting plate
pre-installation note
You must remove the two shipping screws from the
top of the unit before proceeding with the
installation. After removal you must attach the two
self adhesive plastic seals. These will be 30mm x
20mm in size and are supplied with the unit. NOT
doing this will compromise the units IPX5 rated
weather seal.
install the unit
1. Use the supplied mounting template to find a
suitable mounting location. Ensure you check
the front and back of the mounting area for any
obstructions and/or apparatus that may prevent
safe installation. If everything is clear, remove the
adhesive backing from the template and apply to
the chosen mounting area.
2. Examine the surface to identify what cutting tool
will be required. Typically a jigsaw or reciprocating
saw will cut most mounting surfaces. If unsure
seek professional advice. Proceed to cut the
rectangle shaped area as shown on the template.
3. Using a 5mm (0.2”) drill bit, drill the four
mounting holes as shown on the template.
Now attach the two mounting brackets onto the
rear side of the mounting surface using the
adhesive pads supplied.
note: The 4 holes that you drilled into the
mounting surface must line up exactly to the
brackets in order to successfully mount the unit.
4. Open the two rubber covers on each side of the
unit to access the units 4 mounting holes. Use
the 4 x M4 x 30mm screws to mount the unit to
the dashboard.
note: If you don’t install this unit according
to the installation instructions above, the factory
sealed IPX5 waterproof sealed may be compro-
mised.
caution

wiring diagram
8
+
-
+
-
+
-
+
-
Comes with 5 Meter cable

9
trouble shooting
Before going through the checklist, check wiring connection. If any of the problems persist after checklist
has been made, consult your nearest service dealer.
symptom cause solution
No power. The ignition switch is not on. If the power supply is
connected to the accessory
circuits, but the engine is not
moving, switch the ignition
key to “ACC”.
The fuse is blown. Replace the fuse.
Disc cannot be loaded Presence of CD disc inside Eject the disc in the player,
or ejected. the player. then insert the next.
Inserting the disc in reverse Insert the compact disc with
direction. the label facing upward.
Compact disc is extremely Clean the disc or try to play
dirty or defective disc. a new one.
Temperature inside the ship Cool off or until the ambient
Is too high. temperature return to normal.
Condensation. Leave the player off for an
hour or so, then try again.
No sound. Volume is in minimum. Adjust volume to a desired level.
Wiring is not properly Check wiring connection.
connected.
Sound skips. The installation angle is more Adjust the installation angle
than 30 degree. less than 30 degree.
The disc is extremely dirty or Clean the compact disc, then
it is a defective disc. try to play a new one.
The operation keys do not The built-in microcomputer Press the RESET button….
work is not operating properly due front panel is not properly fix
to noise. into its place.
The radio does not work. The antenna cable is not Insert the antenna cable firmly.
The station automatic connected.
selection does not work.
The signals are too weak. Select a station manually.

specifications
general
Power Supply Requirements _________________ 9 - 15 VDC Negative Ground
Chassis Dimensions _______________________ 178 (W) x 162 (D) x 50 (H)
audio
Audio Power Output _______________________ 4 x 50W MAX
Bass Adjustment __________________________ 100Hz : ±10 dB
Treble Adjustment _________________________ 10kHz : ±10 dB
Maximum Current Draw ____________________ 15A
Standby Current Draw ______________________ 18mA
cd player
Signal to Noise Ratio _______________________ >80 dB
Channel Separation ________________________ >55 dB
Frequency Response ______________________ >20Hz – 18 kHz
radio
for 3 bands (europe) for 2 bands (europe) for 2 bands (USA)
fm fm fm
87.5 to 108MHz 87.5 to 108MHz 87.5 to 107.9MHz
10.7MHz 10.7MHz 10.7MHz
3µV 3µV 3µV
>30dB >30dB >30dB
mw mw am
522 to 1620kHz 522 to 1620kHz 530 to 1720kHz
450kHz 450kHz 450kHz
32dBu 32dBu 32dBu
lw
144 to 290kHz
450kHz
35dBu
Frequency Coverage
IF
Sensitivity (S/N=30dB)
Stereo Separation
Frequency Coverage
IF
Sensitivity (S/N=20dB)
>30dB
Frequency Coverage
IF
Sensitivity (S/N=20dB)
10
Table of contents
Other Fusion Car Receiver manuals

Fusion
Fusion MS-BT100 User manual

Fusion
Fusion CA-CD850 User manual

Fusion
Fusion MS-BT100 User manual

Fusion
Fusion Apollo MS-RA670 Instruction manual

Fusion
Fusion CA-CD500 User manual

Fusion
Fusion CA-CD800 User manual

Fusion
Fusion Apollo MS-SRX400 User manual

Fusion
Fusion Apollo SRX400 User manual

Fusion
Fusion CA-CD700 User manual

Fusion
Fusion MS-CD80 User manual