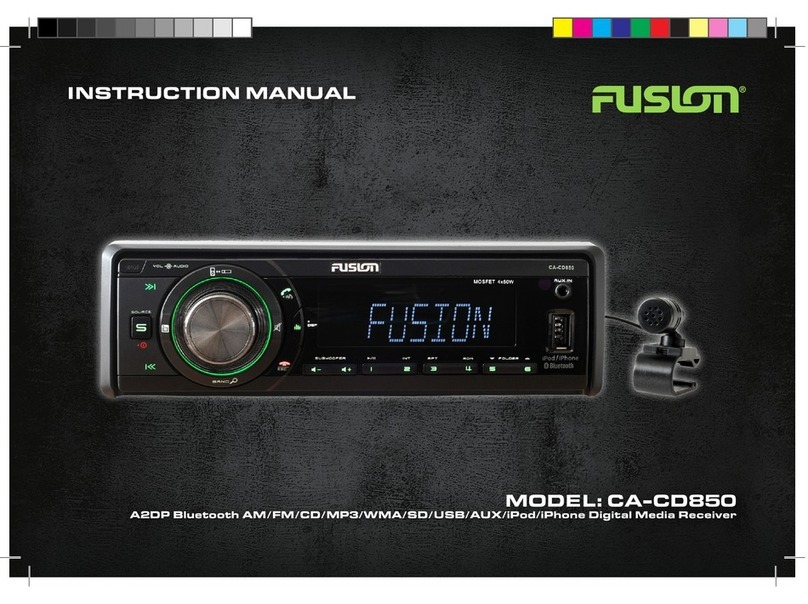
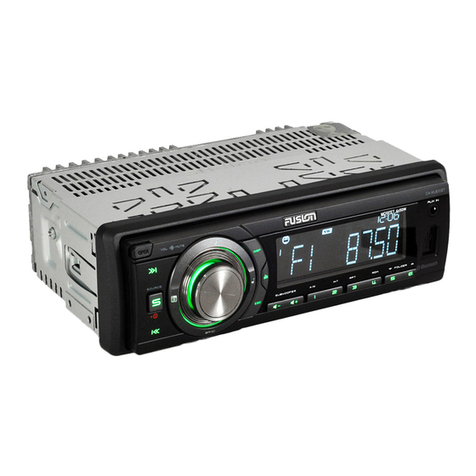
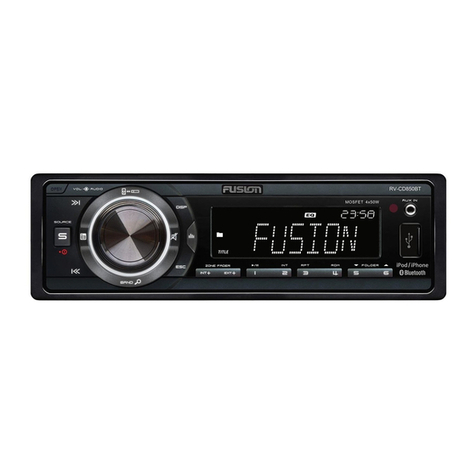
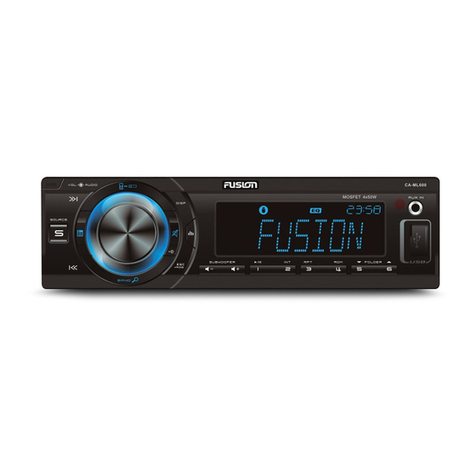
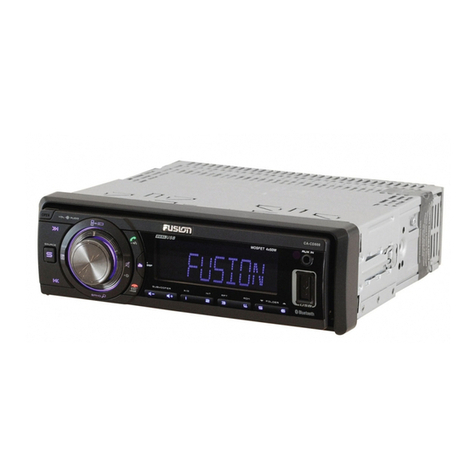
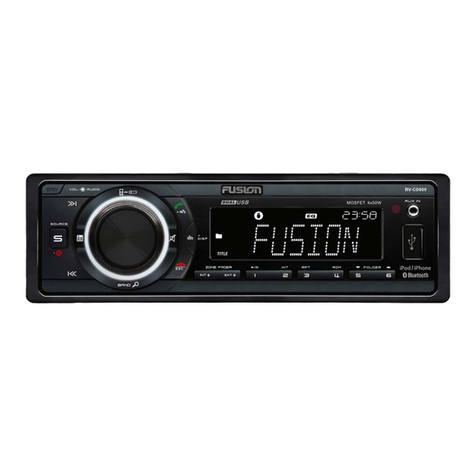
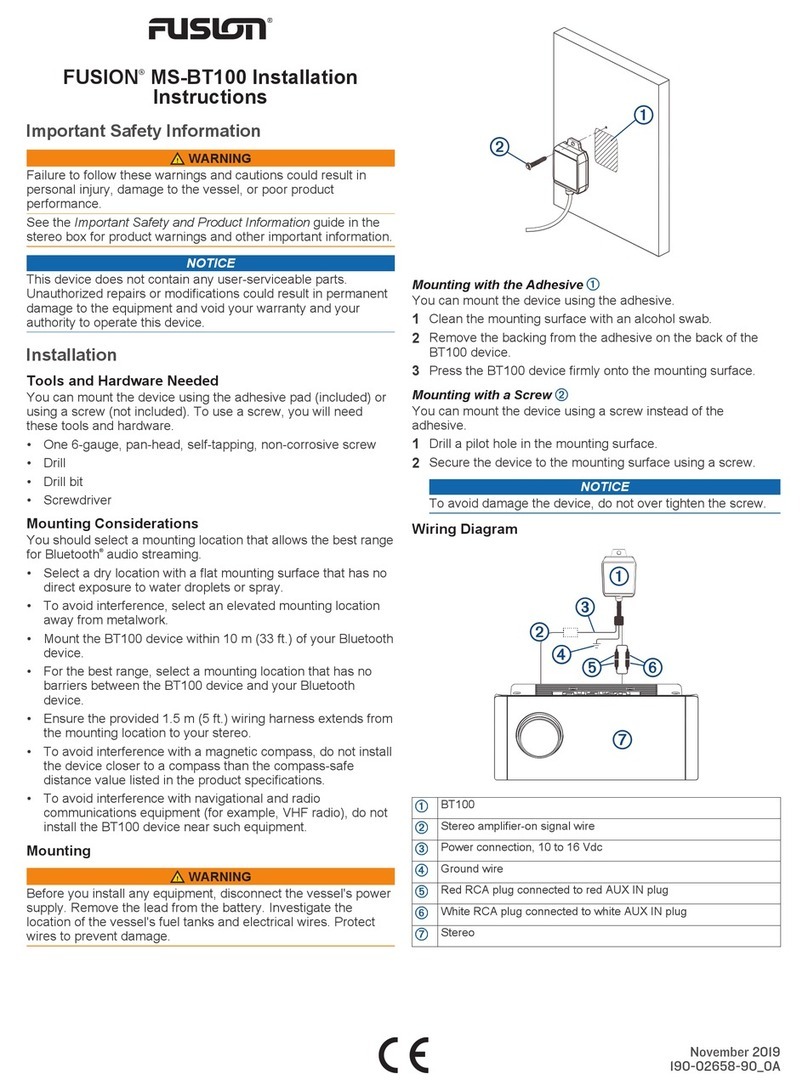
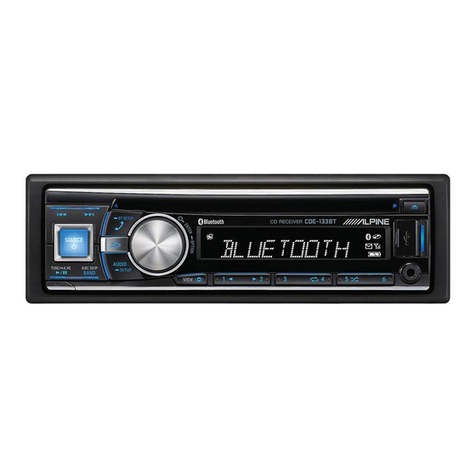
Fusion CA-ML700BT User manual

MODEL: CA-ML700
AM/FM/MP3/WMA/SD/USB/AUX/iPod/iPhone SOURCE UNIT
USER MANUAL
MODEL: CA-ML700BT
A2DP BLUETOOTH/AM/FM/MP3/WMA/SD/USB/AUX/iPod/iPhone
SOURCE UNIT

2
CONTENTS
Precautions & Maintenance P3
Quick Start Guide P3
Dashboard Installation P4
Removal / Re-Attachment of the Face P4
Connecting the System P5
Basic Operations P7
Audio Functions P9
System Menu P9
Radio Operation P10
iPod / iPhone Operation P11
Media Playback (USB/SD) P12
Bluetooth Operation (700BT Only) P13
Additional Media Playback Options P15
Troubleshooting P17
How To Reset The Unit P17
Product Specications P18
Supported File Types P18
Licensing P19
Register Your Product P19
Warranty P20-27
WWW.FUSIONENTERTAINMENT.COM

3
PRECAUTIONS &
MAINTENANCE
GENERAL
• When cleaning the vehicle, do not get water or cleaning
uids on the unit.
• Do not attempt to open the unit chassis. There are no
user servicable parts or adjustments inside.
• This unit has been tested with all compatible authentic
iPod/iPhone models under normal expected operating
conditions, free from any pre-existing defects in either the
unit or iPod/iPhone and with unmodied software.
• No Responsibility can be taken for use of the unit other
than under normally expected operating conditions
in conjunction with fully functional and undamaged
iPod/iPhone units which have been manufactured and
authorised by Apple Inc.
• Ensure that only a genuine Apple sync iPhone/iPod
cable is used for connection to this unit.
QUICK START GUIDE
TUNER REGION SETTING
When the unit is powered up for the rst time (or the
battery is disconnected or runs at), you will need to set
your tuner region.
1. When you press the power button to turn on the unit
[OCEANIA] will be displayed on the LCD screen as the
default Tuner region.
2. Rotate the Encoder Volume Control to select an option:
OCEANIA (Australia / New Zealand), USA, EUROPE or
RUSSIA.
3. Press the Encoder Volume Control to store your
selection and exit to the Tuner mode.
If you make the wrong selection, you may not be able to
tune in to your desired stations. This setting can be easily
changed from the SYSTEM MENU — see page 9.
SELECTING THE MUSIC SOURCE
Press the source button to cycle through the following
sources (if available)
Radio > USB > SD > AUX>BT AUDIO (700BT Only)

4
REMOVAL / ATTACHING THE FACE
1. Press the Panel OPEN button.
2. Hold the left-hand side of the Face and pull forward
3. Pull the Face towards you (1) to disengage it from
the chassis (2).
DASHBOARD INSTALLATION
The following illustration shows a typical installation.
If you have any questions or require information regarding
installation kits, consult your car audio retailer.
If you are not sure how to install this unit correctly, have it
installed by a qualied installer.

5
WIRING DIAGRAM CA-ML700
CONNECTING THE SYSTEM

6
WIRING DIAGRAM CA-ML700BT
CONNECTING THE SYSTEM

7
700/BT BASIC OPERATIONS
1. OPEN
Press this button detach the control panel.
2. ENCODER VOLUME CONTROL
Rotate the encoder volume to increase and decrease the volume.
3. BAND/SEARCH
a) In Tuner mode, press this button to cycle through
Bands:
FM1, FM2, FM3, AM1 (MW1) or AM2 (MW2).
b) In Media playback mode, press to access the folder /
le search mode.
c) In iPod/iPhone playback mode, press this button to
access the iPod/iPhone search functions.
4. ENCODER VOLUME CONTROL MUTE/ENTER
FUNCTIONS
a) MUTE. Press this button to turn Mute ON or OFF
b) ENTER. In Media playback mode and Menu functions,
press this button to conrm a selection (ENTER).
5. AUDIO
Press this button to enter the Audio Menu mode.
6. DISP - DISPLAY
a) In MP3/WMA playback mode, press to display ID3
information: Track number and elapsed play Time - > File
- > Album - > Title - > Artist.
b) In iPod/iPhone playback mode, press to display Album
-> Title -> Artist
7. NUMERIC BUTTONS
a) In the Tuner mode, press the Numeric buttons to recall
the preset stations. Press and hold these buttons for 2
seconds to store stations.
b) In Media playback mode, Press the Numeric buttons to
perform the operations below:
8. SUBWOOFER – DIRECT SUBWOOFER LEVEL
CONTROL
When a subwoofer is connected; use the DSLC buttons to
adjust the subwoofer level up or down.
9. EQ
Press this button to select the preset equaliser settings:
FLAT->POP->USER->DANCE->ROCK->CLASSIC->JAZZ-
>VOCAL
7

8
10. ESC
ESC – ESCAPE. Press to quick return previous menu
or mode rather than having to cycle through all of the
options in the menu.
11. iPod/iPhone INTERNAL/EXTERNAL CONTROL
Press this button to switch between iPod/iPhone control
from either the unit or from the device itself.
12. MENU
Press to access the system menu. See Page 8 for menu
options.
13. TUNE UP/DOWN, FILE & TRACK UP/DOWN &
FAST FORWARD/BACK
a) TUNE UP/DOWN. In tuner mode, press this button
to Auto Seek to the next station or press and hold this
button to manually tune in to your desired station.
b) FILE & TRACK UP/DOWN. In USB/SD media playback
mode, press these buttons to skip a chapter, track or le.
c) FAST FORWARD/BACK. In USB/SD media playback
mode, press and hold momentarily to fast forward/rewind.
14. SOURCE BUTTON/ POWER ON OR OFF
Press the Source Button to cycle through the following
sources if available: Radio: USB: SD: AUX:BT(700BT Only)
Hold and press to power on or power off.
700BT BASIC OPERATIONS
15. ANSWER KEY (700BT Only)
In Bluetooth Handsfree mode:
a) Press this button to answer an incoming call.
b) Press & hold for 2 seconds to transfer the call from the
CA-ML700BT back to the Mobile Phone.
16. ESC/END (700BT Only)
a) ESC – ESCAPE. Press to quick return previous menu or mode
rather than having to cycle through all of the options in the menu.
b) END – In Bluetooth Handsfree mode, press to END a call or to
Reject an incoming call (before you answer).
16
15

9
NOTE
If the Subwoofer RCA output is set to “OFF”, then the SW LPF &
SWAM functions will not be displayed.
EQUALISER OPERATION
When you activate the Equaliser, the Pre-Set Equaliser settings
override your existing Bass, Midrange & Treble Settings.
Press the Equaliser button repeatedly to cycle through the
following pre-sets: FLAT->POP->USER->DANCE->ROCK-
>CLASSIC->JAZZ->VOCAL
To return to the Bass & Treble settings that were in use before
the EQ was selected, please select the USER setting.
SYSTEM MENU
Press (MENU) to access the System Menu and press
again to select the item be adjusted, then rotate Encoder
Volume Knob to select a value / option. To exit this menu
at any time, press the ESC button
STORE (Auto store)
While in Tuner mode, press the ENCODER VOLUME
CONTROL to activate Auto Store. The six strongest stations
of the selected band will be saved in the preset channels
automatically
LOC* ON/OFF
(Local/Distance). Use this setting to Auto Seek to strong
local stations (Local) or all stations regardless of their
strength (Distance).
AUDIO FUNCTIONS
Audio functions are easily accessable on the ML700/700BT.
AUDIO MENU. Press the AUDIO BUTTON (button 5)
to access the Audio Menu mode. Then press ENTER
or TUNE UP to select the Audio Function to be
adjusted, then rotate the ENCODER VOLUME CONTROL
to select the desired setting. You can always return to the
previous Audio Function by pressing the TUNE DOWN
button.
REMINDER
In the AUDIO MENU, or in any menu, you can quickly exit the
menu by pressing the ESC button
EBX ON/OFF: Turn ON or OFF the EBX (Encounter Bass
Xtender) Bass Boost.
BAS (Bass) Adjust the Bass level between -7 to +7.
TRE (Treble) Adjust the Treble level between -7 to +7.
BAL (Balance) Adjust the balance between the right and left
speakers from 12R (full right) to 12L (full left).
FAD (Fader) Adjust the fader between the front and rear
speakers from 12R (full rear) to 12L (full front).
(SUBWOOFER)
SW ON/OFF Turn On or Off the Subwoofer RCA output.
SWAM ON/OFF In AM mode, turn ON or OFF the Sub
output.

10
AREA
Select your country/region for the tuner:
OCEANIA (Australia/New Zealand); USA; EUROPE;
RUSSIA & press ESC to save.
CLK (Clock)
To set the clock, rotate the Encoder Volume Control to
set the hours (Note “A” or “P” will be displayed in the
top-right hand of the LCD display indicating AM or PM if
the clock is in 12H mode – see below). Press the Encloder
Volume control to select “minutes” then rotate the control
to set.
CLK 12H/24H (Clock Format)
Select the time format 12H or 24H
BEEP ON/OFF
Select On or Off to activate button conrmation beep
tones.
BUTTON COLOUR
This unit is equipped with a Ice White colour display,
with selectable key illumination in the following colours:
FUSION Green and Ocean Blue.
RADIO OPERATION
TUNE INTO A RADIO STATION
1. Press the SOURCE button repeatedly until [RADIO] is
displayed on the LCD screen.
2. Select your preferred listening Band (FM or AM) by pressing
BAND . There are 3 FM Bands [FM1] [FM2] [FM3] and 2 AM
Bands [AM1] [AM2]. These multiple Bands allow you to store up
to 18 FM stations & 12 AM stations in memory (see below).
3. To search for a radio station, press either the TUNE UP or
DOWN buttons to search for the next station higher
than the current station frequency or lower than the current
frequency.
4. To Manually tune to a radio station, press and hold either the
TUNE UP or DOWN button until the tuner frequency
on the LCD display starts ashing. You can then release the TUNE
UP or DOWN button, and press it again repeatedly until you
select your desired frequency. After 5 seconds, the display will
stop ashing and the unit will be tuned in to that station.
HOW TO STORE YOUR FAVOURITE STATIONS
1. Select you preferred Band. Generally you would use FM1 or
AM1 to save you favourite stations (6 stations per band). If you
need to store more stations, you can use FM2/3 or AM2 for AM
stations.
2. Tune in to your preferred station as per the steps above
3. Press and hold one of the Preset Station Buttons (1-6) for 2
seconds to store the station. The preset number and [SAVED] will
be dislayed on the LCD screen.

11
TUNE TO A SAVED or PRE-SET STATION
1. Select the relevant BAND
2. Press the Preset Station Number corresponding to your
required Pre-Set station.
iPod/iPhone OPERATION (700/700BT ONLY)
This unit is equipped with iPod/iPhone control which
allows you to directly control and charge iPod/iPhones
using the units controls – with display of iPod/iPhone track
information appearing on the unit’s LCD display.
Please read below for more detailed operation.
CONNECTING AN iPod OR iPhone
Insert the Apple Sync cable to the Front USB socket as
shown and the unit will start playing the iPod/iPhone
automatically
BASIC SEARCH – PLAYLIST/ARTIST/ALBUM/SONG on
iPod/iPhone
Press BAND to browse the iPod/iPhone menu.
Then rotate the Encoder Volume Control clockwise to and
press ENTER to choose one of the following selections,
then follow the steps below:
PLAYLIST Rotate the Encoder Volume control to select
your desired Playlist and press ENTER to start play.
ARTIST Rotate the Encoder Volume Control to select
your desired Artist then press ENTER. Rotate the Encoder
Volume Control to then select an Album & press ENTER.
Rotate the Encoder Volume Control again to select a song
within the selected Album.
ALBUM Rotate the Encoder Volume Control to select
your desired Album and press ENTER to select it. Then
rotate the Encoder Volume Control to select a specic
song within the selected Album.
SEARCH FOR FURTHER CONTENT on iPod/iPhone
In addition to the PLAYLIST/ARTIST/ALBUM seach
functions, there are also additional elds you can search
on your iPod or iPhone – the full list of elds is as follows:
PLAYLIST / ARTIST / ALBUM / SONG / GENRE /
COMPOSER / AUDIOBOOK / PODCAST
3. Rotate the Encoder Volume knob to select the desired
search eld, then press ENTER to conrm.
4. Rotate the Encoder Volume knob to select the desired
selection within the eld then, press ENTER to conrm.
NOTE
When searching for Album, Artist, Song etc, rotate the Encoder
Volume Control clockwise to search from A-Z or anti-clockwise
for Z-A search.
Apple sync cable
(not supplied)

12
RANDOM PLAY
Press RDM to cycle between the following modes:
RDM FLD – Plays the current album randomly.
RDM ALL – Plays the whole iPod/iPhone library randomly.
RDM OFF – Turns the Random function off.
iPod/iPhone MASTER CONTROL MODE
Press the button to switch between the two
control options
• Unit control mode: Use the head unit controls to select
Track/Artist/Album/Playlist etc. This is the Default setting.
• iPod/iPhone control mode: Use the iPod/iPhone to
select the Artist/Album/Track etc.
This mode is useful if you need to sort through a large
amount of Tracks/Albums etc.
NOTE
When using an iPhone, the LCD Screen will display [iPod] upon
connection to indicate “Music” section of the iPhone is in use.
MEDIA PLAYBACK
(USB/SD)
MEDIA PLAYBACK
Use the following functions during media playback:
• Press to pause the music playback. Press this
button again to resume music playback.
NOTE the volume level can be adjusted while the unit is
paused
• Press the to skip forward to the beginning of
the next or previous chapter/track.
• Press and hold to fast forward or fast rewind through
the track.
USB OPERATION
Insert the USB Device
1. Open the cover marked on the front panel.
2. Insert the USB device into the USB socket. The unit will
start playing from the USB device automatically.
Removal of the USB Device
Before removing the USB device from the front panel,
always remember to switch to another Source then remove
the USB device.
SD CARD OPERATION

13
Insert the SD Card
1. Press the OPEN button to remove the front panel.
2. Hold the left hand side of the panel & pull forward to
disengage it from the chassis.
3. Insert the SD card into the slot with label facing left
until a “CLICK” sound is heard.
4. Replace the front panel and the unit will start playing
les from the card automatically.
Removal of the SD Card
Detach the face and press the card until you hear a click
sound. The card is now disengaged. You can then remove
the card.
NOTE
Please ensure that USB devices & SD cards contain WMA or MP3
les only.
USING AUX-IN
Connect the external device to AUX in
jack using a 3.5mm stereo Aux In cable
(not supplied) located on the face, then
press the Source button to select AUX
mode. Press the Source Button again to
select other source options.
BLUETOOTH HANDS FREE & A2DP
STREAMING OPERATION 700BT ONLY
You can make or receive phone calls with Bluetooth
enabled phones and listen to music from an A2DP
Bluetooth enabled device on the CA-ML700BT.
PAIRING A BLUETOOTH DEVICE
When connecting a Bluetooth device for the rst time,
you will need to pair the device with the unit.
For most devices, pairing only needs to be done once.
Please follow these steps:
1. Ensure Bluetooth is enabled on the phone to be
connected to the unit.
2. Search for a new Bluetooth device on the phone (this
may take up to 30 seconds)
3. Select “FUSION” on the Bluetooth device list.
4. Some devices may require you to enter a PIN. If
prompted, enter “0000” for the PIN.
5. [PAIRING OK] will be displayed on the LCD display
if pairing is successful. The paired device will then
connect to the CA-ML700BT Automatically.
Note on some phones, you may need to select “SET AS
AUTHORISED” or similar to ensure the CA-ML700BT will
automatically pair on subsequent usage.

14
PAIRED NOTIFICATION DISPLAY
When the Bluetooth device is paired with the CA-ML700BT, the
Bluetooth Icon will appear on the LCD display. This should
occur whenever you use the system and the paired device is in
range.
HOW TO MAKE A CALL
1. Dial the desired number on the Mobile Phone.
2. Once dialling is in progress, [CALLING] will be displayed
on the LCD screen.
3. When the call is in progress, [TALK] will be displayed on
the LCD along with the elapsed call time.
4. The ANSWER button will also slowly ash to
indicate you are in a call.
RECEIVING A CALL
1. If there is an incoming call, audio playback from the
current Source will either be Muted or Paused (depending
on the source) and [PHONE IN] will be shown on the
Display along with the Caller ID if it is enabled by the
Phone/Carrier.
2. Press the ANSWER button to accept the call.
3. To Reject the call, press the ESC/END button and
it will not be answered.
HOW TO END A CALL
Once in a call, press the ESC/END button to end
the call.
TO REDIAL A NUMBER
1. During normal head unit operation, press the ANSWER
button to call the last number dialled by the paired
mobile phone. [REDIAL] will be displayed on the LCD screen.
2. To conrm press either the ANSWER button again or
ENTER on the Encoder Volume Control. [CALLING] will
be displayed on the LCD screen.
HEAD UNIT / HANDSET CALL TRANSFER
You can transfer the call from the car speakers/head unit
back to the phone during a call by pressing the ANSWER
button for 2 seconds. [TRANSFER] will be displayed on
the LCD display.
Press the ANSWER button again for 2 seconds to
transfer the call back to the head unit.
BLUETOOTH A2DP AUDIO STREAMING
If the connected Bluetooth device supports Advanced
Audio Distribution Prole (A2DP), you can listen to music
stored on the device through the head unit.
BASIC OPERATION
1. Ensure the Bluetooth device is paired with the head
unit.
2. Press the SOURCE button repeatedly to select the
BT AUDIO source.
3. Open the music player on the device and select & play
your desired track(s)

15
ADDITIONAL MEDIA PLAYBACK
FUNCTIONS (USB/SD)
PLAY OPTIONS
MP3/WMA File or Folder Search
• Press the BAND button on front panel access the MP3/
WMA le search mode.
• Rotate the Encoder Volume Control to search through all
folders on the device then press ENTER to make your selection.
• Rotate the Encoder Volume control to select the desired
track within the previously selected folder and press ENTER
to start it playing
INTRO PLAY
• During playback, press the INT button (Preset button 2)
to start intro mode. The rst 10 seconds of all tracks on the
storage media will be played.
• Once you have nd a track you like, press INT again to
resume normal playback.
ADVANCED OPERATION
If the device also supports Audio Video Remote Control
Prole (AVRCP), you can control basic playback functions
(eg iPod music) via the head unit.
1. Follow steps 1 & 2 above as per Basic Operation
2. Press to start playback. Press again to pause.
3. Press either to advance to the next track, or
return to the beginning of the track.
4. Depending on the device, volume adjustment may be
possible from the device. Please ensure it is not set too
high to avoid distortion.
NOTE
ID3 type information – Title, Artist, Album etc is not available on
the LCD screen in Bluetooth A2DP mode.
DISCONNECTING THE BLUETOOTH DEVICE
1. If the Bluetooth device is paired and you want to
disconnect it from the CA-ML700BT, press MENU to
enter the System Menu. Keep pressing until [DISCONN>]
is displayed.
2. Press ENTER on the Encoder Volume Control.
[WAITING] will be displayed on the LCD display,
followed by [DISCONNECTED] when completed.
RE-CONNECTING THE BLUETOOTH DEVICE
Once paired, the phone should re-connect automatically
every time you use the system. If not, or you have
previously Disconnected the phone, you can manually re-
connect it using the following steps. 1. Press MENU to
enter the system menu.
Keep pressing until [CONNECT>] is displayed.
2. Press ENTER on the Encoder Volume Control.
[WAITING] will be displayed on the LCD display, followed
by [CONNECTED] when completed.

16
• To perform Intro Play on les in the current folder only,
press & hold the INT button while in Intro Mode. [INT) will
be displayed on the LCD along with the folder number.
When you nd your desired, press INT Twice to play the
track normally.
REPEAT PLAY
• During playback, press the RPT button (Preset button
3) to repeat all tracks on the storage media. [RPT ALL] is
displayed.
• If you press RPT again, the current track will be repeated
only [RPT TRK] will be displayed
• Pressing RPT again repeats all tracks in the current folder
only [RPT FLD] is displayed
• Once a track is playing in repeat mode, or to check if
Repeat is on, press the RPT button.
• To Cancel Repeat, press and hold the RPT button. The
display will revert back to the standard track number & time
elapsed display.
RANDOM PLAY
• During playback, press the RDM button (Preset button 4)
to display the current Random Play Mode. If Random Play
is off, [RDM OFF] will be displayed.
• Press RDM again to select Random Play for the current
folder only [RDM FLD] is displayed.
• Pressing RDM again selects Random Play for all tracks on
the storage media [RDM ALL] is displayed.
• To cancel Random Play, press RDM to display the current
Random Play mode, then press RDM again to cancel
Random Play
FOLDER SELECT
During music playback, use this button to jump to the
previous/next folder on the storage device.
DISPLAY FUNCTION
During playback, pressing the DISP button will automatically
cycle through the following information on the le being
played on the LCD display:
FOLDER NAME> FILE NAME> ALBUM> TITLE> ARTIST
You can also keep pressing the DISP button to nd the
particular information you are after. Once you have cycled
through all of the available track information by continuing
to press the DISP button, the display will return to the
standard Track Number & Time display. If you stop at this
point, the Automatic Display function is cancelled.

17
TROUBLESHOOTING
Before going through the check list, please check the
wiring connection diagram. If problems persist, please
consult your Car Audio dealer.
No power or no sound
• Ignition is not on. Turn the Ignition to “accessories”
• Unit is off - press the power button to activate the unit.
• Fuse is blown. Please replace the fuse.
• If the speakers are connected to the speaker outputs,
check the speaker connections.
• If the speakers are connected to amplier/s only, check
that they are operating correctly.
• If the above solutions do not help, please press the RESET button.
Noise in radio broadcasts
• Signals are too weak, turn LOC off.
• Check the antenna connection or replace the antenna if
necessary.
Preset stations lost
• Yellow power cable is not correctly wired. Ensure it is
connected to Constant 12V (+).
Display shows ERR-1
• The USB or SD device cannot be read. Conrm the device
is formatted to FAT32 (Windows) le system.
Display shows ERR-3
• USB/SD data error. Check to ensure only MP3 or WMA
les are loaded on the storage devices.
Display shows ERR-5
• Communication error. The USB/SD device could be
damaged or corrupted. Please re-format (Fat32 only) or try
a different device.
HOW TO RESET THE UNIT
Using the Reset button, you can reset the unit to its default
settings.
• The RESET button is located on the main unit (as shown
on the diagram). Press it in with a ballpoint pen or metal
object to activate it.
• The reset button can be used under the following
circumstances:
1. Initial installation of the unit when all wiring is completed.
2. If the unit “freezes”.
3. To RESET the unit to the factory conguration
4. Error indication on the LCD display.

18
SUPPORTED
FILE FORMATS
MPEG1/2/2.5 Layer 2/3
WMA Version 7/8/9
Sampling frequency
MPEG1 32/44.1/48 kHz
MPEG2 16/22.05/24 kHz
MPEG2.5 8/11.025/12KHz
WMA 22/32/44/48KHz
Sampling Bit rate
MP3/WMA 32~320Kbps & VBR
ISO9660 Level 1 / 2 & Joliet (unicode)
Max File/DIR. Count 999
Max DIR. Depth 255
Sorting Method Tree sorting
Max File/DIR. Name 64Byte
ID3 V1.0/1.1/2.0/2.3 (Max 32 Byte)
MP3 dir shown in manual as “Folder”
MP3 le referred to as “Track”.
Maximum length of le name 28 characters.
Maximum length of directory 16 characters.
Supports Multi-Session recording.
NOTE: Product specications are subject to change without prior notice.
PRODUCT SPECIFICATIONS
Power Supply 12V DC (11-16V), Negative Ground
Fuse 15A
Speaker Impedance 4 – 8Ω
Power output MOSFET 50W MAX x 4 channels
RMS output 22W x 4 @ 10% THD
Pre-AMP output 2.0 V (USB play mode; 1KHZ, 0dB, 10 k Ω
load)
Aux-In level ≥300mV
iPod/iPhone
Charging USB, 1A
RADIO
-FM
Frequency Range 87.5 – 108MHz, 50kHz Step (Oceania)
87.5 – 107.9 MHz 200kHz Step (USA)
87.5 – 108.0 MHz 50kHz Step (Europe)
87.5 – 108 MHz (FM 1/2) (Russia)
+ 65MHz – 74MHz (FM3) (Russia)
Usable Sensitivity Better than 15dB at S/N 30dB
-AM(MW)
Frequency Range 522 –1620KHz (Oceania)
530 – 1710 KHz (USA)
522 – 1620 KHz (Europe)
522 – 1620 KHz (Russia)
Usable Sensitivity Better than 45dB
USB DEVICES:
USB ash memory USB 1.1 & 2.0 compatible

19
LICENSING
“Made for iPod and “Made for iPhone” mean that an electronics
accessory has been designed to connect specically to iPod or
iPhone respectively, and has been certied by the developer to
meet Apple performance standards. Apple is not responsible
the operation of this device or its compliance with safety and
regulatory standards. Please note that the use of this accessory
with iPod or iPhone may affect wireless performance. Apple is not
responsible for the operation of the device or its compliance with
safety and regulatory standards.
iPod and iPhone are trademarks of Apple inc., registered in the
U.S. and other countries.
Windows Media and the windows logo are trademarks, or
registered trademarks of Microsoft Corporation in the United
States and/or other countries.
REGISTER YOUR PRODUCT ONLINE:
For your own peace of mind, register your product purchase
online at www.fusionentertainment.com
We’ll keep you up to date with any news related to your
product or new accessories to help you get the most from
your product.

20
ENGLISH
THE FUSION PROMISE OF QUALITY LIMITED 1 YEAR CONSUMER WARRANTY
Garmin New Zealand Limited, trading as FUSION Entertainment ‘FUSION’ warrants this FUSION Speaker, Subwoofer, Amplifier Head Unit or genuine FUSION Accessory
‘product’ is free from defects in material and workmanship, according to the following terms and conditions:
• The limited warranty for the FUSION product purchased extends to the rst twelve (12) months beginning on the date of purchase of the product.
• The limited warranty extends only to consumers who purchase the product in one of the countries (or areas) set forth on www.fusionentertainment.com. The limited
warranty is only valid in FUSION’S intended country (or area) of sale of the product.
• During the limited warranty period, FUSION or its authorised service network will repair or replace, at FUSION or FUSION’S authorised dealer, any defective product or
parts thereof with new and return the product to the consumer in working condition. No charge will be made to the consumer for either parts or labour in repairing or
replacing the product. All replaced parts and cosmetic parts should be free of defects at the time of shipment and, therefore shall not be covered under these
limited warranty terms.
• Repaired product will be warranted for the balance of the original warranty period or for ninety (90) days from the date of repair, whichever is longer.
• All warranty claims must be accompanied with a copy of this warranty card, and a copy of proof of purchase date.
The consumer shall have no coverage or benefits under this limited warranty if any of the following conditions are applicable:
• The product has been subject to: abnormal use, abnormal conditions, improper storage, exposure to excessive moisture or dampness, exposure to excessive temperature
or other such environmental conditions, unauthorised modications, unauthorised connections, unauthorised repair including but not limited to use of unauthorised spare
parts in repairs, misuse, neglect, abuse, accident, alteration, improper installation, acts of God, spill of foods or liquids, maladjustment of customer controls or other acts
which are beyond the reasonable control of FUSION, including deciencies in consumable parts such as fuses, and breakage or damage to antennae unless caused directly
by defects in materials or workmanship, and normal wear and tear of the product.
• FUSION was not notied by the consumer of the alleged defect or malfunction of the product during the applicable limited warranty period.
• The product serial number or the accessory date code has been removed, defaced or altered.
• The product was used with or connected to an accessory not supplied by FUSION or t for use with FUSION product, or used in a manner other than its intended use.
If a problem develops during the limited warranty period, the consumer should take the following step-by-step procedure:
1. The consumer shall return the product to the place of purchase for repair or replacement processing.
2. The consumer shall also be charged for any parts or labour charges not covered by this limited warranty. The consumer shall be responsible for expenses related to
the removal and reinstallation of the product.
3. If the product is returned to FUSION after the expiration of the warranty period, FUSION’s normal service policies shall apply and the consumer will be charged accordingly.
THE BENEFITS CONFERRED BY THIS LIMITED WARRANTY APPLY TO THE EXTENT THAT THEY ARE NOT SUPERCEDED BY ANY OTHER RIGHTS AND REMEDIES UNDER
ANY APPLICABLE LEGISLATION THAT CANNOT BE EXCLUDED. OTHERWISE, TO THE EXTENT PERMITTED BY LAW, ANY IMPLIED WARRANTY IS EXCLUDED AND THE
FOREGOING WARRANTY IS THE PURCHASER’S SOLE AND EXCLUSIVE REMEDY AND IS IN LIEU OF ALL OTHER WARRANTIES, EXPRESS OR IMPLIED. TO
THE EXTENT PERMITTED BY LAW, FUSION SHALL NOT BE LIABLE FOR INCIDENTAL OR CONSEQUENTIAL DAMAGES OR A LOSS OF ANTICIPATED BENEFITS OR
PROFITS, OUT OF USE OR INABILITY TO USE THE PRODUCT.
• Some states in America do not allow the exclusion or limitation of consequential damages, so the above limitation and exclusion may not apply to you. This warranty gives
you specic legal rights which may vary from state to state.
• FUSION neither assumes nor authorises any authorised service centre or any person or entity to assume for it any other obligation or liability beyond that which is expressly
provided for in this warranty.
• All warranty information, product features and specications are subject to change without notice.
This manual suits for next models
1
Table of contents
Other Fusion Car Receiver manuals

Fusion
Fusion CA-ML500BT User manual

Fusion
Fusion MS-BT100 User manual

Fusion
Fusion CA-CD700 User manual

Fusion
Fusion RV-CD850BT User manual

Fusion
Fusion Apollo MS-SRX400 User manual

Fusion
Fusion Apollo MS-RA670 Instruction manual

Fusion
Fusion MS-CD80 User manual

Fusion
Fusion CA-CD850 User manual

Fusion
Fusion CA-CD500 User manual

Fusion
Fusion RV-CD800 User manual