FXairguns FX Pocket User manual

13.12.2022rev1
FX Pocket Chronograph
Specifications
Size: 72x70x42mm (2.75” x 2.75” x 1.7”)
Weight: 133g (5 oz)
Interface: Bluetooth
Smart App: iOS & Android
App name: FX Radar
Measurement Tech: Doppler Radar
Velocity Range: < 335m/s (1099fps)
Power Source: 3x AAA Batteries
Mount: V-shaped mount (not in the picture) that allows you to mount the chrono to the
barrel.
Quick Start
1. OVERVIEW
The power button for the chronograph is
located on the backside of the device.
Next to the power button, you will find
two LED lights. The red LED indicates
that the batteries should be changed
soon, and the green LED indicates that
the chronograph is turned on.
To turn on the chronograph, tap the
power button. To turn it off, press and
hold the power button. The chronograph
will automatically shut down after a
period of inactivity to save power.

2. BATTERY
Open the battery cover using a screwdriver and insert 3 AAA batteries. Recommended
battery type is Energizer Ultimate Lithium. Be careful not to overtighten the screw when
closing the battery cover.
The plastic is strong enough that the screw can be tightened many times without
stripping the threads.
3. ATTACHING THE CHRONOGRAPH TO THE BARREL
Use elastic bands to attach the
chronograph to the barrel.
The optimal placement is a few
inches behind the muzzle (a
good starting point is between 2-
10 inches).
Moving the chronograph further
away from the muzzle can
sometimes improve its
performance, even though it may seem counterintuitive. The performance of the
chronograph improves when it is positioned further away from the muzzle because this
reduces the cosine error, which can affect the accuracy of the readings. Cosine error is a
type of error that can arise when measuring the velocity of projectiles with radar technology,
and it is caused by the angle at which the radar beam hits the projectile. By positioning the
chronograph further away from the muzzle, you can reduce the cosine error and improve
the accuracy of the readings.
It is important to avoid placing the radar away from the barrel on a table or other surface.
This can increase the angle between the chronograph and the projectile's trajectory, which
can lead to inaccurate readings. Instead, try to position the chronograph as close to the
barrel as possible to reduce the angle and improve the accuracy of the readings.
If you are using a chronograph
mount (sold separately), try to
position it as close to the barrel
as possible.

It is important not to place other devices, such as other velocity chronographs, in
front of the radar when using the chronograph. This can interfere with the accuracy of
the readings.
4. Download the FX Radar App from Google Play Store or Apple App
Store.
a. Before launching the app, ensure that your phone's Bluetooth is turned on. Do not
use pairing in the phone’s Bluetooth settings! The app will manage the pairing
with devices.
b. Launch the app and follow the quick start guide.
The FX Radar App does not require access to your location, but it may be
necessary to have location services enabled on your device in order to use it. This
is because Bluetooth Low Energy (BLE) technology, which is commonly used in
modern smart devices, may require location services to be enabled in order to
function properly. BLE is often used for location-based services, such as indoor
positioning or beacon technology, and therefore the device needs to be able to
determine its location in order to communicate with nearby BLE devices and provide
the appropriate location-based services.
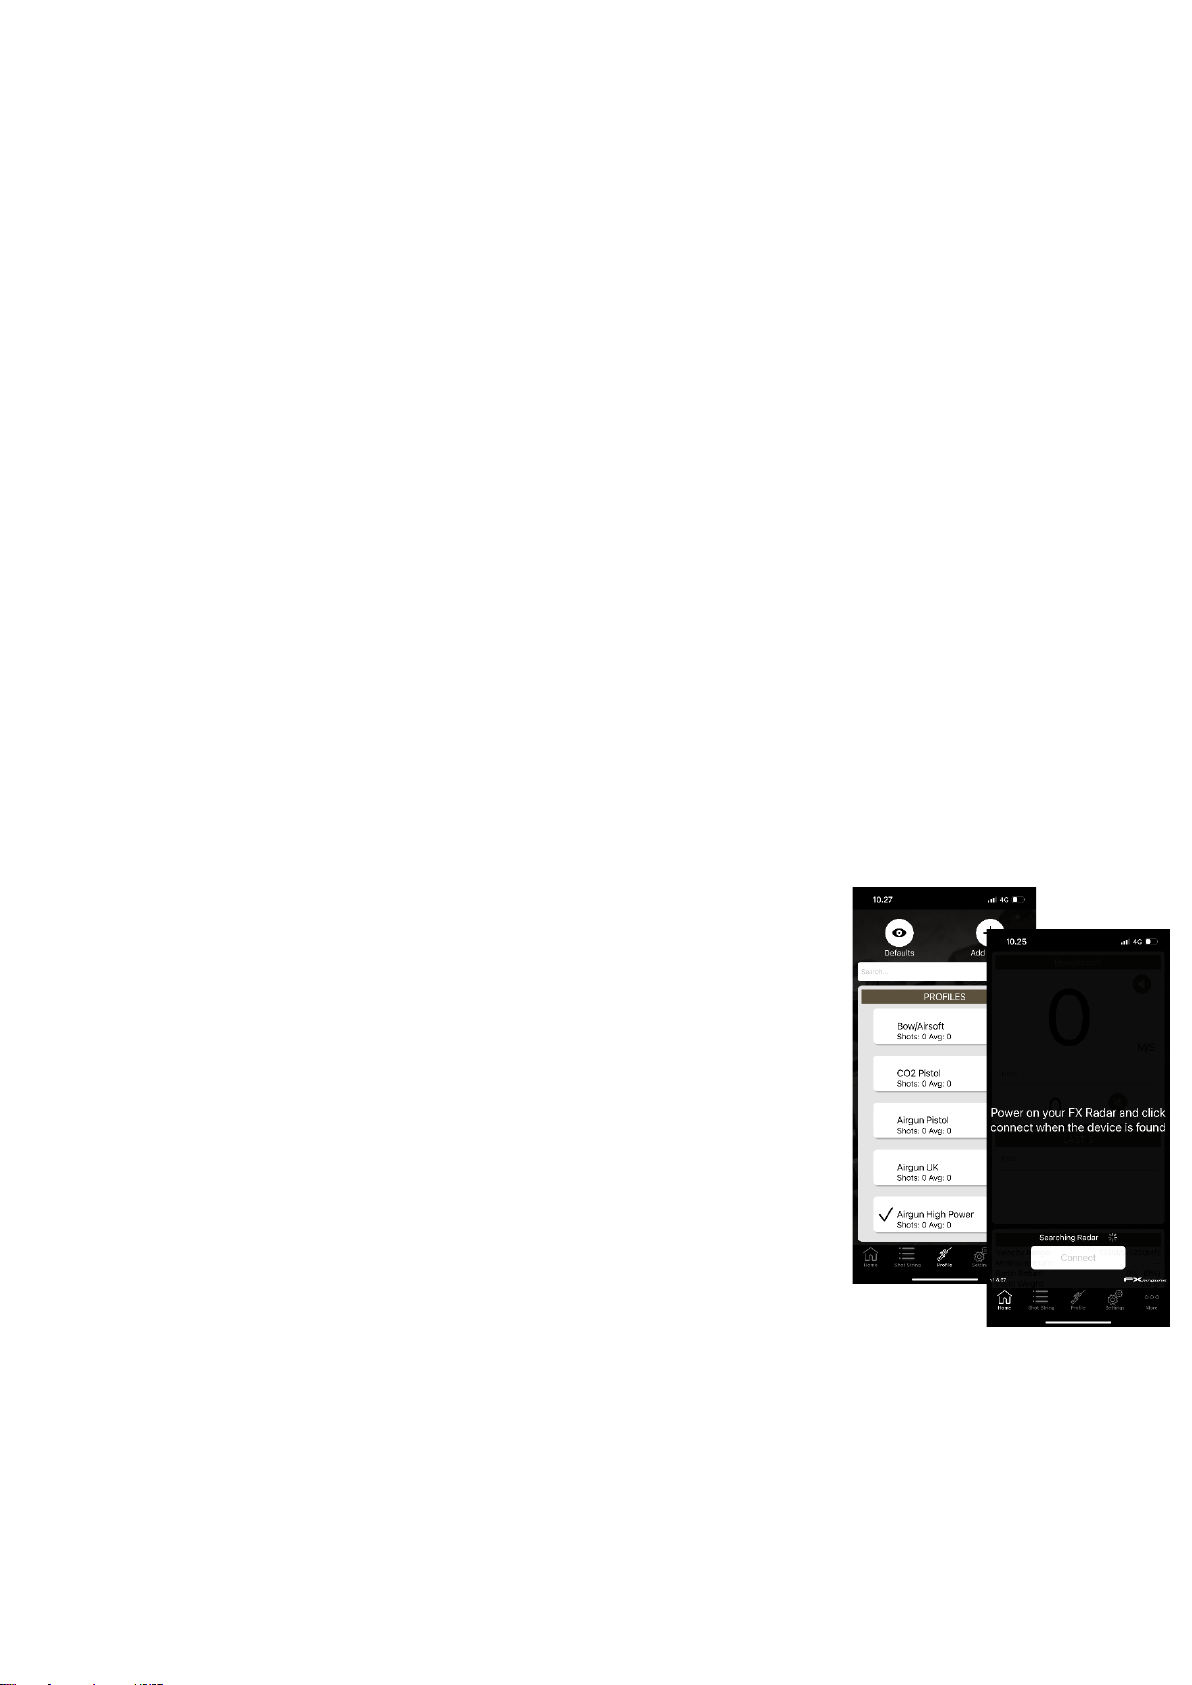
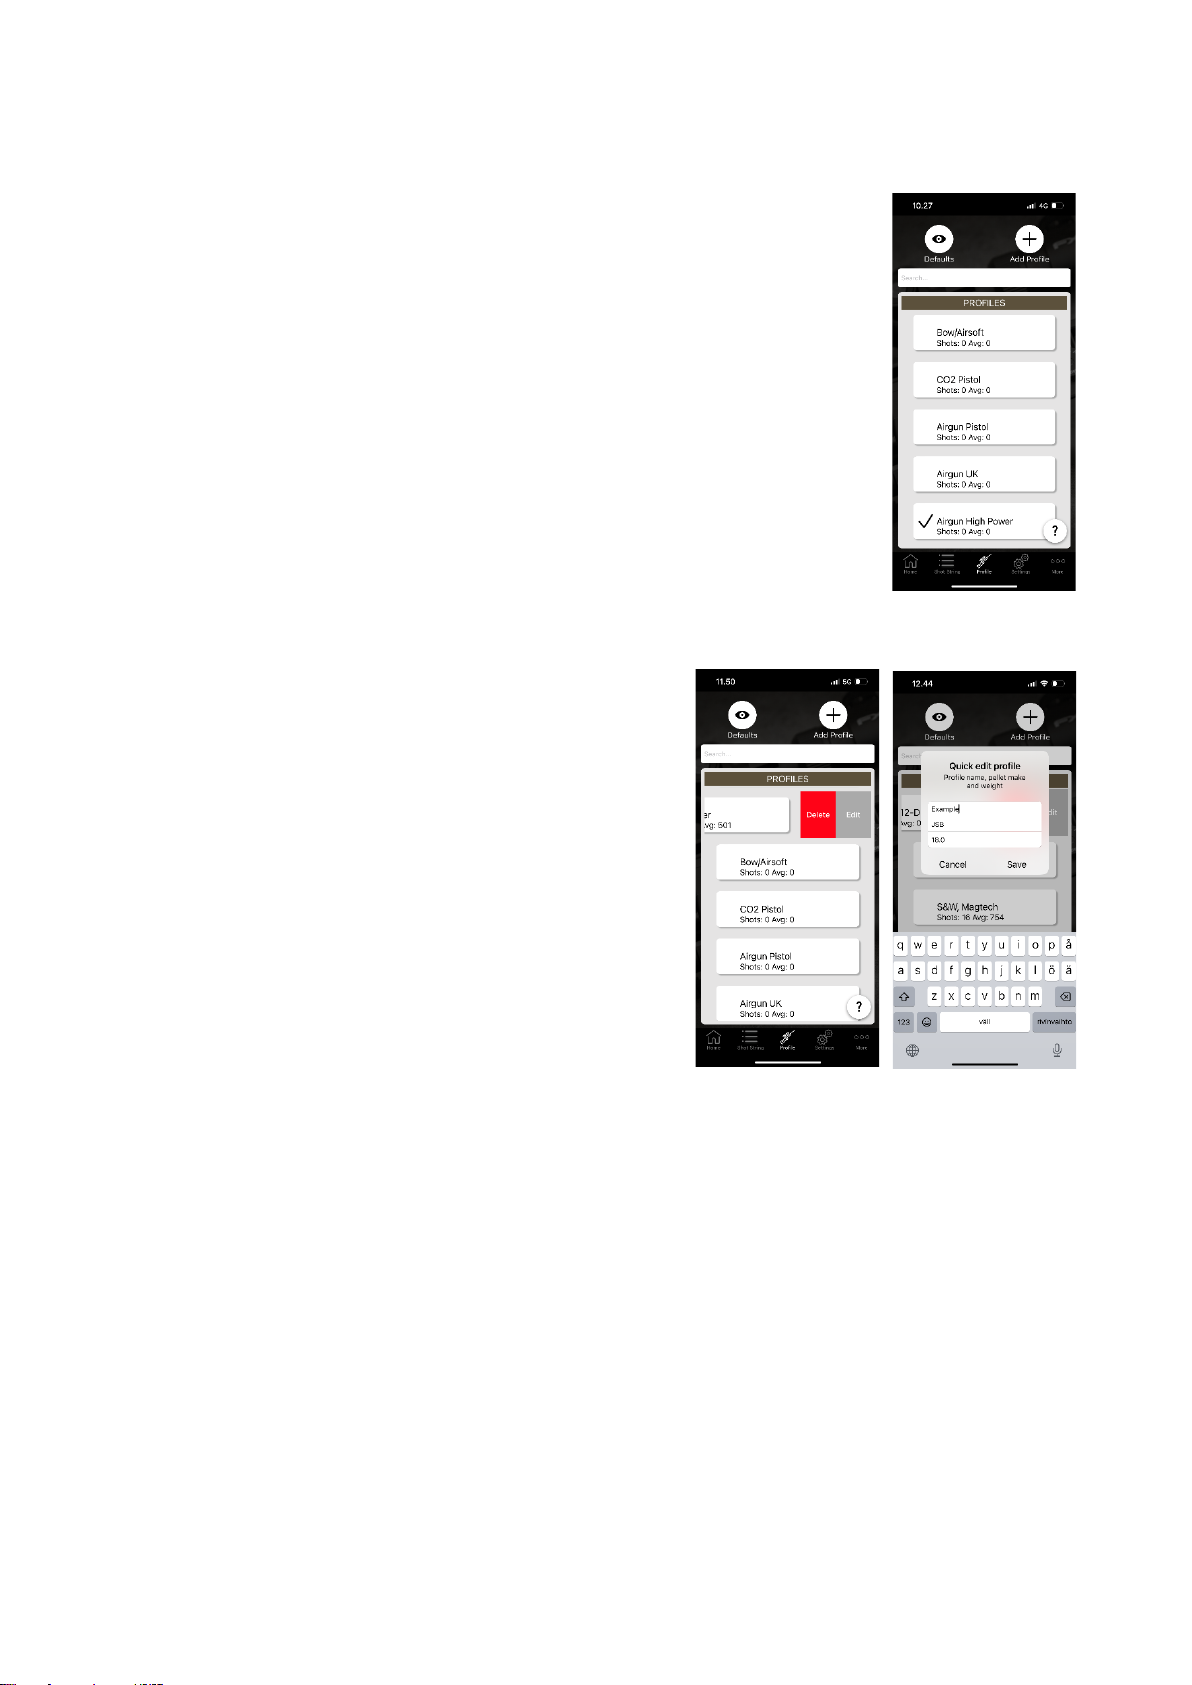
c. Select a default profile that best fits your needs or to
create a new one, click “Add Profile”. The most important
thing when using the chronograph is to select a profile with
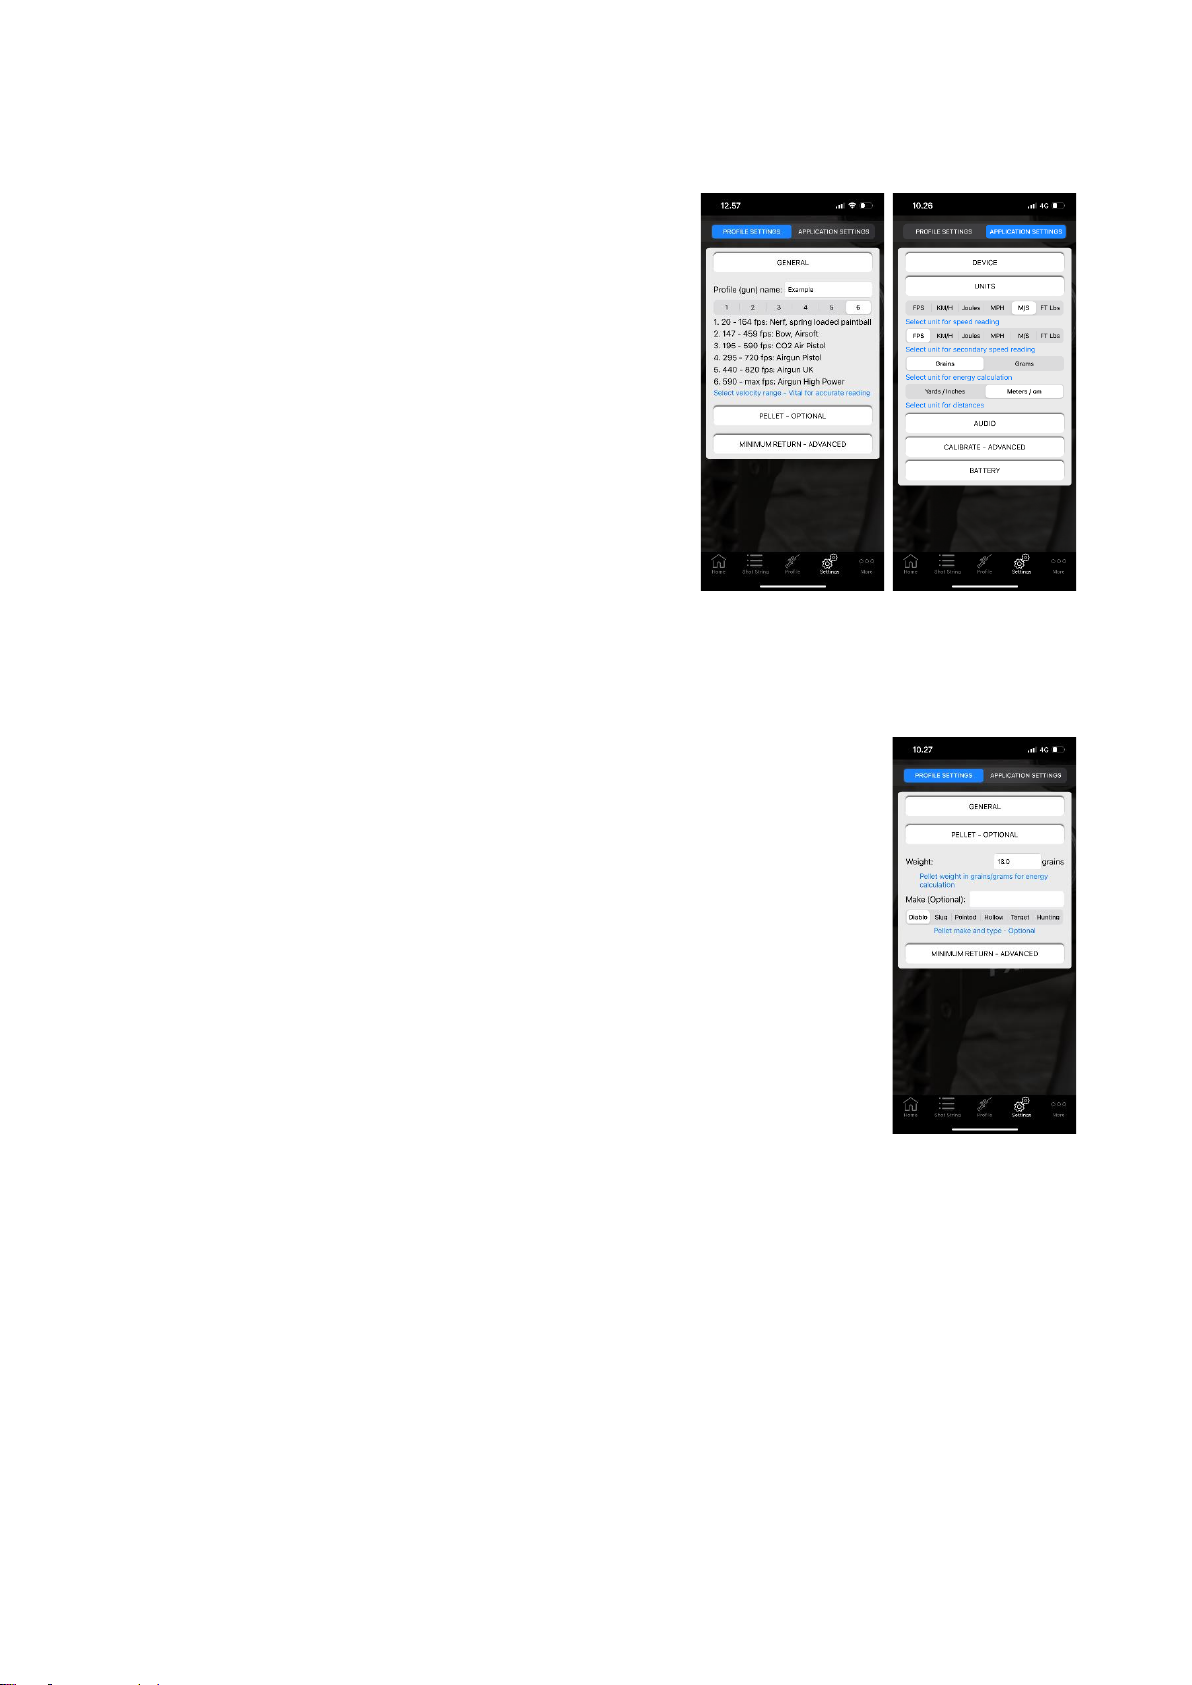
a velocity range that matches your airgun. Velocity range
can be changed in settings when custom profile is
selected. If you're not sure which setting to choose, try
selecting Airgun High Power. This is a good starting point
for most users.
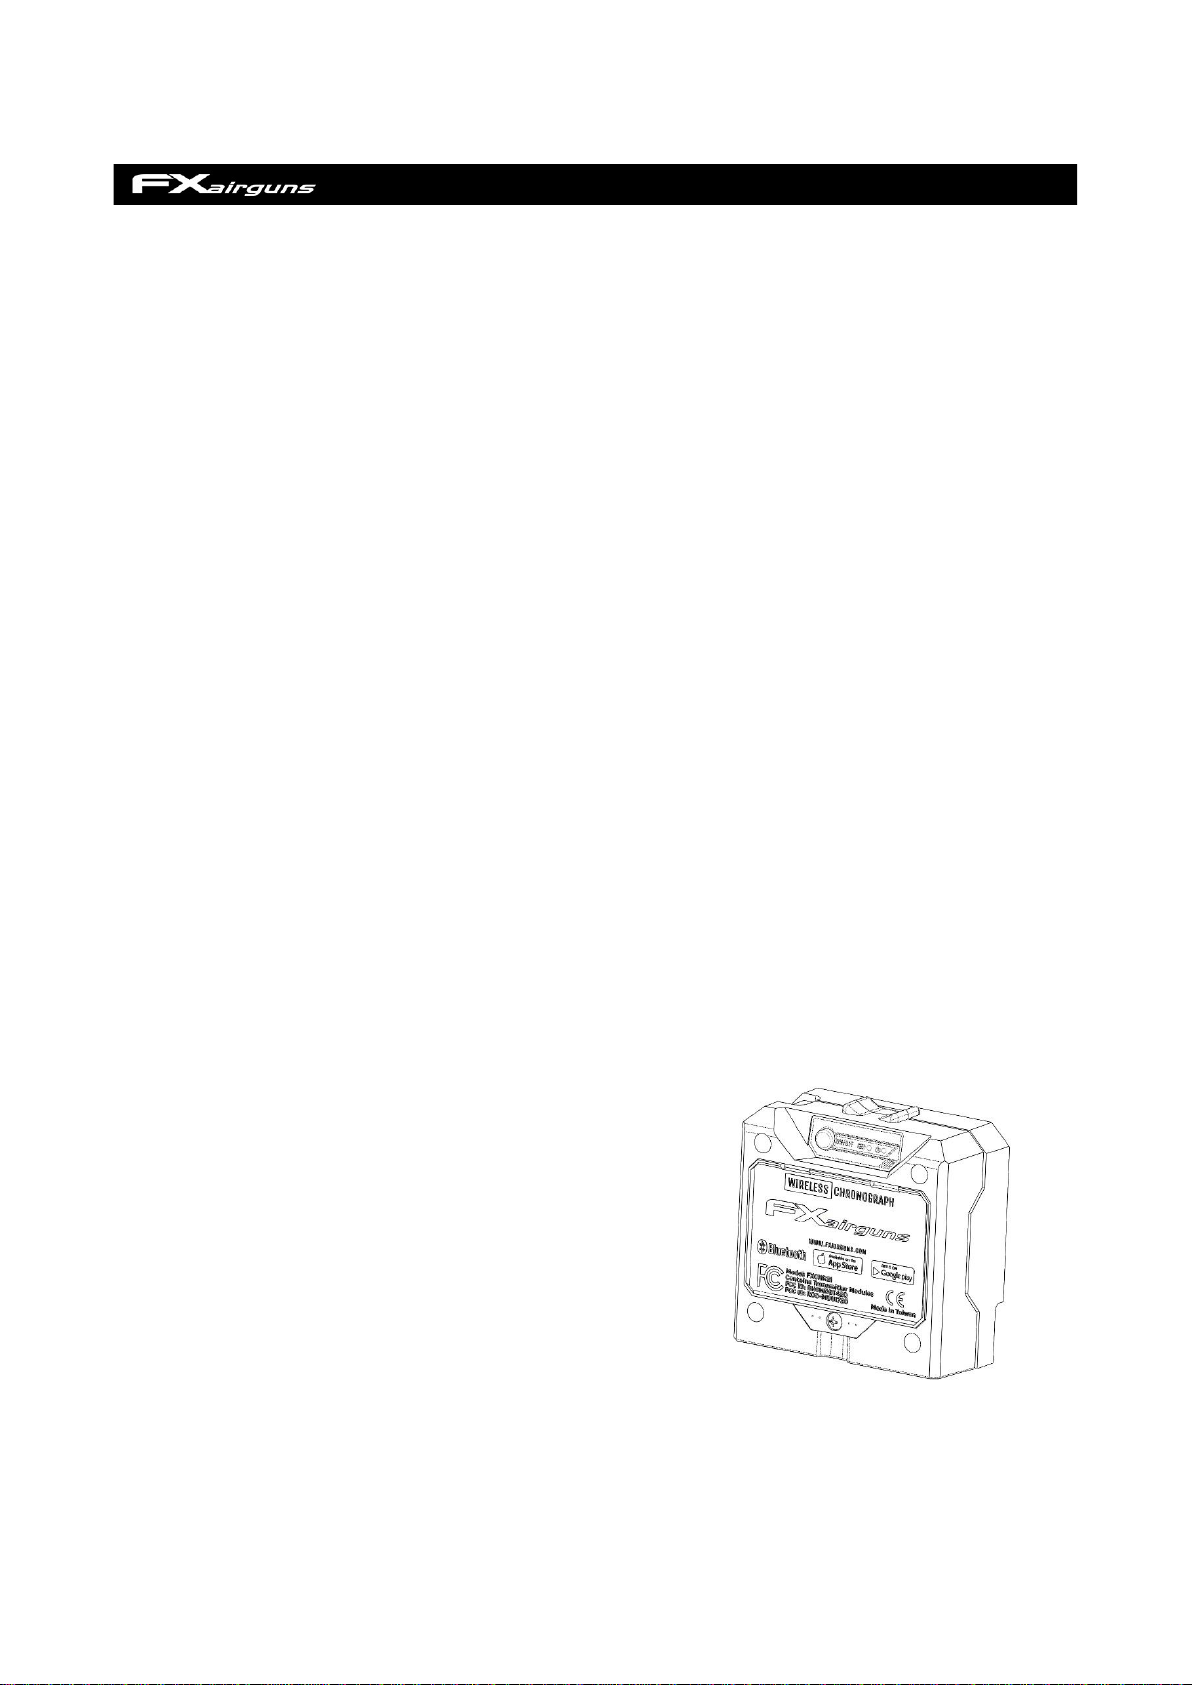
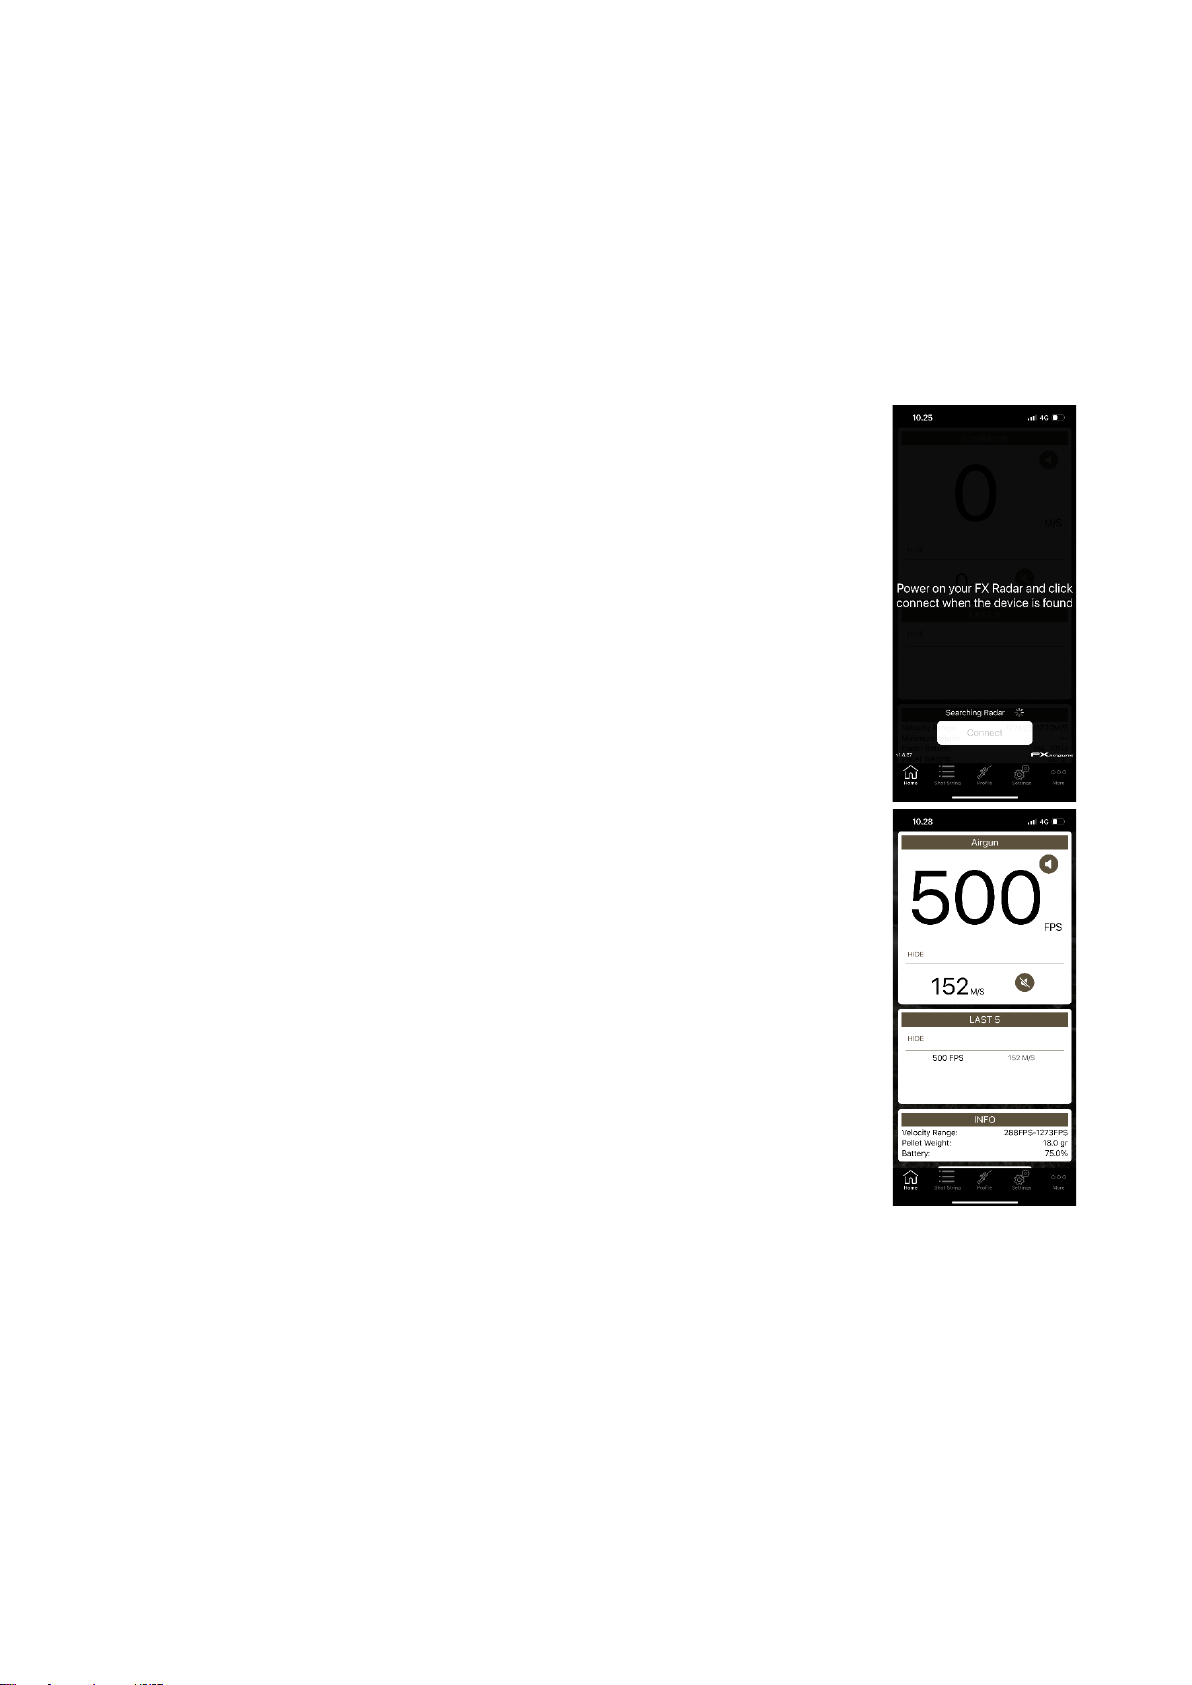
d. Turn on the chronograph and click the connect button
on the app when it flashes.
When you are connecting to a new device, the app will
prompt you to pair with it. Click OK to proceed. If you want
to pair with a new device, you do not have to unpair the old one first. The
app will manage everything for you.
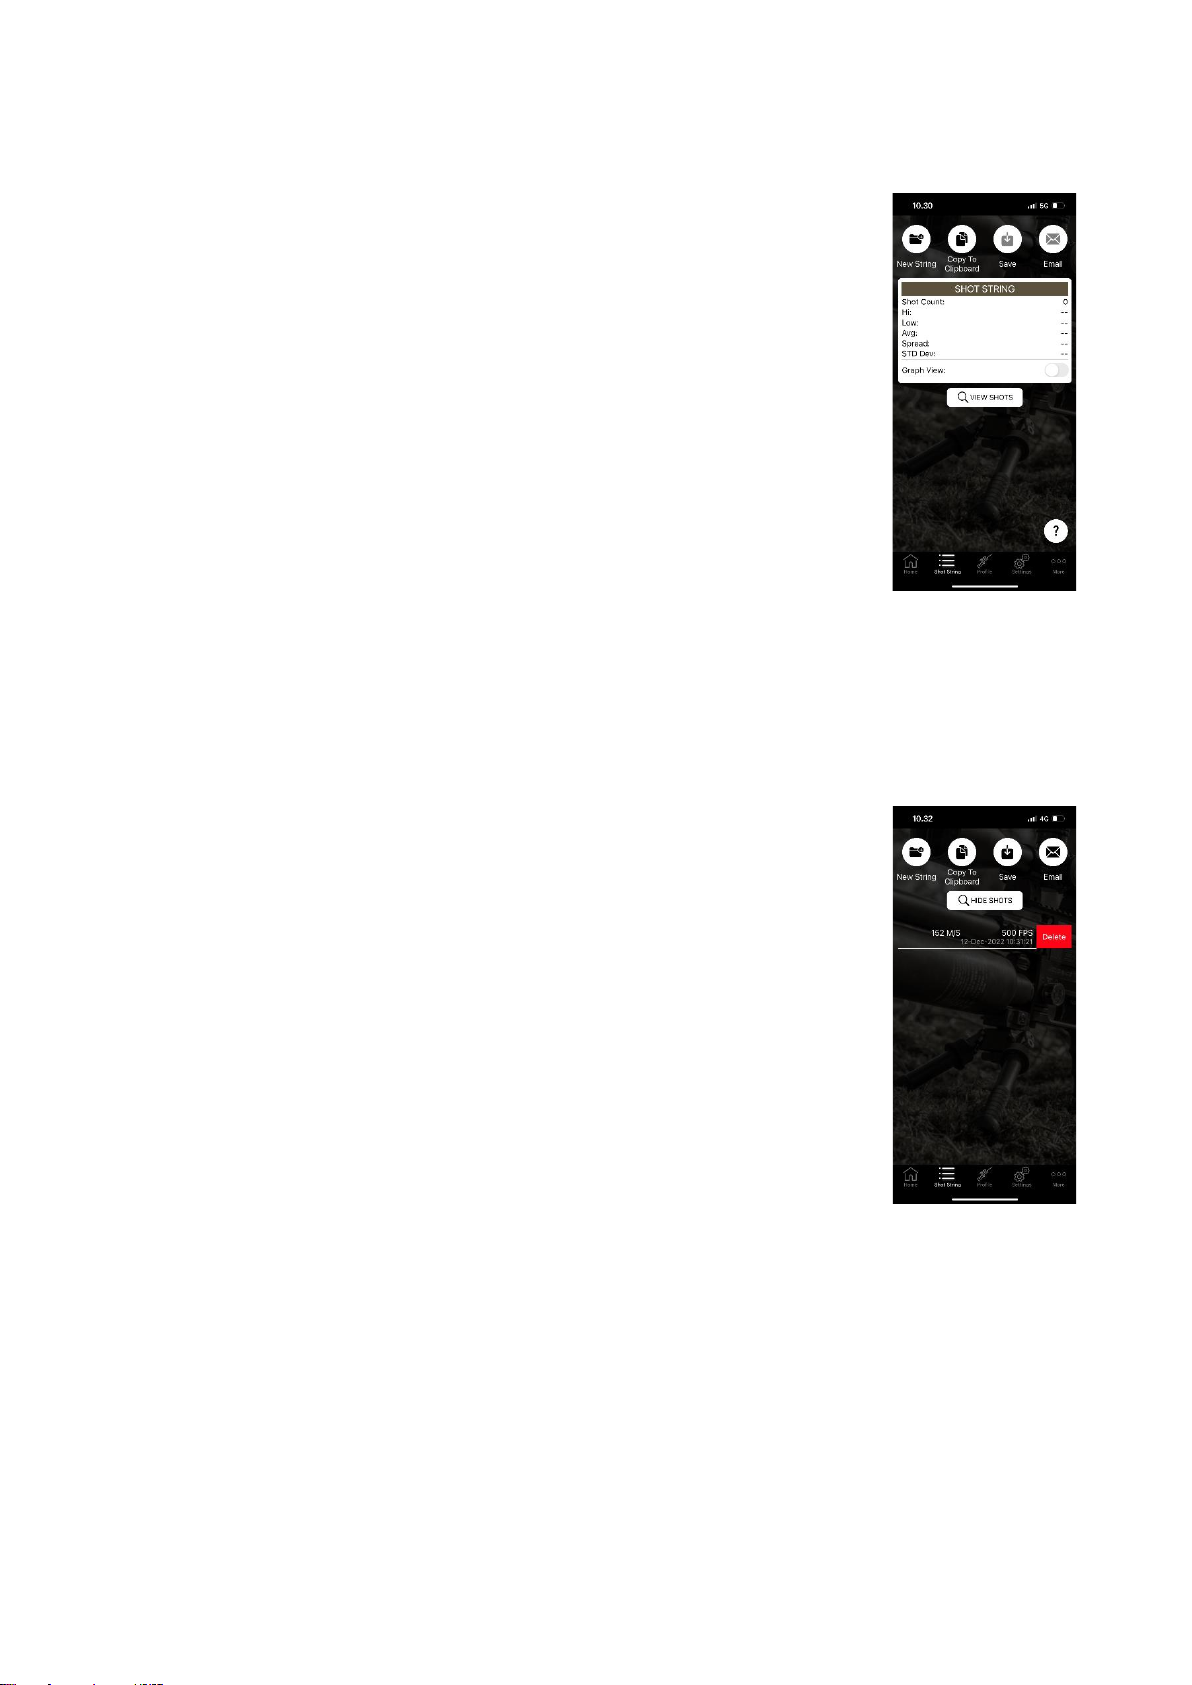
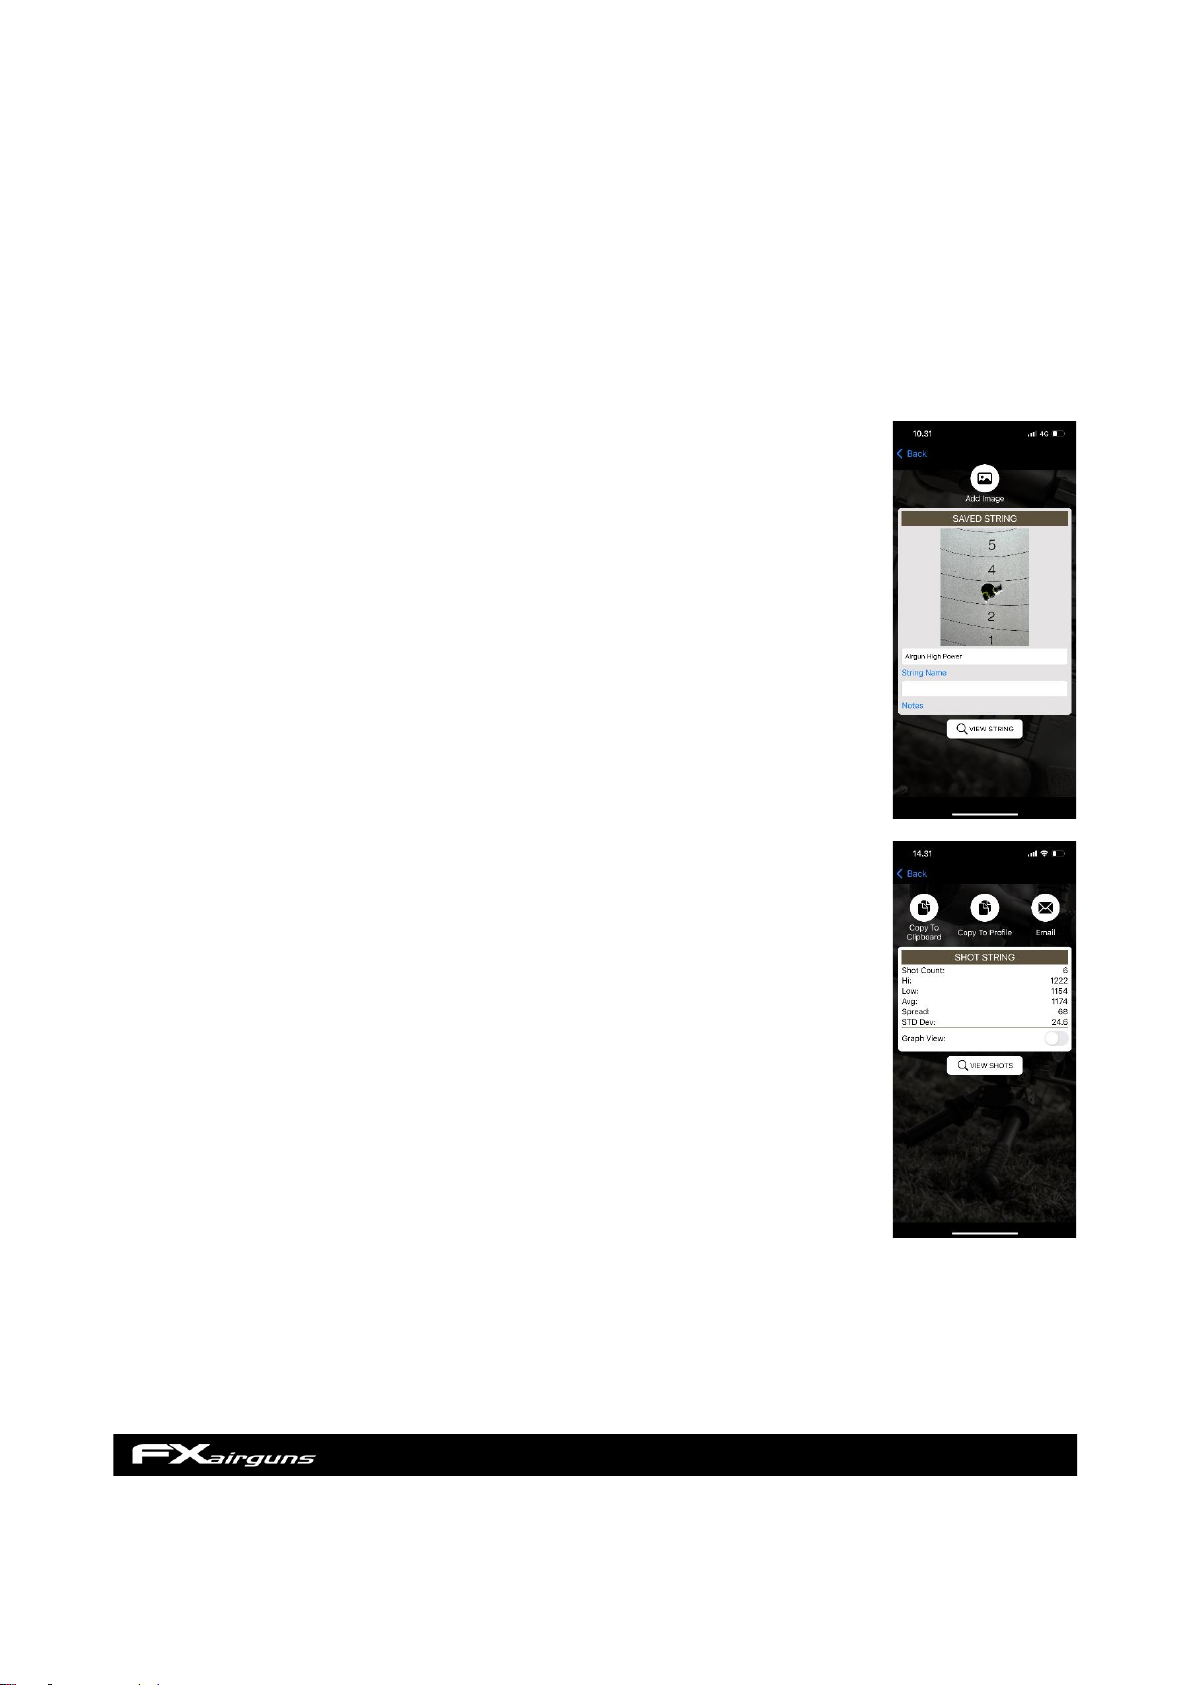
e. You are now ready to shoot.
f. It is important not to place other devices, such as other velocity
chronographs, in front of the radar when using the chronograph. This can
interfere with the accuracy of the readings.

FX Radar App
Android v1.6.112 or newer, iOS v1.8.67 or newer
HOME PAGE
1. When the chronograph is not connected, the home menu will be
black and will show a message indicating that it is waiting for a
connection. Once you tap the "Connect" button, the display will
switch to the "Connected" view. This view is divided into three parts.
In rare cases, the app may not be able to find the chronograph. If this
happens, try closing the app completely and restarting it. This should
fix the problem.
2. The top section of the "Connected" view shows the velocity in two
different units, with a speaker icon next to each unit to indicate
whether the primary or secondary unit is currently selected for voice
output. You can turn the voice output on and off by clicking the
speaker icon.
The top and middle sections of the "Connected" view can be
minimized by clicking the "HIDE" button. This will collapse the
sections, allowing you to see more of the bottom section. To expand
the sections again, click the "EXPEND" button.
3. The middle section of the view displays the velocities of the five most recent shots.
4. The bottom section shows the chronograph's battery level and current settings i.e.
velocity range.
The "Disconnect" button is located below the bottom section of the "Connected" view (it
is not visible in the screenshot). When you are finished using the chronograph, you can
disconnect the app by clicking this button. The app will also automatically disconnect if
the chronograph is turned off.

SHOT STRING PAGE
1. The "Shot String" menu shows a summary of all shots in the
current string.
2. At the top of the view, there are options to start a new string, copy the current string
to the clipboard, save the string, and email the string.
Saved strings can can be accessed in the “More” menu.
3. To view a detailed list of all shots in the string, click "View Shots". If the "Graph View"
switch is enabled, the shots will be displayed in a graphical format.
4. To delete individual shots on the "View Shots" view, swipe left on
them.

PROFILE PAGE
1. To select a profile, go to the profile menu and click on the
desired profile. You can edit the name of the profile in the settings
menu unless it is a default profile. If you set a name for the pellet
in the settings menu, this information will be displayed after the
profile name. It is recommended to have a separate profile for
each type of pellet that you use.
If you change the profile while you are still connected to the
chronograph, the device will be disconnected and you will need to
reconnect on the home view. This is because the app is designed
to work with a specific profile, and changing the profile will require
disconnecting and reconnecting to ensure that the correct settings
are used.
2. To quickly find a profile when the list is long, use the search bar in the profile menu.
This will allow you to search for the profile by name.
3. To delete custom profiles, swipe left on
the profile in the profile menu and click
"Delete". To quickly edit the profile and
pellet name or pellet weight, click "Edit".
To make a copy of a profile, swipe right.
This can be useful if you want to create a
new profile with similar settings to an existing
profile, but with some changes.

SETTINGS PAGE
1. The settings menu has a segmented control
at the top of the view that allows you to switch
between "Profile Settings" and "Application
Settings". The "Application Settings" section
contains settings that are applied to all
profiles, such as the units of measurement.
The "Profile Settings" section contains
settings that are specific to the currently
selected profile, such as the velocity range.
The profile name is located in the "General"
section of the settings. You can open the
"General" settings section by clicking the
"GENERAL" button.
Below the profile name, you will find the velocity range setting. It is important to
choose a range that best matches your airgun. This will ensure that the chronograph
provides accurate readings.
2. The "Pellet" section of the settings is optional. If you choose to
enter the make of the pellet, this information will be displayed next
to the profile name in the profile list. It is recommended to have a
separate profile for each type of pellet that you use.
The weight of the pellet is important for accurate energy
calculations. Be sure to enter the correct weight for the pellet you
are using.
The unit of measurement for pellet weight can be changed from
grains to grams in the "Application Settings" section of the
settings. This setting applies to all profiles and will affect the unit
of measurement used for pellet weight in all profiles.

3. The "Minimum Return" setting in the "Advanced" section of the
settings is rarely needed. In some cases, the sensitivity of the
chronograph may need to be adjusted. If a shot is not being
registered, you can try lowering the minimum return value to
make the chronograph more sensitive. If the chronograph is
reading random values, you can try increasing the minimum
return value.
Before making adjustments to the settings, try repositioning the
chronograph first. Sometimes moving the chronograph further
away from the muzzle can improve its performance, even though
it may seem counterintuitive. If repositioning the chronograph
does not help, then you can consider making adjustments to the
settings.
1. In the "Units" section of the settings, you can select the
measurement unit for the primary and secondary readings. The
weight unit can be set to either grains or grams, and this is used
for energy calculations. The distance unit can be set to either
yards or meters. These settings apply to all profiles and affect the
units of measurement used in all profiles.
2. In the "Audio" settings, you can enable voice output for the
primary and secondary readings. This will cause the app to speak
the readings out loud, allowing you to hear them without having to
look at the screen. To activate voice output for the primary or
secondary readings, simply toggle the switch next to the
corresponding reading.

3. In the "Calibrate" settings, you can increase or decrease the
readings by a certain percentage. This can be useful when you
want to match the readings from the chronograph with those from
another velocity chronograph. Please note that this does not
mean that the unit requires manual calibration. The percentage
adjustment is simply a way to fine-tune the readings to match
those from another chronograph, if desired.
4. In the "Battery" settings, you can choose between two types of
batteries to make the battery level indicator work correctly. This is
because the voltage level of lithium batteries is much higher than
that of alkaline batteries, and the app needs to know which type
of batteries you are using in order to display the correct battery
level.

MORE PAGE
1. The "More" menu contains links to the support page, manuals, and quick start guides.
To access your saved shot strings, click on "Saved Strings" in the "More" menu. This
will open a list of all the saved shot strings, where you can view, copy, email, or
delete them as needed.
2. The saved shot strings are grouped by month and year in the "Saved Strings" view.
To delete a string, swipe left on it as you would in any other table inside the app.
To open a shot string, simply click on the row. This will open a
view where you can edit the shot string name and notes, as well
as add an image. Clicking on "Add Image" will allow you to add
an image of the shot group, for example.
Clicking on "View String" will take you to the next view, where you
can see a detailed list of all the shots in the string. From this view,
you can also enable the "Graph View" to see the shots in a
graphical format. You can also delete individual shots by swiping
left on them.
3. The "View String" page has the same options as the "Shot String"
page, with one exception. The "View String" page includes a
"Copy To Profile" button, which allows you to copy the shots in
the saved string to the currently active profile. This will overwrite
any existing shots in the active profile.
Other than this, the "View String" page has the same options as
the "Shot String" page, including the ability to copy the string to
the clipboard, email the string, and view the shots in detail. You
can also enable the "Graph View" to see the shots in a graphical
format, and delete individual shots by swiping left on them.
Table of contents