Household IP Cameras Instruction manual
4 / 21
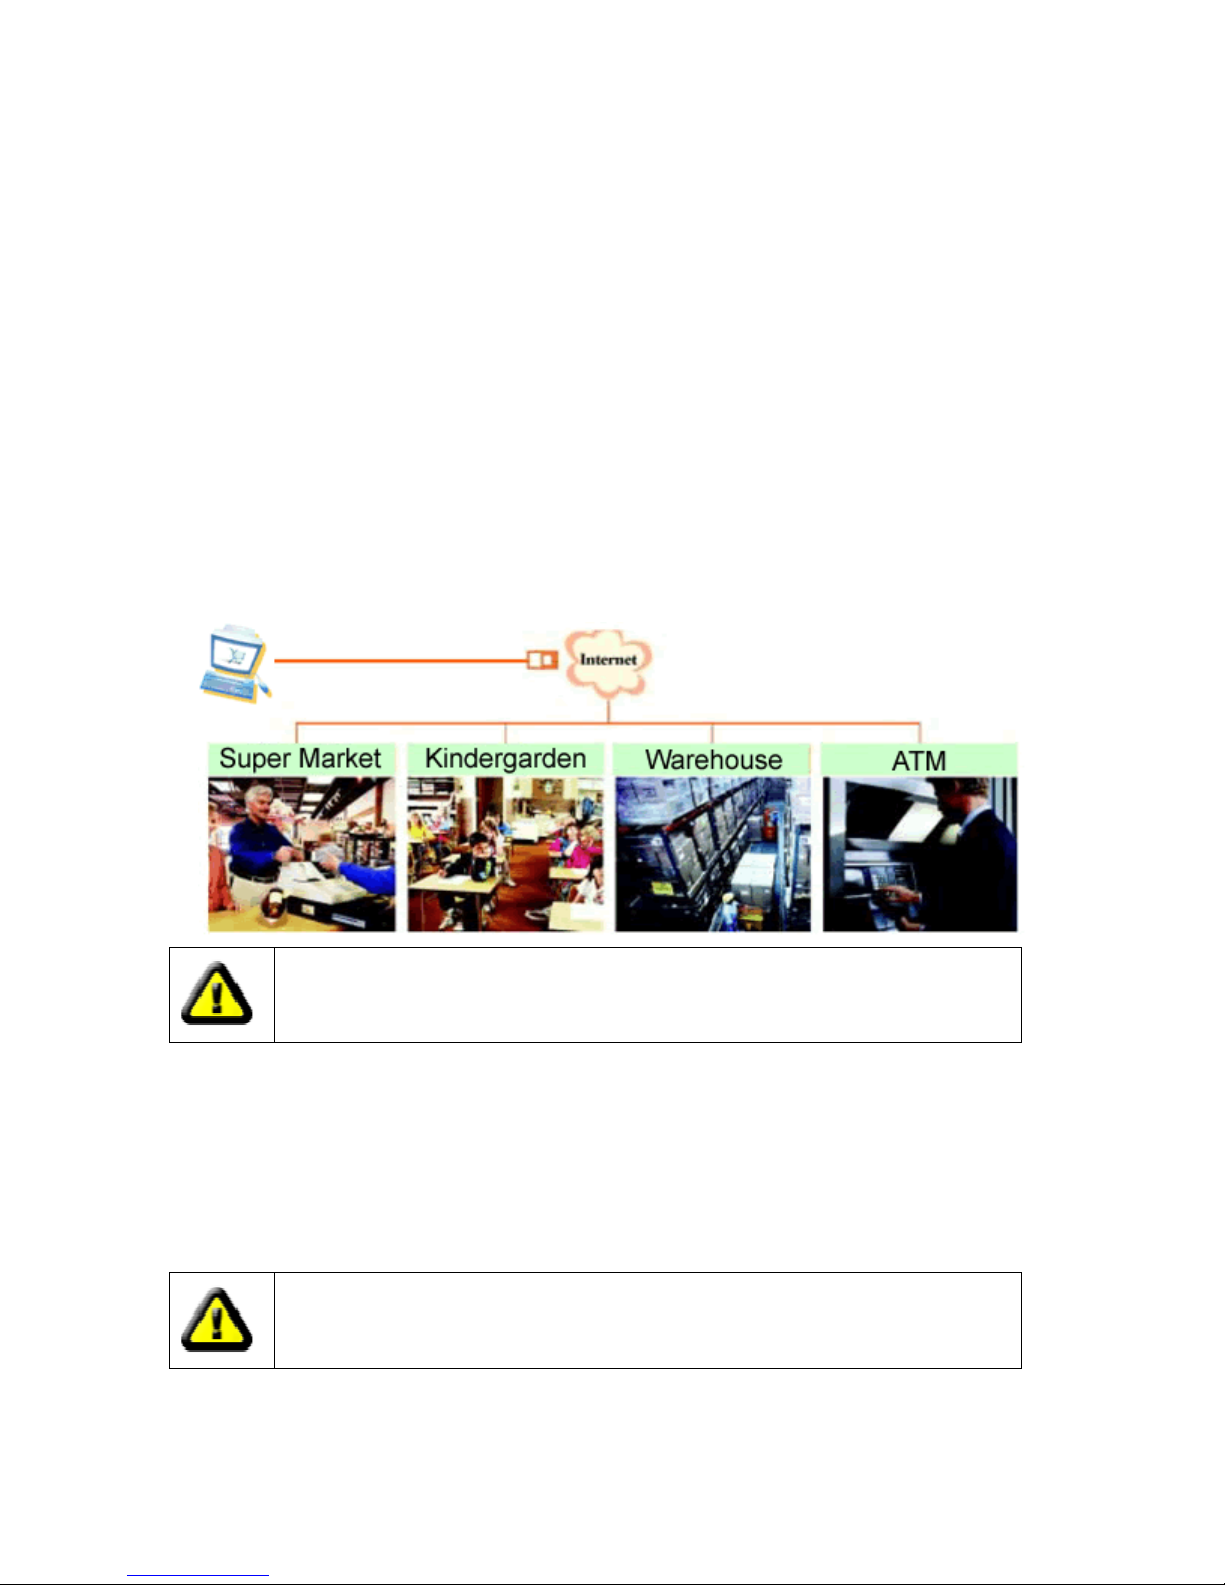
2. Product Description
2.1. eature
Megapixels CMOS sensor, integrated low lux function (5 series) / integrated WDR function (7
series) / highest resolution reached UXGA 1 00 * 1200 (9 series)
Real time (MJPEG/H.2 4) dual-stream encoding
The use of advanced H2 4 video compression algorithms, support for the H2 4 Main
Profile@Level3.0 coding, H.2 4 Baseline Profile@Level3.0 coding and the MJPEG /JPEG the
Baseline encoding, you can easily achieve high-resolution images of low-bandwidth transmission
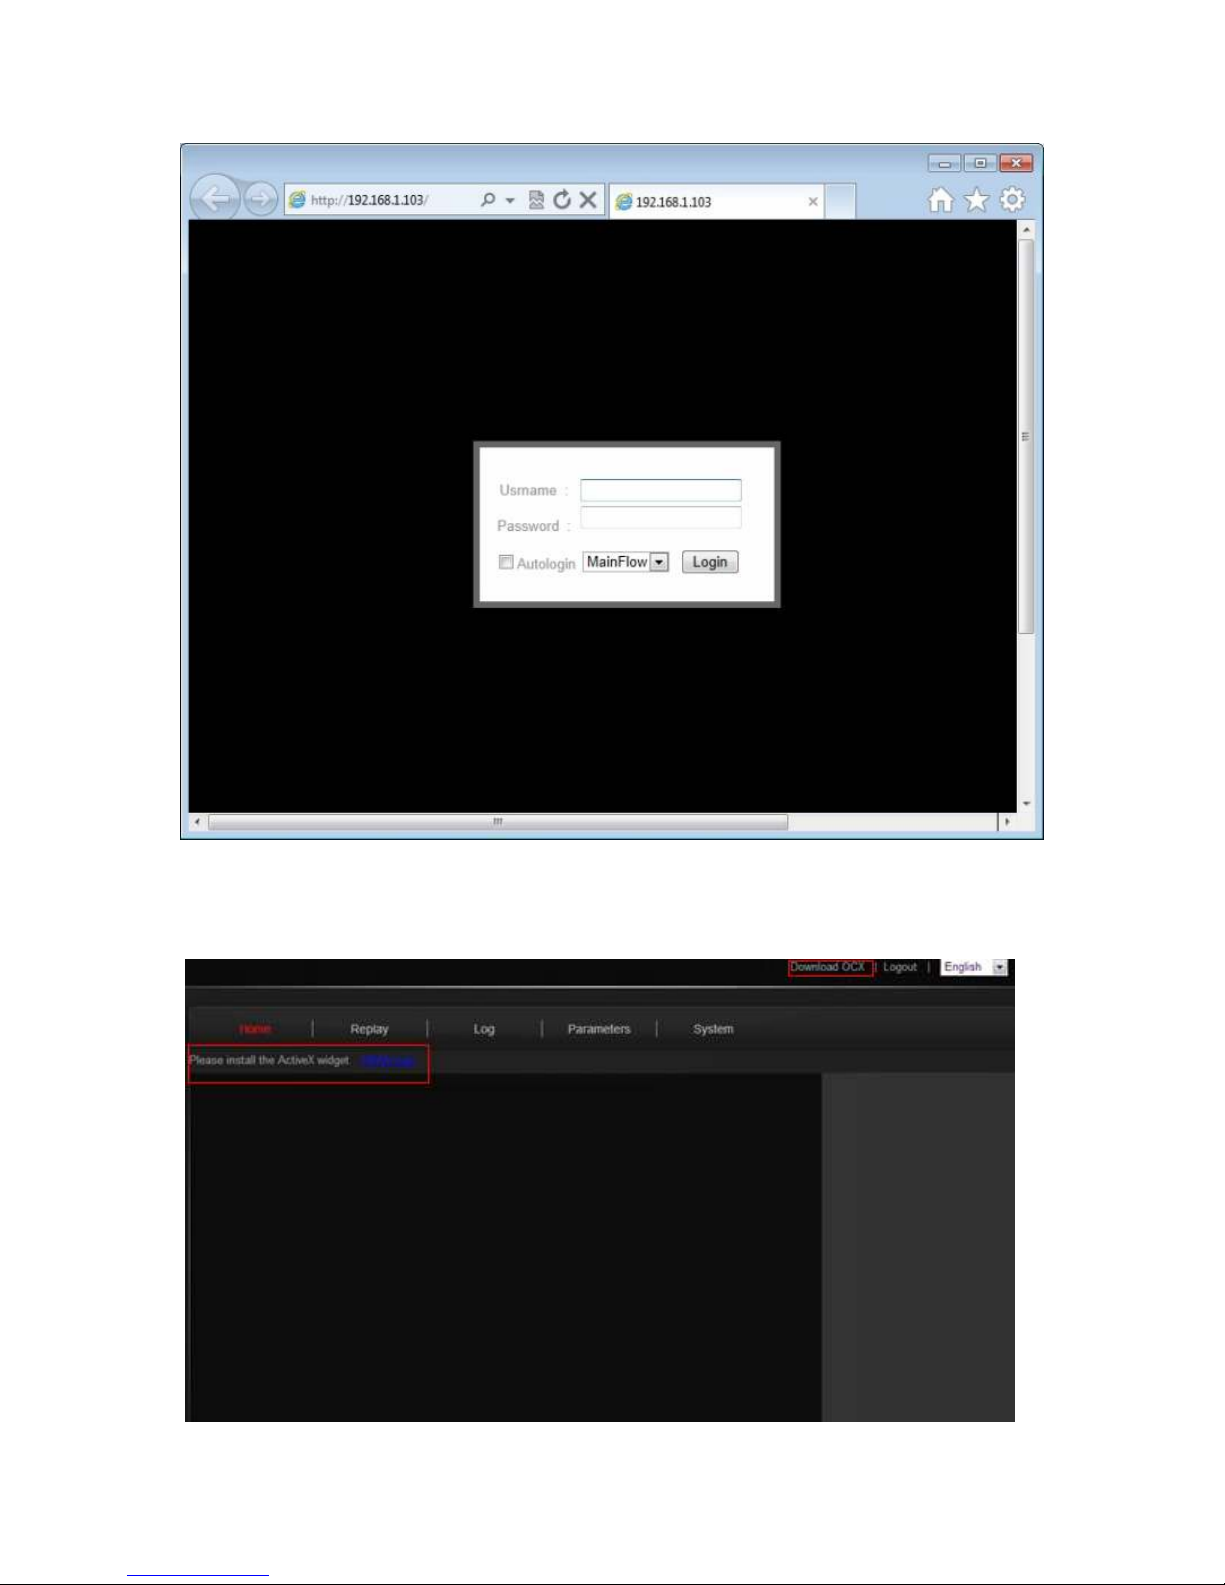
Embedded Linux-based operating system, built-in WEB server, can be accessed directly via a
Web browser, system stability, powerful, secure and reliable
Standard RTSP stream output, supports VLC streaming
Integrated ONVIF standard and various brands of camera can easily compatible platform software
Bi-directional and echo cancellation function, monitoring and real time voice synchronization
Supports alarm input and output
Built-in automatic filter switch, can meet the needs of monitoring day and night
Support for WIFI, and SD card
2.2. Specifications
Item GS-W3200 Wireless IP Cameras
Device 2.0 Megapixel CMOS Sensor
Size 1/4 inch
Effective Pixels 2MP:1 00*1200,1MP:1280*720
Min.Scene Illumination Color 0.5 LUX(IR ON)
B/W Yes
IR Sensitivity Yes
IR Cut Yes
Lens Lens 3. mm
Viewing Angle Horizontal
355°vertical 90°