Gajah HB1001 User manual

1/12
HB1001
INSTALLATIONGUIDE
V1.0

2/12
CO
N
TE
N
TS
1.WHATISINCLUDED?
.........................................................................................................
3
2.HOWTO
START?
................................................................................................................
4
3. HOWTO
USE?.....................................................................................................................
6
a.Howtowear?
...............................................................................................................
6
b.
Time
Display
...................................................................................................................
7
c.
Distance/Steps
Display
...................................................................................................
7
d.Calorie
D
i
splay
................................................................................................................
7
e.
Sleep
...............................................................................................................................
8
f.
Charging
.........................................................................................................................
8
g.
Syncautomatically
.........................................................................................................
9
h.
Turn
off.........................................................................................................................
10i.
Reset.............................................................................................................................
10j.
Memory........................................................................................................................
10
k.
Online
upgrade.............................................................................................................
10

3/12
ADJUS
WRIST
SWEATPR
DESIGN
TABLE
BAND
USBTypeA
Micr
o‐USB
LED
FUNCTI
BUTTO
1.WHATISINCLUDED?
STARBAND
OOF
O
N
Packagecontents
ChargingCable

4/12
PIC1‐3
Installationguide
FreeStar.21APP
Thisappcansupportthesystemandmobilesasbelow,
a.FORIOS
iPhone4Sandabove
iPodTOUCH5GENandabove
iPad3GENandaboe
iPadMINI
b. FORANDROID(AvailableafterJUNE,2014)
NEXUS4and5
GALAXYS4andabove
GALAYXYNOTE3andabove
2.HOWTOSTART?
a.InstalltheStar.21,afterdownloading“STAR.21”ontheAPPStoreor
Goog
lePlay(Avalable
afterJUNE,2014)
APP
ICON
b.Wakeupthestarbandforthefirsttime
1
)
Startingup
DepressandholdonthefunctionbuttonontheStarBandtilltheLEDslightupasshown
inPIC1‐1.
PIC
1
‐
1
PIC1‐2

5/12
PIC4‐1
PIC4PIC4‐3
2
)
Connecting
TurnonyourBluetooth4.0functiononyourmobilephone.Launchtheappandfollow
theinstructionsonscreentoconnecttotheStarBand.Next,tapontheconnectingicon
todiscovertheStarBand(e.g.HB1001‐E30DC),thenselecttoconnect
t
oit.Once
connectedsuccessfully,theiconintheappwillflashasinPIC2,andthecolorofthe
connectingiconwillchangefromgraytoblue.
Unconn
ecte
d
PIC
2
Connected
PIC
3
‐
2
c.Account
WhenyouusetheStarBandforthefirsttime,followtheappinstructiontocreatean
account,orloginifyoualreadyhaveone.
Youwillbeaskedtoinputinformationaboutyourselfsowecanprovideyouwiththebet
experienceandaccuratedatareading.Thisinformationiskeptstrictlyconfidential.

6/12
e
Firstdepres
Timemod
e
S
econd
depre
ss
Dis
t
ance/St
e
ps
mode
Th
C
u
irddepress:
aloriemode
3.HOWTOUSE?
a.Howtowear?
i.PuttheStarBandonyourwristwiththeadjustmentholesinthestrapfacingyou.
ii.Feedthebuttonthroughtheloop,andadjustthebel
wrist.
tillitfitssnuglyonyour
iii.PushthebuttonintotheholetofastentheStarBandtoyourwrist.
PIC
5
Suggestions:
1.Pleasedonotovertightenthestraponyourwrist;itmaymake
yo
ufeel
uncomfortable.
2.PlasedonotbendtheStarBandmainodule,asitmaydistort
t
hesensitive
product.
Modeselections
Depressingeachtimeonthefunctionbuttonwillpanthemodeselectionsinloop.The
modewillpanbetweenTime,Distance/Steps,andCaloriemodes.The
Slee
pmode
re
qu
ires
a
longdepressiononthefunctionbuttonforatleast3secondsandduringeveninghoursto
activate.
s::
e

7/12
55%Perce
PIC7‐1
60%Perc
PI
LEDilluminat
e
PIC
6
‐
1
ntcomplete
entcomplete
C
8
‐
1
HoursL
P
Re
Re
EDilluminates
IC
6
‐
2
achedthegoal
PIC
7
‐
2
achedthegoal
PIC
8
‐
1
MinutesLEDblin
PIC
6
‐
3
b.TimeDisplay
TheStarBandcandisplaythelocaltimeonitsLEDface.Depressonceonthebuttontoread
thetimefromitsLEDface.Itissynchronizedwiththetimeonyourmobiledevice.The
accuracyofthetimedisplayedis±2.5minutes.
dks
c. Distance/StepsDisplay
d.CalorieDisplay

8/12
Depressthebu
LED illuminat
e
timestoswitch
PI
C
ttontillthere
sand blink
tosleepmode
9
‐
2
Sleep
m
PIC
9
‐
e.Sleep
Depressthefunctionbuttonandhold(about3seconds)tilltheredLEDonbothsides
illuminateandblinks3times.Immediatelyletgoofthebuttononcethis
mo
deactivates.This
willbringtheStarBandtosleepmode.
Ifyoucontinuetodepressthebutton,itwillreturntostandarddaytime
mo
de.
Ifyoucontinuetodepressforabout8secondsormore,theStarBandwill
t
urnoff.
Time
PIC9‐1
dode
33
Note:
a.ToconfirmtheStarBandisinsleepmode,simplydepressthebuttonandthesideLEDwillilluminatein
red.
b.TheStarBandreturnstoDaymodeautomatically.
f.Charging
Forinitialuse,pleaseusetheStarBandtillthebatteryenergydepletes
the
nrecharge.
Duringusageifthebatterypowerislessthan25%,thebottomrowof
whit
eLEDswillblink
onceyoudepressthebutton.
PleaseconnectittoyourcomputerwiththeUSB
USBinterfaceontheStarBand.
harging.Refertothe
ima
ge,PIC10forthe

9/12
75%
PIC11‐1
Fully
c
PIC
PIC
10
har
ged
11
‐
2
g. Syncautomatically
TheStarBandsyncsdataautomaticallywhenevertheappislaunched.
PIC
12

10/12
PIC13‐2PIC1
h.Turnoff
Depressandholdthefunctionbuttonforabout8secondsormore.TheLEDswillilluminate
inthesequencesasshowninPIC12‐1,beforeturningoff.
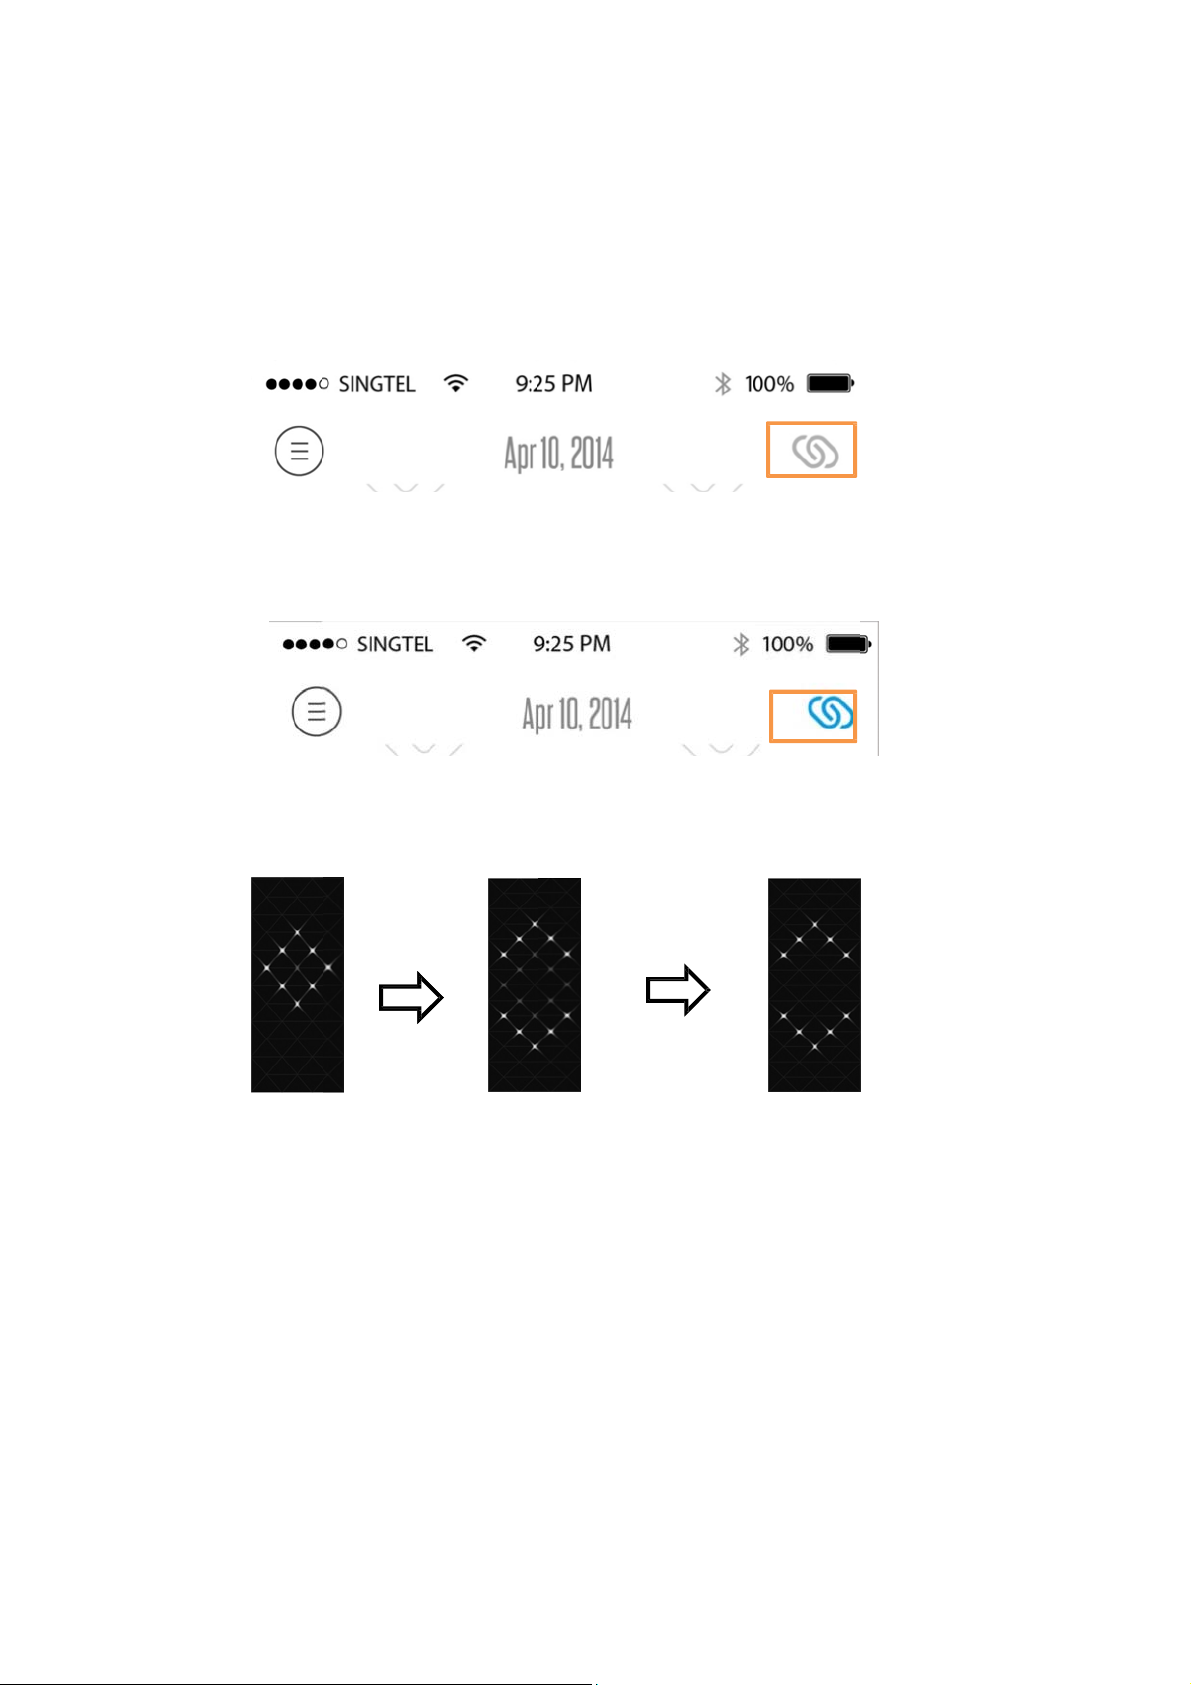
PIC13‐13‐3
i.Reset
Depressandholdonthefunctionbuttonforabout13secondstilltheLEDsblinks3timesas
in(PIC13‐1).
Note:WhenyouresettheStarBand,thememoryintheStarBandwillbecleared.Please
backupthedatabeforeyoureset.
j.Memory
TheStarBandrecordsuptosevendaysofyouractivities,includingonedaydetaileddata,
and6daysofsummarizeddata.Soit’sbesttosyncStarBandtothemobilephoneapp
regularlytoensuredailydetaileddataareuploaded.
k.Onlineupgrade
NewversionoftheStarBandfirmwarewillbenotifiedunderthe“upgradefirmware”option
inthemainmenuoftheapp.
Thesystemwillcheckfordifferentversionnumberandprompttoupgradeifanewfirmware
isavailable.Clickthenewfirmwaretolaunchtheonlineupgrademenu.
i. GotomainmenutodetectthecurrentversiononyourStarBand.Ifitisalreadythe
latestversion,thennofurtheractionisrequired.Pleaseproceedtothenextstepto
upgradethefirmwae. PIC14‐1
ii.Nextitwillcheckthebatterypowerenergylevelpriortoupgrading.Ifitislessthan25%
thatitwillaffecttheintegrityoftheupgrade.Pleasechargethebatteryandproceedto
upgradethefirmwae.PIC14‐1
iii.Selectandclickthefirmwareversionthatyouwanttoupgradewith.PIC14‐1
iv.TheLifeBalanzAPPwillsearchforthetargetStarBand.Note:everysingleStarBandhas
itsownindividualID.PIC14‐2
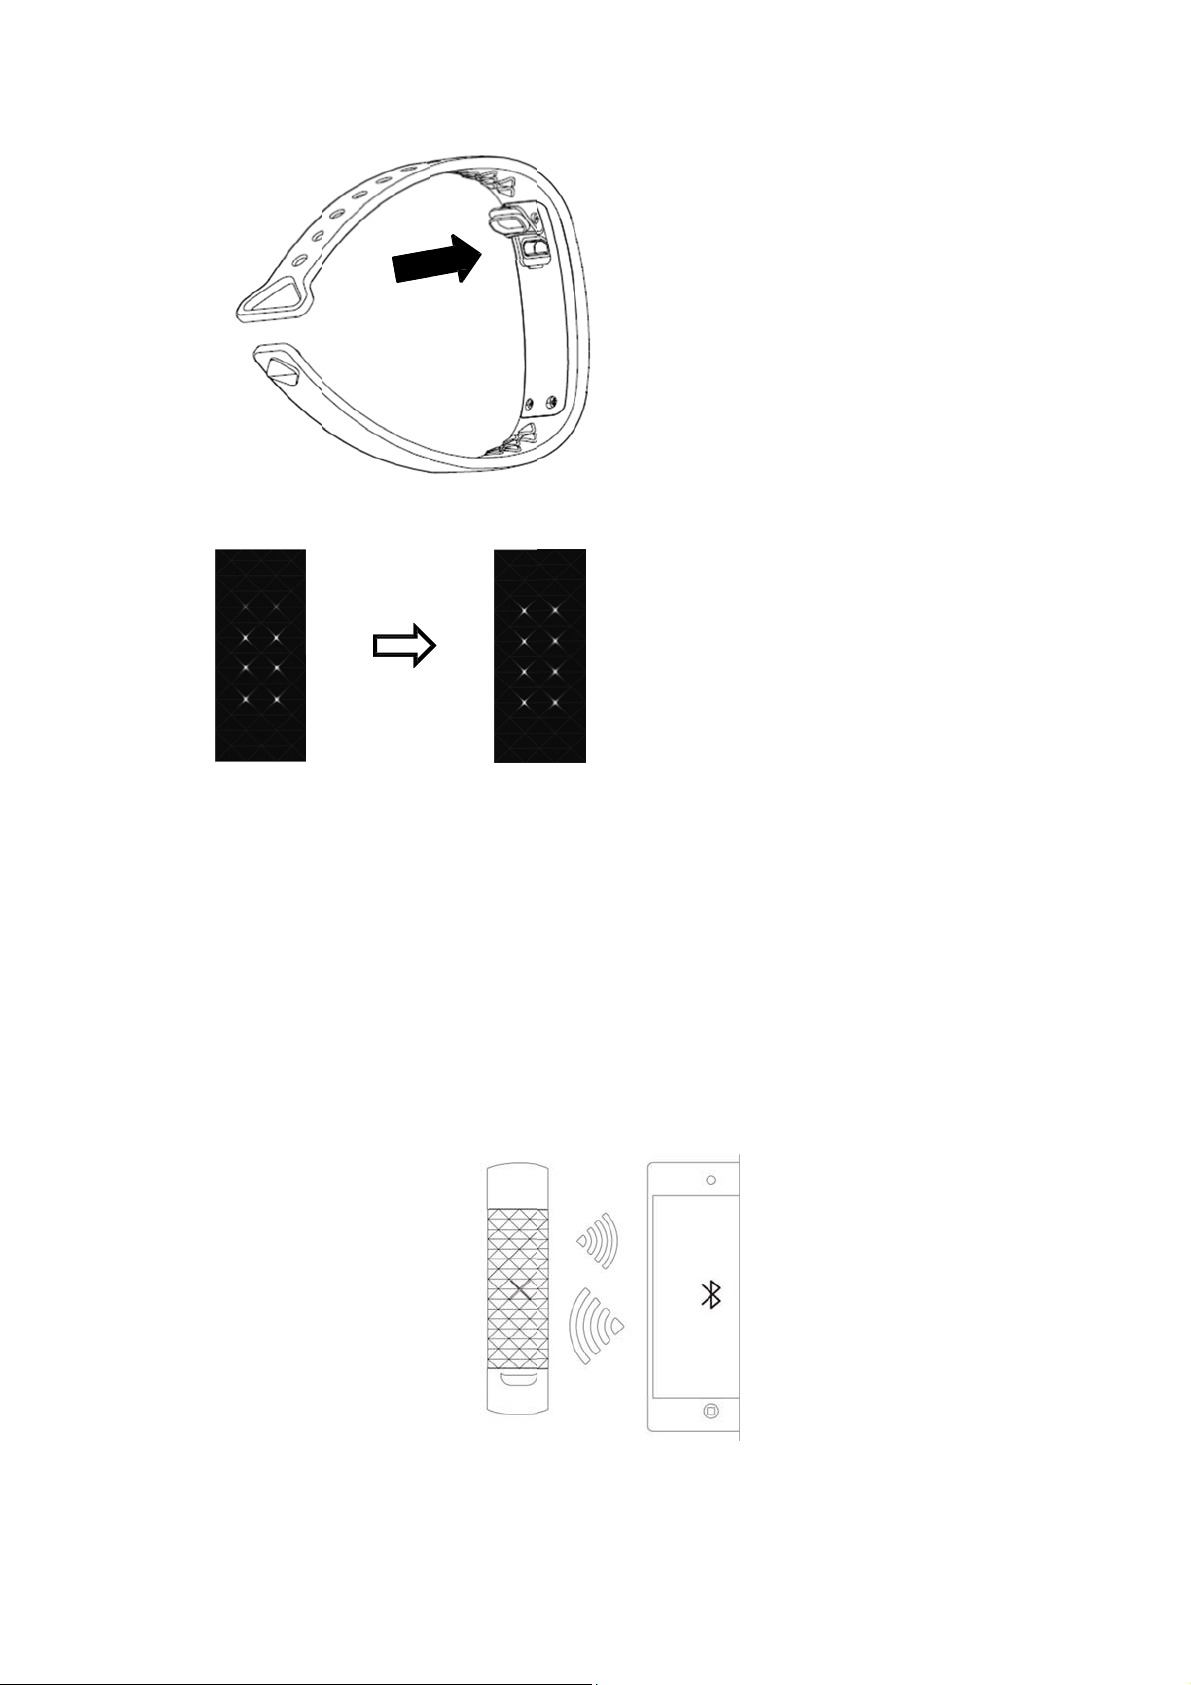
v.Switchthebandtoupgrademode:Pressandholdonthefunctionbu
tt
onformorethan

P
D
v
li
IC14‐1
etectfirmware
ersion,battery
fe
PIC14‐4
Upgrading
PIC14
Search
band
PIC
Co
‐
2
ingthetarget
14‐5
mpletedupgra
PIC14‐3
Targetbandc
PIC14‐
Failed
1
6
1
15secondstillthethetopandbottomLEDsilluminate.Thenreleasethebutton,and
waitfortheapptoretrievethebandnameanddisplayonthemenu.PIC14‐3
vi.Confirmandupgrade:clickonthebandnametoconfirmtoupgrade.TheLEDinthe
middlewillblinktilltheupgradeiscompleted.PIC14‐4
vii.Upgradecompleted:Oncetheupgradeiscompleted;itwilldisplaythemessageasin
PIC14‐5.IftheupgradefailsasinPIC14‐6,pleaseretryagain.TheStarBandwillremain
intheupgrademodetilltheupgradeiscompleted.
c
onnect
ed
d
e
/
12

WarrantyandService
Ifatanytimewithinone(1)yearfromthepurchasedateofthisproduct,itfailstoperform
properlybecauseofdefect(s)inmaterialormanufacturing,returnitprepaidto:
BlockB,3F,JiaDaR&DBuilding,5SongPingShanRoad,NanshanDistrict,Shenzhen,China,
518057
CompletethisGuaranteeCertificateandencloseit(oracopyofit)withtheproduct.(PLEASE
PRINTCLEARLY)
ModelNO.SerialNO.
PurchasedDate
Owner'sName
Owner'sAddress
TelNO.
Email
Distributor
Dealer'sName
Type:Returngoods□ Exchangegoods□
Reason
Replacement
Thisproducthasbeencarefullydesigned,manufacturedandpackaged.Ifanypartsaremissingor
damaged,pleasecontactusattheaddressaboveandwewillreplacetheunitatnocharge.
(Guaranteedoesnotcoverbattery)
CustomerService:+864009953335Fax:+8675588398466
12/
12

FCC Caution.
§ 15.19 Labelling requirements.
This device complies with part 15 of the FCC Rules. Operation is subject to the
following two conditions: (1) This device may not cause harmful interference, and (2)
this device must accept any interference received, including interference that may
cause undesired operation.
§ 15.21 Information to user.
Any Changes or modifications not expressly approved by the party responsible for
compliance could void the user's authority to operate the equipment.
§ 15.105 Information to the user.
Note: This equipment has been tested and found to comply with the limits for a Class
B digital device, pursuant to part 15 of the FCC Rules. These limits are designed to
provide reasonable protection against harmful interference in a residential installation.
This equipment generates uses and can radiate radio frequency energy and, if not
installed and used in accordance with the instructions, may cause harmful interference
to radio communications. However, there is no guarantee that interference will not
occur in a particular installation. If this equipment does cause harmful interference to
radio or television reception, which can be determined by turning the equipment off
and on, the user is encouraged to try to correct the interference by one or more of the
following measures:
-Reorient or relocate the receiving antenna.
-Increase the separation between the equipment and receiver.
-Connect the equipment into an outlet on a circuit different from that to which the
receiver is connected.
-Consult the dealer or an experienced radio/TV technician for help.
RF Exposure statement
The devices has been tested and meets applicable limits for Radio Frequency (RF)
exposure.
This equipment complies with FCC radiation exposure requirement. The device can
be used in portable exposure condition without RF restriction. Or equivalent meaning.
According to the table of SAR Test Exclusion Thresholds for 100 MHz – 6 GHz and
≤50 mm in KDB447498, The minimum distance of SAR Test Exclusion calculated
is 0.36cm. The EUT is at least 0.36 cm away from user’s body when used(as showed
in the following picture). It is determined as mobile equipment and complies with the
MPE limit.
The EUT thick is 10mm, and the antenna to body minmum distance is 6.5mm>3.6mm
Table of contents