ASSEMBLY INTRODUCTION
FASTENING SYMBOLS
The snap-tite assembly system locks most perimeter channels to all roof and wall
sheets without the need for tools and fasteners.
To pre-assemble the four wall panels
and two roof panels, the perimeter
channels are secured to the top and
bottom of each panel using the
snaptite system, as detailed on the
following pages wherever you see
the symbol.
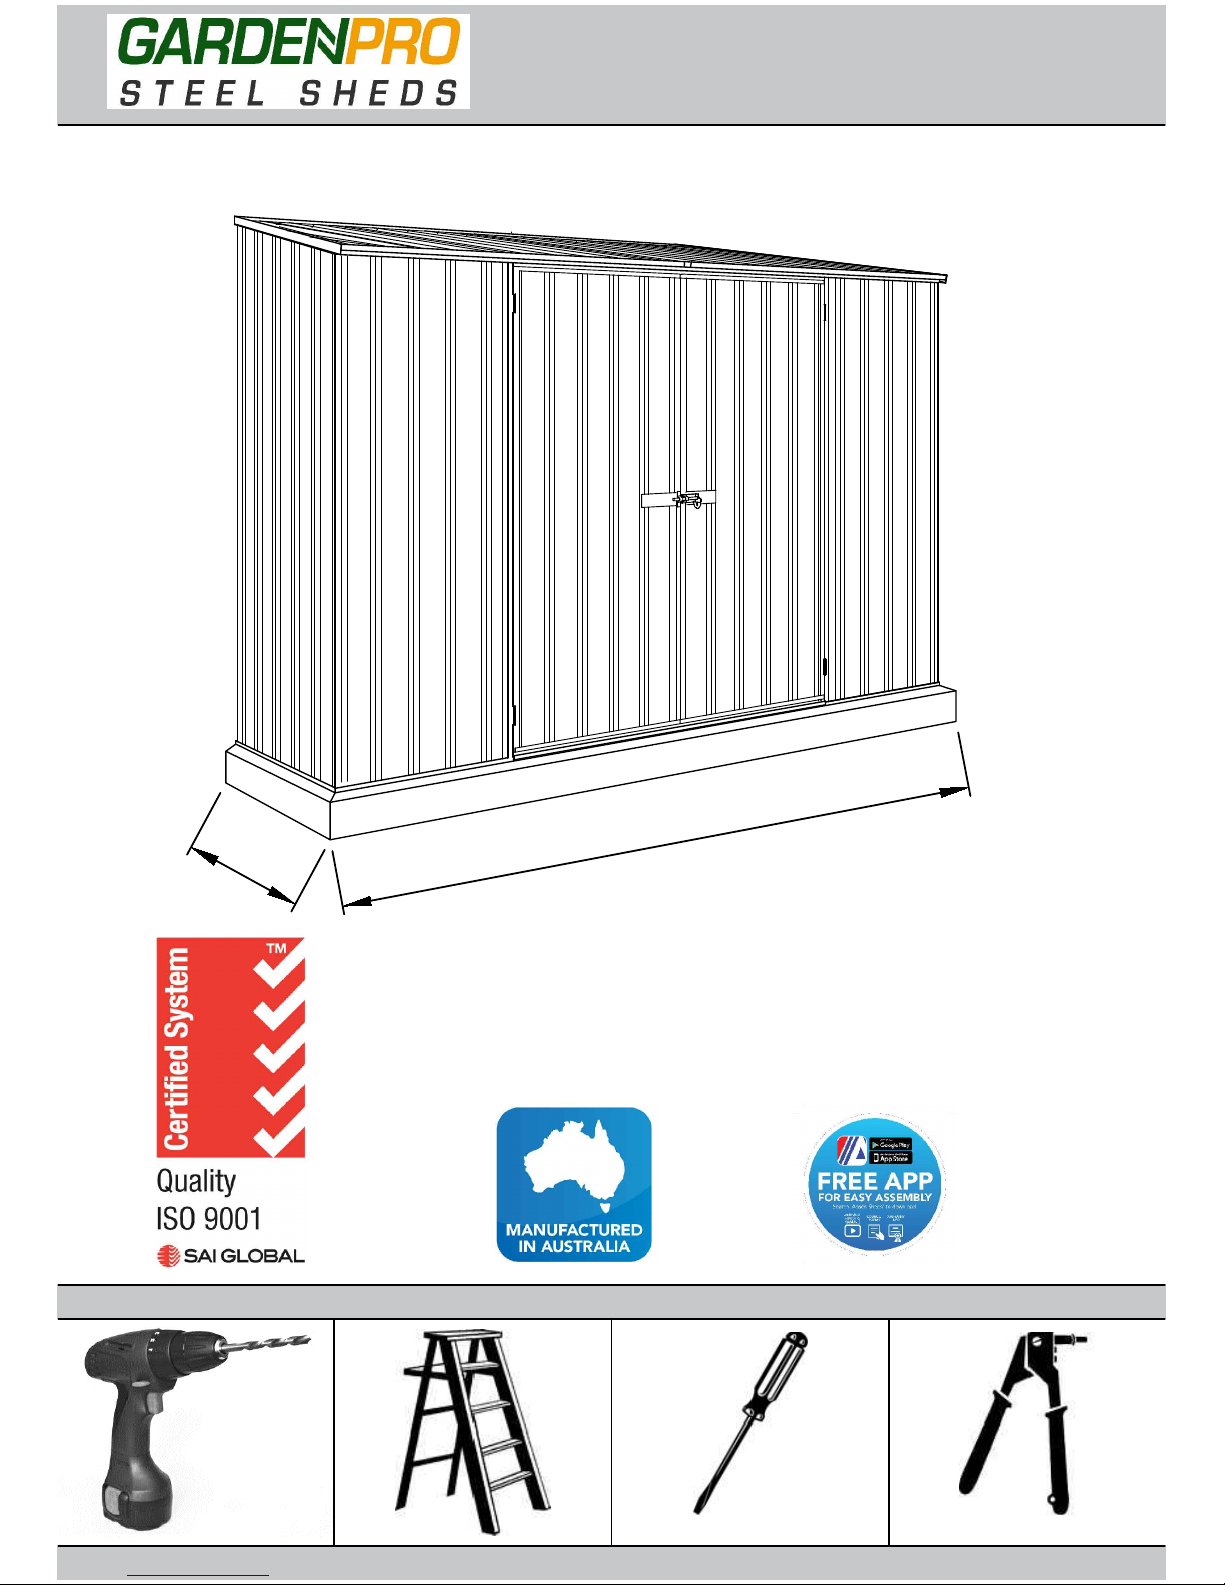
Position sheets on timbers,
trestles or partly over edge of
concrete slab.
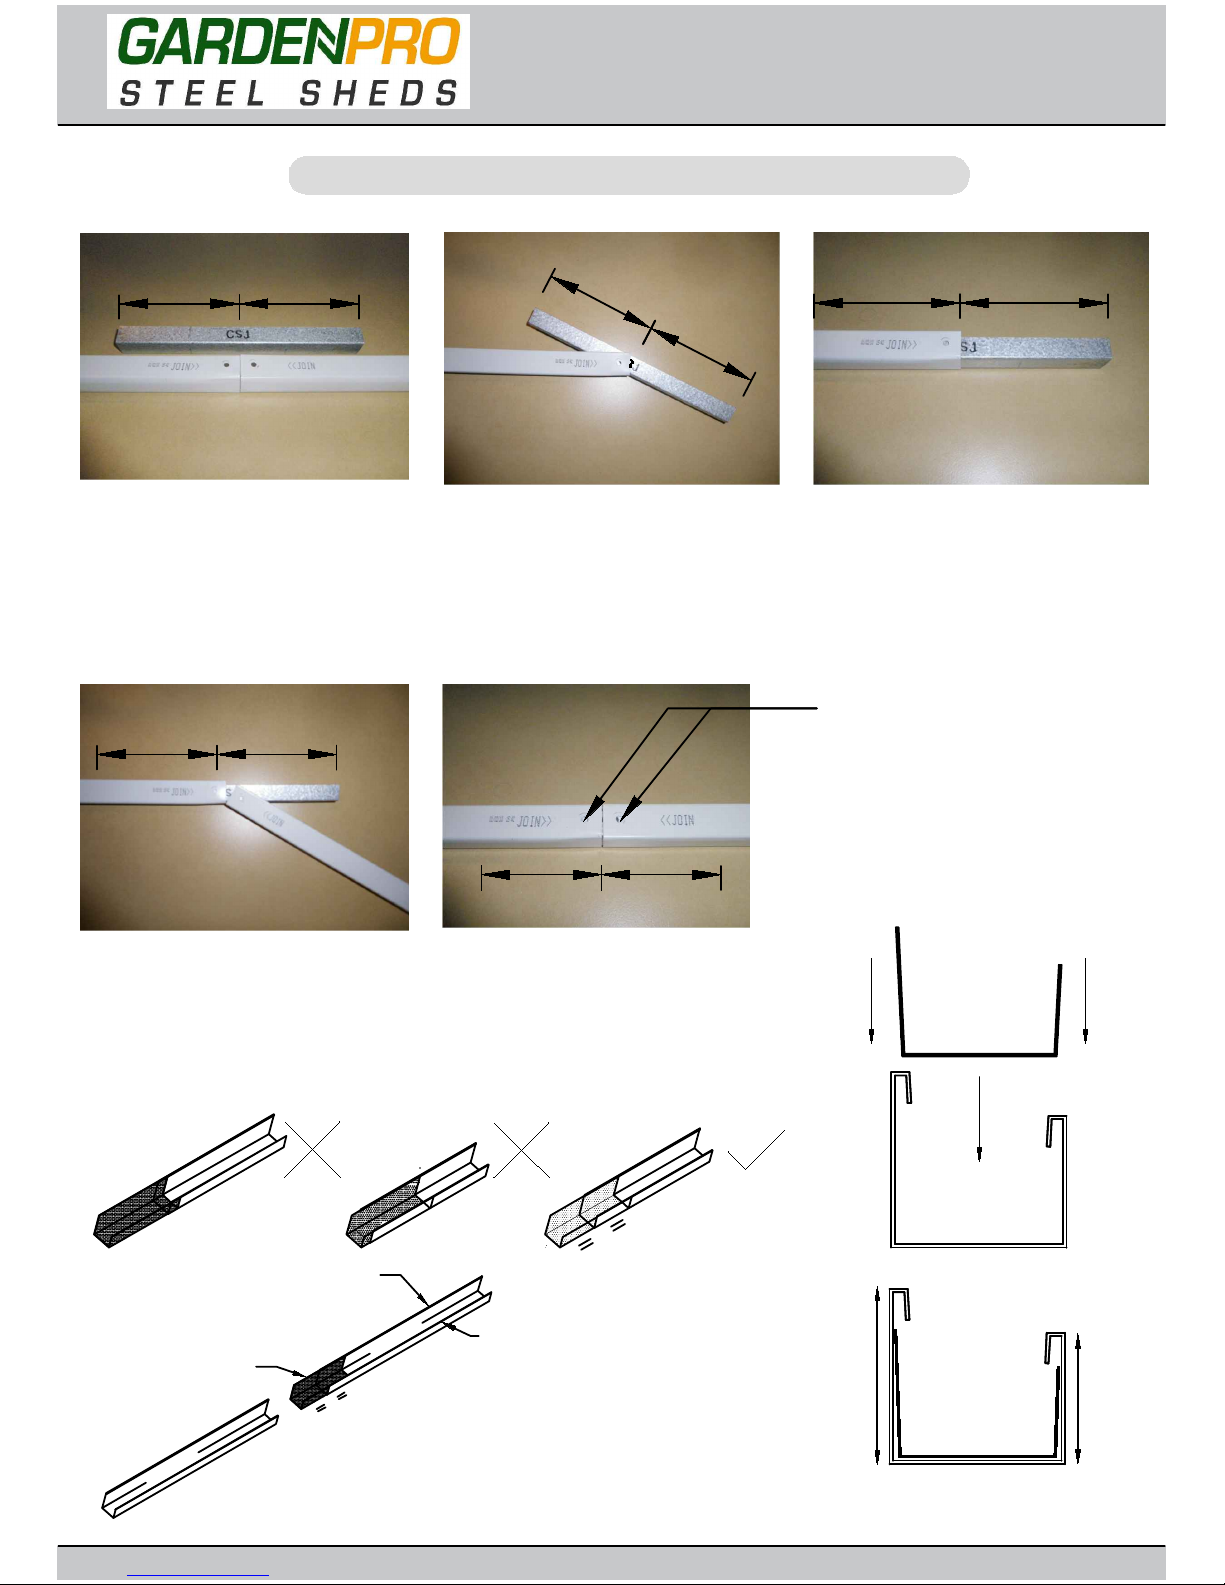
Each perimeter channel must finish flush
with the edges of the sheets. the snap-tite
system allows adjustment for this
process by simply tapping the channel
along the sheets until each end is neatly
flush.
Join components together with one screw at this
location only, as some channel sections have extra
holes that are not required for this model of garden
shed
Do not join components together at this location yet,
as the screw may obstruct further assembly of other
components
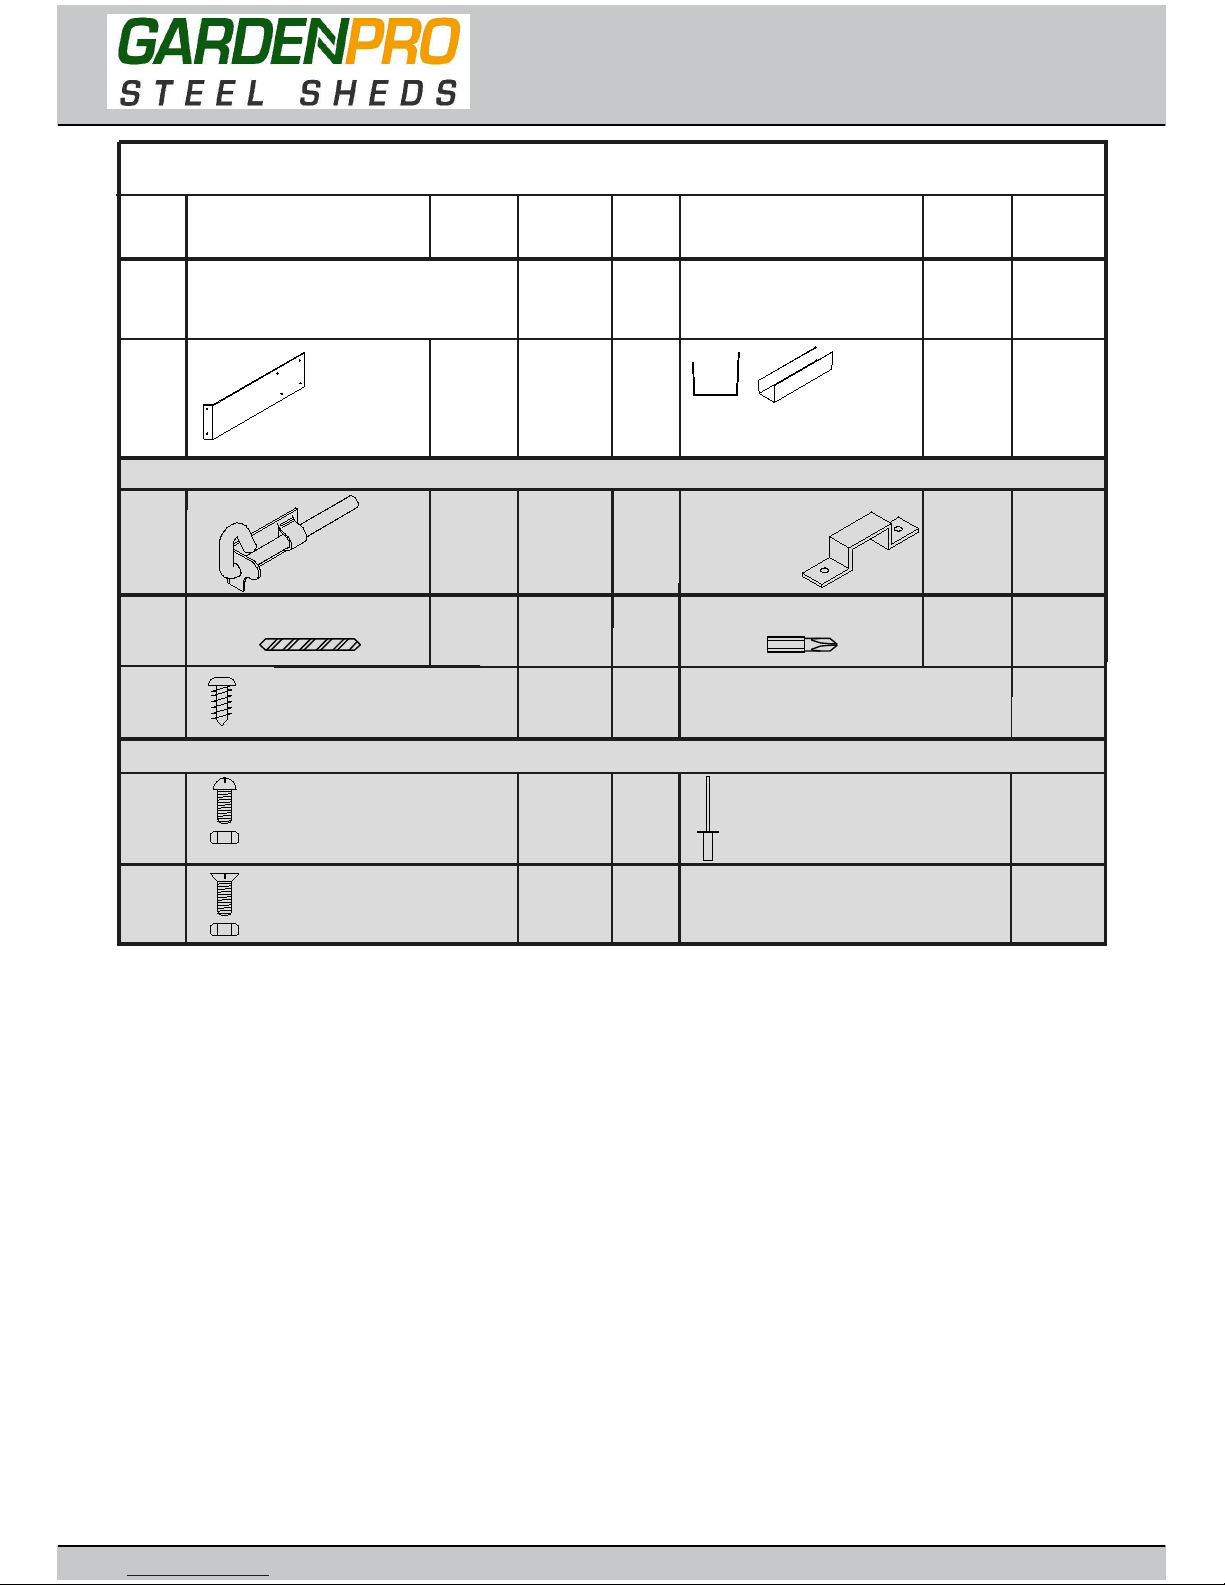
4mm NUT & BOLT SET
3mm POP RIVETS
PUSH
PUSH
HIGH SIDE
HIGH SIDE
PUSH
HIGH SIDE
HIGH SIDE
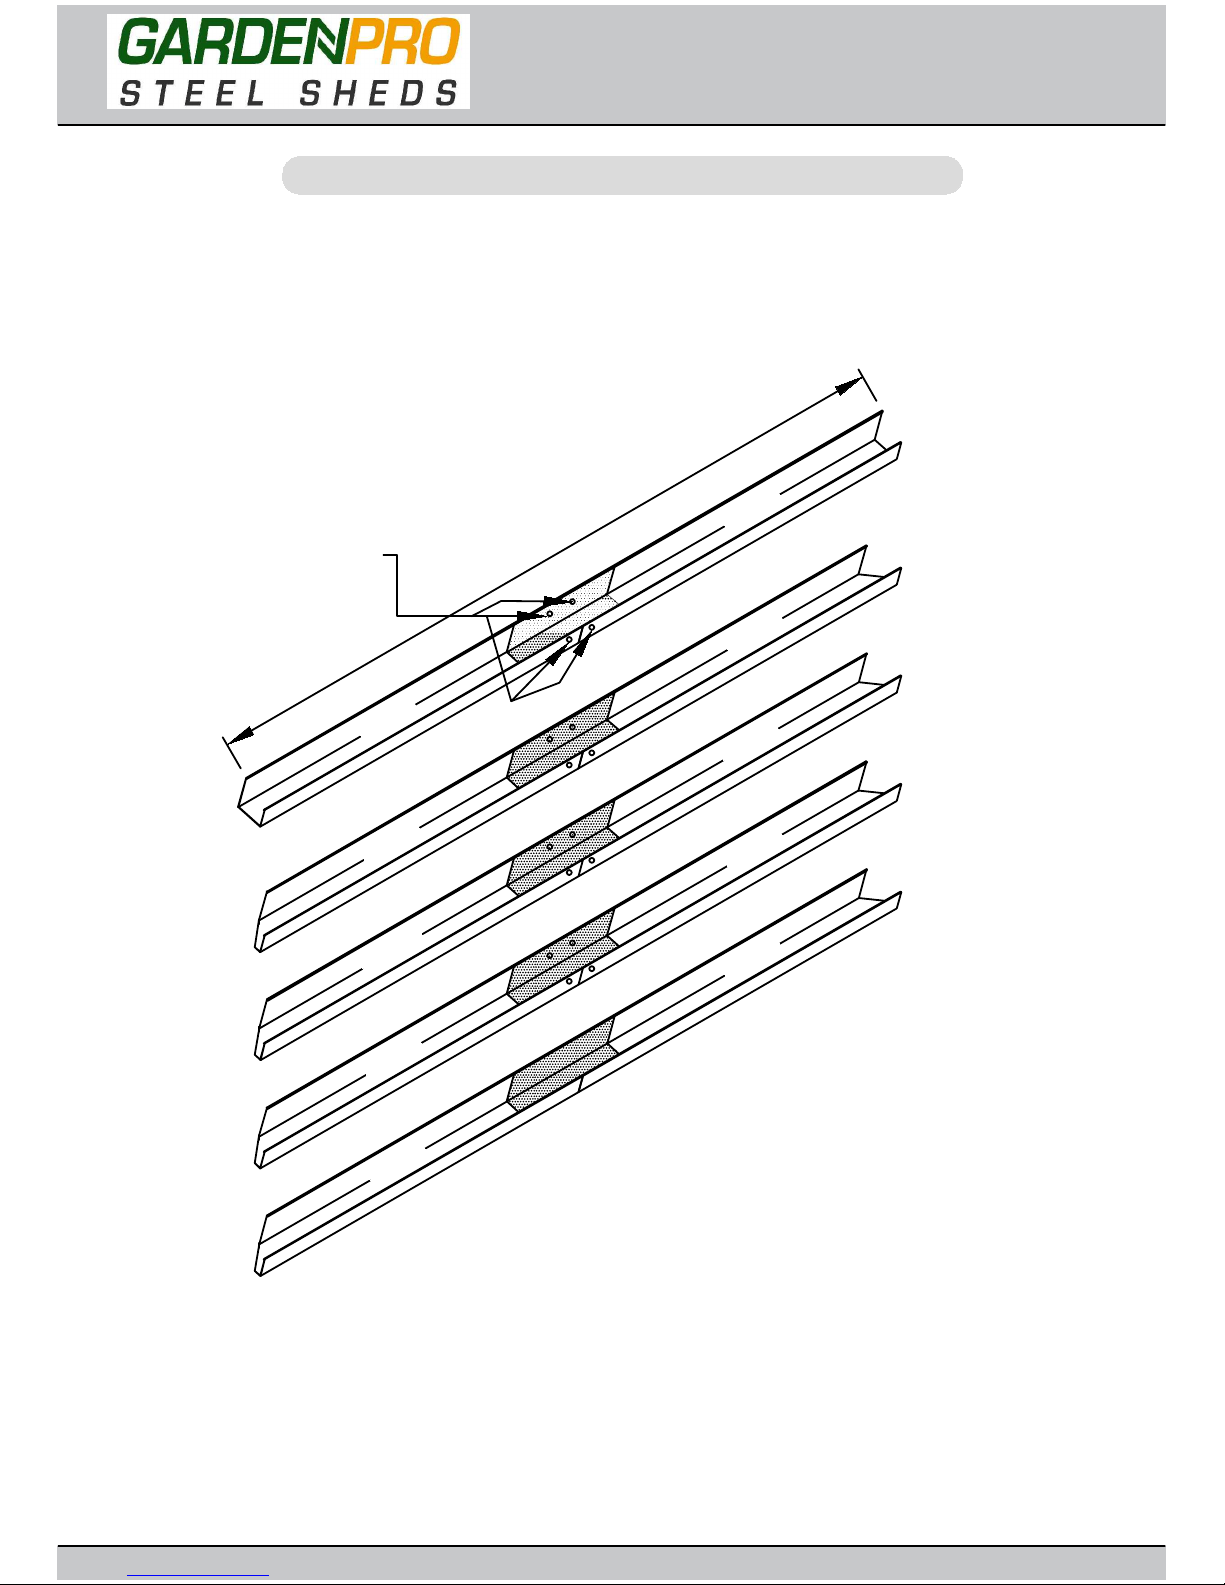
After joining sheets together,
position channel over one end of the
sheets, gently tapping it over the
snaptite lugs, working along the
sheets to the other end.
HIGH SIDE
SNAP
T TE
i
SNAP
T TE
i
SNAP
T TE
i
NOTE: The 'high side' is always on
the inside of the shed.
GARDENPRO ASSEMBLY INSTRUCTION MANUAL SHED MODEL: J30082MK 05-10-2017
Gardenpro Masterstore Series
Shed Model: J30082MK
PAGE 10