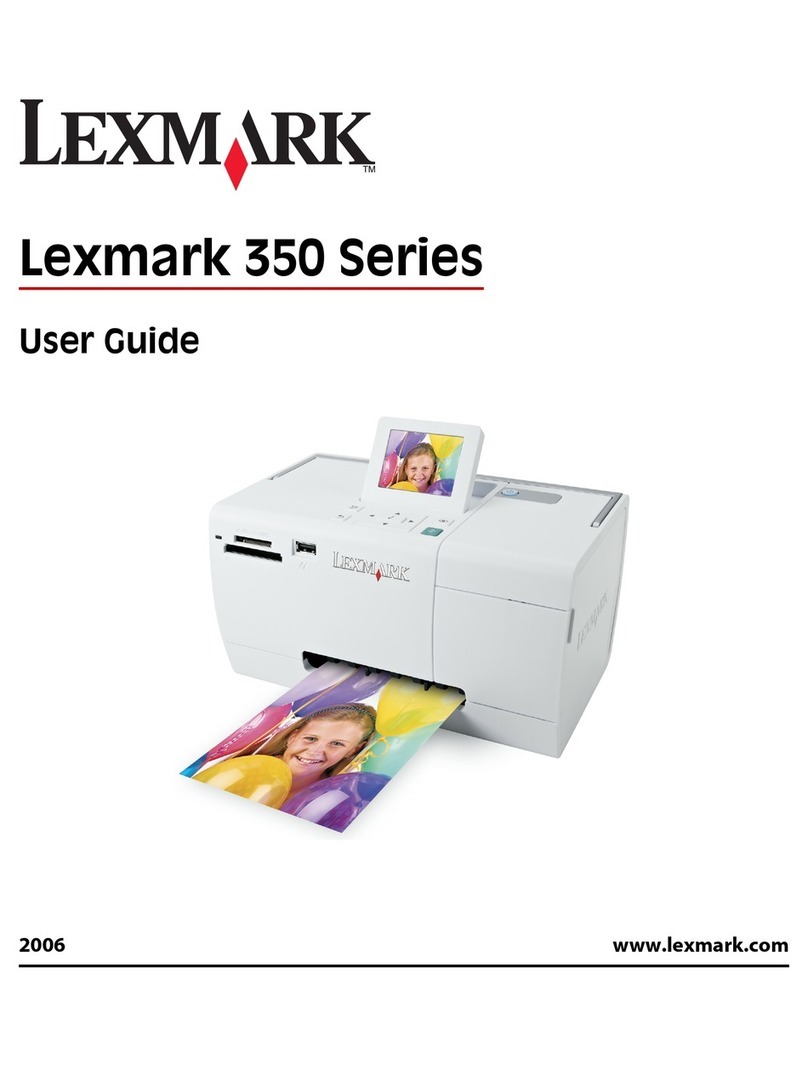
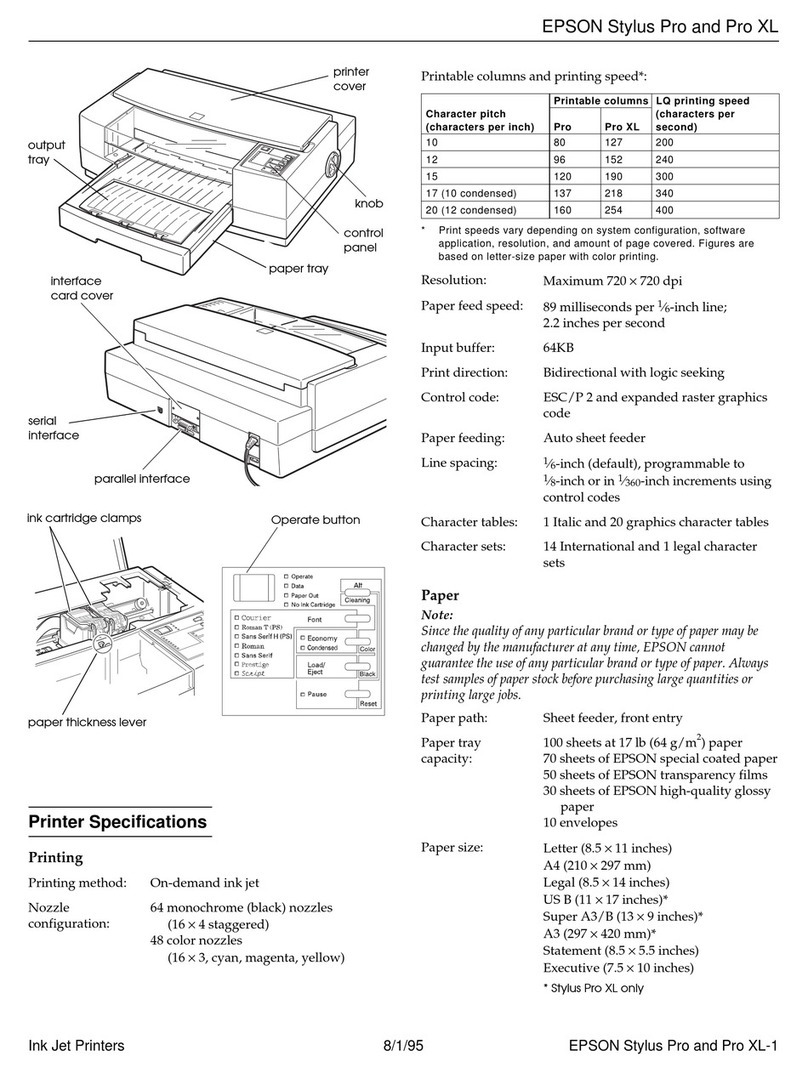
Gasboy C08951 User manual

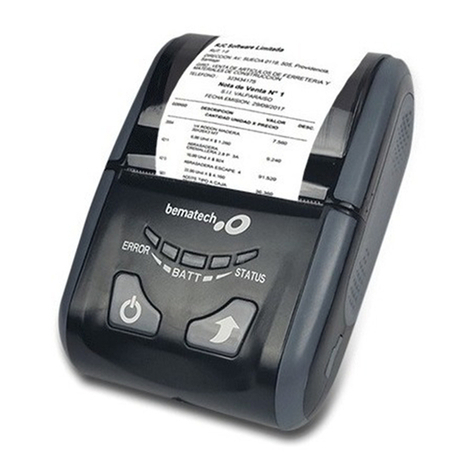
STAR RECEIPT PRINTER
MAINTENANCE MANUAL
C08951
GASBOY INTERNATIONAL LLC

GASBOY
STAR RECEIPT PRINTER
MAINTENANCE MANUAL
C08951
Rev. 03/20/03
Copyright 2003 by Gasboy International LLC All rights reserved.
The information in this document is confidential and proprietary. No further disclosure shall be made without
permission from Gasboy International LLC. Gasboy International LLC believes that the information in this document
is accurate and reliable. However, we assume no responsibility for its use, nor for any infringements of patents or
other rights of third parties resulting from its use. We reserve the right to make changes at any time without notice.
GASBOY INTERNATIONAL LLC LANSDALE, PA


03/20/03 Contents-1
CONTENTS
Section 1: INTRODUCTION
Description ............................................................................................... 1-1
Section 2: SWITCHES AND SETTINGS
Printer Status Board ................................................................................. 2-1
Status Board Switches ............................................................................. 2-1
Status Board Lamps ................................................................................. 2-2
Controller Board DIP Switch Settings ....................................................... 2-2
Section 3: MAINTENANCE
Accessing the Printer For Maintenance or Service .................................. 3-1
Ordering New Paper or Ribbon................................................................. 3-1
Changing the Paper ................................................................................. 3-2
Removing the Paper ........................................................................... 3-2
Installing the Paper ............................................................................. 3-3
Changing the Ribbon ................................................................................ 3-3
Removing Old Ribbon Spools ............................................................. 3-3
Installing New Ribbon Spools ............................................................. 3-4
Adjusting Cutter Blades ............................................................................ 3-5
Adjusting After Incomplete Cuts .......................................................... 3-5
Adjusting After Paper Jam .................................................................. 3-5
Figures
1-1. Card System with Receipt Printer ............................................................ 1-1
2-1. Printer Status Board ................................................................................. 2-1
2-2. DIP Switches ............................................................................................ 2-2
3-1. Printer Side View ...................................................................................... 3-2
3-2. Ribbon Installation Sequence ................................................................... 3-4
3-3. Cutter Bar Adjustment Screw ................................................................... 3-5
Tables
2-1. Status Board Switches ............................................................................. 2-1
2-2. Status Board Lamps ................................................................................. 2-2
2-3 DIP Switch Settings .................................................................................. 2-2


03/20/03 1-1
Section 1
INTRODUCTION
DESCRIPTION
The Star Receipt Printer is a compact, multi-purpose dot-matrix printer that is used in GASBOY
CFN and Series 1000 Card Systems. This optional printer enables you to print receipts for fueling
transactions right at your card reader.
The printer is housed within the pedestal of your card reader. A printer access door is located on
the side of the pedestal. Inside, the printer is mounted on a sliding drawer that enables you to
easily slide it out for servicing or maintenance and then replace it. A receipt door on the front of
the pedestal provides customer access to receipts. Indicator lamps, on the pedestal above the
receipt door, indicate PAPER LOW or PAPER OUT conditions.
Figure 1-1 highlights the location and features of a card reader with a receipt printer. The
remainder of this manual describes the printer, its internal switches and settings, and how to
maintain it.
Figure 1-1. Card System With Receipt Printer


03/20/03 2-1
Section 2
SWITCHES AND SETTINGS
PRINTER STATUS BOARD
The printer status board (Figure 2-1) is attached to the
inside of the printer access door (See Figure 1-1) This
location provides the site attendant easy access to the
switches and indicator lamps needed to perform paper
loading, self-tests, and simple troubleshooting.
Figure 2-1. Printer Status Board
STATUS BOARD SWITCHES
Table 2-1 summarizes switches and results for the printer status board.
Table 2-1. Status Board Switches
Switch Function
SW2 SELF-TEST
Switching SW2 to the left starts a self-test of the printer. It will print a barber-pole pattern
of all the characters that may be printed on a receipt.
Switching SW2 to the right stops the printing and cuts the paper.
A short self-test should be performed whenever the paper or ribbon is changed.
SW3 PAPER FEED
Pressing SW3 causes a continuous paper feed. This is used while loading new paper.
SW4 ON LINE
Pushing this switch alternately puts the printer in the online or offline mode. The
printer must always be online (green lamp on) to print receipts or do a self-test.

GASBOY Star Receipt Printer
2-2 03/20/03
STATUS BOARD LAMPS
Table 2-2. Status Board Lamps
Lamp Function
D1 +12 VOLTS
This lamp should be lit whenever SW1 (Power) is on.
D2 ON LINE
This lamp must be on to print receipts or do a self-test. If it is not on, momentarily press
SW4.
NOTE: This lamp does not have to be lit to feed paper (SW3).
D3 ALARM
This lamp will light when a mechanical failure occurs, or when the printer runs out of paper.
CONTROLLER BOARD DIP SWITCH SETTINGS
The controller board DIP switches are set at the
factory prior to shipment. For proper operation of
the printer, the controller board switch settings
should be as follows:
Table 2-3. Dip Switch Settings
SW1 Pos SW2 Pos
1-1 ON 2-1 ON
1-2 ON 2-2 ON
1-3 ON 2-3 ON
1-4 ON 2-4 OFF
1-5 OFF
1-6 ON
1-7 ON
1-8 OFF
NOTE: DIP switches are only read by the controller
at power up. DIP switch changes should
be made with the power off.
Figure 2-2. DIP Switches

03/20/03 3-1
Section 3
MAINTENANCE
ACCESSING THE PRINTER FOR MAINTENANCE OR SERVICE
Before beginning any of the following maintenance procedures, you must first turn off all power to
the unit, then pull the printer out to a serviceable position. Follow these steps:
1. Open the printer access door and loosen the hex head screw.
2. Pivot the printer assembly to the right in order to clear the paper chute.
3. Pull the entire printer slide assembly toward you.
4. Perform any required maintenance or service. Reverse this procedure to return the printer to
normal operation.
ORDERING NEW PAPER OR RIBBON
When replacing paper or ribbon, use only GASBOY-supplied parts. Failure to do so will void the
GASBOY warranty.
• C08946 Paper, #RF-4, 5-5, Low Bulk - Star
• C08941 Ribbon, #SF-01P, Purple - Star
It is recommended, in most cases, that the ribbon be replaced every 4000-5000 receipts or 2 to 3
rolls of paper to ensure acceptable print quality. Environmental conditions, such as temperature
and humidity, may affect the life of the ribbon.

GASBOY Star Receipt Printer
3-2 03/20/03
CHANGING THE PAPER
Removing the Paper
1. Follow the procedure for accessing the printer.
2. Cut the paper where it comes off of the roll.
3. Press the PAPER FEED switch on the printer status board until all of the paper is removed
from the printer mechanism.
4. Remove the paper roll, being careful not to bend the PAPER LOW switch.
Figure 3-1. Printer Side View

Maintenance
03/20/03 3-3
Installing the Paper
1. Insert spindle into paper roll.
2. Insert roll into holder, being careful not to bend the PAPER LOW switch.
3. Make sure the paper feeds from the back of the roll.
4. Insert the paper into the paper feed slot while pressing the PAPER FEED switch on the
printer status board.
5. Make sure the paper feeds easily out of the paper cutter.
6. Perform a short self-test.
7. Return the printer slide assembly to its normal position and lock it in place with the hex head
screw.
8. Close and lock the printer access door.
NOTE: Make sure the printer access door is drawn tight in order to insure a watertight
seal.
CHANGING THE RIBBON
Removing Old Ribbon Spools
1. Follow the procedure for accessing the printer.
2. Slide the cutter latch on the paper cutter unit to the right and swing the paper cutter up
(Figure 3-2 A and B).
3. Rotate both spools to create some slack in the ribbon.
4. Pull one spool off of the shaft while pushing the ribbon detecting lever out of the way (Figure
3-2 C). Repeat for the other spool.

GASBOY Star Receipt Printer
3-4 03/20/03
Figure 3-2. Ribbon Installation Sequence
Installing New Ribbon Spools
1. Place the ribbon spool onto the left shaft with the spool-driving pins pointing toward the
printer (Figure 3-2 C).
2. Feed the ribbon over the left ribbon guide, under the print head, and over the right ribbon
guide.
3. Repeat Step 1 for the right spool.
4. Rotate both spools to remove the slack from the ribbon.
5. Return the paper cutter unit to the normal position and slide the cutter latch to the left to lock
(Figure 3-2 A).
6. Perform a short self-test
7. Return the printer slide assembly to its normal position and lock it in place with the hex head
screw.
8. Close and lock the printer access door.
NOTE: Make sure the printer door lock is drawn tight in order to insure a watertight seal.

Maintenance
03/20/03 3-5
ADJUSTING CUTTER BLADES
Adjustment of the cutter blades may become necessary if the cutter fails to operate properly. This
may be indicated by receipts not being completely cut or paper becoming jammed inside the
printer. Cutter blades are sharp! Keep fingers away from sharp edges of blade while making
adjustments.
Adjust After Incomplete Cuts
1. Follow the procedure for accessing the printer.
2. Loosen the hex adjusting screw (located on the lower left side of the cutter) using a 2.5 mm
hex key. Do not use pliers as damage to the screw head may result. Pivot the bottom cutter
blade upward. Tighten the hex screw to lock the blade in place.
3. Perform a few self-tests to make sure the cutter operates properly.
4. Return the printer slide assembly to its normal position and lock it in place with the hex head
screw.
5. Close and lock the printer access door.
NOTE: Make sure the printer door lock is drawn tight in order to insure a watertight seal.
Figure 3-3. Cutter Bar Adjustment Screw
Adjust After Paper Jams
1. Follow the procedure for accessing the printer.
2. Carefully remove any paper that may be stuck inside the printer.

GASBOY Star Receipt Printer
3-6 03/20/03
3. Loosen the hex adjusting screw (located on the lower left side of the cutter) using a 2.5 mm
hex key. Do not use pliers as damage to the screw head may result. Pivot the bottom cutter
blade down. Tighten the hex screw to lock the blade in place.
4. Perform a few self-tests to make sure the cutter operates properly.
5. Return the printer slide assembly to its normal position and lock it in place with the hex head
screw.
6. Close and lock the printer access door.
NOTE: Make sure the printer door lock is drawn tight in order to insure a watertight seal.

GW01 - 6/04/02 Rev. 1
WARRANTY
General Statements:
Gasboy International LLC. warrants all new equipment manufactured by Gasboy against defective material and/or workmanship, for the warranty
period specified below, when the equipment is installed in accordance with specifications prepared by Gasboy.
This warranty does not cover damage caused by accident, abuse, Acts of God, lack of surveillance of automatic recording systems, negligence,
mis-application, faulty installation, improper or unauthorized maintenance, installation or use in violation of product manuals, instructions, or warnings.
Under no circumstance shall Gasboy be liable for any indirect, special, or consequential damages, losses, or expenses to include, but not limited
to, loss of product, loss of profits, litigation fees, or the use, or inability to use, our product for any for any purpose whatsoever.
Parts Only - During the warranty period, Gasboy will, at its option, repair or replace defective parts returned transportation prepaid to its factory.
On-Site Labor Included - Gasboy will also provide, within the Continental United States and during the warranty period, the services of an
Authorized Service Representative (ASR) for on-site repair or replacement of defective parts.
Replacement Parts - Any system components that are not part of the original system order, including Island Card Readers, Pump Control Units, etc.,
are considered replacement parts.
Equipment Term Coverage
Commercial Pumps and Dispensers
Full-Cabinet Consumer Pumps One year from date of installation or 18 mos. from date of
Gasboy International’s invoice to the purchaser, whichever
comes first.
Parts and Labor.
Small Transfer Pumps, Meters,
Pressure Regulators One year from date of installation or 18 mos. from date of
Gasboy International’s invoice to the purchaser, whichever
comes first.- Excepting the Model 2020 Hand Pump, which
has a 90-day warranty from date of GASBOY International’s
invoice.
Parts Only.
Keytrol One year from date of installation or 18 mos. from date of
Gasboy International’s invoice to the purchaser, whichever
comes first.
Parts and Labor.
Fuel Management Systems:
- CFN/ Profit Point
- Series 1000/Fleetkey
- TopKAT
- Fuel Point Readers
(sold with new systems)
One year from date of start-up or 15 mos. from date of
Gasboy International’s invoice to the purchaser, whichever
comes first.- The basic warranty only applies to systems
which have been started up by a Gasboy Authorized Service
Representative (ASR).
Parts and Labor.
Additional Fuel Point Items:
- Fuel Point Readers sold for
retrofitting existing systems.
- Fuel Point vehicle and dispenser
components.
One year from date of start-up or 15 mos. from date of
Gasboy International’s invoice to the purchaser,
whichever comes first.
Parts Only.
Encoders, Embossers, Modems,
CRTs, and Logger Printers Purchased with Fuel Management System (Encoders,
Embossers only):
90 days from the date of start-up by a Gasboy ASR, or 180
days from date of Gasboy International's invoice, whichever
occurs first.
Purchased with Fuel Management System
(Modems, CRTs, and Logger Printers only):
Matches system warranty.
Purchased Separately:
90 days from date of Gasboy International's
invoice to the purchaser.
Purchased with System
(Encoders, Embossers only):
Parts only.
Purchased with System (Modems,
CRTs, Logger Printers only):
Matches system warranty.
Purchased Separately:
Parts Only.
Air Diaphragm Pumps Three years from date of purchase (for full warranty
description, see Price List). Parts Only.
Items not manufactured by Gasboy
(ex. automatic nozzles, hoses, swivels,
etc.)
Not warranted by Gasboy International (consult original
manufacturer’s warranty). Not Applicable.
Replacement Parts One year from date of Gasboy International's invoice to the
purchaser. Parts Only.
To the extent permitted by law, this warranty is made in lieu of all other warranties, expressed or implied, including warranties of freedom from patent
infringement, or merchantability, or fitness for a particular purpose, or arising from a course of dealing or usage of trade. No one is authorized to
vary the terms of the warranty nor may anyone make any warranty of representation, or assume any liability other than that herein stated, in
connection with the sale described herein. The acceptance of any order by Gasboy International is expressly made subject to the purchaser's
agreement to these conditions.
GASBOY INTERNATIONAL LLC
P.O. Box 309, Lansdale, PA 19446 ●(800) 444-5579 ●FAX: (800) 444-5569 ● www.gasboy.com
Table of contents

