Gatco VT-00-M1 User manual
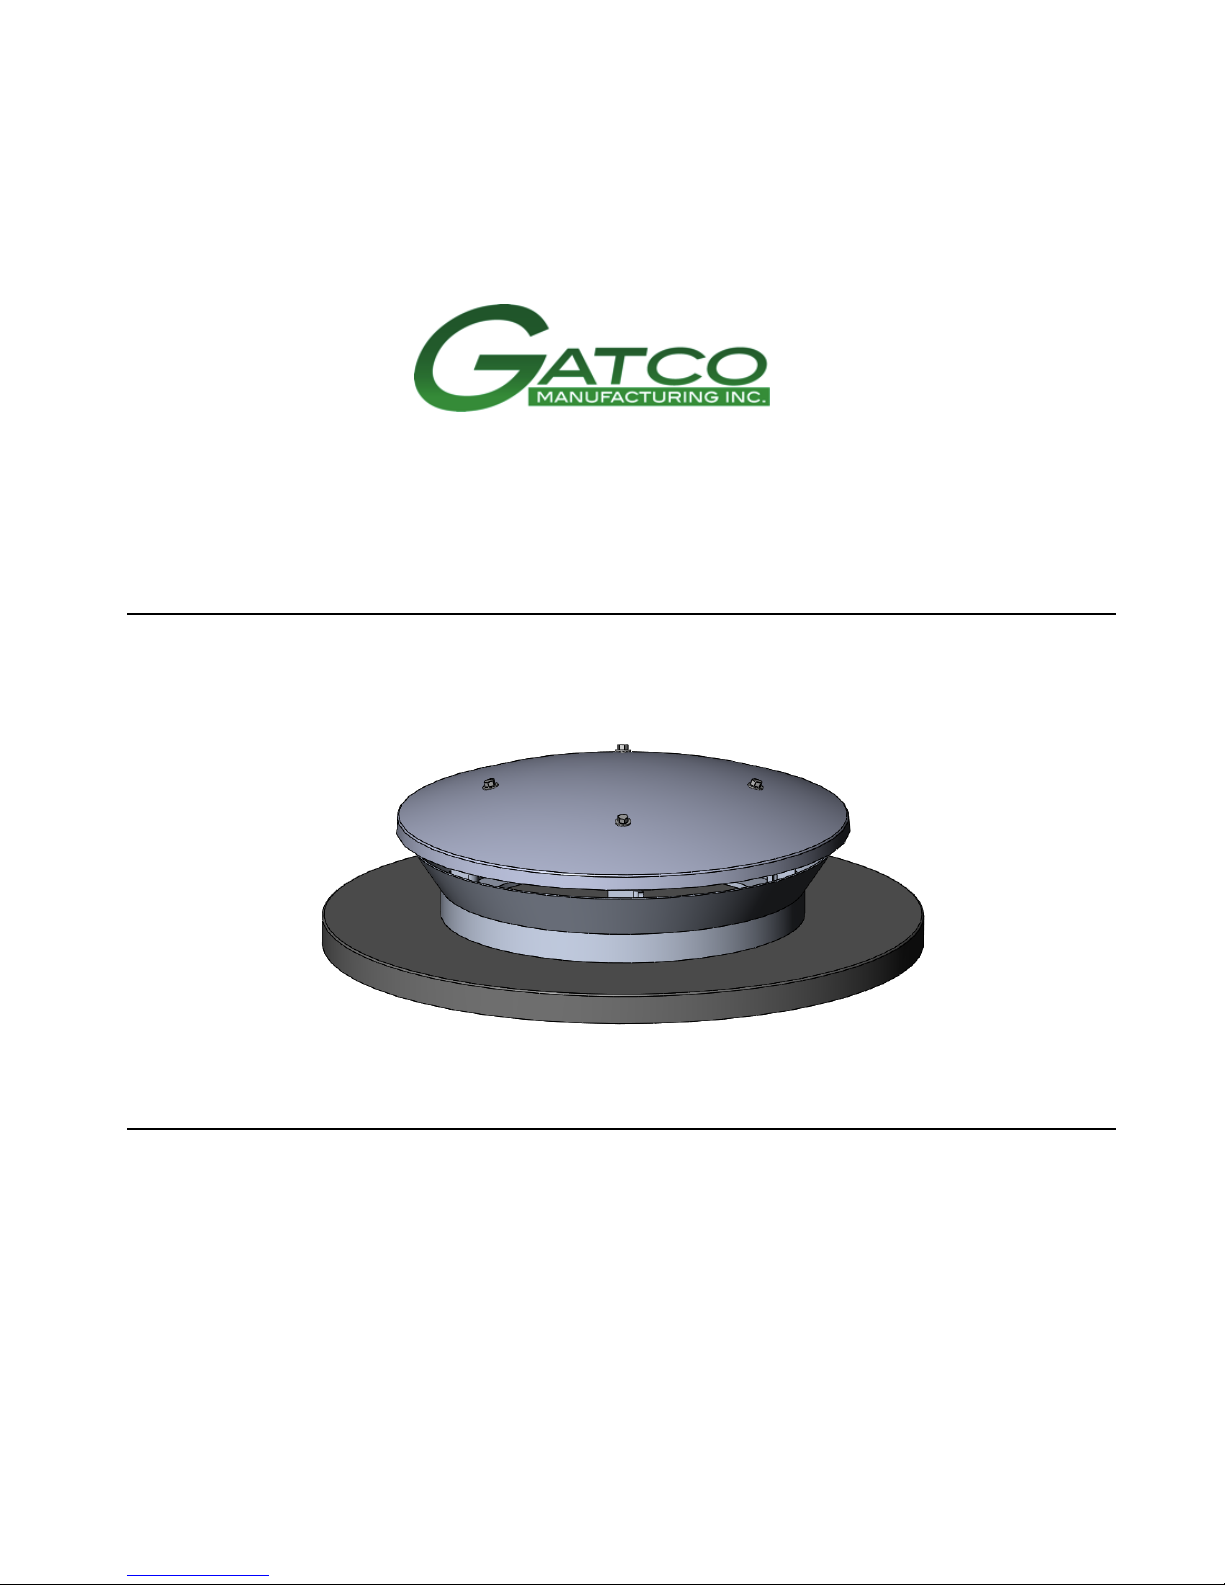
Vent-A-Lid
Owner’s Manual and Assembly
Published: Apr 17, 2017 Manual Part No.VT-00-M1
NOTE: Gatco Manufacturing Inc. believes in continuous improvement and as such, manuals, brochures and
specifications are subject to change.

VT-00-M1 2

VT-00-M1 3
Box 515
Swift Current, SK S9H 3W3
PH: 1.306.778.3338
FX: 1.306.778.2022
WARRANTY REGISTRATION
NAME:_______________________________________________________________________________
MAILING ADDRESS:_____________________________________________________________________
PHONE:______________________________________________________________________________
EMAIL:_______________________________________________________________________________
DEALER NAME:________________________________________________________________________
INSTALLED BY:_________________________________________________________________________
INSTALLER PHONE:_____________________________________________________________________
TERMS:
•I HAVE READ AND UNDERSTAND THE INSTALLATION INSTRUCTIONS AND THE WARRANTY POLICY.
•THIRD PARTY INSTALLERS MUST BE GATCO CERTIFIED.
•SALES RECEIPT REQUIRED FOR WARRANTY CLAIM.
•WARRANTY IS PROVIDED FOR TWO (2) YEARS FROM THE DATE OF SALE.
EQUIPMENT PURCHASED
___________________________________________________________________________________
___________________________________________________________________________________
___________________________________________________________________________________
___________________________________________________________________________________
I HEREBY ACKNOWLEDGE THAT I HAVE READ AND AGREE TO THE WARRANTY TERMS LISTED ABOVE.
__________________________________ _____________________________
SIGNATURE DATE
Cut to remove and mail, fax or email to Gatco Manufacturing Inc. to register.

VT-00-M1 4

VT-00-M1 5
This manual applies to:
READ, UNDERSTAND, and FOLLOW the Safety and Operation instructions contained in this
manual before using this equipment. Failure to follow instructions and safety precautions
can result in serious injury or death. Keep this manual where it is easily accessible for future
reference.
To the Owner/Operator/Dealer
All implements with moving parts are potentially hazardous. There is no substitute for a cautious, safe-minded
operator who recognizes the potential hazards and follows reasonable safety practices. The manufacturer has
designed the equipment to be used with all its safety equipment properly attached to minimize the chance of
accidents.
BEFORE YOU START!! Read the safety messages shown in this manual. Observe the rules of safety and
common sense!

VT-00-M1 6
Table of Contents
1.0 Introduction ................................................................................................................................................................7
2.0 Safety ..........................................................................................................................................................................7
2.1 General Safety ........................................................................................................................................................8
3.0 Tools Required ............................................................................................................................................................9
3.1 Vent-A-Lid Placement .............................................................................................................................................9
3.2 Install Instructions ..................................................................................................................................................9
4.0 Operation..................................................................................................................................................................10
5.0 Maintenance .............................................................................................................................................................10
6.0 Warranty ...................................................................................................................................................................11
VT-00-M1 7
1.0 Introduction
Congratulations. We are confident that your new Gatco Vent-A-Lid will help you get the most out of your
GrainAir Tube without the fuss of grain bin lid management. Before using this equipment, please read this
manual and all safety information and familiarize yourself with the various features of the equipment and its
safe operation.
NOTE: This vent is not to be used with aeration fan. During aeration fan use, the bin lid must be open.
In addition, anyone using this equipment is required to comply with all safety precautions, described in this
manual.
2.0 Safety
The Safety Alert Symbol combined with a Signal Word, is used throughout this manual and on
decals which are attached to the equipment. The Safety Alert Symbol means: “ATTENTION!
BECOME ALERT! YOUR SAFETY IS INVOLVED!” The Symbol and Signal Word are intended to
warn the owner/operator of impending hazards and the degree of possible injury faced when
operating this equipment.
The Safety Alert symbol means ATTENTION, BE ALERT! YOUR SAFETY IS INVOLVED.
Note the use of the signal words DANGER, WARNING, CAUTION, and NOTICE with the safety messages. The
appropriate signal word for each message has been selected using the definitions below as a guideline.
Indicates an imminently hazardous situation that, if not avoided,
will result in serious injury or death.
Indicates a hazardous situation that, if not avoided, could result in
serious injury or death.
Indicates a hazardous situation that, if not avoided, may result in
minor or moderate injury.
Identifies a potentially hazardous situation that, if not avoided, may
result in property.
DANGER
WARNING
CAUTION
NOTICE

VT-00-M1 8
2.1 General Safety
The general safety section includes instructions that apply to all safety practices.
YOU are responsible for the SAFE use and maintenance of your equipment. YOU must ensure that you and
anyone else who is going to work around the equipment understands all procedures and related SAFETY
information contained in this manual. All accidents can be avoided.
•It is the equipment owner and the operator's responsibility to read and
understand ALL safety instructions, safety decals, and manuals and follow them
before assembling, operating, or maintaining the equipment.
•The equipment owner is responsible for providing instruction and training on
the contents of this manual to personnel before allowing them to operate the equipment. An
untrained operator may expose themselves and bystanders to possible serious injury or death.
•Do not modify the equipment in any way. Unauthorized modification may impair the function and
safe operation of the equipment and will void the warranty.
•Use this equipment for its intended purposes only.
•Do not allow children, spectators, or bystanders within the work area.
•Have a first-aid kit on hand should it be required.
•Follow all local regulations for fall protection and working on grain bin roof(s).
•Wear appropriate protective gear. This list includes, but is not limited to:
oa hard hat
ogloves
oprotective shoes with slip-resistant soles
oprotective goggles
ohearing protection
ofall protection if required by local regulations

VT-00-M1 9
3.0 Tools Required
1. Marker/pen
2. Reciprocating saw with metal blade
3. Drill with metal bit to match metal blade size
4. Impact with 3/8" hex bit
5. Silicone (supplied)
3.1 Vent-A-Lid Placement
1. The Vent-A-Lid will fit on Westeel yellow top bins with factory opener, but will be tight under the opener.
2. Vent-A-Lid can be offset to one side to avoid lid opener bars without affecting performance.
3.2 Install Instructions
1. Place base on bin lid and trace inner circle with a maker/pen.
2. Use reciprocating jig saw to remove circle.
3. Apply silicone around base of vent lid and replace base, install self-drilling screws to fasten base to bin lid.
4. Install lid and align holes. Install 4 self-drilling screws (note: do not overtighten screws).
NOTE: Do not over tighten screws.

VT-00-M1 10
4.0 Operation
NOTICE: Vent-A-Lid is only designed to be used with Gatco's Grain Air Tube (powerless aeration). If
using aeration fan(s), the bin lid will need to be opened. The Vent-A-Lid does not provide
enough vented area for aeration fans.
1. If equipped, once aeration fan(s) are shut off, close bin lid fully. The Vent-A-Lid will allow any
heat/moisture that the Gatco Grain Air Tube is releasing to exit the bin quickly. No bin lid
management required.
2. The snow deflector ring is designed to allow just enough area above it to still allow the Vent-A-Lid
to fully function yet minimize snow that does get inside the bin. The excess heat in the grain will
melt any snow that does get inside the bin and it will be released by the Grain Tube and Vent-A-Lid.
3. Vent-A-Lid will not allow pigeons or other large birds into the bin.
5.0 Maintenance
1. Ensure Vent-A-Lid stays ice and/or obstruction free at all times.
2. Ensure all fasteners are tight. Tighten if required.

VT-00-M1 11
6.0 Warranty
Gatco Manufacturing Inc. ("the manufacturer") warrants to the original purchaser only, that in the event of
any defect in material or workmanship in the VENT-A-LID, the subject of this warranty ("the goods") during the
warranty period mentioned below the manufacturer will provide the cover specified below.
This warranty is in place of any other warranty or guarantee whether implied or expressed in any conditions of
purchase of the buyer, and does not extend to impose any further liability on the manufacturer than set out
below.
CONDITIONS:
1. Warranty will be good for 2 years from date of sale.
2. Warranty claims must include sales receipt.
3. The customer must fill out and submit a warranty registration to be eligible for warranty. Warranty
registration forms available upon request from an authorized Gatco dealer or Gatco head office.
4. At Gatco’s discretion, all warranty work will be repair and/or replacement. Refunds will not be
offered.
5. Gatco will have no liability for any product misuses, improper installation, unauthorized
modification/alterations or improper maintenance. Warranty covers manufacturer’s defects only.
6. Gatco is not liable for any commodities lost.
7. Warranty claims must be submitted to Gatco Head Office for approval before any repair and/or
replacement is begun.
8. It is the responsibility of the customer, and at the customer’s cost, to transport equipment to a Gatco
authorized dealer for repair and/or replacement.
9. This warranty shall not be interpreted to render Gatco liable for injury or damages of any kind to
person or property.

VT-00-M1 12
Gatco Manufacturing Inc.
Physical Location: 2524 South Service Road West (south red building)
Mailing Address: Box 515, Swift Current, SK, Canada, S9H 3W3
Phone: 1-306-778-3338
Fax: 1-306-778-2022
Email: sales@gatcomfg.com
Website: www.gatcomfg.com
Table of contents


