3.Preparation
before
operation
3.1
Package
Contents
Check
for
the
following
accessories:
REMOTE
CONTROL
(1)
POWER CABLE(1)
BRACKETS (2)
MOUNTING SCREWS
BATTERIES
AUDIO/VIDEO CABLE (1)
OWNERS MANUAL (1)
REMOTE
IR
SENSOR (1)
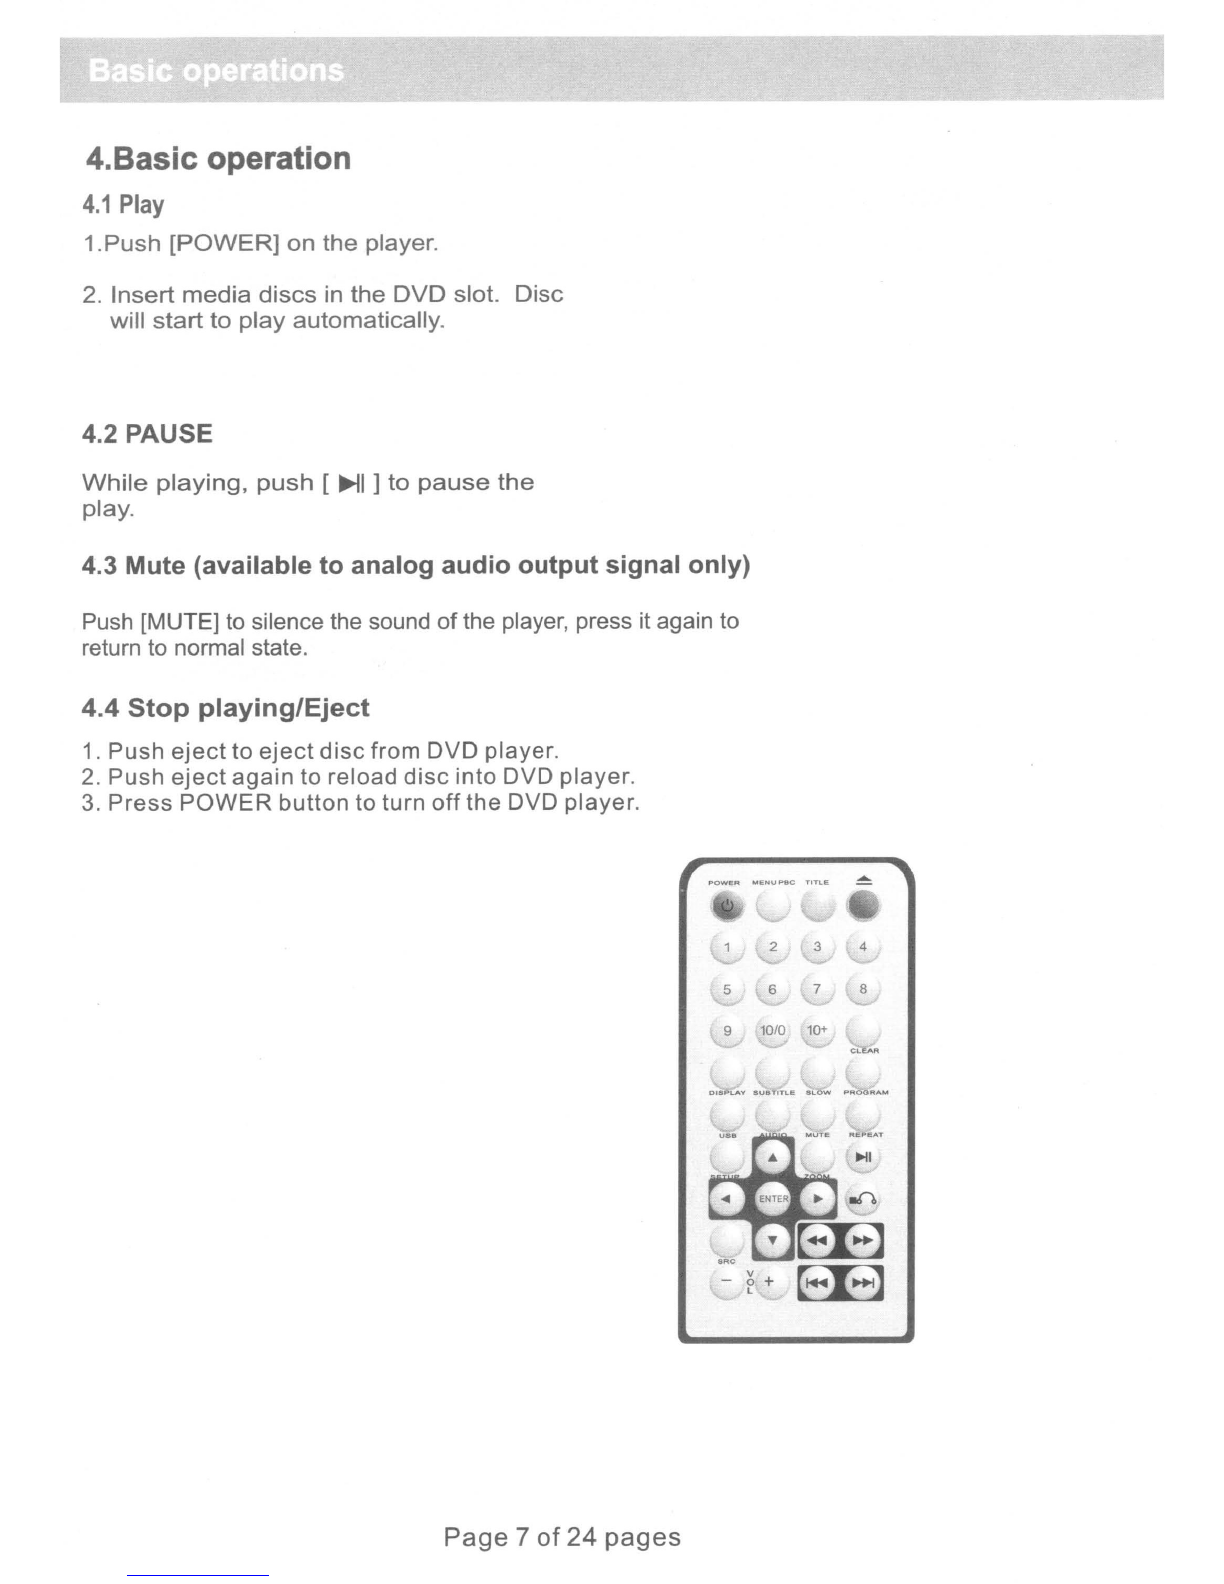
3.2 Remote Control Battery Installation
Open battery compartment, Insert two 7#AAA batteries,
make
sure to match "+" and"_"
of
the batteries to the marksin the battery compartment. While operating remote control,
please point it to the front panel
of
the DVD player.
..
,-
Page 4
of
24 pages