Giersch MG20-ZM-L-LN Series User manual

Issued in June 2020
Subject to tech. modifications
to improve the product!
Gas
Technical Information • Installation Instructions
MG20-ZM-L-LN
GB

2/32 03.06.20, Subject to alterations
Contents
1 General information ................................................................................................................... 3
2 Checking the scope of delivery and electrical ratings ................................................................ 3
3 Maintenance and customer service ........................................................................................... 4
4 Operating instructions ................................................................................................................ 4
5 Instruction of operating personnel.............................................................................................. 4
6 Key for code designation ........................................................................................................... 4
7 Technical specifications .............................................................................................................. 5
8 Boiler connection dimensions .................................................................................................... 5
9 Mounting the gas jacket mantel at the boiler .............................................................................. 5
10 Mounting the burner housing on the gas jacket (service position) ............................................. 6
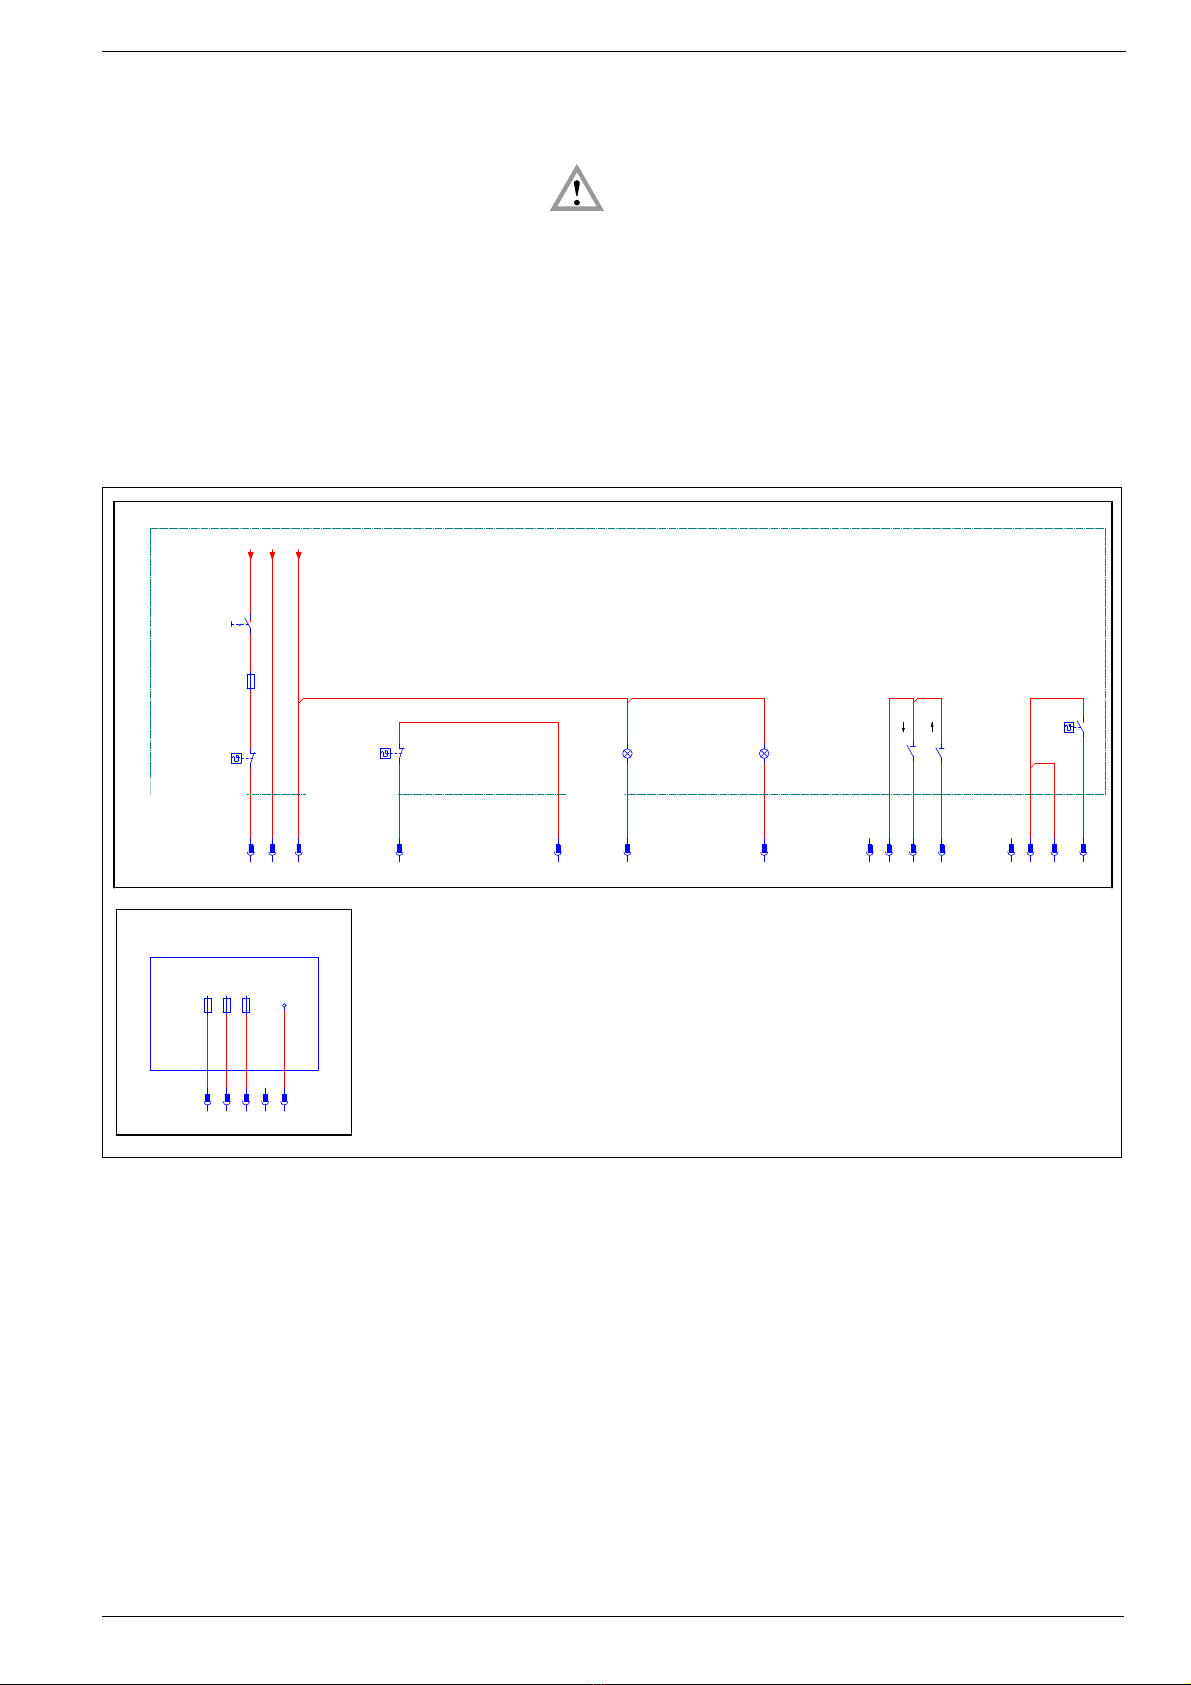
11 Terminal diagram connector pin assignments ............................................................................ 7
12 Electrical connection ................................................................................................................... 8
13 Air flap positioning motor .......................................................................................................... 9
14 Air pressure switch ..................................................................................................................... 9
15 Gas pressure monitor ............................................................................................................... 10
16 Adjusting the ignition electrode ................................................................................................. 11
17 Measuring the ionisations current ............................................................................................. 11
18 Adjusting the mixer head ......................................................................................................... 12
19 Connection diagram LMV27 ..................................................................................................... 12
20 Operating instructions and equipment description LMV............................................................ 13
21 Start-up and calibration ............................................................................................................ 14
22 Gas burner with gas train KEV
II
1 ½", KEV 2", KEV412 1 1/2“, KEV300 1“, KEV DN65 ........... 20
23 Calculation principles for gas burner adjustment .................................................................... 22
24 Adjustment tables .................................................................................................................... 23
25 Error code list LMV .................................................................................................................. 25
26 Adjustments log ........................................................................................................................ 27
27 Exploded view / spare parts list................................................................................................. 28
28 Declaration of Conformity for Gas Burners ............................................................................... 30
29 Overall dimensions .................................................................................................................. 32
30 Working ranges........................................................................................................................ 32

Subject to alterations, 03.06.20 3/32
General information
1 General information
Installation of a gas-fired heating system must be
performed in accordance with the applicable regula-
tions and guidelines. It is therefore the duty of the in-
staller to be fully familiar with all regulations.
Installation, start-up and maintenance must be per-
formed with utmost care.
The burner must not be operated in rooms with high
levels of air humidity (laundry rooms), dust or corro-
sive vapours. The boiler room must be ventilated ac-
cordingly with ventilation air.
Giersch MG Series gas burners are suitable for
combustion of natural gas in accordance with
DIN EN 437 and are in compliance with the
DIN EN 676 European standard.
2 Checking scope of supply and
electrical ratings
Before installing the gas burner, please check the
scope of delivery.
Scope of delivery:
burner housing, gas jacket with burner pipe, mount-
ing kit, documentation and gas train.
Gas installation and commissioning are subject to
the applicable national regulations, e.g. in Germany
the Technical Regulations of the DVGW (DVGW-TR-
GI).
The following must be observed for Switzerland:
SVGW Gas Provisions G1, G3: Gas installation
EKAS Form.
1942: Liquefied gas regulation, Part 2 Regulations
of cantonal authorities (e. g. fire department regula-
tions).
The gas pipe must be designed to conform to the
flow rate and the available gas flow pressure and
routed with the lowest pressure loss over the short-
est distance to the burner.
The loss of gas pressure via the gas train and the
burner as well as the resistance on the fuel gas side
of the heat generator must be less than the connec-
tion flow pressure.
Caution !
Observe sequence and through-flow direction
of valves and fittings.

4/32 03.06.20, Subject to alterations
Maintenance and customer service
3 Maintenance and customer service
The complete system should be checked once a
year for proper functioning and leak tightness by an
authorised representative of the manufacturer or by
another expert.
Only qualified personnel may open only for mainte-
nance, not during on-going operation. Prior to open-
ing/swinging out, de-energise the burner and let it
cool down. After completion of work, close the burn-
er again.
Wear protective clothing|/hearing protection when
working in the boiler house
We accept no liability for consequential damage in
cases of incorrect installation or repair, the fitting of
non-genuine parts or where the equipment has
been used for purposes for which it was not intend-
ed.
4 Operating instructions
The operating instructions together with this techni-
cal information leaflet must be displayed in a clearly
visible position in the boiler room. The address of
the nearest customer service centre must be dis-
played on the back of the operating instructions.
5 Instruction of operating personnel
Failures are often caused by operator error. The op-
erating personnel must be properly instructed in
how the burner works. In the event of recurring
faults, Customer Service should be notified.
6 Key for code designation
MG 20/1-ZM-L-N-LN
LowNox
Erdgas E+LL="-N" oder Flüssiggas="-F"
Luftabschlussklappe
zweistufig gleitend / modulierend
Brennertyp / Leistungsgröße
Brennerserie
LowNox
Natural gas LL + E = "N", Liquid gas 3B/P = “F“
Size
Series
Air shut-off flap
Two-stage / modulating

Subject to alterations, 03.06.20 5/32
Technical specifications
7 Technical specifications
8 Boiler connection dimensions
Dimensions in mm
9 Mounting the gas jacket on the
boiler
The boiler connection plate must be prepared ac-
cording to the dimensions specified for the boiler
connection dimensions. You can use the gas-jacket
gasket as a template.
Screw the gas jacket to the boiler using the four
M10 fastening screws with washers and a size Allen
key. The air pressure switch for the gas train must be
at the top.
Burner type
Technical specifications MG20/1-ZM-L-LN MG20/2-ZM-L-LN
Burner output in kW 224 - 860 247 - 1350
Gas type Natural gas LL + E= "N", liquid gas 3B/P = "F"
Mode of operation Progressive two-stage or modulating
Voltage 3 / PE ~50 Hz 400 V / T16 A
Max. power consumption at start / during oper-
ation
6.5 A max./ 3.6 A eff. 8.0 A max./ 4.6 A eff.
Electric motor power (at 2800rpm) in kW 1.1 2.2
Flame control Ionisation
Burner management system LMV27
Weight in kg 56 58
Noise emission in db(A)
≤
78
≤
78
Gas burner class 3
NOx limit
≤
80 mg/kWh
220
250-290
M10
45°
45°
Air pressure connection

6/32 03.06.20, Subject to alterations
Mounting the burner housing on the gas jacket (service position)
10 Mounting the burner housing on
the gas jacket (service position)
Position the burner housing in the gas-jacket hinge
and secure it with a rod. The burner is now in the
service position.
Attach the ignition and ionisation cable to the igni-
tion and ionisation electrodes.
Carefully swing the burner closed.
Do not pinch electrical cables.
Insert the second mounting rod into the hinge. Tight-
en the screw at the top to secure the burner in posi-
tion.

Subject to alterations, 03.06.20 7/32
Terminal diagram - connector pin assignments
11 Terminal diagram - connector pin
assignments
If the male connector has already been wired:
check the connections according to the
connection diagram!
The electrical connection of the burner must be
made in the male connector included according to
the connection diagram, taking account of the local
regulations.
The supply cable must be fused with max. 10 A fast
blow or 6.3 A slow blow and must be routed using
flexible cable.
%ODWW6HLWH0.=0/09$*0%HDUE8UVSU63BVWURNRVFK
'DWXP'DWXP(UVHW]WGXUFK%RLOHUbQGHUXQJ *HSU(UVDW]YRQ (QHUWHFK*PE+%UHQQHUXQG+HL]V\VWHPHD
1DPH
=HLFKQ1U,GHQW1U.HVVHO.XQGH$QVFKOXVV.HVVHO]ZHLVWXILJ$QVFKOXVV.HVVHOPRGXOLHUHQGH[WHUQH6LFKHUUXQJ[$$XV]XJ6FKDOWSODQ6HLWH$XV]XJ6FKDOWSODQ6HLWH%RLOHU)([WHUQH6LFKHUXQJ6+DXSWVFKDOWHU[[3%HWULHEVOHXFKWH66LFKHUKHLWVWHPSHUDWXUEHJUHQ]HU[[36W|UPHOGHOHXFKWH67KHUPRVWDW:lUPHDQIRUGHUXQJ6
/;3(1776%%;77777%;7$%$8))3(([WHUQ/;//3(1/1;13(;3(
Boiler customer
Connection
boiler in
two stages
Modulating
boiler
connection
main switch
external fuse
safety
temperature
limiter
Thermostat
heat request
Failure
lamp
Power light
external fuse
Extract wiring diagram page 2
Extract wiring diagram page 7

8/32 03.06.20, Subject to alterations
Electrical connection
12 Electrical connection
De-energise the burner when carrying out
connection work and removing electrical parts!
The burner must be connected to the electricity sup-
ply in accordance with the wiring diagram. This work
must be performed by trained, qualified electricians.
The supply cable to the burner must be of the flexi-
ble type.
To access the firing unit, the cover must be brought
to the service position. To do this, remove the secur-
ing screws (1) and fold the cover down to the left.
After wiring has been completed, check the direc-
tion of rotation of the burner motor by actuating the
motor contactor with an insulated screwdriver.
The direction of rotation is correct when the fan
wheel turns towards the boiler (also see arrow on
the motor flange).
IMPORTANT !
The motor protection relay is set at the factory. The
set value should not be modified.
B
Cover
1
1

Subject to alterations, 03.06.20 9/32
Air flap positioning motor
13 Air flap positioning motor
The air flap positioning motor is designed for air flap
adjustment on progressive two-stage burners or
modulating burners. The motor is activated electron-
ically via the microprocessor-controlled control box.
Do not open the air flap actuator while it is under
voltage. The internal optics would be destroyed.
No warranty if the seal is broken!
14 Air pressure monitor
The air pressure switch is a differential pressure
switch and monitors the air pressure at the forced-
air burner.
The air pressure switch is pre-set at the factory.

10/32 03.06.20, Subject to alterations
Gas pressure monitor
15 Gas pressure monitor
15.1 Gas pressure switch min.
The gas pressure switch MIN at the gas fitting ser-
ves to monitor the gas inlet pressure. If the minimum
gas inlet pressure is not reached (factory setting), the
burner is switched off. The burner automatically
starts again when the minimum pressure is excee-
ded. The gas pressure monitor as density control
DK generally serves to check the valves and must be
set to 50% of the static gas inlet pressure.
The monitoring of the gas inlet pressure and the
tightness control are either carried out only with the
gas pressure monitor DK (the jumper GDW MIN
must not be removed) or with the gas pressure
switch MIN and the gas pressure switch DK (the
GDW MIN jumper has to be replaced with the
connection of the gas pressure switch MIN).
When using the gas cycle MB-VEF 412, the connec-
tion is made via the 7-pin connector and is only
evaluated as DK MIN. The plug bridge must not be
removed
Additional parameterization of the LMV is not re-
quired here.
15.2 Gas pressure monitor max.
Optionally a gas pressure switch max. can be incorporated.
The LMV and the wiring have been prepared such that only the jumper in the socket part (brown) at the
burner needs to be removed. In addition, the male connector and the gas pressure switch max. must be
wired in accordance with the circuit diagram. If the gas pressure switch max. has tripped, a fault is shown
in the display (AZL).
First, the gas pressure switch max. must be unlocked; to do this the lid of the gas pressure switch max.
must be unscrewed and the red button pressed.
Then, the fault in the display can be deleted (press the i/reset button for 3 sec.).

Subject to alterations, 03.06.20 11/32
Set the electrodes
16 Set the electrodes
The electrodes are preset at the factory.
17 Flame monitor with
ionisation control
If an AC current is applied between the burner and
the ionisation rod, a DC current flows due to the rec-
tifying effect of the flame. This ionisation current
forms the flame signal and is amplified and passed
to control box. A flame cannot be faked because the
rectifying effect no longer works if there is a short-
circuit between the sensor electrode and the burner.
Measuring the ionisation current
The ionisation current must be measured during
burner start-up and maintenance or after a fault in-
dication in the control box. This done by disconnect-
ing the plug in the ionisation cable and connecting it
to the ionisation measuring cable.
The measurement must be carried out directly after
post-ignition during the safety time!
The ionisation current must be at least
1.5 µA. Values below 1.5 µA will result in unreliable
operation or a direct fault shut-down. In this case,
the ionisation rod and the baffle plate must be
cleaned. Bend ionisation rod if necessary. If the ion-
isation rod is defective, replace it. Possibly reverse
the polarity of the ignition transformer on the primary
side. Check the cable for moisture and dry it if nec-
essary.
Ignition electrode
Ionisation
electrodes

12/32 03.06.20, Subject to alterations
Adjustment of the mixer head
18 Adjustment of the mixer head
Set the position of the mixer head according to burn-
er output in accordance with the table on page 23ff.
19 Connection diagram LMV27/37
(continuous load)
)XHOVZLWFKLQJ/LPLWVZLWFK%XUQHU
;
%ORZHUPRWRUSURWHFWLRQ$ODUP)DQFRQWLQXRXVUXQQLQJ
;
6DIHW\YDOYH69,JQLWLRQ=
;;;
)XHOYDOYH93LORWYDOYH39
;;
3UHVVXUHVZLWFKPLQJDVPLQRLO3PLQ
;
;&RQQHFWLRQ$=/&20;%XLOGLQJDXWRPDWLRQ;$FWXDWRUIXHO;$FWXDWRUDLU;96';)UHTXHQF\FRQYHUWHUV
/13(/
6DIHW\FKDLQ3RZHUVXSSO\
/13(
)XHOYDOYH9
3(1/
)XHOYDOYH9
)XHOLQGLFDWRURLOJDV8QORFNLQJORFNLQJ
//
H[WHUQDOSRZHUFRQWUROOHU
/
$LUSUHVVXUHVZLWFK
,RQL]DWLRQIODPHVHQVRU
/45%145%&,213(
IODPHGHWHFWRU45%45&89IODPHGHWHFWRU45$
)XHOFRXQWHU
3UHVVXUHVZLWFK'HQVLW\&RQWURO*DV3/73UHVVXUHVZLWFKPD[JDVPD[RLO3PD[RU32&
///3(1//3(1/3(1/3(/7/3(PLQ/3(PD[/333

Subject to alterations, 03.06.20 13/32
Operating instructions and equipment description LMV
20 Operating instructions and
equipment description LMV
Button Function
F button
- To adjust the fuel drive
(Hold down the F button and set the value with the - or + button)
A button
- To adjust the air drive
(Hold down the A button and set the value with the - or + button)
F and A button
- To shift to parametrisation mode P
(F and A button press simultaneously with - or + button)
- To adjust the speed for frequency converter operation (FC)
(F and A button press simultaneously with - or + button)
Information and enter button
- To navigate in information and service mode
* Selection (flashing symbol) increment (press button < 1 s)
* To switch to a lower menu level (press button < 1 ... 3 s)
* To switch to a lower menu level (press button < 3 ... 8 s)
* To switch the operating mode (press button > 8 s)
- Enter in parametrisation mode
- Unlock in case of fault
- One menu level down
- Button
- Reduce value
- For navigating in curve setting, information and service mode
+ Button
- Increase value
- For navigating in curve setting, information and service mode
- and + button: Escape function
(Press - and + button simultaneously)
- Do not accept the value
- One menu level higher
118/217
Building Technologies Division Basic Documentation LMV27... CC1P7541en
20 Operating via AZL2 unit 23.01.2017
20.2 Meaning of symbols on the display
P
V h min s %
Parameter setting mode
Info mode
Service mode
Actuator closing
Actuator opening
Fan motor controlled
Oil preheater on
Heat request from controllers
Ignition controlled
Valve controlled
Flame present
Fault status message
Unit of current display
Bild 2e/0807
Figure 77: Meaning of display
20.3 Brightness of display
Only available with backlit LCD:
The function of the backlit display is dependent on the type of LMV27.
The brightness of the display can be adjusted from 0…100% using parameter 126.
No. Parameter
126 Brightness of display
/reset

14/32 03.06.20, Subject to alterations
Start-up and calibration
21 Start-up and calibration
Determine the burner output according to the table on page 23 ff. P0 = Start stage, P1 = 1st stage / min.
output, P9 = 2nd stage / max. output.
Normally, P0 = P1. For the condensing boiler, P0 must be set higher than P1. The setting is dependent on
the boiler. The mixer head must be set according to the table.
To enter this adjustment mode, the burner must be on standby.
Standby means that the burner is supplied with voltage, gas pressure is built up and there is no demand
for heat.
The firing managers are parametrized in the factory. OFF UPr appears in the display during first start-up.
Enter password
Action button Display Description
OFF UPr means burner off and
non-programmed.
OFF means burner off and programmed.
Action button Display Description
Press F and A button simultaneously.
The display CodE appears
After releasing the buttons, 7 bars appear and
the first one flashes.
Use the - or + button to select a number or let-
ter.
Confirm each value with i/reset.
Confirm the password 1234 with i/reset after the
last input.
After correct input, the following appears for a
max. of two seconds
/reset
/reset

Subject to alterations, 03.06.20 15/32
Start-up and calibration
Switch on the burner
Continuous heat requirement is necessary for further start-up!
LMV programmed
Start load preset
Use the values from the setting tables to preset the values.
Action button Display Description
When the firing machine is programmed, run is
displayed.
i/reset skips the next steps an continues at the
section Start heat settings with curve point P1
Small load.
Action button Display Description
Set the start position air flap.
Hold down button A and set the value with the -
or + button.
Move to the next curve point.
/reset
/reset

16/32 03.06.20, Subject to alterations
Start-up and calibration
High load preset
Start identifier for curve programming - Calibration with flame
Action button Display Description
Set the high load air flap.
Hold down button A and set the value with the -
or + button.
Move to the next curve point.
Action button Display Description
When heat demand is present.
Confirm with i/reset button.
Burner start with pre-ventilation.
Blower start-up and safety valve ON
Run in pre-ventilation position
Pre-ventilation
If the leakage check is activated, Ph80, Ph81, Ph82 and Ph83 are displayed first.
/reset

Subject to alterations, 03.06.20 17/32
Start-up and calibration
Start heat setting
Driving in ignition position
Action button Display Description
The ignition position P0 cannot be set until the
symbols disappear.
Hold down A button a set the value with the - or
+button.
Press + button to confirm.
Ignition ON
Valves ON
Ignition OFF
Flame in start position
When transferring P1 to P2 for the first time,
CALC appears briefly
The curve points P2 to P9 are calculated auto-
matically as a straight line.
Use + button to confirm all curve points up to
curve point P9.
In curve point P9, set the excess air for the high
load at the gas train using the adjusting screw
"V" or "large flame" . The CO
2
value should be
9-10% for natural gas.
Action button Display Description

18/32 03.06.20, Subject to alterations
Start-up and calibration
Setting the output in high and low-load operation
Use the -button to select curve point P1.
In curve point P1, set the excess air for the high
load at the gas train using the adjusting screw
"N" or "small flame" . The CO2 value should be
9-10% for natural gas.
Use the + button to select curve point P9 again.
In curve point P9, check the excess air for the
high load at the gas train and correct using the
adjusting screw "V" or "large flame" .
Action button Display Description
Check the high-load setting via the gas flow at
the gas meter or compare the nozzle pressure
with the values stated in 24. Adjustment tables.
Hold down A button and use the - or + button to
set the output for curve point P9.
The air surplus is not affected by this adjustment.
Use the - button to select curve point P1.
Check the small-load setting via the gas flow at
the gas meter or compare the nozzle pressure
with the values stated in 24. Adjustment tables.
Back to curve point P9
After setting all curve points, the burner is ready
for operation.
Press the ESC button briefly 3x to save all curve
points and access automatic mode.
Action button Display Description

Subject to alterations, 03.06.20 19/32
Start-up and calibration
LMV phase display
Display Description
Ph00 Fault phase
Ph01 Safety phase
Ph10 Go home
Ph12 Standby (stationary)
Ph22 Blower start-up time (blower motor = ON, safety valve = ON)
Ph24 Run in pre-air position
Ph30 Pre-air time
Ph36 Run in ignition position
Ph38 Pre-ignition phase
Ph39 Leakage check filling time (test pressure switch min for installation between fuel valve 1 and
fuel valve 2)
Ph40 First safety time (ignition transformer ON)
Ph42 First safety time (ignition transformer OFF)
Ph44 Interval 1
Ph50 Second safety time
Ph52 Interval 2
Ph60 Operation 1 (stationary)
Ph62 Maximum time small-load setting (operation 2, preparation decommissioning, run in small-load
setting)
Ph70 After-burn time
Ph72 Run in post-ventilation position
PH74 Post-ventilation time (no external leak test)
Ph78 Post-ventilation time (abort when power controller ON)
Ph80 Leakage check idle time
Ph81 Leakage check test time atmospheric pressure, atmosphere test
Ph82 Leakage check filling test, filling
Ph83 Leakage check test time gas pressure, pressure test
Ph90 Gas shortage waiting time

20/32 03.06.20, Subject to alterations
Gas burner with gas train
22 Gas burner with gas train
The nipple for the compressed air connection P
L
must be screwed in at the top of the gas jacket (see 9.
Mounting the gas jacket at the boiler).
Connect the blue hose at the "AIR" connection of the gas train and at the air pressure connection at the
gas jacket. The blue hose serves as a control line for the gas train and must be routed in a loose loop with-
out kinking.
Burner start:
If the burner does not go into operation, turn adjusting screw Nor small flame slightly in the direction "+"
and repeat start.
KEV 1 ½", KEV2", KEV DN65 (VGD20.40, VGD20.50, VGD40.65 all SKP15/75).
KEV412 1 ½"(MB-VEF 412)
Installation of the gas train
Installation position only in horizontal line, not tilted.
Minimum distance to masonry 20 mm
SKP 15
VGD
Pulse line p
G
SKP 75 (gas pressure regulator)
Cover plate for
"AIR" air pressure connection p
L
Adjustment screws
Detailed image
Large flame
Small flame
Furnace pressure p
F
Photograph without cover sheet
Gas pressure switch
(gas inlet pressure
leakage check)
Measurement connection for
nozzle pressure p
G
"AIR" air pressure connection p
L
Furnace pressure p
F
Gas pressure switch
(gas inlet pressure)
Measurement connection for
nozzle pressure p
G
Inlet flow pressure p
e
Setting screw N (Min. output 1st setting)
Setting screw V (Max. output 2nd setting)
This manual suits for next models
2
Table of contents
Popular Heating System manuals by other brands

Cetetherm
Cetetherm Mini UK Installation, service and operating instruction

Myson
Myson 7-4 Installation & maintenance manual

Steffes
Steffes ThermElect Hydronic 9150 Owner's and installer's manual

SOLID AIR
SOLID AIR CPL-C instructions

Lennox
Lennox CompleteHeat User's information manual

AFRISO
AFRISO ProCalida IN 1 1/2 operating instructions