FIREXPIRE
TM
RE-ASSEMBLY AND MAINTENANCE
(Topsy 2000)
3
1
2
4
Please note: Firexpire is an effective low cost auxiliary device and must never replace primary fire prevention
measures. Obstructions preventing the plate from dropping may adversely affect the function of the unit, and as
many Firexpire devices are used in unsupervised locations, regular inspection and immediate replacement of any
damaged or distorted components is essential.
HOW IT WORKS
The Firexpire system includes three important components.
1. Central Spacer
2. Firexpire extinguishing plate
3. Thermoplastic trigger washer
4. Panhead screw
INSTRUCTIONS TO REPLACE
TRIGGER IF A FIRE HAS
ACTIVATED THE
FIREXPIRE PLATE.
Firexpire works by having a plate suspended above
aperture height secured by a panhead screw and a
thermoplastic trigger washer. When a fire occurs inside
the liner, the thermoplastic washer responds by
releasing the Firexpire plate. This then drops onto the
liner sealing and starving the fire within of oxygen, thus
snuffing out the fire.
After first ensuring the
Firexpire Plate is cool and the
contents of the Liner
compartment have been
extinguished, remove the
top section of the litter bin
and turn the Hood upside down.
Using a screw driver, unscrew
the Panhead Screw and
Thermoplastic Washer (which will now be
deformed) from the Central Spacer. Remove and discard
the deformed Thermoplastic Trigger Washer from the
Panhead Screw.
Insert the
threaded Panhead
Screw through a
replacement
Thermoplastic
Trigger Washer.
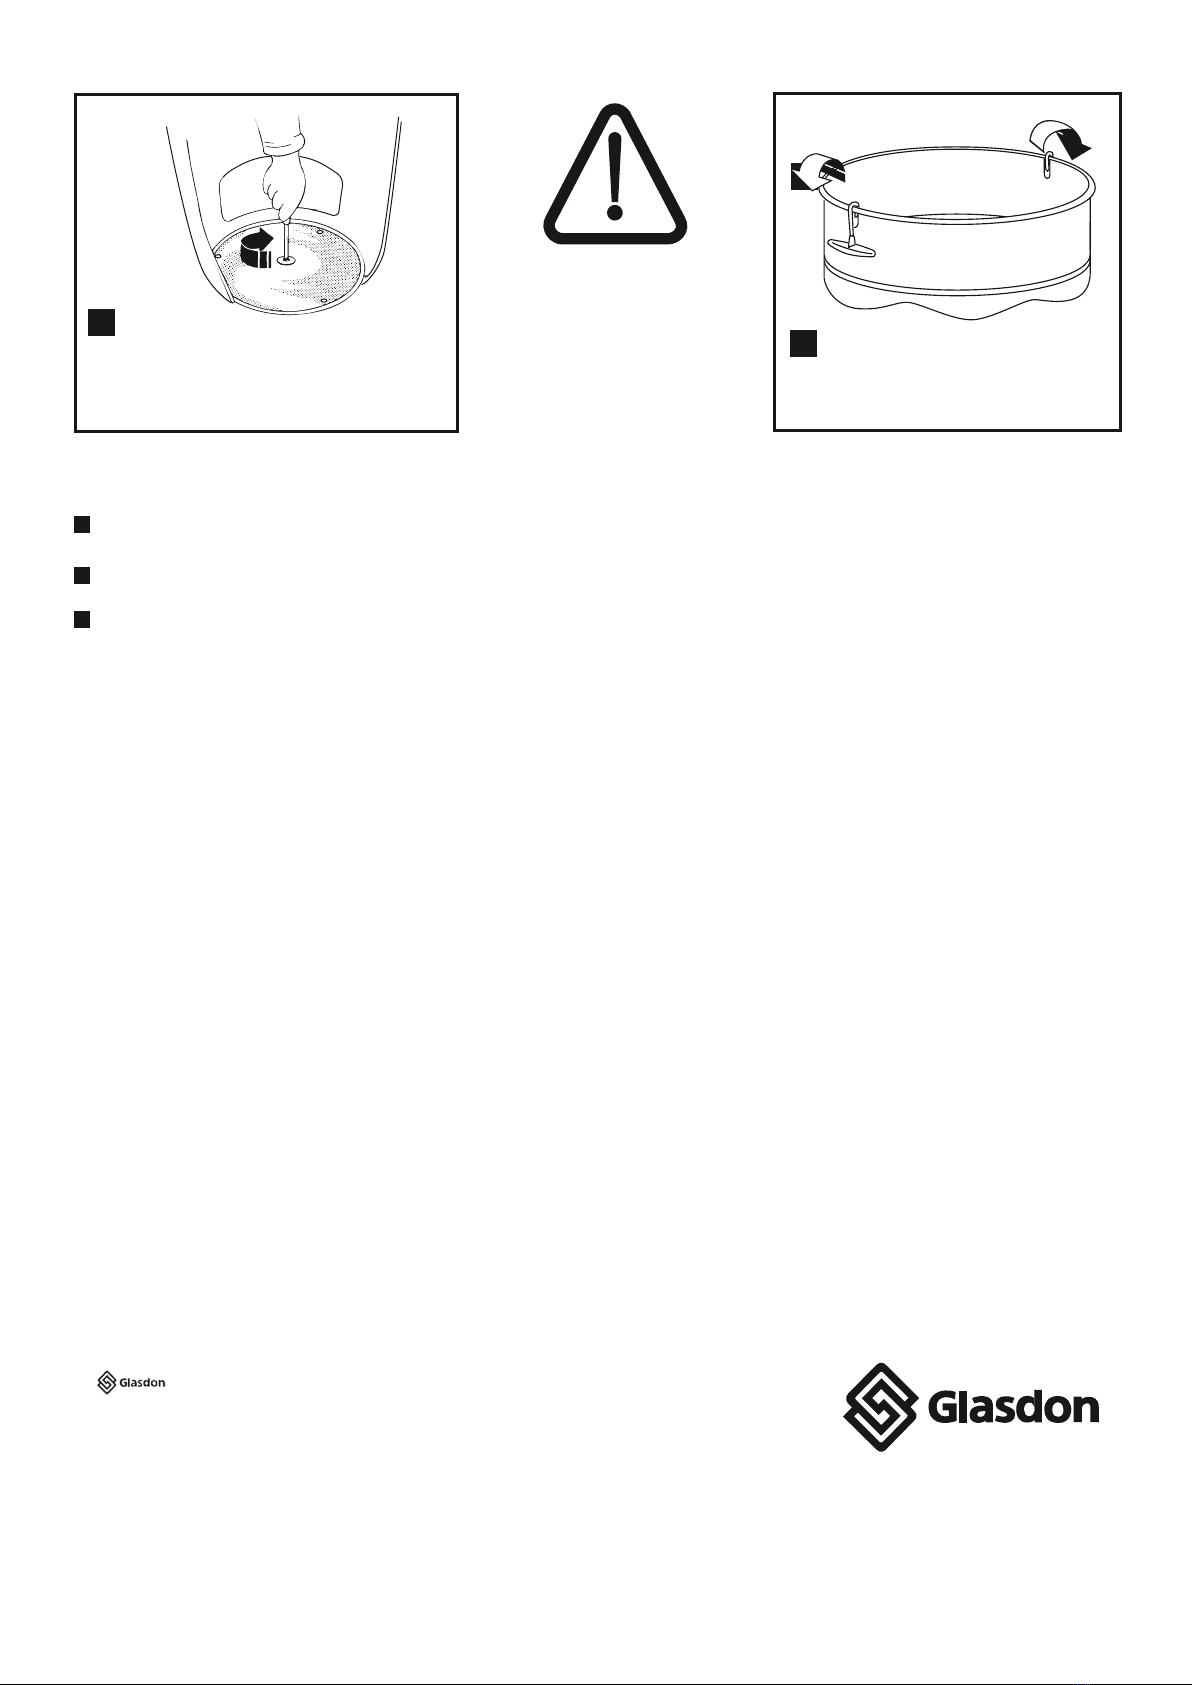
Locate
Extinguishing Plate
into position over
the Central Spacer.
Locate Panhead
Screw and Trigger
Washer together
into the Central
Spacer.
5
STAGE 3
In under a minute, the fire
extinguishing plate drops
onto the liner.
STAGE 4
The fire is contained.
STAGE 1
A burning match is carelessly
discarded into a litter bin.
STAGE 2
The fire takes hold.
Stubber Plate
Carrier
Bin Hood
Central Spacer
Wires
Firexpire Extinguishing Plate
Thermoplastic Trigger Washer
Panhead Screw
DO NOT DESTROY - IMPORTANT SAFETY INSTRUCTIONS
R
Retain Plate by screwing the Panhead screw
with Trigger Washer attached into the Central
Spacer after first observing the following
IMPORTANT CHECK.
IMPORTANT
CHECK
Ensure Fiexpire Plate is
absolutely central
before tightening
6
7
7
NB Ensure that the Liner Handles are
turned fully outwards after the liner has
been emptied.
Glasdon U.K. Limited
Preston New Road
BLACKPOOL
Lancashire
FY4 4UL
Telephone: 01253 600410
Fax: 01253 792558
web: www.glasdon.com
Issue 2 June 2005 Stock no. 000/0205 Page 2 of 2
© Glasdon June 2005. Glasdon reserve the right to alter price and specification
without prior notice.
A planned maintenance schedule of regular inspection is recommended, replacing components as necessary.
Replacement components are available direct from GLASDON.
GLASDON cannot be held responsible for claims arising from incorrect installation, unauthorised
modifications or misuse ofthe product.
AND FIREXPIRE™ ARE TRADEMARKS OR REGISTERED TRADEMARKS OF
GLASDON GROUP OR ITS SUBSIDIARIES IN THE U.K. AND OTHER COUNTRIES
®