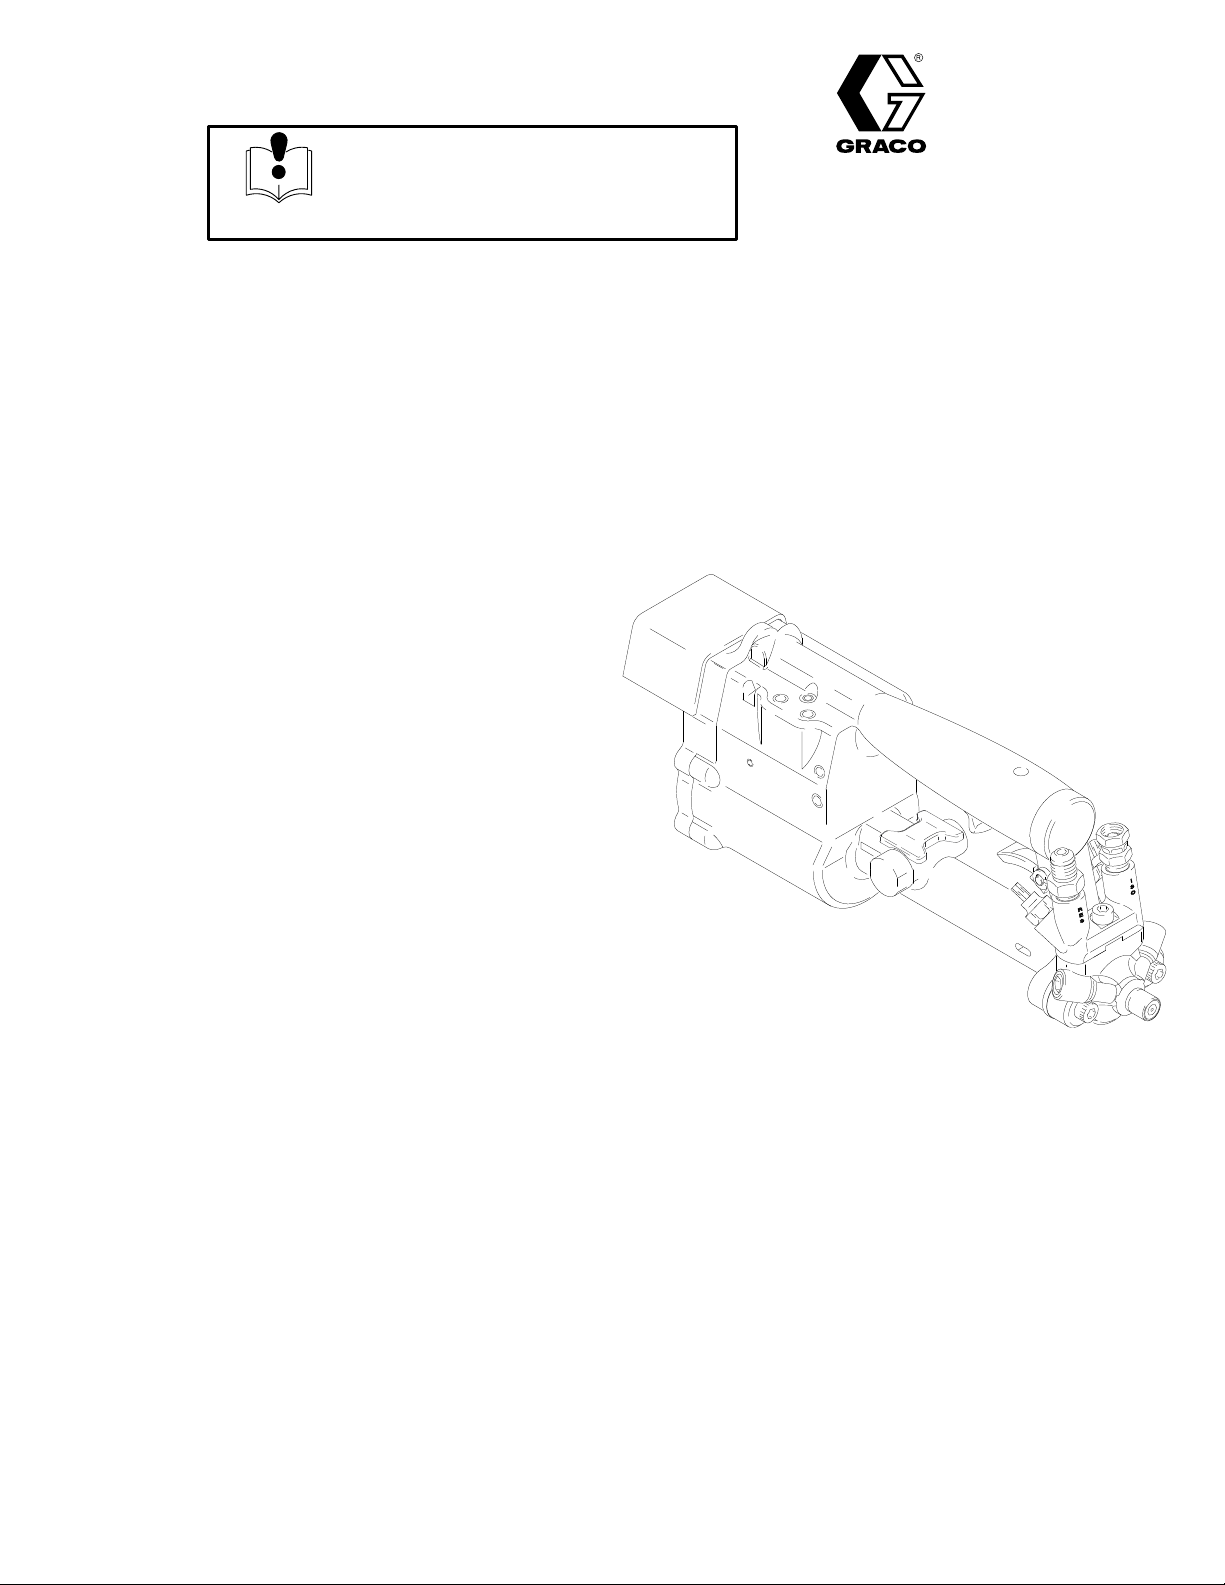
4 308-316
FIRE, EXPLOSION, AND ELECTRIC SHOCK HAZARD
Improper
grounding, poor air ventilation, open flames, or sparks can cause a hazardous condition
and result in fire or explosion, electric shock and other serious injury
.
D
All electrical wiring must be done by trained and qualified personnel.
D
Ground the equipment and the object being sprayed. See
Grounding the System
on page 5.
D
Provide fresh air ventilation to avoid the buildup of flammable fumes from solvent or the fluid be
-
ing sprayed.
D
Extinguish all the open flames or pilot lights in the spray area.
D
Electrically disconnect all the equipment in the spray area.
D
Keep the spray area free of debris, including solvent, rags, and gasoline.
D
Do not turn on or of
f any light switch in the spray area while operating or if fumes are present.
D
Do not smoke in the spray area.
D
Do not operate a gasoline engine in the spray area.
D
If there is any static sparking while using the equipment,
stop spraying immediately
. Identify
and correct the problem.
WARNING
WARNING
Table
of Contents
Symbols 2.
. . . . . . . . . . . . . . . . . . . . . . . . . . . . . . . . . . . . .
Warning 2
. . . . . . . . . . . . . . . . . . . . . . . . . . . . . . . . . . . . . .
Pour
Nozzle Performance Information
4.
. . . . . . . . .
Terms 5
. . . . . . . . . . . . . . . . . . . . . . . . . . . . . . . . . . . . . . . .
Installation 5
. . . . . . . . . . . . . . . . . . . . . . . . . . . . . . . . . . .
Safety 5
. . . . . . . . . . . . . . . . . . . . . . . . . . . . . . . . . . . . .
Grounding
the System
5.
. . . . . . . . . . . . . . . . . . . . .
Connecting
the Hoses
6.
. . . . . . . . . . . . . . . . . . . . . .
The
Solvent Flushing System
6.
. . . . . . . . . . . . . . .
Operation 7
. . . . . . . . . . . . . . . . . . . . . . . . . . . . . . . . . . . . .
Piston
Rod Safety Lock
7.
. . . . . . . . . . . . . . . . . . . . .
General
Startup
7.
. . . . . . . . . . . . . . . . . . . . . . . . . . .
Maintenance 9
. . . . . . . . . . . . . . . . . . . . . . . . . . . . . . . . . .
Lubricating
Parts
9.
. . . . . . . . . . . . . . . . . . . . . . . . . .
Needle/Nozzle
Assembly Maintenance
9.
. . . . . . .
Needle/Nozzle
Assembly Repair or
Replacement 10.
. . . . . . . . . . . . . . . . . . . . . . . . .
Air
V
alve Piston and Spool
Maintenance 14.
. . . . . . . . . . . . . . . . . . . . . . . . .
Troubleshooting 15
. . . . . . . . . . . . . . . . . . . . . . . . . . . . .
Service 17
. . . . . . . . . . . . . . . . . . . . . . . . . . . . . . . . . . . . . .
Lubricating
Parts
17.
. . . . . . . . . . . . . . . . . . . . . . . . .
Tools 17
. . . . . . . . . . . . . . . . . . . . . . . . . . . . . . . . . . . . .
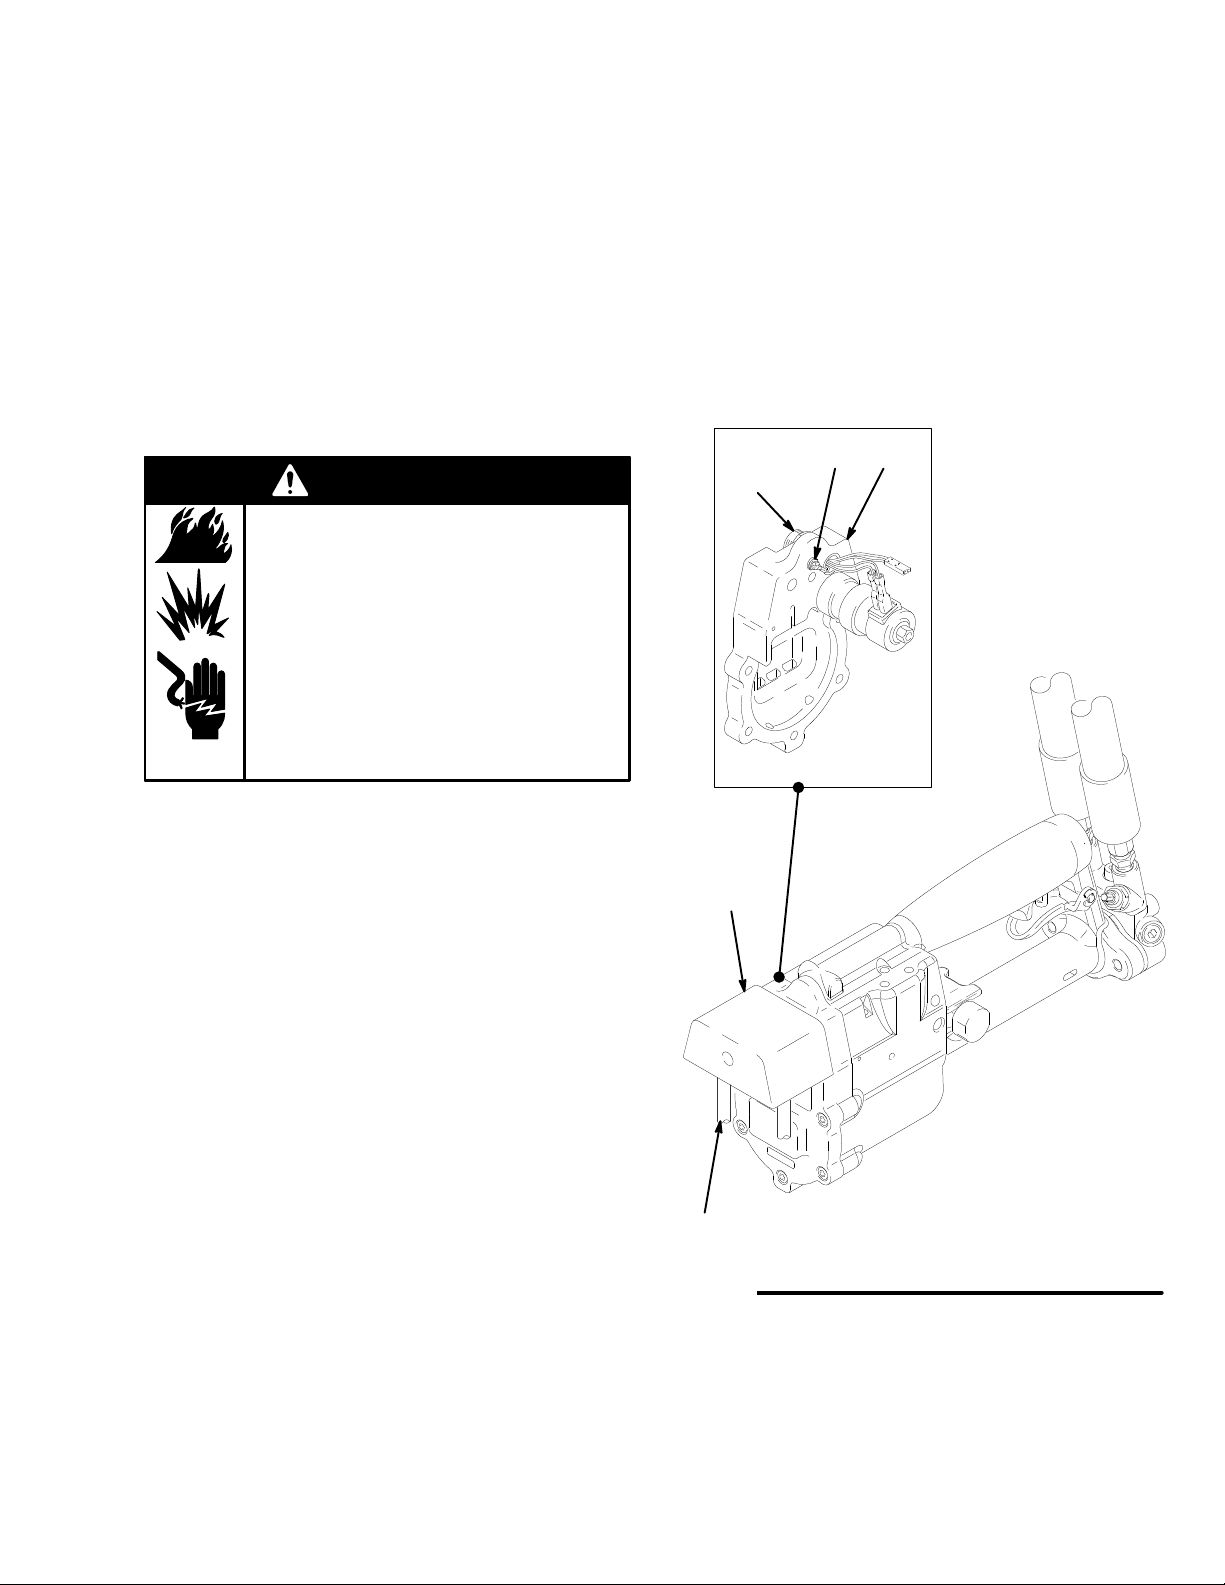
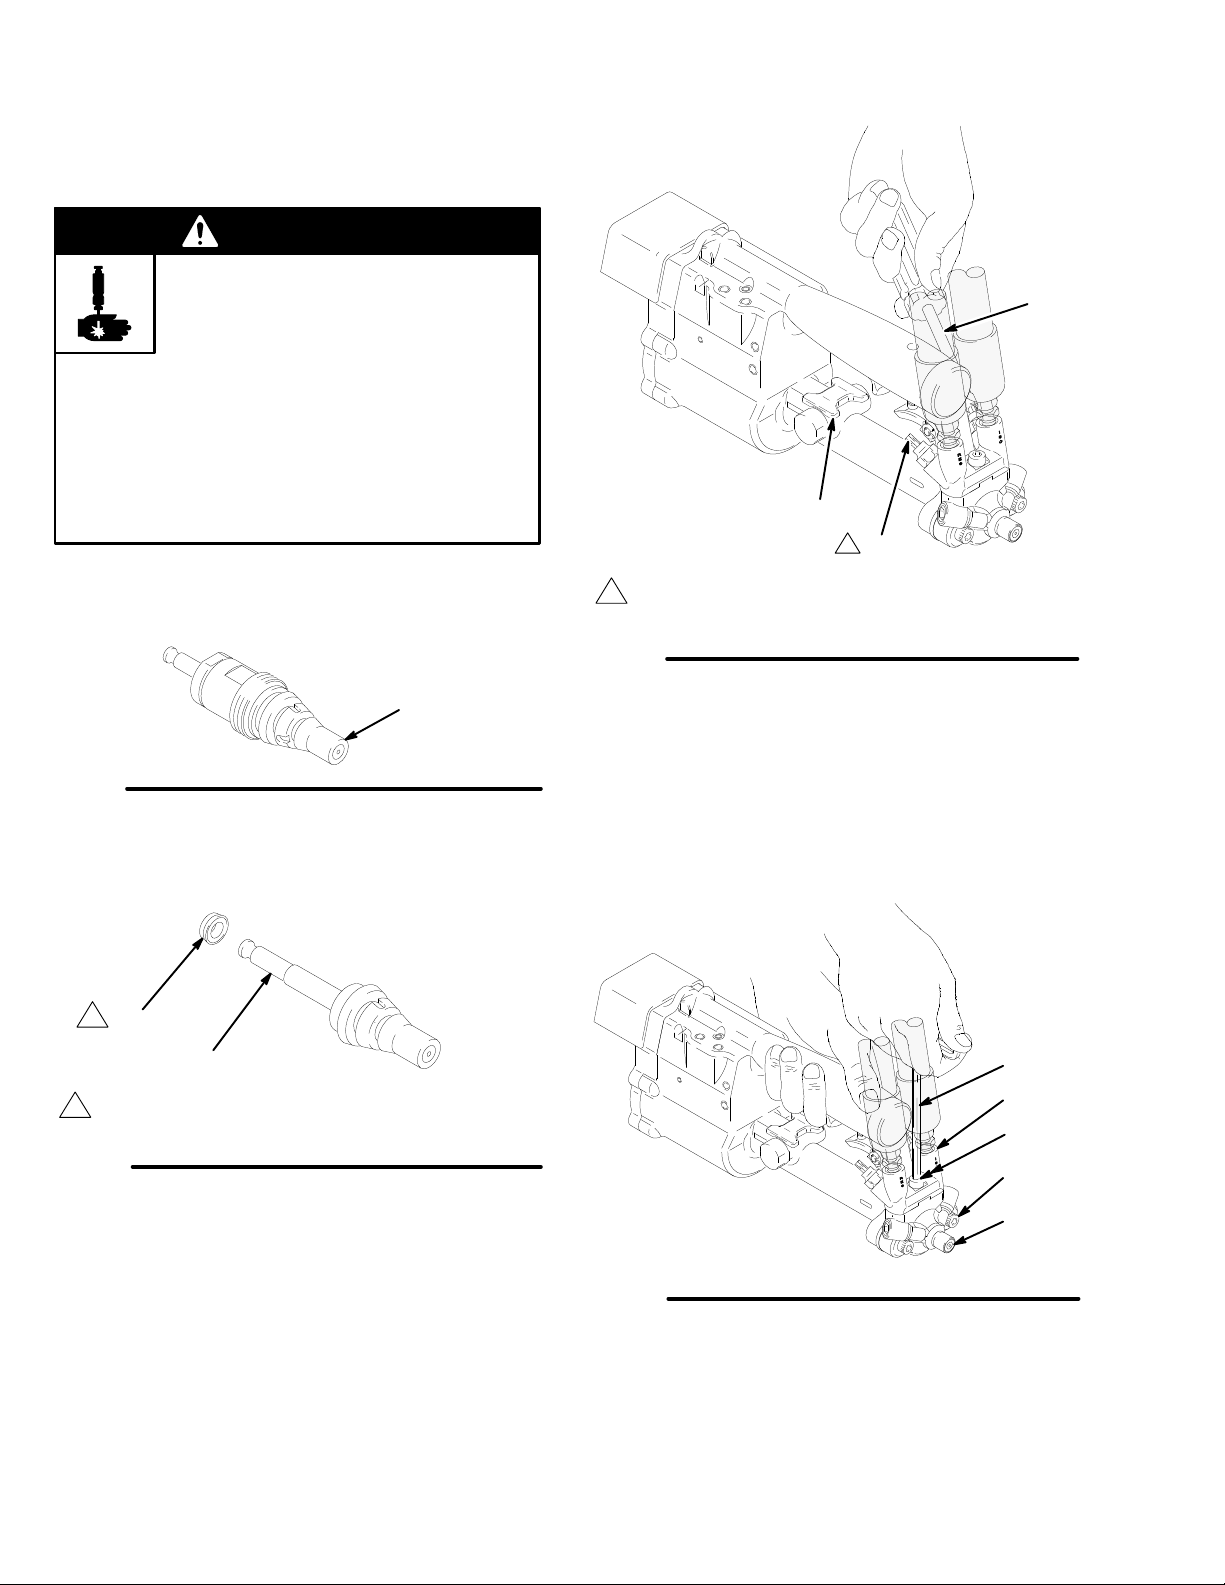
Removing
the Gun from the Production Line
18.
.
Solenoid
V
alve 20.
. . . . . . . . . . . . . . . . . . . . . . . . . . .
Receptacle
Assembly
21.
. . . . . . . . . . . . . . . . . . . . .
Air
V
alve Piston Assembly
22.
. . . . . . . . . . . . . . . . .
Piston
Rod Safety
24.
. . . . . . . . . . . . . . . . . . . . . . . .
Air
V
alve Spool Assembly
25.
. . . . . . . . . . . . . . . . . .
Trigger
Switch
27.
. . . . . . . . . . . . . . . . . . . . . . . . . . . .
Assemble
the Gun
28.
. . . . . . . . . . . . . . . . . . . . . . . .
Install
the Gun on the Production Line
29.
. . . . . . .
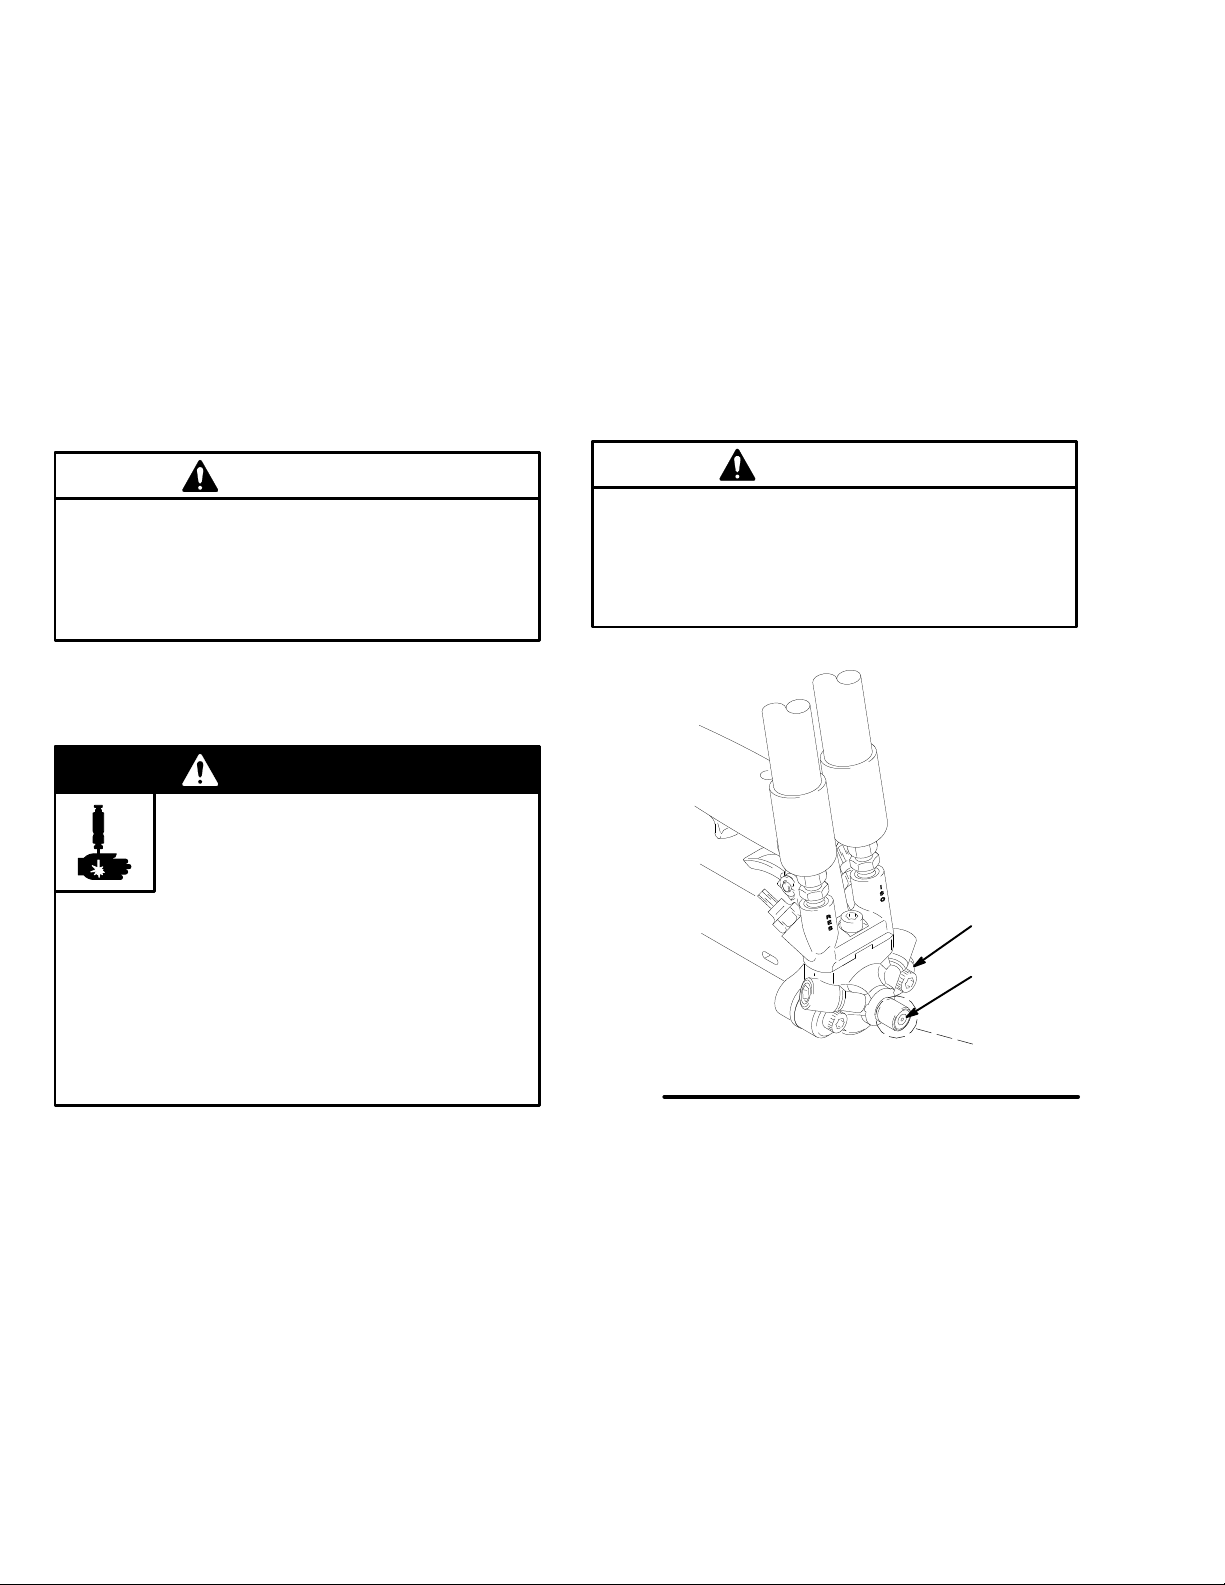
Manifold
Needle V
alves Replacement
30.
. . . . . . .
Parts 32
. . . . . . . . . . . . . . . . . . . . . . . . . . . . . . . . . . . . . . . .
Accessories 34
. . . . . . . . . . . . . . . . . . . . . . . . . . . . . . . . .
Graco
Phone Numbers
34.
. . . . . . . . . . . . . . . . . . . . . .
Technical
Data
35.
. . . . . . . . . . . . . . . . . . . . . . . . . . . . . .
Warranty 36
. . . . . . . . . . . . . . . . . . . . . . . . . . . . . . . . . . . .
Pour
Nozzle Performance Information
The
0.215 in. (5.46 mm) diameter nozzle was
designed to optimize pour foam quality at a flow rate of
80 grams per second, with the two foam components
heated to 150
_F (66_
C). Depending on the specific
system, these parameters may need to be adjusted
slightly to obtain the desired results.