manuals.online logo
Brands
  1. Home
  2. •
  3. Brands
  4. •
  5. Green Air Products
  6. •
  7. Controllers
  8. •
  9. Green Air Products CDMC-6 User manual

Green Air Products CDMC-6 User manual

Carbon Dioxide
Monitor Controller
Installation and
Operation Manual
CDMC-6
P.O. Box 1318 Gresham Or. 97030 USA
1-800-669-2113 Fax 1-503-663-1147
info@greenair.com www.greenair.com
Operatingprinciple Non-dispersiveinfrared(NDIR)
Gas sampling method Diffusion or sample draw
Measurementrange 0 - 5000 ppm CO2
Typical drift (per year) ±75 ppm (@ 1200ppm)
Accuracy ±5% of reading or ±75 ppm
Repeatability ±20 ppm
Calibration Interval Five Years
Response time Less than 1 minute
Operatingtemperature 0 to 50 ° C
Operating humidity 0 - 90% RH (non condensing)
Storagetemperature -30 to + 60 ° C
Powerrequirements 20 - 28 VRMS AC, 18 - 30 VDC
Powerconsumption Less than 2W @ 24 VAC
Voltage output (linear) 0 - 10 volts DC standard
Currentoutput (linear) 4 - 20 mA (RL< 500 ohm)
Warm-up time 3 minutes
Dimensions 5.2" x 3.2" x 1.4"
Weight 6.5 Oz. (.35 Kg)
Digital Display 4 digit, .35" LCD
Operating life expectancy 10 years typical
Warranty 90 day, parts and labor
Specifications
TheCDM-6000 isfactory calibratedfor operationatsea level. Whenoperated
at higher elevations, the calibration may be adjusted to correct for this factor.
The CDDS-2 can be set to the exact operating elevation to eliminate the
measurement error caused by decreased barometric pressure at higher
altitudes. This altitude compensation is done by the CDDS-2 controller. Let
the CDM-6000 stabilize to the ambient CO2 concentration. To change the
operating elevation:
1. Press and hold both the ‘SET’ and ‘SENSOR’ buttons for about five (5)
seconds until all the yellow LED's blink. The current elevation setting is
displayed.
2. Use the ‘UP’ and ‘DOWN’ buttons to adjust the display reading to the
current elevation in feet. The display moves in 10 foot increments.
3. After several seconds of no button activity the CDDS-2 reverts to its normal
operating mode.
Altitude Correction
Feature Identification
The SENSOR button toggles between
photo sensor “on” and “off” modes. If
the
activated
LED is lite the controller
will operate only when light is present.
This is the normal setting for CO2
enrichment. This mode will defeat
enrichment during darkness periods.
When the
activated
LED is off the
controller will operate continuously
regardless of the photoperiod.
The MODE button switches between CO2 enrichment or CO2 venting
functions.
Enrichment
is the normal mode for CO2 enrichment operations.
Venting
mode is for purposes of removing excessive levels of CO2. This is
used primarily for mushroom cultivation or HVAC control where CO2 is to be
removed from the area.
The SET button allows you to choose an enrichment level
setpoint
and
hysteresis
value.The hysteresisis the valuebetween "On"and"Off"functions.
This value determines at what point the CO2 equipment will turn "Off". In the
example below a 50 ppm hysteresis setting will turn CO2 "Off" at 1050 ppm.
Example : Set point = 1000 ppm Hysteresis = 50
In the example if the CO2 level falls below the setpoint (1000 ppm) the CO2
equipment outlet will come "On" and enrichment will continue until a level of
1050 is reached and then it will shut off.
To make setpoint adjustments press SET and the LED will flash the current
setpoint value. Press the UP or DOWN buttons to achieve any desired value.
Press SET again to enter your hysteresis. The system will return to operation
mode automatically after five seconds and continuously display the current
CO2 level.
TheCDDS-2 CarbonDioxideDigital Sequencerfeatures Overshoot Protection
Logic programming which will automatically maintain the proper dosing
parameters necessary to keep any size area enriched within a set tolerance
regardless of the particular characteristics of the enclosure. If on the initial
cycle the controller senses that excess CO2 has been administered it will
automaticallycompensate forthe nextdosage.This willassure thattheproper
levels are constant and maintained at all times with complete accuracy.
Model 6000
Features
Description
Introduction
The model CDM-6000 is a non-dispersive infrared analyzer for measuring
atmospheric CO2 concentration in plant zone environments. The CDM-6000
has a measurement range from 0 - 5000 ppm (0 to 0.5%)
The CDM-6000 provides a voltage of 0 - 5 volt output as standard. A simple
one-point calibration procedure and a built-in calibration port that requires no
special fittings or adapters make the CDM-6000 simple to maintain. For
information about advanced settings and features of this product, hardwiring
to the terminal block external connections or using this sensor with a device
other than the CDDS-2 controller, or for complete instructions manual please
refer to www.greenair.com/cdmc.htm.
The CDDS-2 has a sophisticated adaptive algorithm microprocessor. This
“Overshoot Protection Logic” algorithm “learns” the dynamics of the space
being controlled to avoid the dramatic overshoots inherent to setpoint control.
These learned control parameters are remembered even when the CDDS-2
is powered off.
This booklet will discuss the features and functions of the Green Air Products
Infrared Carbon Dioxide Monitor and Digital Event Sequencer system. This
system is designed to detect atmospheric CO2 levels and function CO2
producing equipment according to user programmable set points. It employs
the most advanced detection system providing precise, accurate and
dependable performance.
This carbon dioxide monitor controller model CDMC-6 package includes the
CDM-6000 CO2 monitor with LCD display and a CDDS-2 digital sequencer
with event programmer and photo sensor. The monitor samples atmosphere
once each second and displays current CO2 values in parts per million (ppm)
on it's display screen, while transmitting linear millivolt signals to the Digital
EventSequencer logictranslatingcircuits. Thesequencertheninterprets these
signals and functions the CO2 equipment outlet according to predetermined
values. The built in photo sensor automatically defeats the CO2 equipment
outlet during darkness periods.
1.Plug the CDDS-2 controller power cord into 120 volt outlet.
2.Connect the patch cord between the monitor and the controller.
3.Turn the CDDS-2 controller "ON". Allow a 2 to 3 minute warm up period.
4.Plug CO2 producing equipment into the outlet located on the right side of
the CDDS-2 sequencer. The system is now ready to operate.
5.Set the monitor and controller according to programming instructions.
The CDMC-6 system can be combined with Green Air Products CT-DH-3
temperature and humidity controller to defeat CO2 production during exhaust
functions. Plug the power cord from the CDDS-2 sequencer into the left
hand equipment outlet on the CT-DH-3. Power to the sequencer will be
interrupted when ever temperature or humidity conditions constitute an
exhaust function. CO2 production will resume immediately after the exhaust
cycle is completed.
A quick calibration verification can be done by supplying the unit with outside
air and letting the reading stabilize. CO2 concentrations in outside air are
typically between 350 and 400 ppm. To adjust the calibration, follow the
procedure described below. Avoid breathing on the sensor during calibration.
1.Remove the front cover of the unit. Observe the locations of the three black
adjustment buttons and the user jumpers. The jumper shorting block should
be parked on pins JP5.
2.Pull the shorting block from JP5 and slide it over both pins of jumper JP2.
Power up the monitor and allow approximately two minutes for the reading to
stabilize.
3.If the reading differs by more than ± 75 ppm from the known concentration
of the atmosphere, use the ‘UP’ and ‘DOWN’ buttons (see diagram) to adjust
the reading.
4.When the proper value is set, remove the shorting block from jumper JP2,
and replace to its original position at jumper JP5. This will save the value and
the unit will reset itself.
Amore accuratecalibration checkrequires theuseof calibrationgas ofknown
concentration. A calibration kit is available from the factory.
Calibration
The CDM-6000 uses a standard phone type RJ-14 cord connect. Simply
connect the phone cord provided between the CO2 monitor and the CDDS-2
controller.Power andsignalwill bothbeprovided viathesingle lineconnection.
For information about advanced settings and features of this product,
hardwiring to the terminal block external connections or using this sensor with
adevice otherthan theCDDS-2controller, orfor completeinstructionsmanual
please refer to www.greenair.com/cdmc.htm
Wiring
The CDM-6000 has a single green LED on the front panel which illuminates
whenever the unit is operating. This LED blinks to indicate that the monitor is
functioning.
The CDM-6000 has a 4 digit liquid crystal display (LCD) on the front panel.
Thedisplay showsthemeasured CO2concentration in partsper million(ppm).
Helpful hint: 1000 parts per million equals 0.1% CO2.
CDDS-2 Version Identification: For verification purposes you may want to
determine the exact version of your CDDS-2 controller. This can be obtained
by the following procedure. With the controller in the "on" mode, unplug the
unit and plug it back in. A version number will momentarily appear on the LED
display. This is the version number of your controller.
Displays and Indicators Install the monitor indoors in a location representing an even air mix from
plant zone atmosphere. Do not locate near heaters, drafts or CO2 producing
equipment. Avoid locations where sensor may be vulnerable to impacts,
vibrations or water. Breathing near the sensor will cause high CO2 readings.
Mount the CDDS-2 controller in a convenient, dry location near a 120V power
outlet. All valuable electrical equipment should be plugged into a surge
protection device. Approved for indoor use only.
Location
CDM-6000 Component Location Diagram

This manual suits for next models

1

Other Green Air Products Controllers manuals

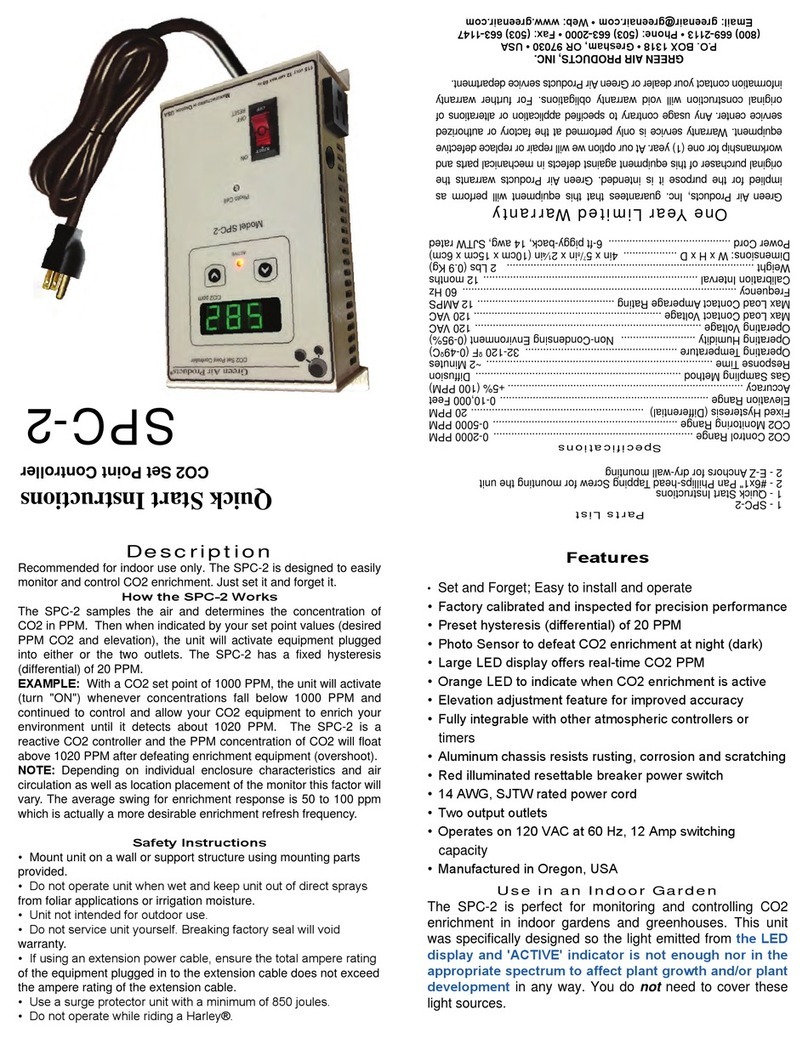
Green Air Products SPC-2 Programming manual

Green Air Products

Green Air Products SPC-2 Programming manual

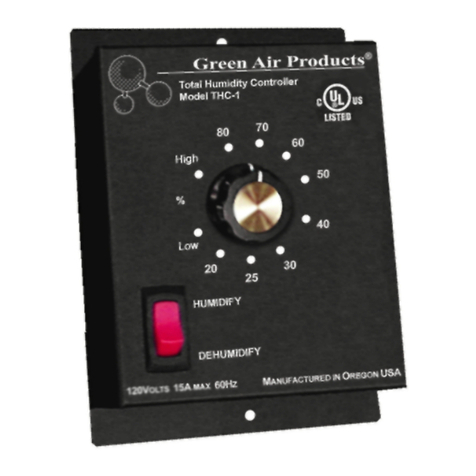
Green Air Products THC-1 Programming manual

Green Air Products

Green Air Products THC-1 Programming manual

Popular Controllers manuals by other brands

YASKAWA motoman NX100 instructions

YASKAWA

YASKAWA motoman NX100 instructions

LG MultiSITE VM3 Startup guide

LG

LG MultiSITE VM3 Startup guide

Shinko PCA1 instruction manual

Shinko

Shinko PCA1 instruction manual

Emerson Bettis M Series Installation, operation and maintenance manual

Emerson

Emerson Bettis M Series Installation, operation and maintenance manual

Hunter X-CORE Owners manual and programming instructions

Hunter

Hunter X-CORE Owners manual and programming instructions

Arkel KM-20 user manual

Arkel

Arkel KM-20 user manual

Josef Barthelme 66000341 instruction manual

Josef Barthelme

Josef Barthelme 66000341 instruction manual

JYTEK PXIe-63988 user manual

JYTEK

JYTEK PXIe-63988 user manual

LS ELECTRIC XBM-DN16/32S installation guide

LS ELECTRIC

LS ELECTRIC XBM-DN16/32S installation guide

Siemens SIRIUS 3RW50 manual

Siemens

Siemens SIRIUS 3RW50 manual

Arbor Technology ARES-5423-TP user manual

Arbor Technology

Arbor Technology ARES-5423-TP user manual

BRIDGEWERKS Magnum 20 SRM user manual

BRIDGEWERKS

BRIDGEWERKS Magnum 20 SRM user manual

Elstat Nexo CMS200 product manual

Elstat

Elstat Nexo CMS200 product manual

MDT Technologies BE-GT2TW.01 operating instructions

MDT Technologies

MDT Technologies BE-GT2TW.01 operating instructions

Asparion D700 manual

Asparion

Asparion D700 manual

CDVI ATRIUM A22K quick start guide

CDVI

CDVI ATRIUM A22K quick start guide

Theben MIX 2 Series manual

Theben

Theben MIX 2 Series manual

Zmotion ZMC004WEA manual

Zmotion

Zmotion ZMC004WEA manual

manuals.online logo
manuals.online logoBrands
  • About & Mission
  • Contact us
  • Privacy Policy
  • Terms and Conditions

Copyright 2025 Manuals.Online. All Rights Reserved.