GT-Vision GXCAM HiChrome-Met User manual

1
GXCAM HiChrome-Met User Guide
Thank you very much for purchasing our GXCAM HiChrome-Met camera. To
ensure safety and to obtain optimal performance we recommend that you read
the manual thoroughly before operating the camera.
Chapter 1 Introduction................................................................................................ 2
Chapter 2 System Standard Items............................................................................ 2
Chapter 3 HDMI Operation........................................................................................ 4
Chapter 4 Connecting the GXCAM HICHROME-MET camera to a PC........... 11
Cleanliness.................................................................................................................11
Maintainance..............................................................................................................11

2
Chapter 1 Introduction
Advanced Design
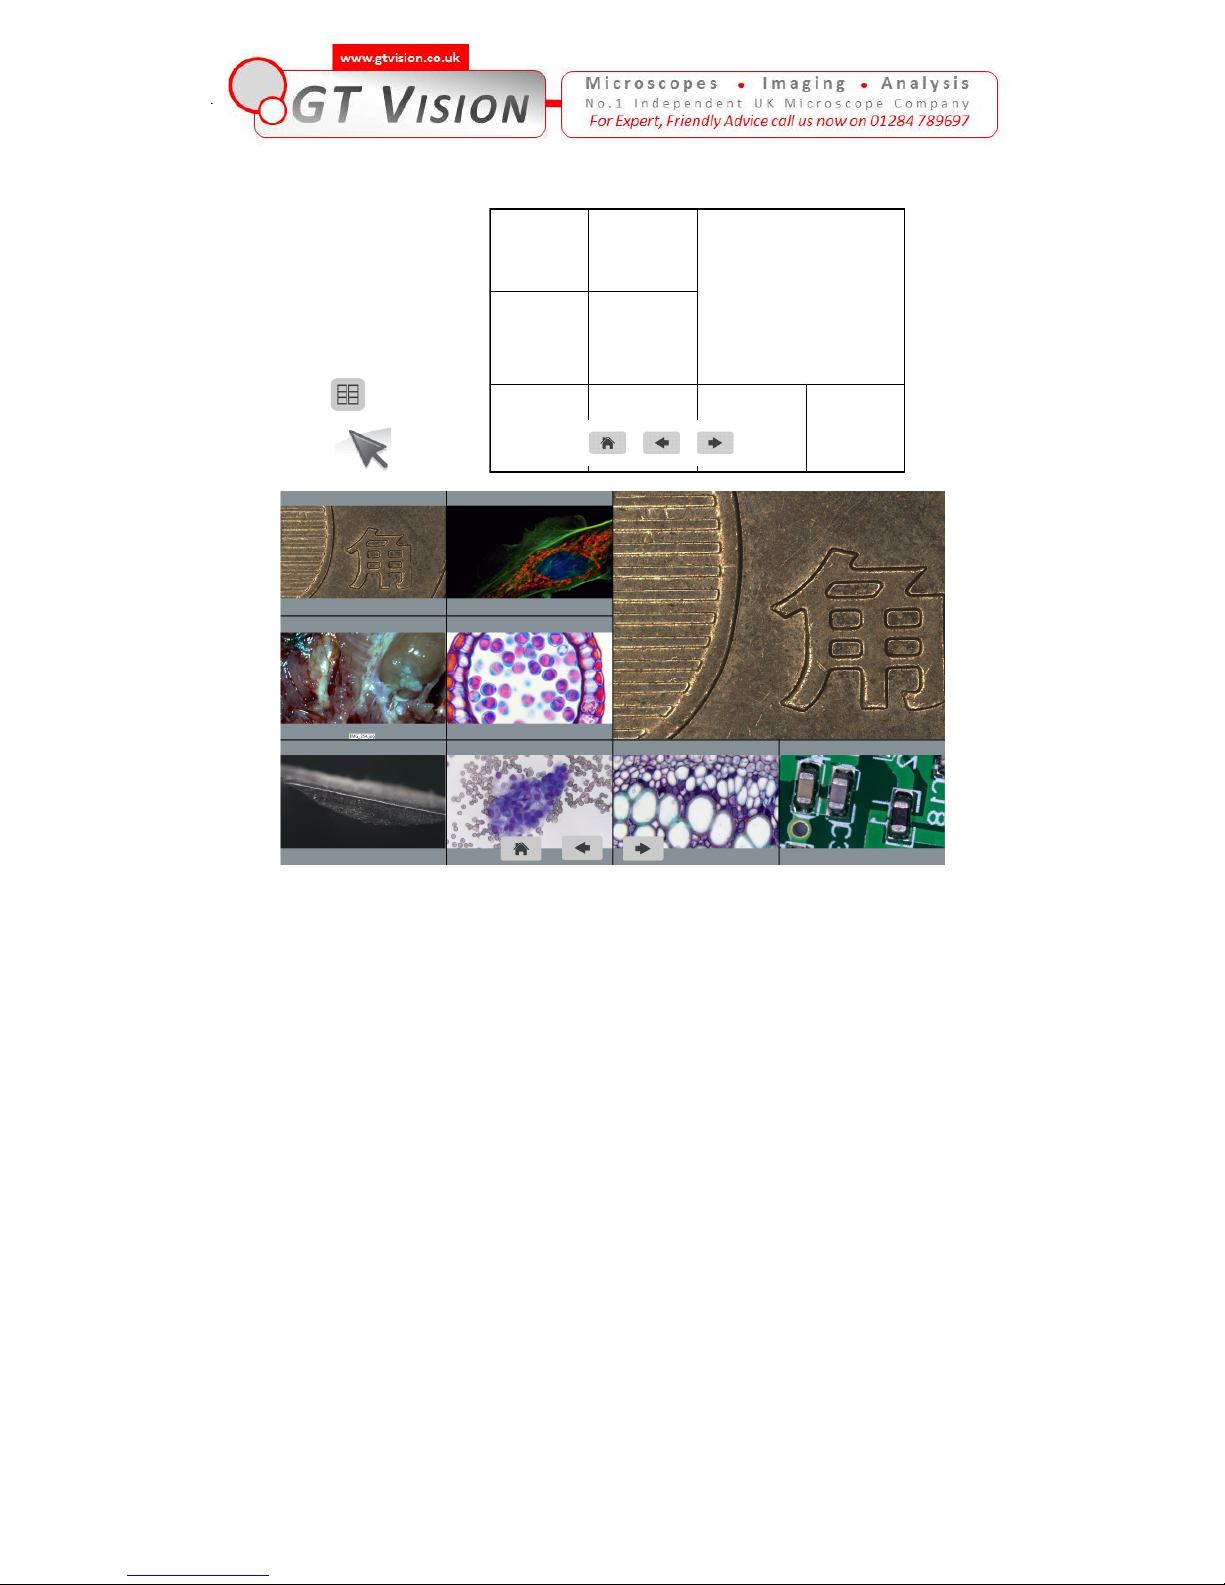
With superb color fidelity, the GXCAM HICHROME-MET camera provides a
perfect solution for high definition scientific photography. To meet the
customer’s individual requirements, the flexible parameter settings allow you to
quickly obtain live images and freeze the screen simply to observe the details.
THE GXCAM HICHROME-MET camera inherits all the advantages of the
previous generations of HDMI cameras cameras and has significantly
improved on both the hardware and software, bring a more fluent visual
experience and intuitive user interface.
You can now capture images, record videos and perform measurements in the
HDMI mode directly. No PC is needed.
For more information about the GXCAM HICHROME-MET camera, please
read this document completely.
Chapter 2 System Standard Items
One GXCAM HICHROME-MET camera,
One 12V/2A power adapter,
One HDMI cable (2-meters length),
One SD card (8G capacity, class 10),
One mouse (with 1.5-meters cable),
One USB2.0 cable (gold plated connector).

3
1. USB interface:
A: Connect the mouse to the USB port. Use
the mouse to control the camera directly.
B: Connect the USB port to PC to make the
camera work as a Driver-Free camera. Use
GXCapture software to control it (similar as
using the other USB cameras).
Note: No driver installation is needed when connecting the GXCAM
HICHROME-MET camera to a PC via the USB port.
2. THE HDMI interface:
Use the HDMI cable to connect the GXCAM HICHROME-MET camera to the
monitor. Image data is transferred and displayed on the monitor according to
the HDMI protocol.
3. Power interface:
Please use the provided 12V/2A power supply. When power is plugged in, the
red light is on. When the camera is switched on, the blue light is on.
4.ON/OFF key:
Press and hold ON/OFF key until the blue light is on or off to turn on or off the
the GXCAM HICHROME-MET camera.
5.SD card:
To get faster and more stable data transfer, we recommend using a Class10
SD card.
6.C mount:
::
:
Standard C-mount optical port.
7. Anti-dust seal:
Please remove the seal when
using the camera for the first
time.
The seal was placed on the
camera optical port when it left
the factory. It is used to avoid
dust accumulating during the transport.

4
Chapter 3 HDMI Operation
Step 1. Connect the camera.
1. Plug in the 12V/2A power supply. Use HDMI cable to connect the camera to
the monitor. Press and hold ON/OFF key until blue light is on.
2. Connect the mouse to the USB port. Move the cursor to get the settings on
the screen.
3. Insert the SD card. Capture images or videos to the SD card.

5
Step 2. Move the cursor to the left of the screen.
When move the cursor to the left of the screen, ‘Capture’ and ‘Setting’ icons will appear
(See image on the left hand side). Click ‘Setting’ to get parameter setting menu (See
image on the right).
Capture
Setting
Capture
Setting

6
Step 3.Move the cursor to the right of the screen.

7
How to do calibration and measurements in HDMI mode:

8

9
Step 5. Check the photo album and videos
1. Check the album and delete the pictures.
Picture 1 Picture 2
Picture 1 Picture 2
2. Check the video and delete the video. To delete the video successfully, be
sure this video is not in use.
Picture 1 Picture 2 Video 1Picture 1 Picture 2 Video 1

10
Step 6. Compare preview with the captured images.
Picture 1 Picture 2
Preview
Picture 1 Picture 2
Preview

11
Chapter 4 Connecting the GXCAM
HICHROME-MET camera to a PC
1. Use the USB cable to connect the the GXCAM HICHROME-MET camera to
the PC.
2. Plug in the 12V/2A power supply. Press and hold the ON/OFF key until blue
light is on to turn on the camera.
3. No driver installation is needed when connected to PC. Install software to
adjust parameters and acquire images.
Cleanliness
When the camera is NOT in use, please screw in the dustproof cap to avoid
the dust from the environment accumulating on the optical port.
When get dust accumulates on the surface of the optical port, we recommend
using a blower bulb to blow away the dust first. If it is still there, please use a
very soft lint free cloth (Micro Fiber cloth) with absolute ethyl alcohol or a
similar cleaning agent to gently clean the surface.
If you find the dust inside the camera, please DO NOT open the camera case.
Please contact our support team to get further advice.
Maintainance
If the camera needs repair, please contact our customer support team. Do
not open the camera case.
CAUTION:Please DO NOT open the camera case and assemble it back by
yourself. If you open the camera, it will attract dust and moisture inside the
cameras. Any sensor scratch or moisture issue brought by opening the camera
case yourself is not covered by the warranty.
Table of contents
Other GT-Vision Camcorder manuals