9
AudioStar™ 5050ULTRA
Cassette Operation
Cassette Playback
1. Slide the FUNCTION switch to the TAPE/POWER
OFF position.
2. Press the EJECT button to open cassette door and
insert a cassette into the cassette compartment.
Make sure the cassette ribbon is facing up then
close the compartment door.
3. Press the PLAY button to play the loaded cassette.
4. Adjust the VOLUME, as desired.
5. Press the STOP/EJECT button to stop play.
6. The PAUSE button is used to temporarily stop the
tape during recording or playback.
7. Press the EJECT button to remove the cassette.
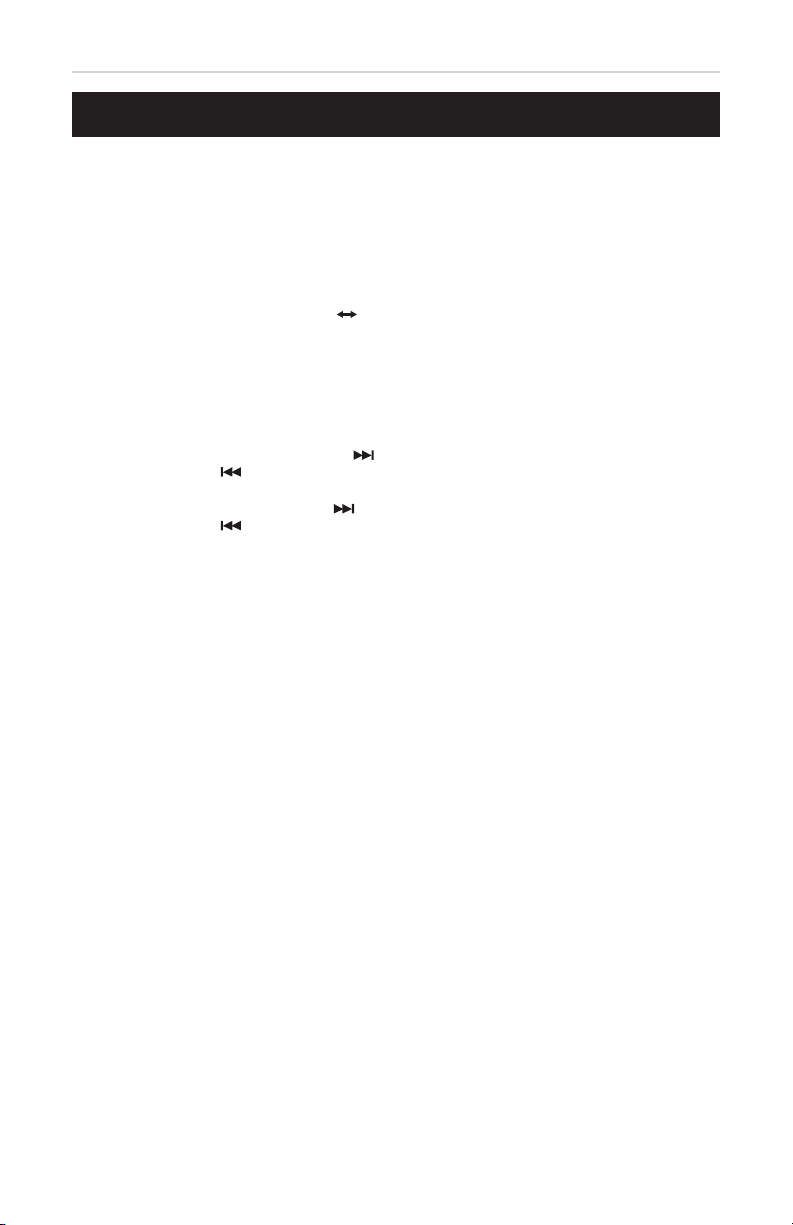
Fast Forward or Rewind
1. To fast forward or rewind, press the FAST
FORWARD or REWIND button.
2. Press the STOP/EJECT button to stop FAST
FORWARD or REWIND to stop operation.
Cassette Recording
The quality and condition of the cassette tapes you
use will have a direct effect on the performance of this
unit. Low quality tapes tend to break and stretch, and
a broken tape can easily become entangled in the
drive mechanism, causing major damage. Stretched
tapes run at uneven speeds. They can distort
anything recorded on them.
• Use only reputable tape brands
• Use of C-120 (120 minutes) cassettes is not
recommended. The extreme thinness of this tape
may result in breakage or other issues.
• Through the cassette window, you will see
movement of the tape from one side to the other,
which can be helpful during tape to USB recording.
• Before inserting a cassette, be sure to tighten any
loose portions of tape with a pencil or ballpoint pen
before inserting the cassette into the unit.
Recording From Radio to Cassette
1. Slide the FUNCTION switch to the “RADIO”
position.
2. Slide the BAND switch to the desired band
position.
3. Tune to your desired radio station.
4. Insert the cassette into the cassette compartment.
5. Press the PAUSE button. Then, press the
RECORD/PLAY button.
6. Release the PAUSE button to begin recording.
7. Adjust the volume, if necessary.
8. To stop recording, press the STOP/EJECT button.
When the tape reaches the end, it will stop
recording automatically.
Recording From CD to Cassette
1. Slide the FUNCTION switch to the CD/
MP3/USB/AUX position.
2. Press the PUSH OPEN area on the top of
the unit to open the CD door.
3. Load a CD, with the label side upward,
into the CD compartment, close the door,
and the unit will play all the tracks once
(continuous play).
4. Press the STOP ( ) button to stop
playing the CD.
5. Insert the cassette into the cassette
compartment.
6. Press the PAUSE button on the cassette.
Then, press the RECORD/PLAY button
on the cassette.
7. Press the PLAY/PAUSE button on the CD
to start playing the CD.
8. Release the PAUSE button on the
cassette to begin recording. You can also
record audio signals from an external
microphone.
9. Adjust the volume, if necessary.
10. To stop recording, press the STOP/
EJECT button on the cassette. When
the tape reaches the end, it will stop
recording automatically.
Recording From Aux to Cassette
1. Slide the FUNCTION switch to the CD/
MP3/USB/AUX position.
2. Connect external player to the AUX IN jack.
3. Press the PAUSE button on the cassette.
Then, press the RECORD/PLAY button.
4. To stop recording, press the STOP/
EJECT button on the cassette. When
the tape reaches the end, it will stop
recording automatically.
Recording From the Built-In
Microphone to Cassette
1. Slide the FUNCTION switch to the TAPE
(POWER OFF) position.
2. Insert a cassette tape into the cassette
compartment.
3. To avoid unwanted feedback between the
speaker and the built-in microphone, set
the VOLUME CONTROL to the minimum
position.
4. Press the PAUSE button on the cassette.
Then, press the RECORD/PLAY button.
5. Release the PAUSE button to begin
recording.
6. To stop recording, press the STOP/
EJECT button. When the tape
reaches the end, it will stop recording
automatically.