manuals.online logo
Brands
  1. Home
  2. •
  3. Brands
  4. •
  5. HATTON'S
  6. •
  7. Toy
  8. •
  9. HATTON'S SECR P Class 0-6-0T Guide

HATTON'S SECR P Class 0-6-0T Guide

Hatton’s products conform to WEEE and RoHS requirements.
Handling the locomotive
This is an accurate scale model which includes many small detailing parts which can be
broken or damaged if proper care is not taken when handling. To ensure minimum chance
of damage occurring, please always hold the locomotive by the side of the main tanks.
Operating Instructions
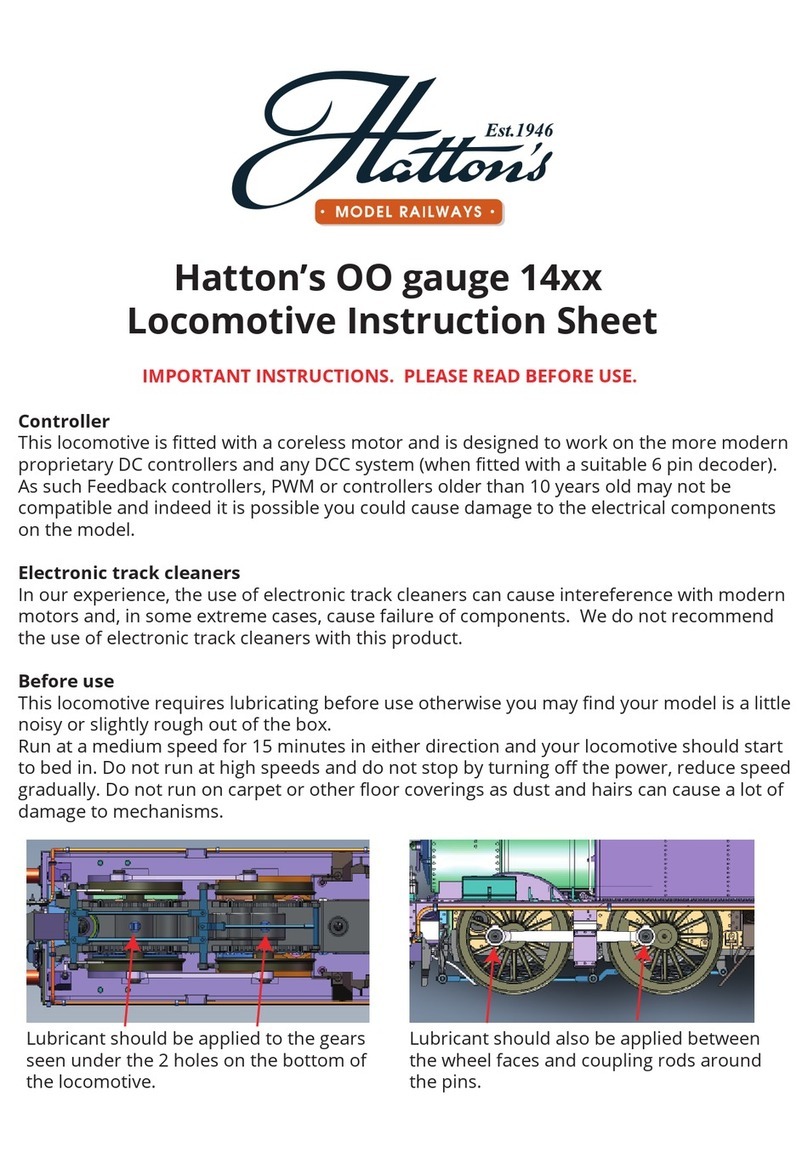
Before use, we recommend running the locomotive in at a constant medium speed for 15
minutes in either direction. Do not run this model on carpet or other floor coverings as dust
and hairs can cause damage to the mechanism.
Fitting a crew
For this locomotive, the easiest way to fit a crew is through the side door of the cab. As
the real-life cabs of these locomotives are so small, most of the time the crew will be
leaning out of the sides in order to stand up straight!
Warranty Information
We offer a 12 month warranty on all our exclusive products as standard. However, if an
item develops a fault after this time you can still contact us for help and advice, we'll do
our best to resolve the issue for you.
If an item is replaced by Hatton’s between 9 - 12 months after purchase, a warranty of 3
months will be given on the replacement item.
It is preferable to contact us by phone before returning a product thought to be faulty.
Often we can diagnose problems and advise on how to resolve most issues without the
item needing to be returned. If you can't phone us an email is fine but please allow up
to 24 hours for a reply (though we are usually much quicker).
In order for us to be able to process returns quickly and effectively, please enclose a
covering letter detailing the following:
- The fault with the item
- The original invoice number
- Your contact details including telephone numbers (works, mobile etc)
- Details of any correspondence (name of person spoken to, copy of letter, printout of
email).
A limited number of spares will be available but these are only for replacing damaged
or missing parts. We cannot provide ‘extra’ spares for people looking to modify their
locomotives.
Contact Details
Hatton’s Model Railways
17 Montague Road
Widnes
WA8 8FZ
0151 733 3655
Lines are open :
0730 - 1800 Monday - Saturday
0900 - 1700 Sunday
[email protected]
www.hattons.co.uk
If you have a need to dispose of any electrical components, please do so correctly.
Hatton’s SECR P Class 0-6-0T
Instructions for the care and use of your locomotive
14
SOUTH EASTERN & CHATHAM RAILWAY
INSTRUCTIONS FOR THE CARE AND USE
OF THIS NEW LOCOMOTIVE
NEW PASSENGER LOCOMOTIVE
Detail Parts
The detailing parts for the locomotive consist of 2 coupling hooks with cosmetic screw links,
2 steam heat pipes, 3 SR Route Indicator Disks, 3 oil cans and an SR style lamp.
Steam Heat pipes:
The steam heat pipes for this locomotive can interfere with the operation of the tension lock
coupling when both fitted together and used on tight curves. We do not suggest using both
in this situation. The steam heat pipes for the rear change design through the life of the
locomotives but always use the same position to plug into.
Cosmetic couplings:
The cosmetic couplings can interfere with the operation of the tension lock coupling when
both fitted together and used on tight curves. We do not suggest using both in this situation.
Both coupling hooks and chains are the same and fit into the central hole on the buffer-
beam.
SR Route Indicator Disks
The SR used these disks to show what type of train was operating, hence the multitude of
lamp brackets on the front of the locomotive. The disks can be held in place with either a
small dab of PVA glue for a temporary fix or with CA/superglue for a permanent one.
5. Remove some of the material around the firebox door to enable cables to be run
through it.
6. Locate your decoder in the cab and run the cables through the hole made above.
Carefully replace the running plate and both screws.
7. Ensure all cables are neatly either side of the worm gear and gently place the body back
on the chassis, ensuring no cables are trapped.
8. Replace the 4 screws under the chassis.
Analogue/Digital
Do not run on digital control if you do not have a digital decoder fitted. This will almost
certainly cause damage to your model. Running on analogue when fitted with a digital
decoder decoder may work, consult your digital decoder instructions for more information.
This model is digital decoder ready and has a 6-pin socket in the tanks, pre-fitted with a
blanking plug for use on analogue control out of the box.
To fit a Digital Decoder
1. Remove the 4 screws from under the locomotive as shown below.
3. Gently seperate the chassis from the body.
4. Remove the 6 pin blanking plate and replace with a suitable 6 pin decoder (such as
DCR-6PIN-Direct available from www.hattons.co.uk).
5. Carefully re-unite the body and chassis.
6. Replace the 4 screws under the chassis. Ensure screws are not overtightened as this may
cause slight warping to the body/running board.
Digital sound
We have provided a space for the sound speaker on this locomotive but unfortunetely it has
not been possible to provide a hidden space for the digital decoder when using sound (we
recommend the ESU range of sound decoders). Below we show you how we have acheived
this but we do not advise trying it unless you are confident with fitting sound as it is very
easy to damage either the locomotive or the decoder.
1. Follow steps 1-4 above.
2. Remove the small block on the opposite side of the motor to the decoder socket.
3. In the space remaining, fit your small sugarcube speaker.
4. Remove the running board from the body by removing the 2 screws under the cab and
smokebox.
2 3
Front Rear Rear

Other HATTON'S Toy manuals

HATTON'S OO gauge 14 Series User manual

HATTON'S

HATTON'S OO gauge 14 Series User manual

Popular Toy manuals by other brands

Lionel Budd Rail Car owner's manual

Lionel

Lionel Budd Rail Car owner's manual

SIG CAP 231EX Assembly manual

SIG

SIG CAP 231EX Assembly manual

Eduard MiG-21F-13 Fishbed C quick start guide

Eduard

Eduard MiG-21F-13 Fishbed C quick start guide

MGA Entertainment little tikes 650642M manual

MGA Entertainment

MGA Entertainment little tikes 650642M manual

REVELL KIT 5527 Assembly manual

REVELL

REVELL KIT 5527 Assembly manual

Eduard 17 039 manual

Eduard

Eduard 17 039 manual

Fisher-Price POWER WHEELS ARCTIC CAT Y6534 owner's manual

Fisher-Price

Fisher-Price POWER WHEELS ARCTIC CAT Y6534 owner's manual

FMS FMS137 instruction manual

FMS

FMS FMS137 instruction manual

Rage RC LightWave instruction manual

Rage RC

Rage RC LightWave instruction manual

Eduard BRASSIN Bf 109 cannon pods manual

Eduard

Eduard BRASSIN Bf 109 cannon pods manual

MTHTrains PREMIER GP-40 DIESEL ENGINE Operator's manual

MTHTrains

MTHTrains PREMIER GP-40 DIESEL ENGINE Operator's manual

Bob's Card Models Junkers Ju 52 manual

Bob's Card Models

Bob's Card Models Junkers Ju 52 manual

Massoth LGB 20410 quick start guide

Massoth

Massoth LGB 20410 quick start guide

Eduard Typhoon Mk.Ib interior manual

Eduard

Eduard Typhoon Mk.Ib interior manual

GRAUPNER RANZOW Building instructions

GRAUPNER

GRAUPNER RANZOW Building instructions

Fisher-Price STAR STATION H6723 instructions

Fisher-Price

Fisher-Price STAR STATION H6723 instructions

STAX 30820 Building Instruction

STAX

STAX 30820 Building Instruction

Mega Bloks Authentic Collector's Series manual

Mega Bloks

Mega Bloks Authentic Collector's Series manual

manuals.online logo
manuals.online logoBrands
  • About & Mission
  • Contact us
  • Privacy Policy
  • Terms and Conditions

Copyright 2025 Manuals.Online. All Rights Reserved.