Steadi-Two Instructions
Manual
Step 5: Align the bottom center of the
Stabiliser unit with the small round circle at
the top of the glove. Bring the Stabiliser
closer, and it will magnetically attach itself
to the glove.
*Note: When you first receive the glove, the stabiliser will be attached to the glove.
Step 5 is only necessary if you have detached the stabiliser from the glove.
*Note: The Steadi-Two will not operate properly if the indicator is placed in between
the white lines. In order to be effective, the indicator must be pointing directly at the
double white line (low frequency), or directly at the single white line (high frequency).
Low Frequency Mode
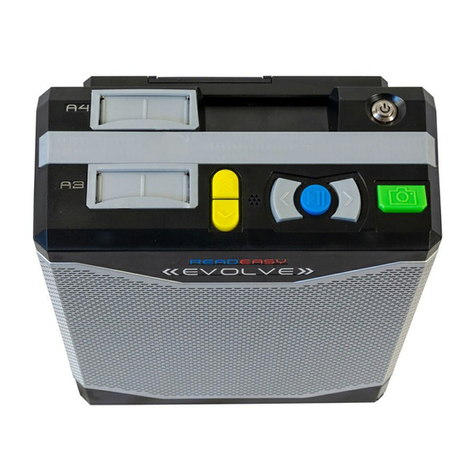
On top of the device, there is an indicator that should be pointing
at two white dashes. This is an operating mode designed to
target lower
frequency tremors ranging from 5.5 - 7 Hz.
High Frequency Mode
This is an operating mode designed to target tremor frequencies
higher than 7 Hz.
If the Low Frequency Mode seems ineffective, it is recommended
to turn the knob clockwise until the indicator reaches the mode
with one white dash, and try the activity sequence again.
FREQUENCY
The Steadi-Two is capable of targeting various tremor frequencies and severities. Low frequency
mode (indicated by two white lines on the stabiliser) and high frequency mode (indicated by one
white line on the stabiliser)
Step 1: Unlock the closure knob by pulling it up until you hear a “click.”
Step 2: Slide your hand out of the glove.
TO REMOVE THE GLOVE
📧
HAVE QUESTIONS? +61871223855
📞
