manuals.online logo
Brands
  1. Home
  2. •
  3. Brands
  4. •
  5. HearthSong
  6. •
  7. Play Set & Playground Equipment
  8. •
  9. HearthSong FunShine Swing Instruction manual

HearthSong FunShine Swing Instruction manual

#730584 | Ages 5+
Adult installation and supervision required.
Takes 2 adult 10 minutes to assemble.
Ropes adjusts up to 60" | 32" diam. swing
Weight Limit: 200 lbs.
#730584 Conforms to ASTM F1148 Made in China. ©HearthSong®2020. Madison, VA 22727. 1-800-533-4397 HearthSong.com
Includes:
Assembly:
4 Curved Poles
1 Swing Mat
4 Nuts
4 Washers
1 Wrench
1. Thread the four Curved
Poles through the
sleeves of the Swing
Mat one by one.
Safety Assembly and Installation Instructions
FunShine®Swing
2 Hanging Ropes, each with
• 2 0-ring bolts attached
• 1 S-hook attached for
adjustment of rope length
2. Connect Curved Poles
to create two halves.
3. Place the open ends of
each half together so
they're at an angle.
4. With two adults,
simultaneously join the
ends while aligning
the holes so that they
"snap" into place.
(Continued on next page...)
Safety Checklist: Read the Instructions Before Use
SET UP:
1. Choose an outdoor site free of sharp objects: select a  at surface free of depressions, holes, or raised spots, and away from,
walls, garden equipment, pools, or other objects for at least 6 feet in every direction.
2. Ideally, the swing should be hung over grass, sand, wood chips, or other soft surfaces. Under no circumstances should it be hung
over concrete, asphalt, or other hard surfaces.
3. Inspect all components for wear. Do not use if damaged.
4. Can be hung on an A-frame or swing set or on a tree limb of a diameter of at least 10"-12".
5. The maximum fall height should not exceed 18".
* Hanging hardware not included and can be purchased separately at Hearthsong.com.
USE:
• DO NOT ALLOW ANYONE UNDER THE AGE OF 5 TO USE THIS TOY.
• The swing is intended solely for family and domestic use, not for a commercial playground or daycare.
• Children must not use the swing until it has been properly installed.
CARE:
• Please be sure to regularly examine all components for wear.
• If damage is found, discontinue use and replace the spinning ring.
5. Place each of the four
O-ring bolts into the
openings on the swing
to attach the ropes.
6. Secure by tightening
the four bolts with the
nuts and washers using
included wrench.
#730584 Conforms to ASTM F1148 Made in China. ©HearthSong®2020. Madison, VA 22727. 1-800-533-4397 HearthSong.com
Only use color bar if instrucons are 4C. Take out if only B&W
Owners shall be responsible for maintaining the legibility of any
warning labels. Following the safety guidance and warnings below will
reduce the likelihood of serious or fatal injury.
Clearance distance should be 6' around the swing.
cWARNING: A fall onto a hard surface can result in serious injury to
the equipment user.
cWARNING: Do not use the equipment until properly installed.
cWARNING: This swing is not to be used in any other manner other
than its intended use.
cWARNING: Adult supervision is required.
cWARNING: Adults should verify that the hanging ropes are secured
and cannot be looped back on the swing.
We recommend no more than 1 child on the swing, with no more than
200 lbs. of weight on the item at one time.
Never add extra length to chain or rope. The chains or ropes provided
are the maximum length designed for the swinging element(s).
cWARNING: It is important for adults to instruct children to:
• Dress appropriately while using the swing (avoid ponchos, scarves,
and other loose-tting clothing that is potentially hazardous).
• Instruct children when swinging alone to put their full weight in
the center of the swing.
• Avoid swinging empty seats.
• Warning! Please be sure children wear well-tting footwear that
fully encloses the foot when using this swing. Clogs, ip-ops, and
sandals are considered inappropriate footwear.
cWARNING: It is important for adults to instruct children NOT to:
• Walk close to, in front of, behind, or between moving items.
• Twist ropes or loop them over the top support bar since such action
may reduce the strength of the rope.
• Get off of the swing while it is in motion.
• Climb on the swing when it is wet.
• Attach additional items to the swing that might cause a
strangulation hazard.
• Wear a bicycle or sport helmet while on the swing.
Maintaining the Swing
At the beginning of each play season, adults should:
• Tighten all hardware.
• Check all protective coverings on pipes, edges, and corners.
Replace if they are loose, cracked, or missing.
• Check all moving parts including swing seat and ropes for wear,
rust, or other deterioration. If damage is found, discontinue use.
• Check metal parts for rust. If found, sand and repaint using a non-
lead-based paint meeting the requirements of 16 CFR 1303.
• Lubricate all metallic moving parts per manufacturer’s instructions.
If the swing is hung from swing set frame, then lubricate all
metallic moving parts that are attached by a metal connection.
• Reinstall any plastic parts, such as swing seats or any other items
that were removed for the cold season.
• If the swing is hung from a tree branch, then rake and check
depth of loose-ll protective surfacing materials (such as mulch or
sand) to prevent compaction and to maintain appropriate depth
(minimum amount is 9"). Replace as needed.
Loose-Fill Materials should be placed under the item and 6'
out in all directions.
• Maintain a minimum depth of 9 inches of loose-ll materials such
as wood mulch/chips, engineered wood ber (EWF), or shredded/
recycled rubber mulch for equipment up to 8 feet high; and 9
inches of sand or pea gravel for equipment up to 5 feet high.
NOTE: An initial ll level of 12 inches will compress to about
a 9-inch depth of surfacing over time. The surfacing will also
compact, displace, and settle, and should be periodically relled
to maintain at least a 9-inch depth. Use a minimum of 6 inches of
protective surfacing for play equipment less than 4 feet in height.
If maintained properly, this should be adequate. (At depths less
than 6 inches, the protective material is too easily displaced or
compacted.)
• Use containment, such as digging out around the perimeter and/
or lining the perimeter with landscape edging. Don’t forget to
account for water drainage.
• Check and maintain the depth of the loose-ll surfacing material. To
maintain the right amount of loose-ll materials, mark the correct
level on play equipment support posts. That way you can easily see
when to replenish and/or redistribute the surfacing.
• Do not install loose ll surfacing over hard surfaces such as concrete
or asphalt.
Twice a month during play season, adults should:
• Tighten all hardware.
• Check all protective coverings on pipes, edges, and corners.
Replace if they are loose, cracked, or missing.
• If the swing is hung from a tree branch, then rake and check
depth of loose-ll protective surfacing materials (such as mulch or
sand) to prevent compaction and to maintain appropriate depth
(minimum amount is 9"). Replace as needed.
Once a month during play season, adults should:
• Check all moving parts including ropes for wear or other
deterioration. If damage is found, discontinue use.
• Lubricate all metallic moving parts per manufacturer’s
instructions.
• If the swing is hung from a tree branch, then rake and check
depth of loose-ll protective surfacing materials (such as mulch or
sand) to prevent compaction and to maintain appropriate depth
(minimum amount is 9"). Replace as needed.
At the end of each play season or when the temperature falls
below 40°F, adults should:
• Remove the swing from its outdoor location.
• Spot clean.
• Disassemble and store the swing in a dry environment.
• To reassemble, reinstall all plastic components, and any
additional parts that may need to be replaced.
Disposing of the Swing
To dispose of the swing, first disassemble it. Dispose of it in such a way
that no unreasonable hazards will exist at the time that the swing is
discarded.
This conforms to ASTM F1148, Consumer Safety Performance
Specification for Home Playground Equipment.
Please retain these instructions for future use.
Safety Guidelines
#730584 Conforms to ASTM F1148 Made in China. ©HearthSong®2020. Madison, VA 22727. 1-800-533-4397 HearthSong.com

This manual suits for next models

1

Other HearthSong Play Set & Playground Equipment manuals

HearthSong Sunshine Metal Climbing Dome User manual

HearthSong

HearthSong Sunshine Metal Climbing Dome User manual

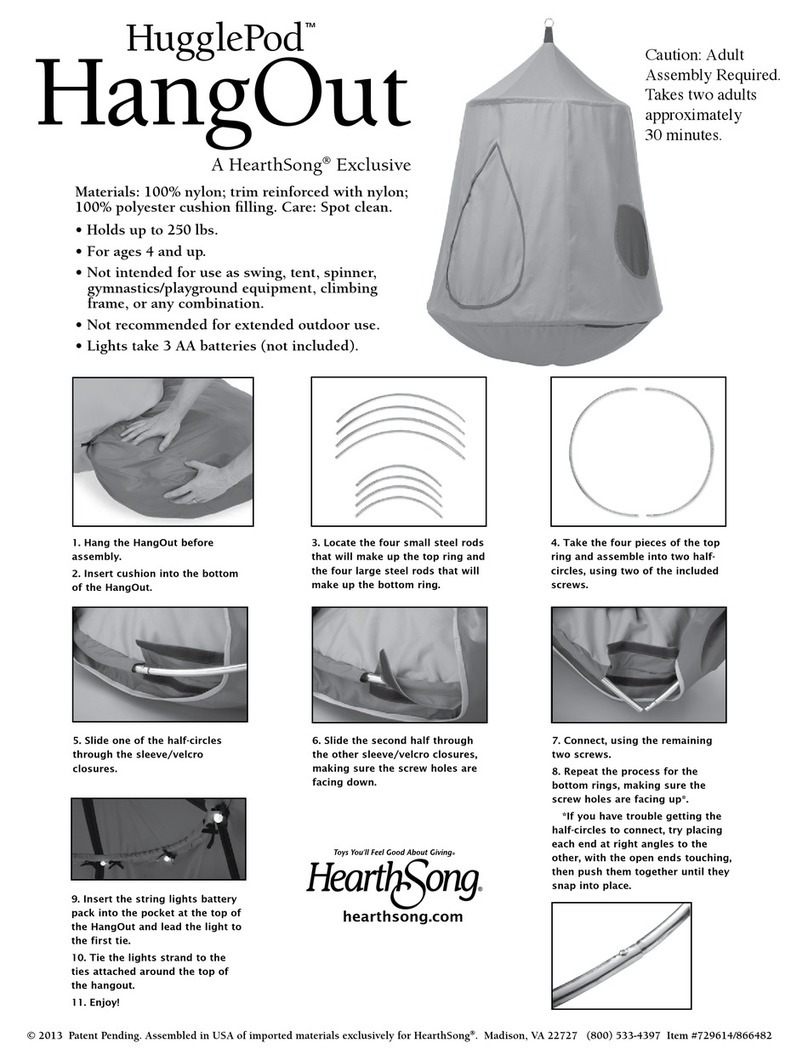
HearthSong HugglePod HangOut #729678 User manual

HearthSong

HearthSong HugglePod HangOut #729678 User manual

HearthSong 733902 Programming manual

HearthSong

HearthSong 733902 Programming manual

HearthSong Go! HangOut HugglePod User manual

HearthSong

HearthSong Go! HangOut HugglePod User manual

HearthSong Family HangOut Stand User manual

HearthSong

HearthSong Family HangOut Stand User manual

HearthSong Panorama HangOut #733357 Quick setup guide

HearthSong

HearthSong Panorama HangOut #733357 Quick setup guide

HearthSong Inflatable Easel Quick setup guide

HearthSong

HearthSong Inflatable Easel Quick setup guide

HearthSong HugglePod HangOut User manual

HearthSong

HearthSong HugglePod HangOut User manual

HearthSong 733888 Programming manual

HearthSong

HearthSong 733888 Programming manual

HearthSong Sky Island Quick setup guide

HearthSong

HearthSong Sky Island Quick setup guide

HearthSong HugglePod Lite Quick setup guide

HearthSong

HearthSong HugglePod Lite Quick setup guide

HearthSong Roll With It Quick setup guide

HearthSong

HearthSong Roll With It Quick setup guide

HearthSong World Rockin' Inflatable Dome Quick setup guide

HearthSong

HearthSong World Rockin' Inflatable Dome Quick setup guide

HearthSong HugglePod HangOut User manual

HearthSong

HearthSong HugglePod HangOut User manual

HearthSong 733314 Quick setup guide

HearthSong

HearthSong 733314 Quick setup guide

Popular Play Set & Playground Equipment manuals by other brands

BOERPLAY Castle Muiderslot installation instructions

BOERPLAY

BOERPLAY Castle Muiderslot installation instructions

BOERPLAY Transport containers installation instructions

BOERPLAY

BOERPLAY Transport containers installation instructions

TP active fun Spiro Spin Cyclone TP751 Instructions for assembly, maintenance and safe use

TP active fun

TP active fun Spiro Spin Cyclone TP751 Instructions for assembly, maintenance and safe use

PlayNation Play Systems Horizon Tower 1500AWNS Assembly instructions

PlayNation Play Systems

PlayNation Play Systems Horizon Tower 1500AWNS Assembly instructions

HUCK Seiltechnik Spider Assembly instructions

HUCK Seiltechnik

HUCK Seiltechnik Spider Assembly instructions

Trigano LINOU J-31153 Assembly instructions

Trigano

Trigano LINOU J-31153 Assembly instructions

Aquaglide Platinum Performance Jungle Jim owner's manual

Aquaglide

Aquaglide Platinum Performance Jungle Jim owner's manual

Swing-N-Slide TIMBER-BILT TB 1522 instructions

Swing-N-Slide

Swing-N-Slide TIMBER-BILT TB 1522 instructions

Legnolandia Camelot Castello Graal Assembly instructions

Legnolandia

Legnolandia Camelot Castello Graal Assembly instructions

Govaplast Play Picknick Table Square user manual

Govaplast Play

Govaplast Play Picknick Table Square user manual

Albany Birchcroft 505 Assembly guide

Albany

Albany Birchcroft 505 Assembly guide

Sove 07-301-123K Assembly instructions

Sove

Sove 07-301-123K Assembly instructions

Quadro mdb B0141 Construction manual

Quadro mdb

Quadro mdb B0141 Construction manual

sobex ZUZIA DOROTA Instruction of Assembly

sobex

sobex ZUZIA DOROTA Instruction of Assembly

Palmako EL16-2218 Assembly, installation and maintenance manual

Palmako

Palmako EL16-2218 Assembly, installation and maintenance manual

LAPPSET CLOXX installation instructions

LAPPSET

LAPPSET CLOXX installation instructions

BENITO Urban Mey VBM20 manual

BENITO

BENITO Urban Mey VBM20 manual

Quadro pro A0308 Construction manual

Quadro

Quadro pro A0308 Construction manual

manuals.online logo
manuals.online logoBrands
  • About & Mission
  • Contact us
  • Privacy Policy
  • Terms and Conditions

Copyright 2025 Manuals.Online. All Rights Reserved.