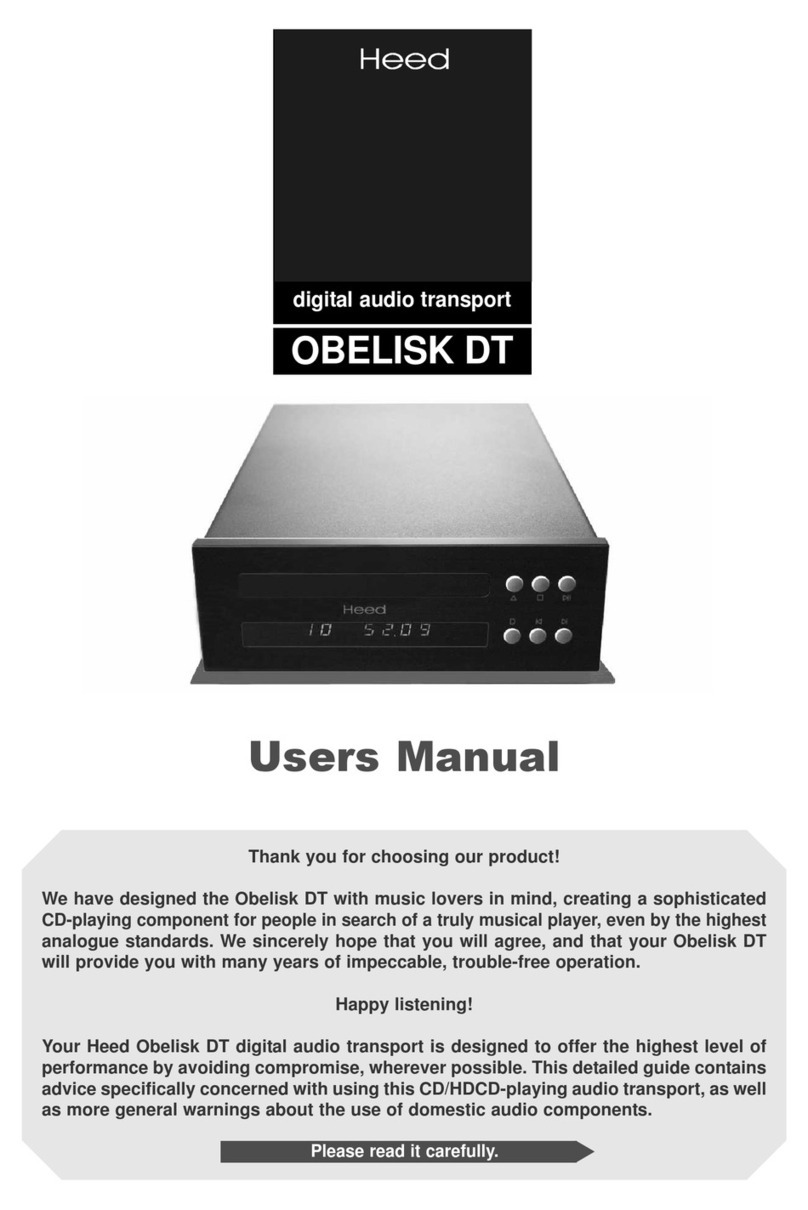
HEED THESIS DELTA User manual

SPECIFICATIONS
Supported disc types: CD-DA, CD-R
Supported formats: CD digital audio
Output format: digital, 2-channel, 44.1 kHz, 16-bit
Output connections (digital): S/PDIF coaxial (75 Ohm RCA), TOSLIN optical
I2S, BNC
Output connections (analogue): Line Level stereo RCA (2.2Vrms)
Weight: 5.5 kg
Dimensions: 22x8.5x32 cm
Consumption: max. 15 W
If ithin three years of the purchase date your Heed THESIS DELTA proves to be defective for any reason
other than accident, misuse, neglect, unauthorised modification or fair ear and tear, Heed Audio Ltd. ill,
at its discretion, replace the faulty parts ithout charge for labour. This factory arranty is valid only for
units sold into countries ith no appointed Heed distributor. Service enquiries in countries with
appointed distributor should be addressed first to the supplying dealer and / or Heed distributor.
Warranties granted in these countries are entirely at the discretion of distributor.
FACTORY CONTACT
DISTRIBUTOR CONTACT
WARRANTY
HEED Audio ft. (Ltd)
Tel/Fax: +36 1 2947401
Reviczky Gyula u. 9-11 eMail: [email protected]
H-1181 Budapest
Hungary Web: www.heedaudio.com
Heed HESIS DEL A - Users Manual 1.1 (2020)
Users Manual
digital audio
CD-player / transport
THESIS DELTA
Thank you for choosing our product!
We have designed the Heed THESIS DELTA with music lovers in mind, creating a sophisticated
CD-playing component for people in search of a truly musical player, even by the highest
analogue standards. We sincerely hope that you will agree, and that your THESIS DELTA
player will provide you with many years of impeccable, trouble-free operation.
Happy listening!
This digital audio device is designed to offer the highest level of performance by avoiding
compromise, wherever possible. This guide hereby contains advice specifically concerned
with using this CD-player, as well as more general warnings about the use of domestic audio
components.
Please read it carefully.

12 LINE OUT L (left) and R (right) 16 BNC connector
13 I2B (PCM audio data) connector 17
Mains connector and fuse socket assy
14 S/PDIF coaxial output connector 18
Power on/off switch
15 TOSLIN output connector
3
CD tray open / close
5
Play
4
Stop playing
6 Next track
7 Fast forward
5
Play
1
CD tray
3
CD tray open / close
2 Display
track number and time
4
Stop playing
10 Repeat
9 Fast reverse
11 Display
8 Previous track
front panel
rear panel
Precautions
Instructions
— All safety and operating instructions should be read and adhered to exactly as written here or as
depicted on the unit. Please retain for future reference.
Water and Moisture
— The unit should not be used near water — that is, near a bathtub, washbowl, kitchen sink,
laundry tub,
in a wet basement, or swimming pool, etc.
Heat
— The unit should be situated away from heat sources such as radiators, stoves, etc..
Power Sources
— The unit should be connected to a power supply only of the type described in the operating instructions
or as marked on the unit.
Power-Cord Protection
—
Power-supply cords should be routed so that they are not likely to be walked on or pinched
by items placed upon or against them, paying particular attention to cords at plugs, convenience receptacles, and the point
where they exit from the unit.
Lightning
—
For added protection during a lightning storm, or when left unattended and unused for long periods of time,
unplug the unit from the wall outlet. This will prevent damage to the product due to lightning and power-line surges.
Object and Liquid Entry
—
Care should be taken so that objects do not fall into and liquids are not spilled into the inside
of the unit. For this reason,no objects filled with liquid, such as vases or drinking glasses should be placed on the equipment.
Damage Requiring Service
— The unit should be serviced by qualified service personnel when:
— The power-supply cord or the plug has been damaged;
—
Objects have fallen, or liquid has been spilled into the unit; or the unit has been exposed to rain respectively;
— The unit does not appear to operate normally or exhibits a change in performance;
— The unit has been dropped, or the cabinet damaged.
The THESIS DELTA does not have any user serviceable parts. It is essential that repairs
and updates are only carried out by our authorised trade partners —distributors and dea-
lers —, or at the factory by Heed Audio itself. Many components are custom made, tested
or matched and appropriate replacements are often unobtainable from other sources.
Therefore, users should not attempt to service the unit beyond those means described
in the operating instructions, or under any circumstances allow anyone to modify it.
Unauthorised repairs or modifications will invalidate the guarantee of the unit.
Grounding or Polarization
— Precautions should be taken so that the grounding or polarization is not defeated.
Radio interference
— All Heed components are designed to provide reasonable protection against harmful interfe-
rence in a domestic installation. However, there is no guarantee that interference will not occur in a particular installation.
If your THESIS DELTA does cause harmful interference to radio or television reception, which can be determined by turning
off and on, you are encouraged to try to correct the interference by one or more of the following measures:
— Reorient or relocate the receiving antenna;
— the separation between amplifier and receiver (radio tuner, television set, etc.);
— Connect the equipment into a power outlet on a circuit different from that to which the receiver is connected;
— your Heed dealer or an experienced radio/TV technician for help.
Maintenance / Cleaning
—
It is recommended to dust the equipment from time to time with a soft dry cloth.
Do not use cleaning solvents or abrasives for cleaning!
Always switch off and unplug the unit from the power supply when cleaning!

Operation
When all steps of installation are correctly completed, your Thesis Delta is ready for action!
After switching on, the unit carries out an automatic self-diagnostics. During this
procedure, the display shows: (-- ----). As long as this sign is displayed, do not push
any button and do not switch off the unit!
If there is no disc in the tray, is shown on the display. It also signalizes that the unit is ready to be used.
If the tray already contains a disc, the unit automatically reads in this and the display shows the number of tracks
and their total length (minutes : seconds) recorded on the disc. The unit is ready for immediate play.
Note: Although you can use your THESIS DELTA within seconds of switching it on, as with all audio equipment
the best sound quality will be reached after a period of warm-up time, preferably 10-15 minutes.
Push the
(3) button. The display shows:
OPEN
. As soon as the tray has moved forward completely, place a
disc on it.
Close the tray by pushing the
(3) button again. First the
LOAD
and then the
READ
sign appears on the display.
The unit begins automatically to read in the disc and when ready it displays the number of tracks and total length
of all tracks on the disc. If a non-audio disc is inserted or, if the disc is damaged, the unit automatically opens the
tray again. The tray can also be closed by pushing the
button. In this way, the disc begins to play automatically.
Always operate the tray with the
(3) or
(5) buttons! Do not place anything other than
a disc on it when it is open — it cannot hold anything which is heavier than an audio disc.
Avoid bending it and do not push it in by hand because that can cause damages to the unit!
As soon as the
LOAD
sign disappears and disc details are shown on the display, the unit is ready for play.
Push the
(5) button, and play starts with the first track
.
In “play” mode you can go to the next track pushing (6) or to the previous track (8). You can also skip fast
forward and fast reverse the track pushing the (7)or
(9) buttons on the RC handset.
You stop playing the disc by pushing the
(6) button. After that the display shows the disc details.
You can also pause play by pushing the
(5) button, and continue playing by pushing it again.
In “pause” mode the display
shows the currently played track number and P.
The track you play can be repeated by pushing the
(10) button on the RC handset, or the entire disc by
pushing it once more.
If you do not want carry on listening to the disc, stop playing with the
(6) button
instead of keeping the unit in “pause” mode. Never leave the unit in this mode for long!
The display can be completely switched off, or its brightness can be dimmed in five steps by using the
D
(11) button on the
RC handset.
NO DISC
powering up the THESIS DELTA
inserting a disc in the tray
Installation
We believe that a Heed Audio component should optimally be installed by an approved Heed dealer. evertheless, the
procedure
is straightforward enough to enable you to install your new THESIS DELTA yourself by following the instructions
contained herein.
Should any problems be experienced which are not covered here, contact your local dealer. If you are
unable to do so, or problems persist, however, do not hesitate to contact our distributor/reseller in your country (see our web-
site <www.heedaudio.com> “worldwide distributors” for details), or contact us directly at Heed Audio …we're here for you!
When opening the box and unpacking the unit, you will find the following items:
— (1) Heed THESIS DELTA CD-player (or Transport)
— (1) Heed THESIS remote control handset
— (1) IEC-norm mains power cord
— (1) Users Manual
You can place the THESIS DELTA on any stable surface. Due to its state-of-the-art topology in all key areas, such as data read-
ing, sampling, transferring and buffering, it is much less susceptible than most players to environmental or internal influences,
such as the mechanism or power supply, and therefore needs no fancy equipment rack, isolation board or spikes for decoupling.
Before performing any connections or disconnections, ensure that the on/off power
switch (12) of the unit is in the 'off' position.
Always check that the voltage and frequency of the mains supply corresponds to the
specifications marked on the unit!
Insert the power cord's IEC-type plug into the power inlet connector [6] of the THESIS DELTA.
Connect the power cord's mains plug to your power outlet.
Connect the L and R output channels of your THESIS DELTA marked as LI E OUT (12) to one of your amplifier’s
Line Level inputs. Ensure that the “L” (left) and “R” (right) channels are connected correctly at both ends.
It is strongly recommended to use the highest quality interconnect cables to enhance
the performance of your system. Your HEED dealer will certainly help you to choose
the right connections for your particular set-up.
In case of using the player as transport, there are four output connections available to transmit digital data to an external DAC:
I2S (13), RCA (S/PDIF) coaxial (14), OSLINK optical (15), and BNC (16).
Theoretically, there are no differences between the signals transmitted via these connectors — all carry exactly the same
information. Selection of one over the other rests mainly on the availability of appropriate connectors on the chosen equip-
ment and the preference and convenience of the user.
Once the player is connected to the mains supply, as well as to your amplifier — or
alternatively to an external DAC —, remove the protective film which covers the black
acrylic front. You can pull it off by grabbing the orange dot at the upper left corner.
Note: This step concerns only the appearence of the unit, it has no electrical or mechanical influence on the functioning of it.
unpacking
placement
connection to mains supply
output connections
playing the disc
adjusting display brightness
Other HEED CD Player manuals
