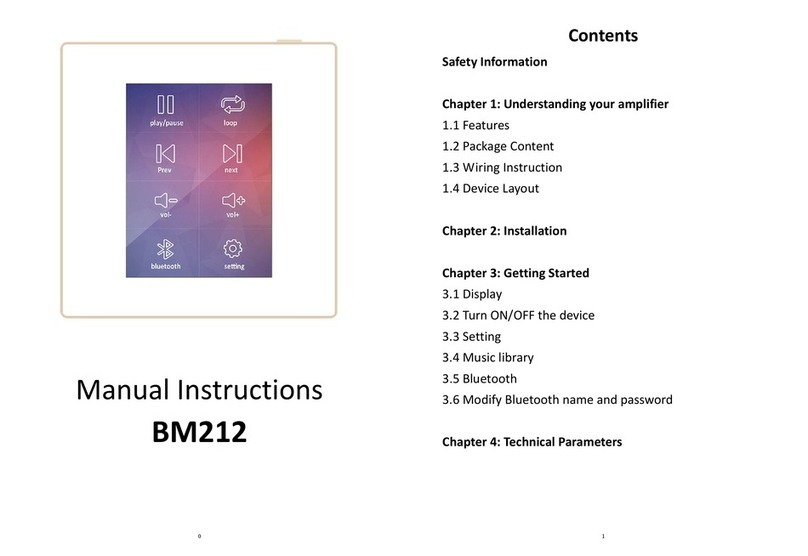
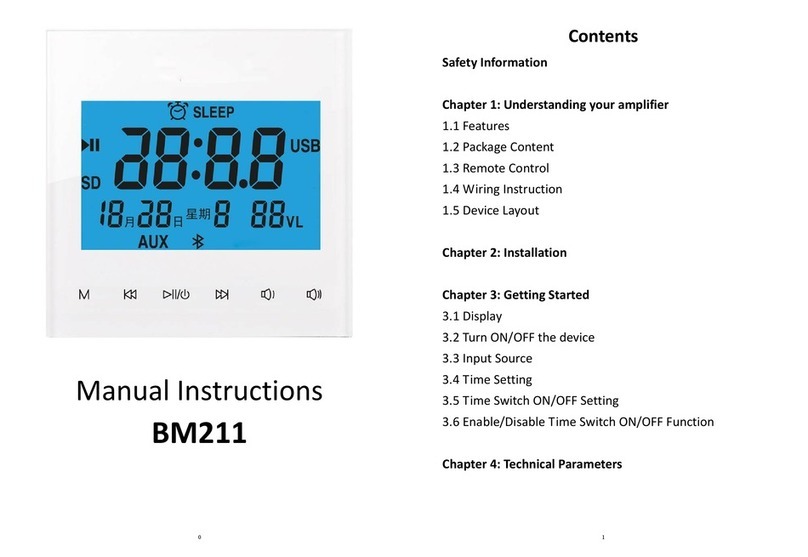
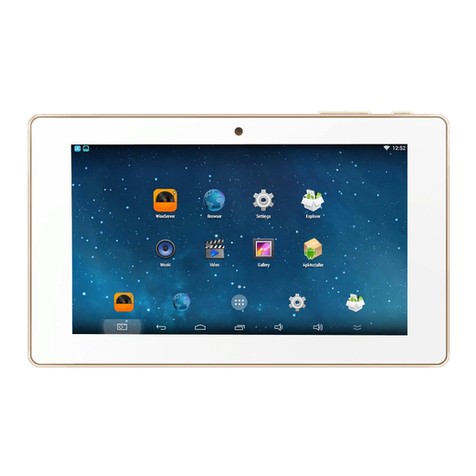
Helmer BM200WT Simple manual

Contents
Safety Information
Chapter 1: Understanding your amplifier
1.1 Features
1.2 Package Content
1.3 Remote Control
1.4 Device Layout
1.5 Wiring Instruction
Chapter 2: Installation
2.1 Cable Connection
2.2 Install the device
Chapter 3: Getting Started
3.1 Main Menu
3.2 Music
3.3 Movie
3.4 Radio
3.5 Bluetooth
3.6 Input
3.7 Calendar
3.8 Explorer
3.9 Setting
Chapter 4: Technical Parameters
Safety Information
1. Don’t use this product in a wet environment.
2. The product applies to power supply AC100-240V, if you don't use it for a long
time, please turn off the power.
3. Please make sure that the speaker line, power line, audio input line are
connected correctly.
4. Don’t open and repair the product by yourself.
Chapter 1: Understanding your amplifier
1.1 Features
1. 3.0-inch TFT Screen with touch key.
2. Stereo Amplifier Module (2 x 20W @4Ohm)
3. Bluetooth connectivity for wireless audio input of smart phone, pad, etc.
4. 1 x Wired Audio Input (on rear PCB)
5. 3.5mm jack in, USB and SD card player (at bottom of unit)
6. Built-in FM radio (87.5-108MHz)
7. 2x Wired Audio Output (on rear PCB)
8. 1 x Wired A/V Output (on rear PCB) format: PAL-720*576 & NTSC -720*540
9. Audio Format: support MP3, WMA, OGG, FLAC, AAC, APE, AC3, ATRA, DTS.
10.Video Format: support MKV(MPEG2/RMVB/WMV9/XVID/H.264), AVI
(XVID/H.264), MP4/M4V(XVID/H.264), VOB(MPEG2), PMP(XVID/H.264), RM/
RMVB(RVB/9), MPG(MPEG1/MPEG2), FLV(H.263/H.264), 3GP, DIVX, DAT, etc.
11. Support calendar display.
12. Support infrared remote control.
1.2 Package Content
1 x amplifier
1 x remote control (2x AAA battery is not included)
2 x screws for mounting
12
Helmer

① ON/OFF
② Video
③ Music
④ Next
⑤ Previous
⑥ Auto search
⑧ Menu
⑪ Mute
⑬ Bluetooth
⑭ Volume up
⑮ Volume down
⑯ FM
⑰ OK/Confirm
⑱ Escape
⑲ Quit
1.4 Device Layout
1.5 Wiring Diagram
1.3 Remote Control
Back
Previous
Play/Pause
Next
Vol-Vol+
3.5mm AUX in USB SD Card
Power Supply
100-240V
FM Antenna
Can pull out
Power Switch
Audio Input
Audio Output
485A 485B
Power Supply
100-240V
L R G L ACYBSR B G 1/0 R+R-L-L+
A/V Output Door Bell
3 4
⑩ EQ
⑨ Numbers to select songs/movies
⑦ UDLR(Up, Down, Left, Right)
⑭
⑮
⑪
⑫
⑯
⑱
⑰
⑬
①
②
③
④
⑤
⑥
⑦
⑧
⑨
⑩⑲
⑧ Menu
Helmer

2.1 Cable Connection
Power line connection:
Prepare power line with bare end.
Loosen the 2 screws of power connector of
device and insert the power line and screw tight.
The other end to power (110-240V)
▲POWER LINE: 14-24AWG
Speaker cable connections:
Plug off the connectors from device.
Prepare speaker cables with bare end.
Loosen the screw of the connectors and insert
the cables in and screw tight.
L+,L- is for one speaker for L channel.
R+,R- is for one speaker for R channel.
▲SPEAKER CABLE: 16-28AWG
TV connections:
Plug off the connectors from device.
Prepare one core coaxial cable with bare end.
Loosen the screw of the connectors and insert
the cables in and screw tight.
Cable core is for CVBS.
Shielding part is for G(GND).
The other end to TV coaxial connector.
▲SIGNAL CABLE: 16-28AWG
Audio input:
Plug off the connectors from device.
Prepare audio cable with bare end.
Loosen the screw of the connectors
and insert the cables in and screw tight.
Cable wires is for L and R
Shielding part is for G(GND).
▲SIGNAL CABLE: 16-28AWG
2.2 Install the device
Get all the cables connections ready,
Pry off screen and amplifier part. Be careful in case ripping out the cable
connected in between.
Mounting the amplifier part on back box with screws.
Press the screen part on.
Chapter 2: Installation
★For better sound quality, recommend to use cable with shielding.
★★★Turn off the power before you do the wiring.
Audio output:
Plug off the connectors from device.
Prepare audio cable with bare end.
Loosen the screw of the connectors
and insert the cables in and screw tight.
Cable wires is for L and R
Shielding part is for G(GND).
▲SIGNAL CABLE: 16-28AWG
5 6
Helmer

3.2 Music
When playing music, you can press on MODE on remote control to set up play
mode, EQ, Backlight.
Play mode: shuffle, repeat all, play in order, single repeat and single play.
EQ: Jazz, Rock, Pop, Classical, Normal
Backlight: You can choose 10secs, 30secs, 60secs, and 90secs. After setting,
the screen will turn off in set time. If choose no, the screen will not turn off.
3.3 Movie
When playing video, you can press on MODE on remote control to set up channel,
time selection, play mode, Brightness, Screen option, Video output.
Channel: stereo, left channel, right channel
Time selection: Can choose where to start playing.
Play mode: shuffle, repeat all, play in order, single repeat and single play.
Brightness: Adjust brightness of screen.
Screen option: Auto, full screen, original, screen stretch
Video Output: TV-OUT, LCD. You can exit pressing on escape button on remote.
Movie: Play video and picture.
Music: Play music
FM: FM radio
Bluetooth: Can connect with phone/pad via BT.
Input: Input source like DVD, MP3 player, etc.
Calendar: Check or set time and calendar.
Explorer: Review file from USB or SD card.
Setting: Set language, background, output, etc
3.4 Radio
•Short press on Previous or Next button, the frequency will change 0.1MHz.
Long press on Next button to search automatically.
•You can press on Mode to set channel, auto search, FM record and search
manually. on on remote.
Chapter 3: Quick Start
3.1 Main Menu
The main menu have movie, music, radio, Bluetooth, audio input, calendar,
explorer, and setting on home screen.
You can press the touch key (pervious/next) to choose the function and press play
/pause button to confirm. Or use remote control.
Back
Previous
Play/Pause
Next
Vol-Vol+
7 8
Helmer

3.5 Bluetooth
Enter Bluetooth function, you can find the Bluetooth name “MUSIC” from mobile
phone or pad. Choose to pair with it.
Then you can play music from phone to amplifier.
3.6 Input
To choose AUX in or 3.5mm jack in to play on amplifier.
3.7 Calendar
Calendar: view calendar.
Date and Clock: Short press on play, previous, next button to choose, vol+/- to
adjust digits.
Time mode: 12 hours/ 24 hours
Auto Power: set time to turn on/off the device
3.8 Explorer
To choose SD card or USB to view the content in them.
3.9 Setting
•Language: to change to English
•Background: 3 options
•Output: Choose video format NTSC or PAL.
•Backlight
•Startup: Choose playing music/movie/FM/Home/BT when start the device.
•Screen saver: Select in 30s/60s/90s/never for screen saver
•Factory default
Chapter 4: Technical Parameters
3" TFT Screen
Power Supply: AC100-250V
Output Power: 20W+20W @4Ω
Input Impedance: 10KΩ
Output Impedance: 4Ω or 8Ω
THD:0.03%
Frequency response:20Hz-20KHz
Extended SD card up to 32G
Bluetooth Transmission Distance: ≤ 10M
Product size: 86 x 86 x 54mm
9 10
Helmer
Table of contents
Other Helmer Amplifier manuals

