Hi-Tech Trading HE-ZMP3 User manual
1
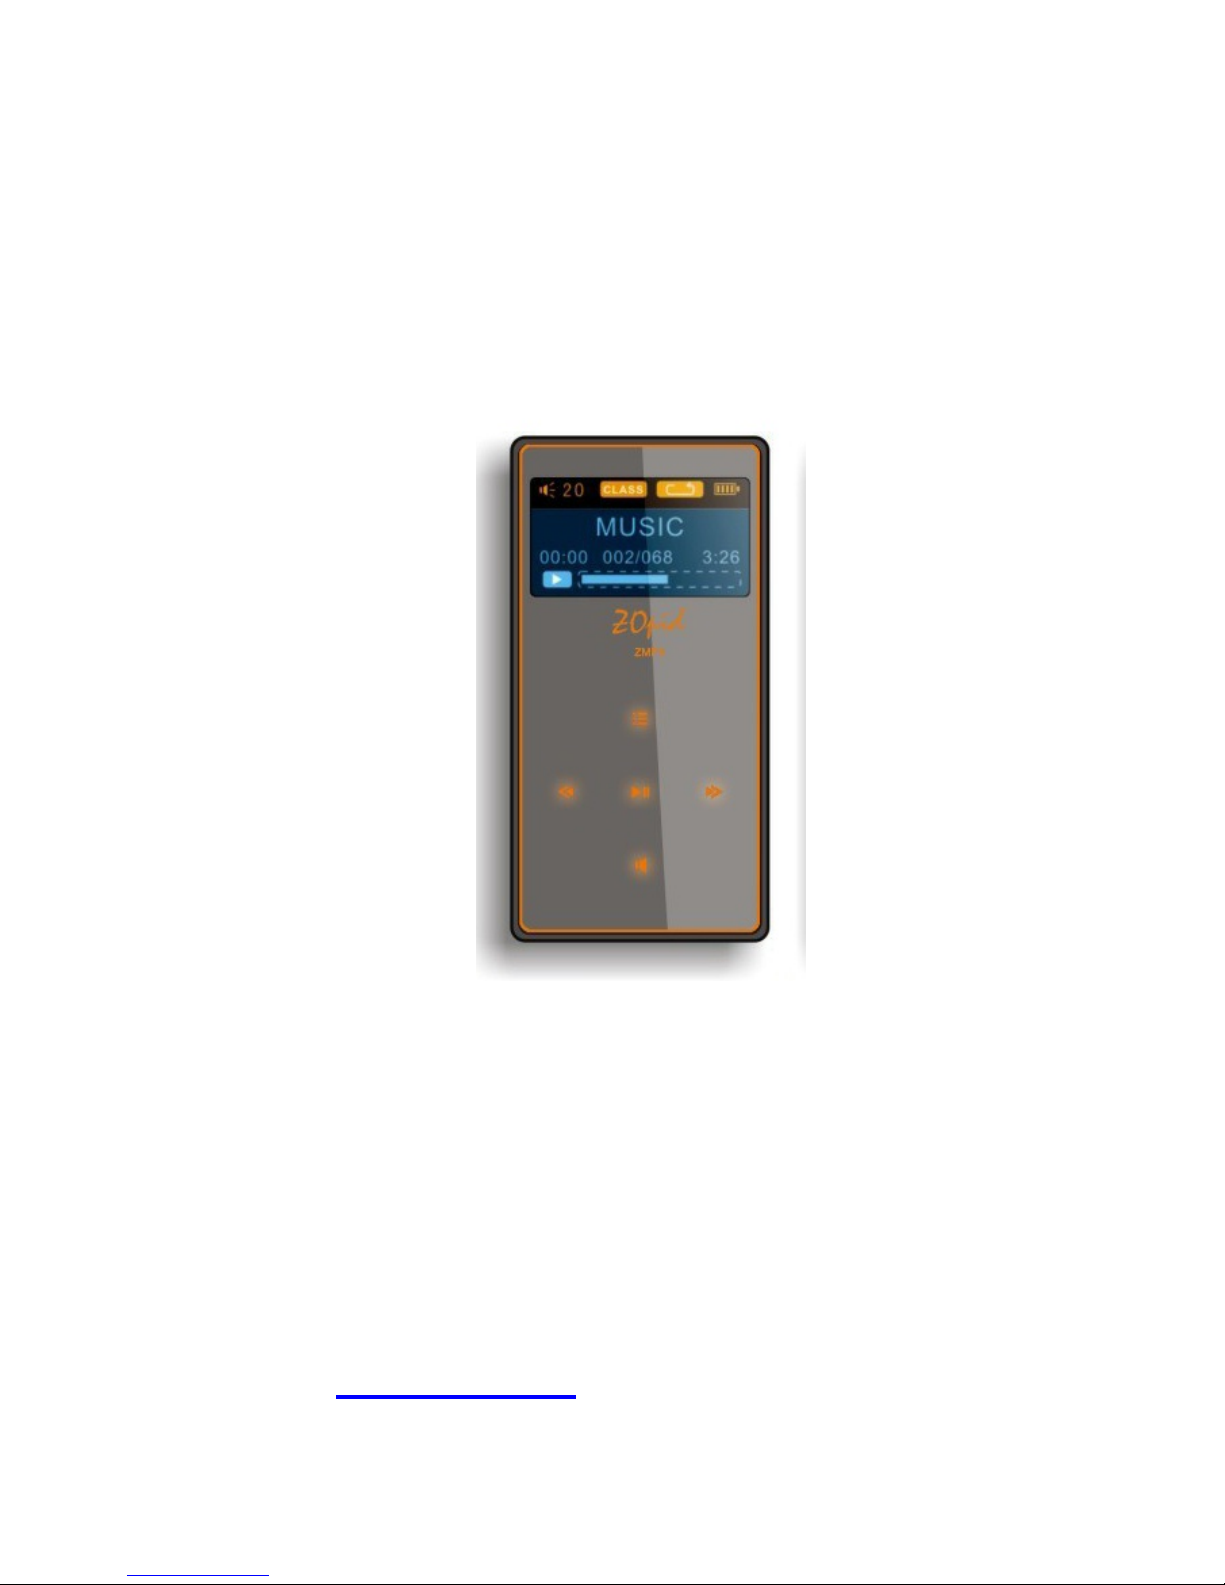
1.1” OLED DISPLAY MP3 PLAYER
HE-ZMP3
The pictures, diagrams, and certain functions
described in this manual may differ from the actual
product due to different models
USER MANUAL
Visit www.hittusa.com to check if an updated
user manual is available

2
PREFACE
We express our sincere thanks for
purchasing our MP3 Player! (MP). Before
operating this MP, be sure to read this user
manual carefully.After reading it, please
keep it in a safe place for future reference.
We reserve the right to make changes to
this MP and/or this user manual without
notice. Please visit our company’s
website listed on the product packaging for
additional product information and/or
updates.
NOTE: The pictures, diagrams, and certain
functions described in this manual may
differ from the actual product due to
different models.

3
SAFETY AND GENERAL INFORMATION
READ THIS INFORMATION BEFORE USING
THIS MP3 PLAYER
A. New battery can reach its best
performance after it has completely
charged and discharged for two or three
times.
B. Please charge the new battery for no
less than 10 hours for the first three
times you are charging, then from the
fourth time on, just charge it for four
hours and it can reach its best
performance.
C. Do not operate this MP in extremely cold,
hot, dusty or damp environment.
D. Avoid putting this MP under direct
sunlight
E. Do not scrub this MP with a hard object;
it may result in scratches on the screen
and/or damage to the hardware. Use a
damp cotton cloth to gently wipe the
shell of the player. Using other chemical
cleaning solutions is strictly prohibited.
F. Keep this MP and all accessories out of
children’s reach under 3 years old.
G. Charge the MP when:
The battery capacity icon is
empty and flashing
The MP powers off
automatically, immediately
after it is turned on.
H. Avoid operating this MP under very dry
environment to prevent damage from
static-shock.

4
I. Do not disconnect the USB cable while
formatting, uploading or downloading
files; disconnecting USB cable will result
in file corruption and may require
reformatting.
J. When used as a removable disk, users
should backup important data. Our
company is not responsible for loss of
data.
K. This MP does not have any
user-serviceable parts or accessories.
DO NOT TRY TO DISASSEMBLE THIS
MP. Use only the AC charger that
came with this MP to charge it. Try not
to charge the MP while using it.
L. Long exposure to high sound volume
may have an effect on your hearing, so
please use the appropriate volume level.
M. Use only the battery, charger, and
accessories permitted by manufacturer.
Using other accessories or charger may
be a safety hazard or affect product
performance and/or void product
warranty.
N. Please properly dispose of the obsolete
player and its accessories following your
local environmental laws.
O. If you have any problem using this player,
please email help@hittusa.com or
contact our customer service center –
check our website www.hittusa.com for
contact information
NOTE: Please charge the player no less
than 10 hours BEFORE first time use.

5
NOTE REGARDING FCC COMPLIANCE
Users are not permitted to make changes or
modify the device in any way. Changes or
modifications that are not authorized by the
party responsible for compliance could void
the user’s authority to operate the equipment.
This device complies with part 15 of the FCC
Rules. Operation is subject to the following two
conditions:
This device many not cause
harmful interference, and
This device must accept any
interference received, including
interference that may cause
undesired operation.

6
TABLE OF CONTENT
FUNCTIONS OVERVIEW........................ 7
KNOW THE PLAYER .............................. 8
BASIC FUNCTIONS................................ 9
BUTTONS OPERATIONS ..................... 12
MUSIC ................................................... 13
RECORD ............................................... 15
SYSTEM ................................................ 17
VOICE.................................................... 17
EBOOK.................................................. 19
USB DISK.............................................. 20
OTHER SETTINGS................................ 21
TROUBLESHOOTING........................... 23
TECHNICAL SPECIFICATIONS............ 23

7
FUNCTIONS OVERVIEW
Supports multiple music formats - MP1,
MP2, MP3, WMA, WMV, ASF & WAV
E-BOOK - Support words remember
function, copy the unread articles to
removable disk for your reading at any
time.
USB disk with no driver required - user
can copy files to the player using
computer’s file management utility like
file explorer.
Recording/Replay – Voice Recording
using built-in microphone and saved as
WAV voice files. Replay recorded
voice using Voice option on MP3 player
7 EQ Modes – Natural, Rock, Pop,
Classic, Soft, Jazz & Heavy Bass.
Multiple Play Modes - Normal, Single
Repeat & All Repeat
Auto Off - Set time to auto shutdown the
player
Menu with icons - Menu with icons for a
user-friendly interface.
8
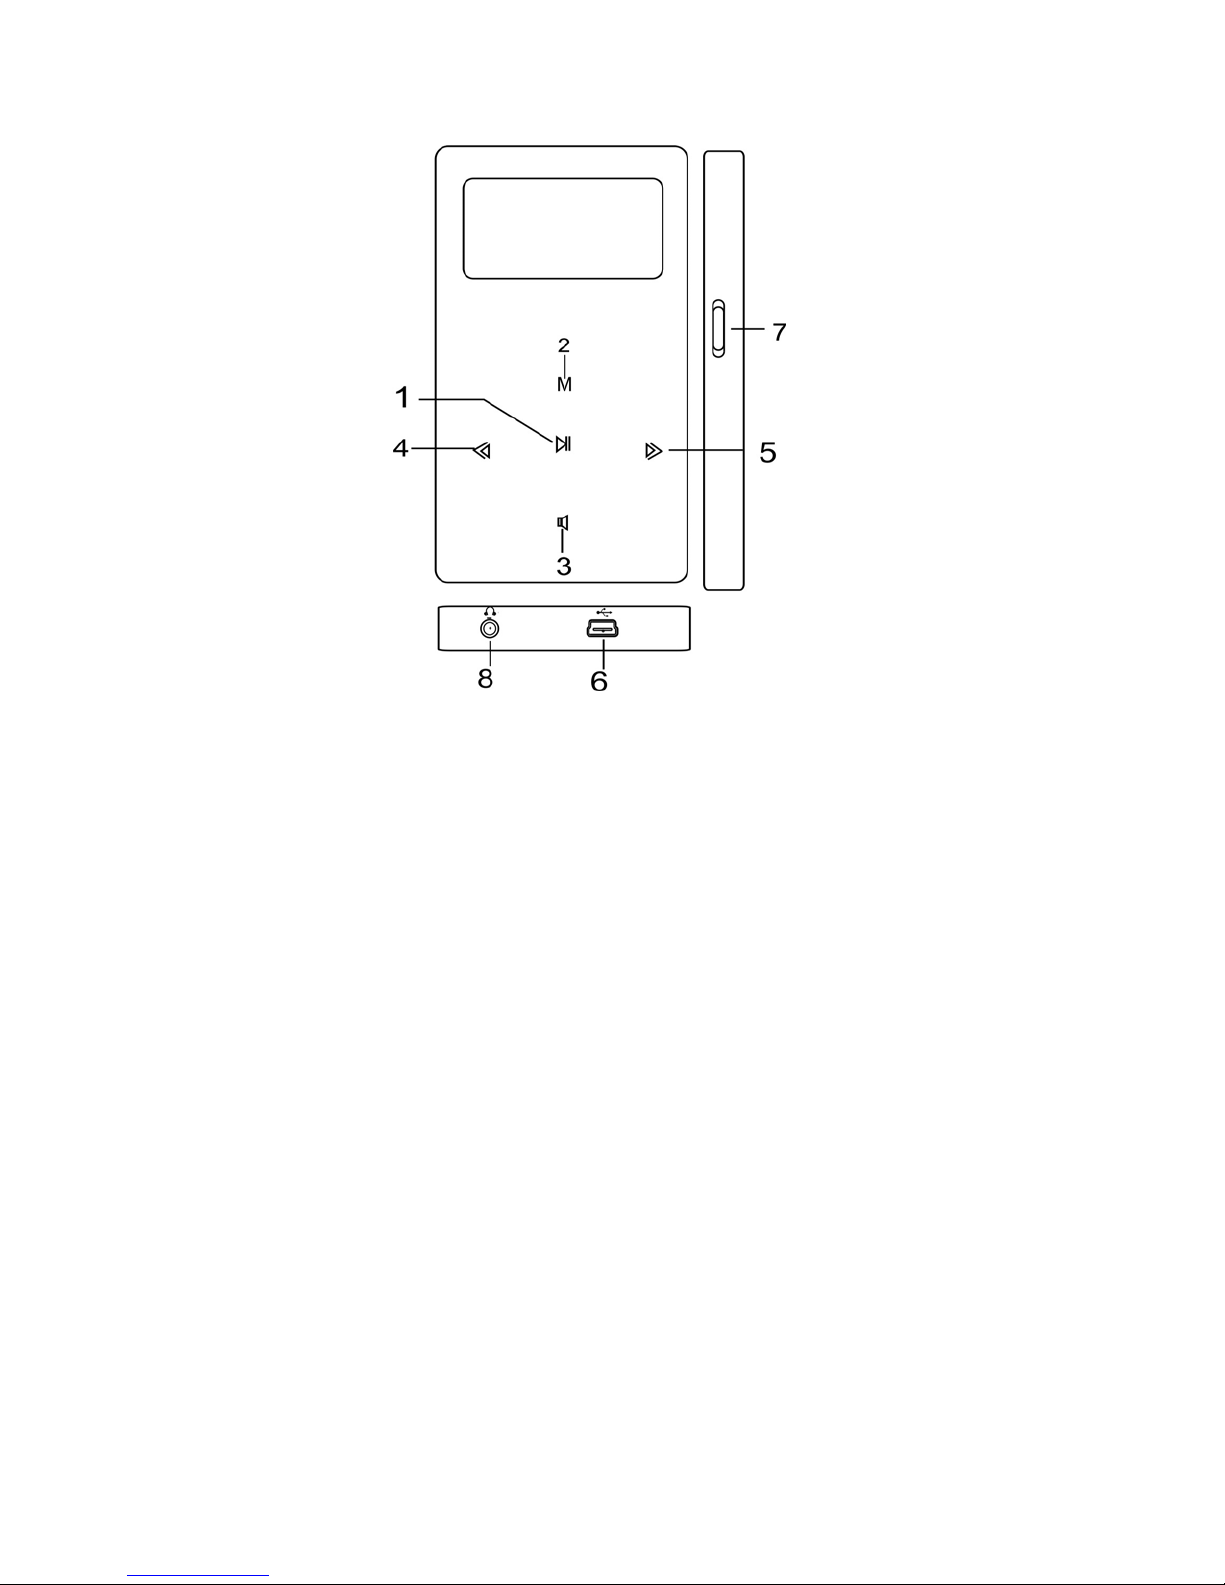
KNOW THE PLAYER
Appearance and Buttons
1. PLAY: play/ pause & Confirm selection and
Fast Exit from the menus
2. MODE: Menu button & Confirm Selection
3. VOL: volume adjustment
4. NEXT: Next song or menu selection
5. PREV: previous song or menu selection
6 USB port
7 ON/OFF power button
8 Earphones: Earphone jack
Battery
A solid battery icon means the
battery is fully charged; as the
player is used the battery level

9
indicator will be partially filled
A blank battery indicator means
the battery charge is low and
must be plugged in to charge the
battery.
When the player is plugged in to charge,
make sure that the ON/OFF switch is in ON
position
When the player is not in use switch the
power button to OFF position
BASIC FUNCTIONS
Main Menu
Mode button is used to bring up different
Menus including:
Main Menu - press Mode for a short time to
open the menu & press for a longer time to
exit from the menu
Sub-Menu - press Mode for a short time to
open the sub-menu
Navigation Keys:
Use navigation keys (NEXT & PREV) to
select menu options, songs browsing,
Fast Rewind or Fast Forward when playing
10
music
Various Functions (Modes):
Select different functions through the Main
Menu. Short press Mode to open Main Menu
and then use Navigation keys to select the
different function; short press Mode button to
confirm the selection
Main Menu Music
Record Voice
System eBook
Connecting with computer and enter
USB mode:

11
Volume adjustment:
Press VOL to enter volume adjustment
mode and then short press NEXT/ PREV to
increase or decrease the volume.
Turn Player ON or OFF:
Long press PLAY to turn player ON, when
the player is off (ON/OFF switch must be in
ON position)
Long press PLAY to turn player OFF, when
the player is on
Play or Stop (pause when in
recording) and Exit from the
sub-menu:
Short press PLAY in music play mode to
start playing the song.
While music is playing, short press PLAY to
pause playing, and long press PLAY to stop
playing music
Start Recording(short press)/ Stop
Recording:
Short press PLAY to stop recording in
recording state.
Long press PLAY to exit and save the
recorded files

12
BUTTONS OPERATIONS
Button definitions
1. PLAY: Turn Player ON, OFF, Play, Pause
& Stop, and Fast Exit from the Menus
2. MODE: Bring up the Menus and confirm
selections
3. VOL: Switch to volume adjustment mode
4. NEXT: Next file/menu selection, Fast
Forward, Volume increase (after switching to
Volume mode)
5 PRE: Previous file/menu selection, Fast
Rewind, Lower the Volume (after switching to
Volume mode)
6 USB: USB port
7 Earphone Jack
8. ON/OFF Power Switch
Definition of button operations:
Button operations include, Short Press,
Long Press, Press & Hold.
1. Short press: Result is achieved as
soon as the button is pressed
2. Long press: Press the button for more
than a couple of seconds to achieve
desired result
3. Press: Result is achieved when the

13
button is released after pressing it
4. Hold: Keep holding the key until the
desired result is achieved, e.g. keep
holding the PREV/NEXT keys for Fast
Rewind/Fast Forward
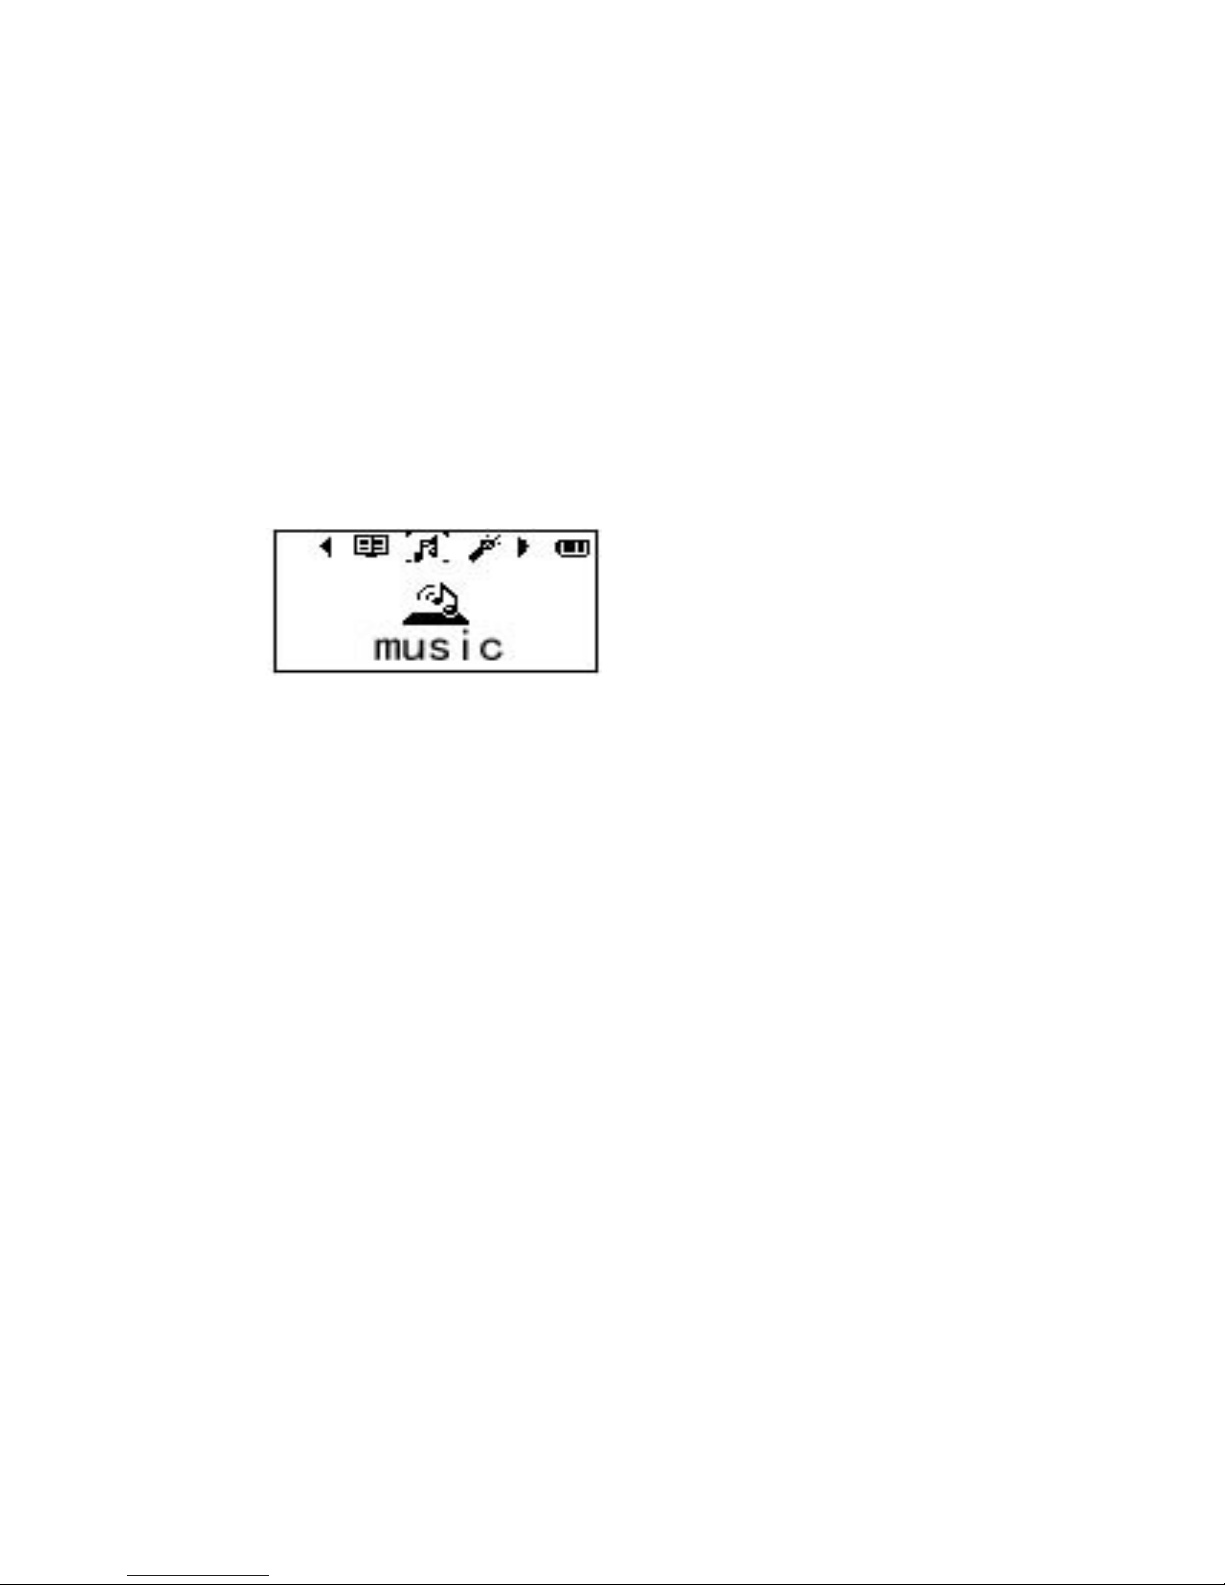
MUSIC (Play stored MP3 files)
Simple operation
1. Plug the earphones into the earphone
jack.
2. Long press PLAY to turn on the player,
Press MODE button to select Music
option and then short press PLAY button
to play music file.
3. Selecting music files:
PRE -> select previous music file
NEXT-> select next music file
4. Volume Control:
Short press VOL button, then press PRE
to decrease volume or NEXT to increase
volume
Equalizer
In the Music playing mode
1. Short press MODE to enter Music
sub-menu.

14
2. Press NEXT to select “Equalizer”
3. Short press MODE to confirm selection
and enter “Equalizer” sub-menu.
5. EQ selection is as follow: Natural, Rock,
Pop, Classic, Soft, Jazz, DBB.
6. Press NEXT to select and short press
Mode to confirm
Lyrics synchronization
The player supports *.lrc lyric files to
display synchronized lyrics.
NOTE: lyrics file must have the same
name as the song file e.g. if song file's
name is my Love.mp3 then the lyrics file
must be named my Love.lrc
If lyrics file on the player matches the
song, the lyrics will be displayed automatically
without pressing any buttons.

15
RECORD (Voice Recording)
Make sure the
battery has enough
power when
recording. The
player supports up to 99 voice files per catalog
/ folder.
1. Long press MODE button for the Main
Menu
2. Press NEXT button to select Record
3. Short press MODE to enter recording
mode.
4. Short press PLAY
to start recording.
While
recording, short pressing PLAY will pause
recording; then long pressing PLAY will stop
recording and save the recorded file and then
short pressing MODE will exit from the
recording mode.
Or as an alternate, while recording long
pressing MODE saves the file and exit from
the recording mode.
Only PLAY and MODE buttons work
during recording.

16
Select recording quality
1. In the recording mode while recording
is paused short press Mode to display
recording sub-menu.
2. Press NEXT button to select
Recording type
3. Short press Mode to confirm selection
High-quality recording Wav format
Good sound effect
Long time recording Wav format
General sound effect
Super-class recording. Wav format
High bit rate
recording file.
3. Press Play to start recording.

17
VOICE (Playback recorded voice files)
1. Long press MODE button to display
Main Menu
2. Press NEXT to select VOICE
3. The player enters Voice mode and play
the recorded voice files directly without
pressing PLAY.
Selecting recorded voice file
PREV: select previous file
NEXT: select next file
5. Volume Control: press VOL to enter
volume adjustment mode, then short press
NEXT to increase volume or short press PREV
to decrease volume.
SYSTEM (Change player’s settings)
1. Long press MODE button to display
Main Menu.
2, Press NEXT
to select
“System”
3. Short press Mode to confirm selection
Introduction of parameter items
LCD Set Set screen backlight a
n
contrast

18
Language Choice of 19 different
languages
Power Off Set auto shut off time
due to inactivity –
time can be set from
0-60 seconds - set
time to 0 to disable
auto power off
Memory Info Shows Total and free
memory on the
player
Firmware Version Displays the firmware
version of the player
Exit Exit from the menu
NOTE: Short pressing PLAY can fast exit the
menu.

19
EBOOK
Use this option to
read text files stored
on the player’s
memory.
1. Long press MODE button to display
Main Menu
2. Press NEXT to select EBOOK
3. The player enters eBook mode and displays
stored text files
Press NEXT/PREV to select a file, and short
press Play to display the file
If the text file is in a folder other
than the root folder then press
NEXT or PREV to select the folder,
which contains the file you want to
read. Short press PLAY to open the
file to read.
NOTE:When playing files, if the player is in
“Manual play” state, you should Press NEXT
or PREV to turn over the pages. If it’s in “Auto
play” state, it will turn over pages
automatically.

20
USB DISK
The player can be used as a standard USB
disk, supports the following operating systems:
Windows 98 (need driver installation),
Windows 2000/ME, XP, Vista (Don’t need
driver installation), Mac OS 10.3, Linux,
Redhat 8.0, and above.
The player also supports USB charge, and it
can be used while it’s getting charged (in
waiting mode, short press Mode to exit to the
Main menu and use the player.
The player displays the following three modes
during it’s connected to the computer:
1.Waiting mode
2.File downloading
3. File uploading
NOTE: In USB Disk mode the player’s
memory appears as Removable Disk under
computer’s File Manager. You can drag and
drop supported files from your computer’s hard
drive to removable disk.
Table of contents


