HiHo SOLUTIONS 3500W User manual

HiHo 3500W Webcam Instruction
Manual
Thank you for choosing our HD Webcam. The camera is a high performance web digital product
guaranteed by our 1080p quality. It is plug and play and really simple to use. It hashigh resolution
and a fast web camera transmission rate, it also has a really nice sleek finish and brings the best
experience so you can video call businesses, friends and family around the world.
Features
•High resolution HD1080p CMOS Sensor
•Large window capture size:1920X1080

•Video mode: MJPG& YUY2
•Interface 2.0
•Transmission rate: (640x480) 30F/S (1280x 720) 30F/S
•Single –noise ratio: larger than 48dB
•Dynamic range: Larger than 72dB
•Image focus 70mm to infinity
•Non- Compression imageprocessor
•AWB (automatic Whiteness Balance)
•High Quality Glass lens
•AutomaticZooming
•Photo frame function
•Built in microphone
System Requirements
•IBM PC 10.6 or above or compatible PC or laptop with USB port
•Pentium 1GHZ or higher CPU
•Minimum of 500MB free hard disk space
•CD- ROM Driver
•Minimum of 256MB Memory
•Minimum Direct X9.0 Supported Graphics Card
•Windows XP/Vista/7/8/10

For HD 1080P Video recording
•2.4GHz Intel core2 Duo
•2GB RAM
•1GB hard drive space
•USB 2.0 Port
Installation Steps

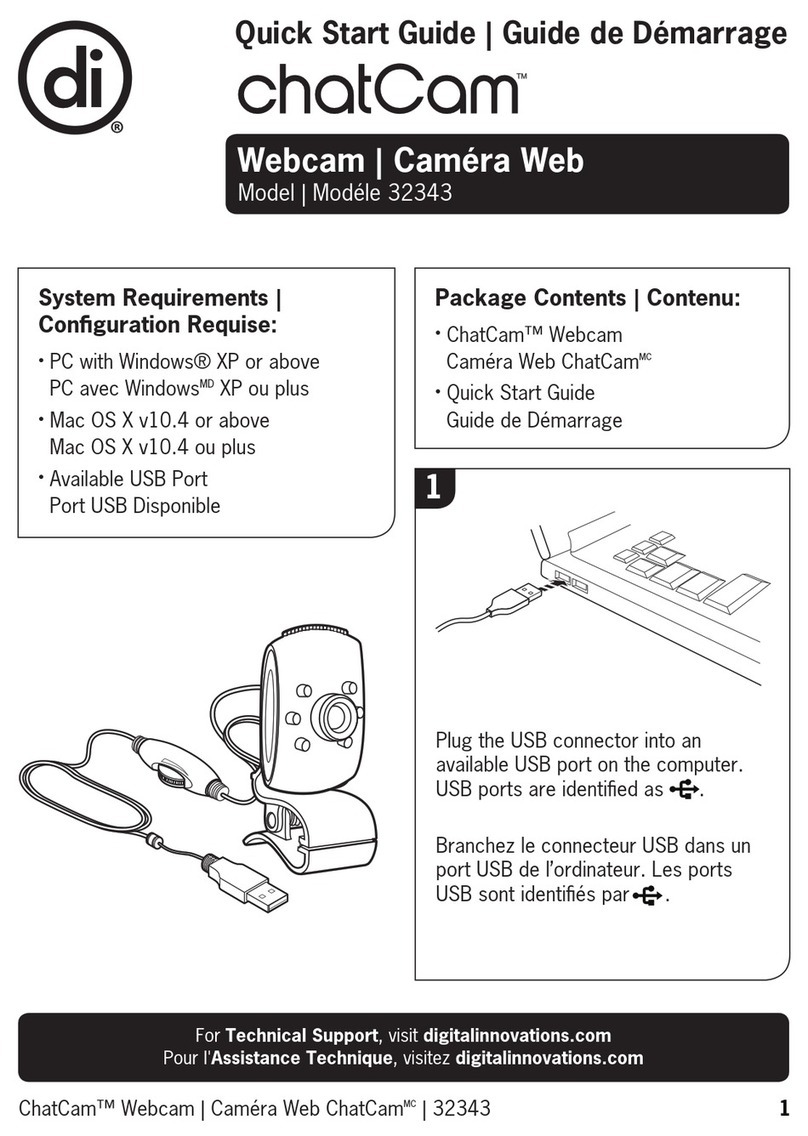
1. The 3500W webcam has a hinged mounting bracket and lip for fitting to your laptop screen
or PC monitor.
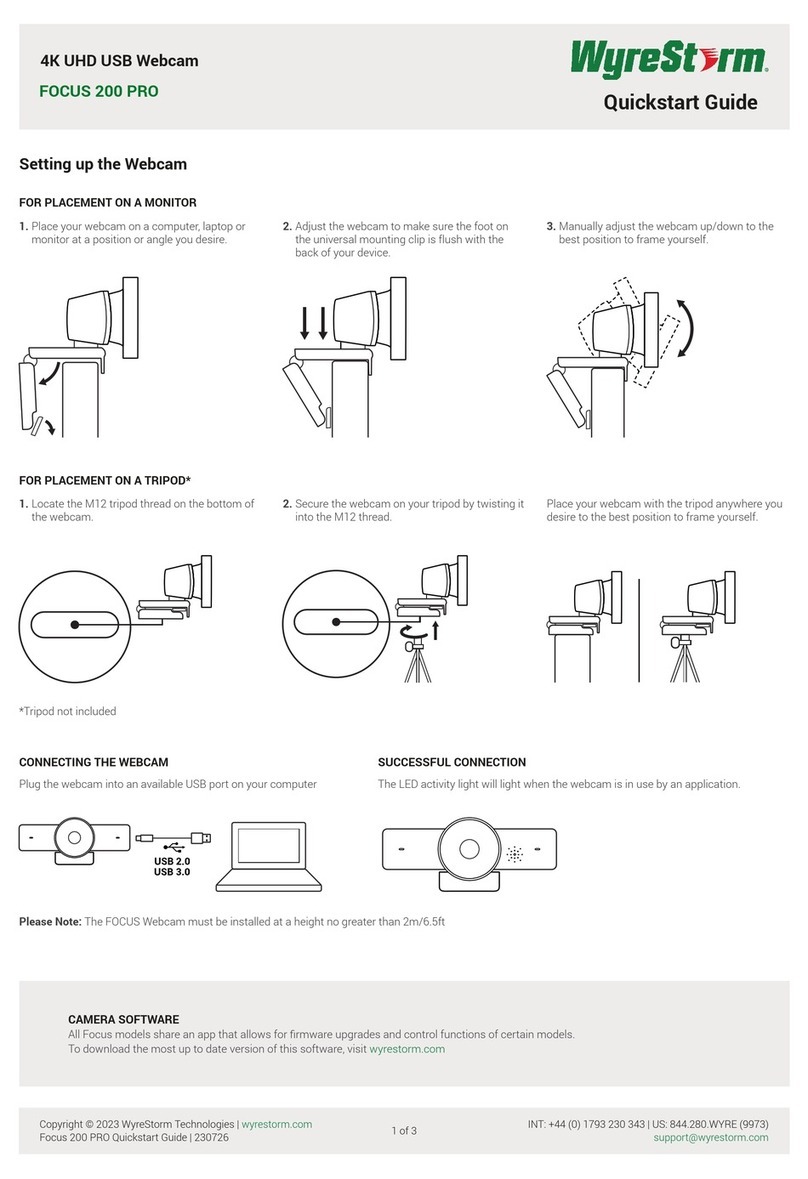
2. Decide on the best position for your webcam, open the hinged bracket base from the
bottom and hook the lip at the front of the bracket over the top of your laptop or monitor
screen. See 1 below.
3. Please avoid touching the webcam lens.
4. Gently close the hinged mount against the back of your screen making sure it is lying flush
against the back of the screen. It will not lock but will enable the webcam to remain in the
desired position.
5. The 3500W has a 360 degrees swivel head enabling you to position it at an angle when
located on your screen. Grasp the bottom of the hinged mount and carefully turn the
webcam head to the desired angle.
6. The 3500W hasa cable with a USB male connectorat the end. Locate the USB connectorand
plug this into a spare USB point on your laptop or PC.
7. As the 3500W is a plug and play product your laptop or PC will automatically recognise it.
8. A red LED will light up next to the lens when connected to the PC or laptop and a green LED
will light up when on a video call.
9. The product is now ready to use. You may start your video conference ormeeting on your
desired conferencingsoftware like Zoom, Microsoft Teams, BlueJeans, Meeting Rooms etc.
10. If desired the 3500W can be placed on a table-top ratherthan a screen by simply adjusting
the hinged bracket and pointing at an upwards angle.
11. The 3500W can also be mounted on a tripod by locating the screw thread at the base of the
hinged bracket and aligning with the screw on the top of the tripod.
12. This webcam is autofocus so you don’t need to do anythingto focus the picture.
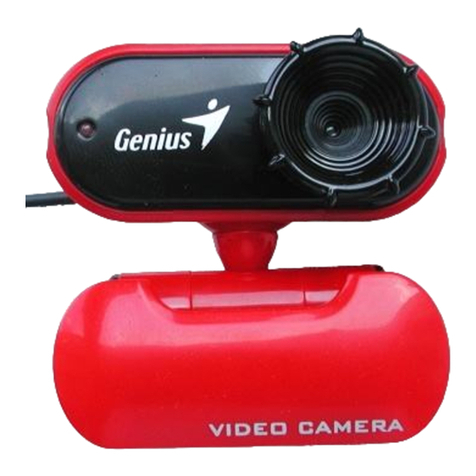
13. The 3500W hasan integral privacy shutterthatslides in front of the lens. Make sure that the
shutteris open when in use. See Image 2 below.
Please note: Your PC, Laptop or Mac or chosen video conferencing app may automatically default to
your inbuilt camerarather than the 3500W webcam. This is easily remedied by changing in the
‘Settings’or‘Camera’on your PC or ‘Camera’on your chosen video conferencing app.

Image 1. 3500W showing hinged bracket
Image 2. 3500W with privacy shutter closed
Getting started with Video Calling.
To take advantage of video calling, both you and the person you are calling must install a video
calling appfor example Zoom, Microsoft Teams, BlueJeans, Meeting Rooms etc.
As well as the necessary app both parties will need -
•A computer or laptop with a speaker ora headset with a microphone. (the camerahas a
built-in microphone)
•A broadband internet connection.
•Please check your preferred video calling application requirements. (requirements may vary
between different applications but usually, a minimum of 2Mbps upload speed is required)
Questions and Answers
Q. How do I know if my camerais recognised by the operating system?
A. Connectthe camera in any USB 2.0/3.0 port. Once the camera is connected ittakes a few more
moments before the camerais recognised. To ensure the camerahas installed correctly pleasecheck
the following.
Start-Control panel-system and security-Device manager.
Q. How do I know if my video calling application can use my webcam?
A. All video applications have an option setting to review the audio and video device. Using the
video application pleasereview the following:
Audio Selection: Ensure the 3500W or USB2.0 camera microphone is selected. Pleasechange as
required
Video Selection: Must also be set to USB2.0 or 3500W, if this is not selected then please select.
Notes and Warranty
Safety Warnings

•Please do not attempt to modify this webcam
•Please do not place the webcamin extremely dampordusty locations
•Please do not place the webcam in places subject to high temperatures, such as a closed
vehicle or direct sunlight. Exposure to high temperatures may adversely affect the webcam
and its internal components
•Please do not remove the webcam from its casing. Internal inspection, maintenance and
repairs should be carried out by an authorized service facility.
•If a fault does occur please disconnect the webcam from your computer and contact your
local dealeroran authorised service facility. Do not continue to use the webcam.
•Please do not expose the webcamtofire, water and any time of physical shock.
•Please do not bump or drop webcam as this may cause the webcam to malfunction. If the
webcam has been dropped or the casing has been damaged, disconnect it from the device
you are using and contact your dealeror service facility. Do not continue to use the camera.
All video calling requires a microphone, sound card and internet connection.
Warranty –This product has a one year warranty that covers malfunction in normal use.
We cannot cover the device underthe warranty in the following circumstances:
(A) Faults caused by the operating environment that doesn’t meet the product requirement or
human factors such as disassembly or refitting without authorisation.
(B) Damage caused by the devices casing or power supply during use.
(C) Failure ordamage caused by irresistible factors (such as a fire).
Guide using AMCAP software steps
Please only download the AMCAP.exe from website to your computer desk, no need to install. You
can use it to make a video recording.
Please connectthe webcam to yourcomputerbefore opening the software.
1. The window is blank. Please click the “options”to select “preview”
2. You can set attribute like video/phone format,windowsize, click “options”to choose “video
capture pin”
3. If you don’t want to use the microphone, the setting steps are as follows. My computer –
( click the right mouse button) manage –device manage –sound, game video controller –
USB Audio device –click right hand button and stop.
How to adjust the microphone volume
1. XP system: right click the voice icon in the lower right corner, open the controller –option –
attribute - audio mixer –Choose USB Audio Device or USB Microphone –sure –adjust the
volume to your need.
2. Windows 7/8/10/ vista system: control panel –sound –record –double click the USB Audio
device orUSB Microphone –Microphone attribute level –adjust the volume to your need.

How to record videos
Capture –start capture- Selectokay tostart recording yourvideo sequence and save the files. You
can save the files by setting a directory for saving capture videos before you startto record. (File –
set capture directory)
Cautions
If the webcamis hot when it is working for a long time we suggest you stop working forsome time
and let it cool down. Avoid touching the lens with hands,sharp or course items and clean using a
soft cloth. Do not use hot, cold or dusty items. Avoid dropping as it will cause serious damage tothe
camera lens.
Disclaimer
Every effort has been made to ensure thatthe information and procedures in this guide and they are
accurate and complete, no liability can be accepted for any errors or omissions and we re serve the
right to make any changes without further notice to any products mentioned herein.
Table of contents

