Holodia HOLOFIT User manual

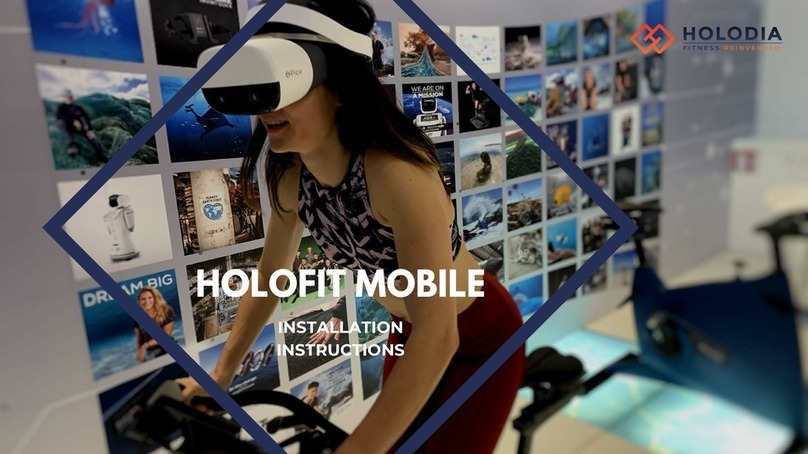
HOLOFIT
GENERAL ASSEMBLY
INSTRUCTIONS
CONGRATULATIONS ON
YOUR HOLOFIT PURCHASE!

OVERVIEW
HOLOFIT by Holodia
WE MAKE CARDIO FITNESS ADDICTIVE
TO EXPERIENCE HOLOFIT YOU
WILL NEED:
Room (not included in our shipping);
Fitness Device;
PC or a laptop;
Monitor/ TV (optional);
Cable to connect the Fitness Device to the PC;
HTC Vive Package: Headset, Link box, one or two
lighthouses (depending on the number of
HOLOFIT units).
PC or Laptop Monitor/ TV
VR Headset Linkbox Lighthouse

Schematic view
1) DESIGN YOUR HOLOFIT SPACE
Room
AC
Lighthouse
PC/ Laptop
Fitness device
HTC linkbox
Headset
1.
2.
3.
4.
5.
6.
7.
HOLOFIT by Holodia
WE MAKE CARDIO FITNESS ADDICTIVE

ROOM SETUP
HOLOFIT by Holodia
WE MAKE CARDIO FITNESS ADDICTIVE
There are several possibilities for room set up for your
HOLOFIT installation:
If your fitness machines are placed in a corner, or close
to a front and back wall, install two lighthouses - one on
the front and the other on the back wall.
If you only have one wall near fitness machines, install
one lighthouse on that wall and another one on a floor
stand.
If there are no walls around your fitness machines, use
floor stands to hold lighthouses.

HARDWARE ARRANGEMENT
HOLOFIT by Holodia
WE MAKE CARDIO FITNESS ADDICTIVE
Arrange the HOLOFIT hardware in one of the following
ways:
Place the PC and headset on a box, next to the fitness
machine.
Place the PC on an elevated surface, with the headset
placed next to the fitness machine, on a floor stand or
a box.
Place the PC and headset on an IKEA floor stand and
let the headset hang above the fitness machine.
You can use your ceiling to hang headset cables.

2) ASSEMBLE YOUR FITNESS DEVICE
HOLOFIT by Holodia
WE MAKE CARDIO FITNESS ADDICTIVE
You can use your HOLOFIT with rowing machines, bicycles and ellipticals
from:
Concept2;
WaterRower;
Star Trac;
Matrix;
Life Fitness;
Technogym;
Body bike;
with more to come.
Please assemble your fitness device as instructed in manufacturer's
manuals.

3) SET UP YOUR PC/ NOTEBOOK
HOLOFIT by Holodia
WE MAKE CARDIO FITNESS ADDICTIVE
Make sure that the PC is not near water source, heating element, or in a
place where it could otherwise get overheated.
Set up the large screen/monitor (optional).
We recommend that you use any type of large screen to attract viewers and
show them what's "inside".
You can show the ongoing HOLOFIT content when in use, and promo
videos, user scoreboards and other announcements when idle.
All screens with HDMI outlet are compatible.
4) CONNECT FITNESS DEVICE TO PC
Connect the Fitness device to the PC, with an appropriate cable, using USB2
plug (grey colored USB plug) on your PC or Laptop.
A) In case your device uses a C-Safe connection, that's what you will use to
connect them.

5) UNPACK AND CONNECT HTC VIVE
HOLOFIT by Holodia
WE MAKE CARDIO FITNESS ADDICTIVE
The HTC Vive set contains more than you need for your HOLOFIT setup.
You can discard the two controllers, our solution has no need for them, same
with the two Chargers and USB cables (USB cables can be used for upgrading
the software on the lighthouses though, so you should save them for later).
If you are using only one HOLOF/T you can also use only one lighthouse
(although you would have wider range cover with two). For two or more
HOLOFIT units you should use two lighthouses, always make sure that they
are placed so as to "catch" the infrared light signals from headsets at all
times.
A) Remove the foam padding found on the Vive headset and replace it with
the hygienic replacement from VR Cover package (shipped with the PC).
You can order additional VR Covers HERE.

HOLOFIT by Holodia
WE MAKE CARDIO FITNESS ADDICTIVE
B) Connect HTC Vive cables to the Linkbox, as on photo. Please follow the
color code.
C) Connect the Linkbox to the PC or Laptop, using USB 3 plug (blue colored).
D) Connect the HDMI Linkbox cable to the PC or Laptop, using HDMI graphic
card plug.
E) Plug the Linkbox into an electricity plug.

HOLOFIT by Holodia
WE MAKE CARDIO FITNESS ADDICTIVE
F) Plug the lighthouses into electricity plugs.
G) If you are using one lighthouse only, please make sure that it shows the
green letter A on the lighthouse front screen.
If it is not, please push the button on the back until you reach letter A.
If you are using two lighthouses, please make sure that one has letter B and
the other letter C on front screen.
If not, please push back button until chosen.
H) Place the headset on the fitness machine seat, or on top of the console,
right next to the machine, facing straight forward. This will ensure that the
calibration is done properly and the proper communication between the
lighthouses and the headset is established.

HOLOFIT by Holodia
WE MAKE CARDIO FITNESS ADDICTIVE
I) Turn the PC/ Notebook on and let the Updater finish updating.
J) Check SteamVR for room calibration (if you do not already have Steam VR
installed, in case you are sourcing the PC on your own, install it on the PC).
Steam VR window will open automatically, verify that the lighthouse and
headset icons are green.
If they are not, verify all the cables, and make sure that nothing is blocking
the view line from headset to lighthouses.
K) For this step, the Headset have to be positioned on the fitness machine
seat, looking forward. Be sure it’s in the sight of the lighthouse(s).
In SteamVR settings, under Developer tab, find the Room and Tracking
section. Open the drop down list and select the Big/Large Space option.
Then press the Quick Calibration button

HOLOFIT by Holodia
WE MAKE CARDIO FITNESS ADDICTIVE
ENJOY
HOLOFIT
Congrats!
www.holodia.com
Copyright © 2019 Holodia SA.
All rights reserved.
Other manuals for HOLOFIT
1
Table of contents
Other Holodia Fitness Electronic manuals