manuals.online logo
Brands
  1. Home
  2. •
  3. Brands
  4. •
  5. Hotpoint
  6. •
  7. Washer
  8. •
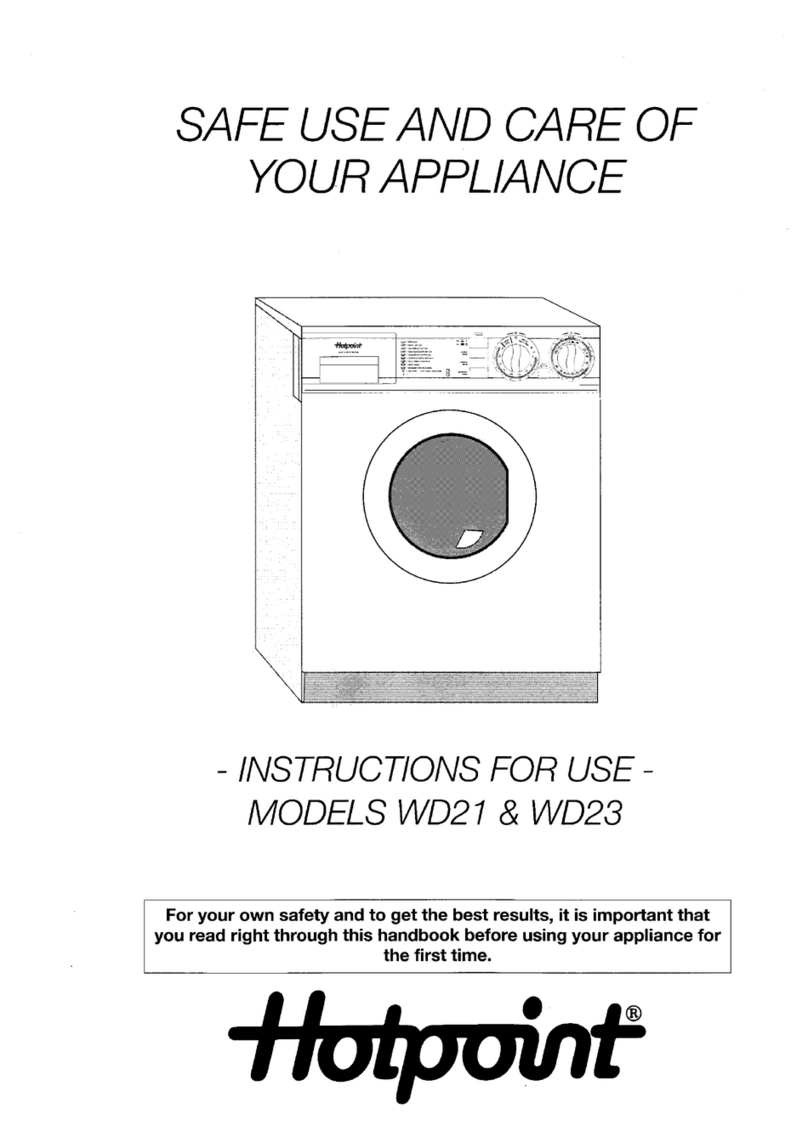
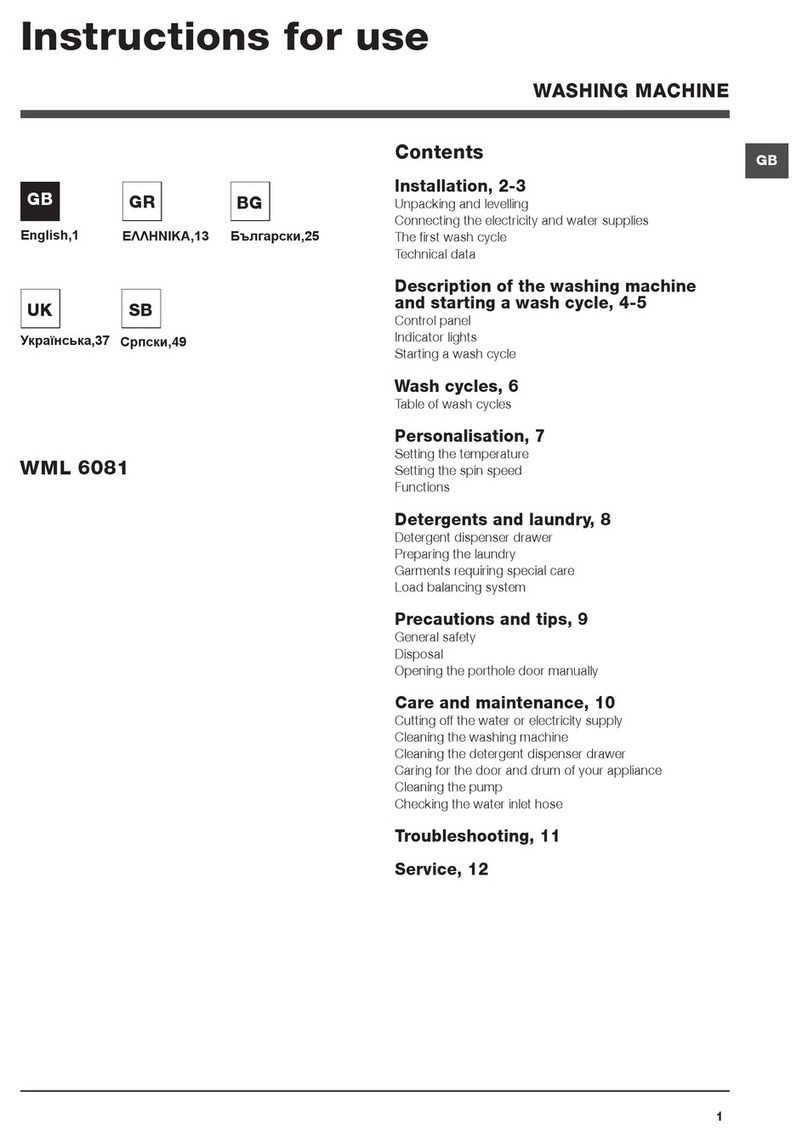
  9. Hotpoint Ultima LCD User manual

Hotpoint Ultima LCD User manual

Other Hotpoint Washer manuals

Hotpoint ARTXL 109 User manual

Hotpoint

Hotpoint ARTXL 109 User manual

Hotpoint HNSR1060 User manual

Hotpoint

Hotpoint HNSR1060 User manual

Hotpoint WMUD 943 User manual

Hotpoint

Hotpoint WMUD 943 User manual

Hotpoint WMF 740 P User manual

Hotpoint

Hotpoint WMF 740 P User manual

Hotpoint 9537 Instruction Manual

Hotpoint

Hotpoint 9537 Instruction Manual

Hotpoint Aqualtis AQ73F 49 E User manual

Hotpoint

Hotpoint Aqualtis AQ73F 49 E User manual

Hotpoint Aquarius WMA50 User manual

Hotpoint

Hotpoint Aquarius WMA50 User manual

Hotpoint HNSR1080 User manual

Hotpoint

Hotpoint HNSR1080 User manual

Hotpoint WM33 Instruction Manual

Hotpoint

Hotpoint WM33 Instruction Manual

Hotpoint BHWM 149 User manual

Hotpoint

Hotpoint BHWM 149 User manual

Hotpoint WLW2330B User manual

Hotpoint

Hotpoint WLW2330B User manual

Hotpoint WMUD 9627 User manual

Hotpoint

Hotpoint WMUD 9627 User manual

Hotpoint WMG 622 User manual

Hotpoint

Hotpoint WMG 622 User manual

Hotpoint Ultima WMA62 Guide

Hotpoint

Hotpoint Ultima WMA62 Guide

Hotpoint VVSR1040VWW User manual

Hotpoint

Hotpoint VVSR1040VWW User manual

Hotpoint WMAO 743 User manual

Hotpoint

Hotpoint WMAO 743 User manual

Hotpoint WW331OR Installation instructions

Hotpoint

Hotpoint WW331OR Installation instructions

Hotpoint hvl 211 User manual

Hotpoint

Hotpoint hvl 211 User manual

Hotpoint AQUALTIS AQLF9F 49 U User manual

Hotpoint

Hotpoint AQUALTIS AQLF9F 49 U User manual

Hotpoint WMFG 651 User manual

Hotpoint

Hotpoint WMFG 651 User manual

Hotpoint RSG 845 J User manual

Hotpoint

Hotpoint RSG 845 J User manual

Hotpoint FML 942 User manual

Hotpoint

Hotpoint FML 942 User manual

Hotpoint AQ9D 692 I User manual

Hotpoint

Hotpoint AQ9D 692 I User manual

Hotpoint AQXXD 169 PM User manual

Hotpoint

Hotpoint AQXXD 169 PM User manual

Popular Washer manuals by other brands

Zanussi ZWF 14080 W user manual

Zanussi

Zanussi ZWF 14080 W user manual

Zanussi FV 825 N Instruction booklet

Zanussi

Zanussi FV 825 N Instruction booklet

LG WM8000HVA Specifications

LG

LG WM8000HVA Specifications

Whirlpool 3RGSC9400 Use and care guide

Whirlpool

Whirlpool 3RGSC9400 Use and care guide

Zanussi TJ 1284 H instruction manual

Zanussi

Zanussi TJ 1284 H instruction manual

AEG KO-LAVAMAT 74740 User information

AEG

AEG KO-LAVAMAT 74740 User information

Beko WSRE7512PRA user manual

Beko

Beko WSRE7512PRA user manual

Whirlpool LA5OOOXP Use and care guide

Whirlpool

Whirlpool LA5OOOXP Use and care guide

Miele PW 6207 operating instructions

Miele

Miele PW 6207 operating instructions

GE GE Profile WWSE3160AAA Specifications

GE

GE GE Profile WWSE3160AAA Specifications

Bush WMNB712EB instruction manual

Bush

Bush WMNB712EB instruction manual

ALLIANCE UW60AV Information manual

ALLIANCE

ALLIANCE UW60AV Information manual

Bosch WAN280H3 User manual and installation instructions

Bosch

Bosch WAN280H3 User manual and installation instructions

Maytag MAT15MNAW installation instructions

Maytag

Maytag MAT15MNAW installation instructions

LG T2109VSAL owner's manual

LG

LG T2109VSAL owner's manual

Indesit IWC 61481 Instructions for use

Indesit

Indesit IWC 61481 Instructions for use

Electrolux EWF12843 user manual

Electrolux

Electrolux EWF12843 user manual

Indesit WIN 70 Instructions for use

Indesit

Indesit WIN 70 Instructions for use

manuals.online logo
manuals.online logoBrands
  • About & Mission
  • Contact us
  • Privacy Policy
  • Terms and Conditions

Copyright 2025 Manuals.Online. All Rights Reserved.

To the Installer:
Before installation, fill in the product details on the back cover of this
book. The information can be found on the rating plate.
To the User:
You must read these instructions prior to installing and using the
appliance and then retain them for future reference.
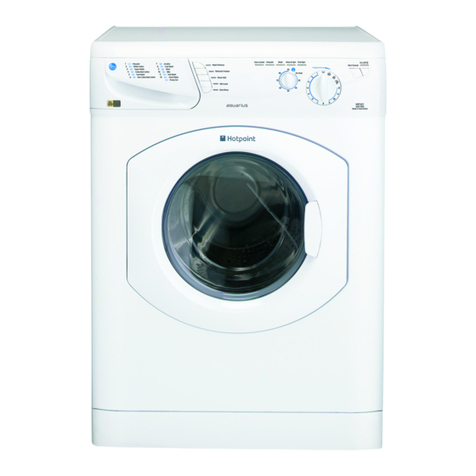
Instructions for Installation and Use
7kg Washing Machine
Ultima LCD
Description
2
GB
●lease record the Model number and
Serial number of your machine on the
back cover of this book for future
reference.
- The Serial number can be found on
the inside door trim.
Interlocking door and
release lever.
Front adjusta le feet
Back feet
Dispenser drawer Control panel
(●Varies y Model)
Mains ca le
Cold water inlet point
and attached fill hose
( lue connector)
Drainage hose
Hooked end support
Rating plate
TWO transit fixings.
Comprising of: two bolts, two washers,
two rubber grommets and two nylon spacers
!BOTH transit fixings must be removed BEFORE
you use your machine (sseeee ppaaggee 55).
Plum ing indicator line
Contents
Description, 2
Installation, 4-7
Unpacking
Remove the transit fixings
Location
Levelling
Water connection
Drainage connection
Electrical connection
Before you start using your machine
Control anel Features, 8
rogrammes and Option Modifiers, 9-13
Starting a programme
Programme ta le
Special features
Option modifiers
Automatic features
Detergents, 14
Detergent dispenser
Washcare tips
Care and Maintenance, 15
Cleaning your machine
Fuses
Changing the plug
recautions and Advice, 16-17
General safety
Saving energy and respecting the environment
Disposal
Safety advice
Technical details chart
Something Wrong? - Troubleshooting, 18-19
Service, 20
Before calling for assistance
Spare parts
Key Contacts
3
Description Contents
rogrammes
and Option
Modifiers
Control anel
FeaturesInstallation Detergents
and Laundry Care and
Maintenance recautions
and Advice
Something
Wrong? -
Troubleshooting Service
GB
WASHING MACHINE
!Keep this instruction ook on hand in order to refer to it when necessary. Take it with you when you move,
and should you sell this appliance or pass it on to another party, make sure that this ooklet is supplied
along with the appliance so that the new owner may e informed a out warnings and suggestions on how
the machine works.
Installation
GB
4
!Read these instructions carefully: the following
pages contain important information on installation
and suggestions on how the appliance works.
Unpacking
1. Using scissors, cut
carefully along one corner
post to remove the film.
2. Open the door and check
inside the drum.
Remove the transit tu e (if
applicable - not all models).
!Retain all packaging
material until installation
is complete.
3. Lift off the polystyrene
top cap and remove the
four corner posts.
4. Carefully lay the left
side of the machine down
onto the top cap.
!We recommend that a
second person helps to raise
and lower the machine.
5. Remove the
polystyrene ase.
!This is a part of the
polystyrene ase and
should have stayed intact
when you removed the
ase.
!If it has roken off and
is still in the machine...
remove it... while the
machine is still laying on
its side on the top cap.
6. Cut out the perforated
shape in the transit tu e
you removed from the drum
(if applicable - see Step 2).
Follow instructions listed on
the cut out to fit it to the
ase of the machine. When
fitted this panel aids noise
reduction.
7. Stand the machine
upright.
!We recommend that a
second person helps to raise
and lower the machine.
!Continue to read the rest
of these instructions
carefully; the following
pages contain important
information on installation
and troubleshooting.
!rotect the environment - please dispose of the
packaging material carefully and considerately.
!IM ORTANT check
when unpacking your
machine:
5
Installation
Did you know?...
●...the transit fixings are fitted to ensure that your machine is undamaged during delivery.
●...both of the transit fixings MUST BE removed before using the machine, be sure to remove TWO bolts,
TWO washers, TWO rubber grommets and TWO nylon spacers, not doing so will lead to excessive vibration,
movement of the machine and could eventually lead to internal damage.
●...the majority of problems with noisy machines are due to the transit fixings not being removed.
●...you will be charged for a service engineers visit if a problem with your machine is caused by incorrect
installation or misuse.
Remove the transit fixings
IM ORTANT: Follow these instructions to remove the
TWO transit fixings (see Description for location).
!Situated one either
side of the rear panel,
BOTH transit bolts
MUST be removed
before use.
!Failure to do so may cause damage to your machine.
!It is important the TWO transit fixings come out intact.
!Be sure to remove TWO bolts,
TWO washers, TWO rubber
grommets and TWO nylon
spacers (see pic).
1. Unscrew the bolt using a
13mm spanner.
2. STO when 3 threads can be
seen.
3. Hold, slide sideways and pull to
remove.
4. For safety, insert one of the
the plastic covers (supplied
with your machine) over the
hole.
!Repeat steps 1 to 4 to remove the second transit bolt.
!aacckkaaggiinngg mmaatteerriiaallss aarree nnoott cchhiillddrreenn''ss ttooyyss..
Location
Where you install your machine will affect its
performance:
!For your safety and to comply with electrical
regulations, seek professional advice if you want to
install your machine in a bath or shower room.
●Make sure that the electrical socket and water
taps are easily accessi le. You should switch off
the machine’s electrical and water supplies
when you are not using it for extended periods.
●Make sure that you allow enough space for the
machine. Select a space at least 60cm wide,
60cm deep and 85cm high. Also leave enough
space to open the door fully, so that you can load
and unload it easily.
●Where possi le, the machine should e positioned
on a solid floor to minimise vi ration.
!Take care when you move the machine not to rip any
floor coverings. The weight of the machine may cause
indentations in some floor coverings.
Description Contents
rogrammes
and Option
Modifiers
Control anel
Features
Installation Detergents
and Laundry Care and
Maintenance recautions
and Advice
Something
Wrong? -
Troubleshooting Service
GB
Location of transit bolts.
6
GB
Water Connection
Remember this is a cold fill machine.
!Please use the new hose supplied, fitted to the
machine. Old hoses may cause leaks due to worn out
washers or may e split due to water pressure.
!Before making connections to the cold water supply,
allow the water to run freely from the supply tap until
it is perfectly clear.
Connecting the cold water inlet hose to the COLD
WATER SUPPLY:
1. Screw the cold water fill hose ( lue connector) onto
the cold water supply until tight.
2. Turn on the cold water supply and check for leaks,
tighten if necessary.
!We recommend fitting a 3/4" sealing cap
to the hot water supply tap (if present), to
ensure there are no leaks. Sealing caps
can e purchased from Hotpoint Service
on 08709 077 077 or all good DIY and
Plum ing outlets.
Installation
Benefits of cold fill
●Modern detergents are designed to give the est
cleaning results at low temperatures. Biological
detergents contain enzymes which are active
etween 30˚C and 53˚C, giving greater results at
lower temperatures.
●Cold water relaxes fa rics, whilst hot water can
seal in stains.
●Improved stain removal with cold water.
●The most commonly used programme at present is
40˚C, which will take on cold water even if hot and
cold were availa le.
●You can heat the water required to finish the wash
cycle, which makes it more economical than taking
water heated in a tank y an immersion heater or
gas oiler.
Hints and tips
!Make sure there are no kinks or ends in the hose.
!The water pressure at the supply tap must e within
the values indicated in the Technical Details ta le
(see page 17).
!If the water inlet hose is not long enough, you can
purchase an extended hose from Hotpoint Service on
08709 077 077.
!Always use a new inlet hose.
!Check the water inlet hose at least once a year,
replace if cracked as worn hoses could split under
water pressure.
!Turn on the water supply and check that the
connections do not leak. If there is a leak, turn off
the water supply, disconnect the hoses and check
that the sealing washers are in place. Refit the hoses
and turn on the water supply.
Levelling
Your machine will e noisy if the two front feet are not
adjusted so that the machine stands firm and level.
!The machine must be levelled from side to side and
from front to back.
1. Move your machine into its final location, taking
care not to trap or kink the hoses.
2. Turn one or oth front feet
anti-clockwise y hand until the
feet cannot e turned any more.
When adjusting the feet, use a
spirit level to check the machine
stands level, from side to side
and from front to ack.
The spring on each foot will stop
them coming loose.
!If it is placed on a fitted or loose carpet, adjust the
feet in such a way as to allow enough room for
ventilation beneath the machine.
Cold water
fill hose (Blue
Connector)
12
OFF
ON
COLD
WATER
SUPPLY
Did you know?...
●...the most common cause of problems with water connection is that the customer has not turned the
supply tap on..
●...it is very important to ensure that your hoses or cables are not kinked or squashed when the machine
is pushed back into its location, as this can lead to your machine failing to fill or empty the water.
●...the majority of problems with noisy machines are due to the feet not being adjusted correctly to
level the machine.
COLD
WATER
SUPPLY
7
Installation
Drainage Connection
!Although you may need to move the hooked end
support along the grey drainage hose, DO NOT
remove it.
!Whichever drainage method you use, make sure
that the hooked end support is fixed level to, or
a ove the ‘Plum ing Indicator Line’ (see Description
page 2).
We recommend one of the following:
Standpipe method:
1. Make sure the standpipe
height is a minimum 500mm up
to a maximum 1200mm from the
floor.
2. Insert the drainage hose
approximately 100mm into the
standpipe.
Under sink method:
1. Cut off the locked end of
the under sink drainage unit, or
remove the lanking plug if fitted.
2. Fix the hooked end support a
minimum of 800mm from the
floor.
3. Use a hose clip (eg. a ju ilee
clip) to securely attach the grey
drainage hose end to the under
sink drainage unit.
Electrical connections
Before plugging the appliance into the mains socket,
make sure that:
●the socket is earthed and in compliance with the
applica le law.
●the socket is a le to sustain the appliances
maximum power load indicated in the Technical
Details ta le (see page 17).
●the supply voltage is included within the values
indicated in the Technical Details ta le (see page 17).
●the socket is compati le with the machines plug.
If this is not the case, replace the socket or the
plug, ensuring a 13A fuse is fitted.
!The machine should not e installed in an outdoor
environment, not even when the area is sheltered,
ecause it may e very dangerous to leave it exposed
to rain and thunderstorms.
!When the machine is installed, the mains socket
must e within easy reach and should e connected
to a suita le electrical supply.
!Do not use extensions or multiple sockets.
!The power supply ca le must never e ent or
dangerously compressed.
!The power supply ca le must only e replaced y an
authorised serviceman.
!The company denies all liability if and when these
standards are not respected.
Before you start using your machine
The first wash cycle
Once the appliance has een installed and efore you
use it for the first time, run a wash cycle without
detergent and no laundry. This will check your
installation, connections and drainage and will
thoroughly clean the interior efore you carry out an
actual wash programme on your laundry.
This will take approximately 21/2hours to complete.
!Run the 95˚ White Cotton programme 'B', without
laundry and without detergent.
!During this cycle check for any leaks from under the
machine. If present ensure all hoses are securely
tightened.
Did you know?...
●...it is very important to ensure that your hoses or cables are not kinked or squashed as this can lead
to your machine failing to fill or empty the water.
●...it is very important to respect the dimensions given within the drainage connection methods (see above).
●...if using the undersink drainage method remember to cut off the blocked end, or remove the blanking plug.
●...you will be charged for a service engineers visit if a problem with your machine is caused by incorrect
installation or misuse.
Hooked end
support
Hose clip
minimum:
500mm
maximum:
1200mm
minimum:
800mm
from floor
Description Contents
rogrammes
and Option
Modifiers
Control anel
Features
Installation Detergents
and Laundry Care and
Maintenance recautions
and Advice
Something
Wrong? -
Troubleshooting Service
GB
Control anel Features
GB
8
Ultima
Ultima control panel features
●Option buttons: To select the options availa le (see rogramme Table and Option Modifiers).
●LCD display: Shows all information relating to your programme selections: wash temperature and spin speed,
chosen options, along with time remaining. It will also indicate if the door is locked (when ‘keyhole’ sym ol lit,
the door cannot e opened) and the stage of the programme the machine has reached (wash, rinse or spin).
●ON/OFF ause button: To turn the washing machine on and off. If pressed when the machine is running the
programme will e paused, press again and the machine will restart.
●ON/OFF light: Shows that the machine is in use or is on ready for you to select a programme.
●START/CANCEL button: To start the selected programme - or to cancel a running programme, if incorrect
settings were selected.
●rogramme selector buttons: To select the programme you require. Press the utton the required num er
of times to select the programme you want (For more information please see ‘Starting a wash programme’
section, rogrammes and Option Modifiers).
Detergent dispenser
drawer
Status indicator
lights
START/CANCEL
button
Option
buttons
LCD display
rogramme selector
buttons
ON/OFF ause
button
ON/OFF
light
9
Starting a rogramme
Description Contents
rogrammes
and Option
Modifiers
Control anel
Features
Installation Detergents
and Laundry Care and
Maintenance recautions
and Advice
Something
Wrong? -
Troubleshooting Service
GB
1. Switch the machine on y
pressing the ON/OFF Pause
utton.
2. Sort your laundry into groups
y washcare la els. Load the
machine.
Close the machine door y
pushing it until it clicks.
3. Add detergent and fabric
conditioner to the dispenser
drawer.
!Refer to detergent
manufacturer’s dosage
instructions.
4. Select the programme:
- press the programme
selector utton the required
num er of times (see
rogramme Table).
!The LCD display will change on
each press to show the
temperature of the selected programme.
5. Select any optional wash
feature(s) (see Option Modifiers)
you require y pressing the
appropriate utton(s).
- Indicator lights on the LCD
display will show what you have
chosen.
6. Reduce the wash temperature of your selected
programme:
- Press the Temp utton, each press will reduce the
wash temperature y 5˚C.
The new temperature will e shown in the LCD display.
7. Reduce the spin speed of your selected
programme:
- Press the Spin utton, each press will reduce the
spin speed.
The new spin speed will e shown in the LCD display.
8. In addition to showing you all
information relating to your
programme selections, the LCD
display will show you the stage
of a programme in progress, the
time remaining until the end of a
programme in hours and minutes (counting down
each minute) and the door lock status.
- If ‘Time Delay’ option was selected the display will
show the time remaining until the start of the wash
programme in hours (counting down each hour).
9. Start the programme y
pressing the START/CANCEL
utton for at least 3 seconds.
!The ‘Door Locked’ indicator, will light up.
●To stop/change a programme once the machine
has started:
- Press the START/CANCEL utton until a eep is
heard.
- The machine will start to empty.
When the machine has finished emptying:
- Selector the new programme required (you may need
to add detergent).
- Press the START/CANCEL utton to start the
new programme.
10. During the programme,
the status indicator lights will
show you what stage in the
programme the machine has
reached (wash, rinse, spin).
11. A short time after the programme has finished
the ‘Door Locked’ indicator will go out and you can
open the machine door.
12. Switch the machine off y pressing the ON/OFF
Pause utton.
!Do not allow children to play with the machine or
tamper with the controls.
!Do not overload the machine. This may damage the
laundry and reduce the quality of the wash.
The maximum load is 7kg (Cotton).
!Do not try to open the dispenser drawer during any
programme.
!Do not try to open the machine door when the
‘Door Locked’ indicator is lit.
Starting a typical wash programme
10
GB
rogramme Table
rogramme Table *Programme setting for test in accordance with IEC 60456 and EN 60456
Label Programme Programme Type / Fabric Description Temp Max Approximate Required Soil Level Spin Available Recommended
Selector (˚C) Load Programme Additional Speed Options Detergent
Button (kg) Time (h : min) Option
AP THREE Hygienic For hard wearing heat resistant cotton and linen. 95 7 2 : 30 - Normal Max Pre Wash, Rinse Hold, Mini Load, Ariel Bio Powder /
TIMES White Cotton Extra Rinse, Time Delay, How Dirty Tablets
B60 Superwash An intensive cleaning programme for heavily soiled 60 6 2 : 00 - Heavy Max Rinse Hold, Extra Rinse, Ariel Colour
ONCE Colourfast Cotton hard wearing fabrics. Time Delay, How Dirty
D60 Everyday For everyday cleaning needs for colourfast cotton 60 6 1 : 45 - Light to Max Pre Wash, Wash Enhance, Reduce Creases, Ariel Colour
TWICE Colourfast Cotton or linen fabrics. Normal Rinse Hold, Mini Load, Extra Rinse, Time
Delay, How Dirty
D60 TWICE Standard An intensive cleaning, energy efficient cycle using 60 7 2 : 15 Wash Normal to Max Time Delay Ariel Colour
Colourfast Cotton (IEC 60456*) the maximum load capacity. Enhance Heavy
E60 Fast Wash A fast cycle for lightly soiled heat resistant cotton 60 5 1 : 00 - Light 1200 Reduce Creases, Rinse Hold, Mini Load, Ariel Colour
ONCE Colourfast Cotton & linen fabrics. Extra Rinse, Time Delay
F40 Everyday For the everyday cleaning needs of cottons and other 40 6 1 : 30 - Light to Max Pre Wash, Wash Enhance, Reduce Creases, Ariel Colour
ONCE Non Colourfast Cotton hard wearing fabrics. Normal Rinse Hold, Mini Load, Extra Rinse, Time
Delay, How Dirty
F40 Intensive A less energy efficient intensive 40˚C cycle for more 40 7 1 : 45 Wash Heavy Max Time Delay Ariel Colour
ONCE Non Colourfast Cotton stubborn soiling. Enhance
G40 - Man-made fibres A cycle designed to wash a variety of man-made fibres 40 3.5 1 : 15 - Normal 800 Pre Wash, Reduce Creases, Rinse Hold, Ariel Colour
ONCE Coloured Synthetics & Acrylics and fibre mixtures. Mini Load, Extra Rinse, Time Delay,
How Dirty
H30 Cool Wash Delivers the same performance as the intensive 40˚C 30 5 1 : 50 - Normal to Max Pre Wash, Reduce Creases, Rinse Hold, Ariel Colour Liquid
TWICE Non Colourfast Cotton cycle but is more energy efficient at the expense of duration. Heavy Mini Load, Extra Rinse, Time Delay
J40 - - Machine Washable For machine washable wool and wool mixtures. 40 3 0 : 50 - Normal 800 Wash Enhance, Time Delay Dreft
ONCE Wool
J40 - - Platinum Woolmark Approved A special cycle for Hand Wash wool that will not shrink 40 1 0 : 50 Wash Normal 1000 Time Delay Dreft
ONCE Handwash Wool your garments exclusively approved by Woolmark. Enhance
K30 - Machine Washable For silk garments labelled as machine washable. 30 3 0 : 50 - Normal 800 Pre Wash, Rinse Hold, Time Delay Dreft
ONCE Silk
L30 Fast Wash A very short refresh programme for lightly soiled mixed 30 3 0 : 30 - Light 800 Time Delay Ariel Colour Liquid
TWICE Mixed (not Wool/Silk/Handwash) fabrics.
MHHandwash A gentle cycle for delicate items labelled as Hand Wash 25 4 0 : 55 - Normal 800 Rinse Hold, Time Delay Ariel Colour Liquid
TWICE Delicates (not Wool/Silk) only.
R&S -Rinse & Fast Spin This partial programme completes two full rinses and then - 7 0 : 45 - - Max Reduce Creases, Rinse Hold, Mini Load -
ONCE Cotton a fast spin. Extra Rinse, Time Delay
R&S -Rinse & Slow Spin This partial programme completes two full rinses and then - 3.5 0 : 35 - - 800 Reduce Creases, Rinse Hold, Mini Load, -
TWICE Mixed a slow spin. Extra Rinse, Time Delay
FS - THREE Fast Spin This partial programme completes the maximum speed - 7 0 : 20 - - Max Time Delay -
TIMES Cotton final spin.
SS - FOUR Slow Spin This partial programme completes the intermediate speed - 3.5 0 : 12 - - 800 Time Delay -
TIMES Delicates final spin.
Press START/CANCEL Pump Out This draining programme ensures the appliance is emptied - 7 0 : 02- - - - -
button All of water.
2 Bath Towels
1 Hand Towel
6 Shirts
6 Blouses
2 Set of Pyjamas
12 Items of Underwear
2 T-Shirts
COTTON
= 7kg = 3.5kg 4 Items of Sportswear
4 Shirts
4 Blouses
1 Set of Pyjamas
8 Items of Underwear
SYNTHETIC
How much does your laundry weigh?
1 sheet 400-500g
1 pillow case 150-200g
1 ta lecloth 400-500g
1 athro e 900-1200g
1 towel 150-250g
A typical wash load... Two examples of maximum wash loads for different types of fa ric: