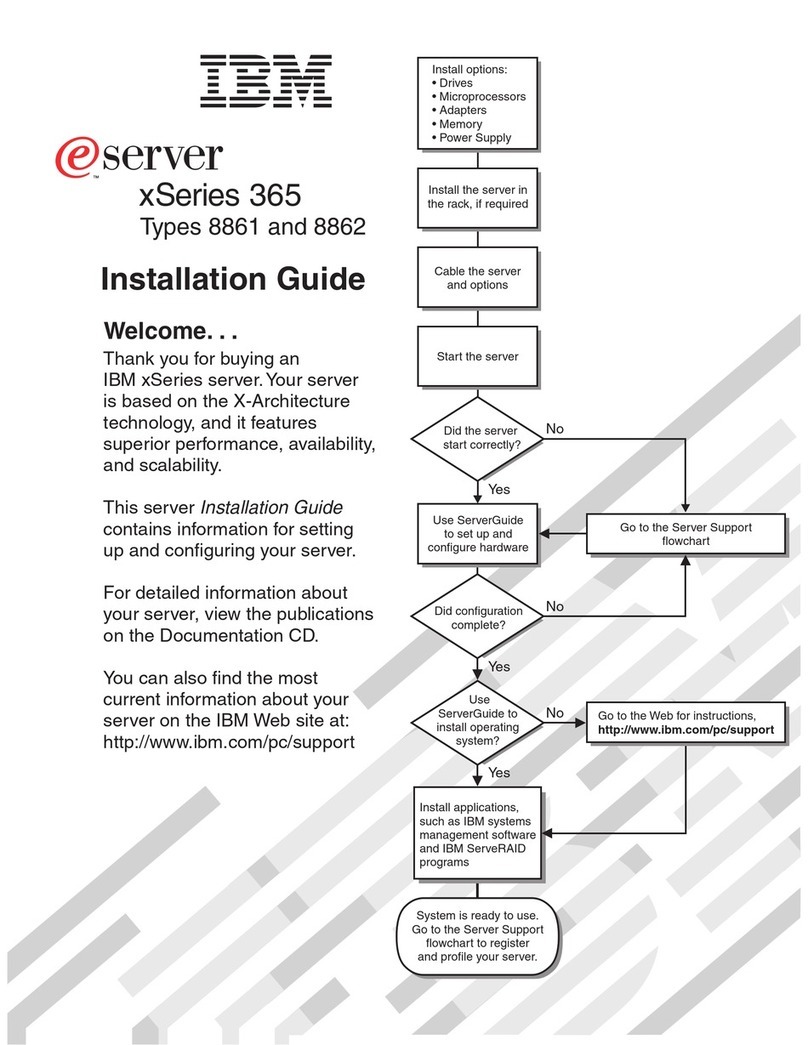
IBM eServer iSeries 825 User manual

iSeries
Model 825
in arack
installation instructions
Version 5
ERserver


iSeries
Model 825
in arack
installation instructions
Version 5
ER s e r v e r

Note
Before using this information and the product it supports, be sure to read the information in
“Notices,” on page 47.
Fourth Edition (August 2005)
This edition applies to version 5, release 3, modification 0of IBM Operating System/400
®
(product number
5722–SS1) and to all subsequent releases and modifications until otherwise indicated in new editions. This version
does not run on all reduced instruction set computer (RISC) models nor does it run on CISC models.
©Copyright International Business Machines Corporation 2004, 2005. All rights reserved.
US Government Users Restricted Rights –Use, duplication or disclosure restricted by GSA ADP Schedule Contract
with IBM Corp.

Contents
Install aModel 825 in arack ......1
Rack safety instructions...........1
Before you begin .............2
Model 825 installation in arack instructions ....2
Rack installation instructions .........3
Rack shelf installation instructions .......7
Remove devices before lifting the system unit into
the rack ...............14
Remove covers ............15
Remove power supply..........17
Electrostatic discharge ..........18
Remove disk units ...........18
Remove fans .............20
Remove tape, CD–ROM and DVD devices ...22
Remove processor assembly ........23
Remove the network interface card .....24
Remove PCI cards ...........25
Install unit in the rack ...........28
Install devices that were removed .......32
Electrostatic discharge ..........32
Install disk units............33
Install fans .............34
Install tape, CD–ROM and DVD devices....35
Install network interface card .......36
Install processor assembly ........37
Install PCI cards ............39
Install covers .............41
Install power supply ..........45
Completing the rack installation .......45
Appendix. Notices ..........47
Trademarks ..............48
Terms and conditions for downloading and printing
publications ..............49
Code disclaimer information.........49
Electronic Emission Notices .........50
Federal Communications Commission (FCC)
statement ..............50
Electronic Emission Notices .........52
Federal Communications Commission (FCC)
statement ..............52
©Copyright IBM Corp. 2004, 2005 iii

iv Model 825 In Rack Installation Instructions V5R3

Install aModel 825 in arack
This feature is customer installable. However, the installation of this feature is intended for an
experienced user who understands industry terminology with system experience. Also, as you follow the
instructions, after removing the devices to make the system weigh less, three people are needed to
safely lift the unit onto the rack. When you use these instructions, you will perform some or all of the
following tasks:
vPerform prerequisite tasks.
vRemove the system unit covers.
vInstall new hardware.
vInstall covers.
vIPL your operating system.
vVerify your new hardware configuration.
You may need to allow additional time to complete your jobs, back up your system, perform an initial
program load (IPL) of your system, and verify your hardware configuration.
You can choose to perform these tasks yourself or contact IBM(R) or an authorized service provider to
make arrangements for them to perform the tasks for afee. Should you encounter difficulties when
performing atask, contact your authorized dealer or service provider.
Rack safety instructions
CAUTION:
vDo not install aunit in arack where the internal rack ambient temperatures will exceed 40 degrees
C.
vDo not install aunit in arack where the air flow is compromised. Any side, front or back of aunit
used for air flow through the unit must not be in direct contact with the rack.
vCare should be taken to ensure that ahazardous condition is not created due to uneven mechanical
loading when installing aunit in arack. If the rack has astabilizer it must be firmly attached
before uninstalling or removing this unit.
vConsideration should be given to the connection of the equipment to the supply circuit so that
overloading of the circuits does not compromise the supply wiring or overcurrent protection. To
provide the correct power connection to arack, refer to the rating labels located on the equipment
in the rack to determine the total power requirement of the supply circuit.
vAn electrical outlet that is not correctly wired could place hazardous voltage on the metal parts of
the system or the devices that attach to the system. It is the responsibility of the customer to ensure
that the outlet is correctly wired and grounded to prevent an electrical shock.
vSince the design and configuration of rack enclosures varies, consideration must be given to the
placement of IBM units into third party racks and third party units into IBM racks. It is the
customer’s responsibility to ensure the unit can be safely mounted in the rack and the rack
enclosure adequately provides proper ventilation/cooling, proper stability, and sufficient structural
integrity for the unit when installed in the rack. (RSFTC247)
CAUTION:
These instructions describe how to install arack stabilizer to the bottom front of each rack to prevent
the rack from falling over when you slide or pull out the system units. Do not attempt to slide out or
install any system units until the stabilizer is correctly installed. Use caution when moving the rack
and its system units. (RSFTC063)
©Copyright IBM Corp. 2004, 2005 1
CAUTION:
The weight of this part or unit is between 32 and 55 kilograms (70.5 and 121.2 pounds). It takes three
persons to safely lift this part or unit. (RSFTC205)
CAUTION:
When the unit is extended, its weight can turn over arack that is not steady. Before you pull the unit
out of the rack, ensure that arack stabilizer is attached to the bottom front of the rack.
Do not pull out more than one unit at atime. The rack can turn over if you pull out more than one
unit at atime. (RSFTC224)
Before you begin
Before you begin areplacement or installation task, follow these steps:
__ 1. For an installation and if possible, for areplacement, ensure that you have acurrent backup of
your system (including operating system, licensed programs, and data). If you have backed up
the operating system and licensed programs since the last time you applied PTFs, that backup is
acceptable.
__ 2. Ensure that you take afew minutes to become familiar with these instructions.
__ 3. Ensure that you have access to amedium flat-bladed screwdriver.
__ 4. If there are incorrect, missing, or visibly damaged parts, contact one of the following:
vYour authorized service provider
vIn the United States: IBM
®
Rochester Manufacturing Automated Information Line (R–MAIL) at
1–800–300–8751
vIn countries outside of the United States: Use the following Web site to locate your service and
support numbers:
http://www.ibm.com/planetwide
__ 5. If you are installing new hardware in logical partitions, you need to plan and understand the
requirements to be successful. Go to Logical partitions in the Information Center.Then return to
these instructions.
__ 6. If you encounter difficulties during the procedure, contact your authorized service provider or
your authorized dealer.
__ 7. Determine if there are any existing PTF prerequisites before you install your new feature. Go to the
following Web site:
http://www-912.ibm.com/s_dir/slkbase.NSF/slkbase
a. Select All Documents.
b. Select General Information.
c. Select Offerings.
d. Select Feature Prerequisites.
e. Select Customer Installation Features Prerequisites.
f. Locate your feature number and OS/400
®
release, and check the prerequisites.
Model 825 installation in arack instructions
Some of the figures in these instructions may not look exactly like the system unit that you have.
However, the steps to perform the task are the same.
Are you installing anew 825 unit in arack?
__ Yes:Go to “Rack installation instructions” on page 3.
__ No:Continue with the next step.
2Model 825 In Rack Installation Instructions V5R3

__ Ensure that you have acurrent backup of your system (including operating systems, licensed
programs, and data) if you are installing an existing up and running unit in arack.
__ If you have installed logical partitions on your system unit, refer to the iSeries Information Center.
Go to Manage logical partitions in the iSeries Information Center to find instructions on powering
down asystem with logical partitions.
__ If an Integrated xSeries Adapter (IXA) is present on the system, shut it down using OS/400
options.
__ Ensure that all jobs are complete.
__ When all jobs are complete, type pwrdwnsys *immed on an iSeries command line and press Enter.
__ When the iSeries is completely powered down, disconnect all PCs from the system unit. Power off
all devices, such as printers and displays, that are connected to the system unit.
__ Unplug any power cords, such as printers and displays, from electrical outlets.
__ Unplug the system unit and expansion unit power cords from the electrical outlets.
Rack installation instructions
__ 1. Open all boxes that were shipped.
__ 2. Complete the rack unpack instructions that came with the rack. If you are installing the unit in an
existing rack, go to step 7on page 4.
__ 3. Place the empty rack at the site you identified when completing your planning tasks for your
order.
__ 4. Use the wrench that is provided to lower the front and back stabilizers all the way to the floor.
__ 5. CAUTION:
These instructions describe how to install arack stabilizer to the bottom front of each rack to
prevent the rack from falling over when you slide or pull out the system units. Do not attempt
to slide out or install any system units until the stabilizer is correctly installed. Use caution
when moving the rack and its system units. (RSFTC063)
__ 6. Install the tip plate on the front of the rack.
Install aModel 825 in arack 3

__ 7. Remove all the filler panels to allow access to the inside of the rack enclosure.
4Model 825 In Rack Installation Instructions V5R3

__ 8. Open the back door.
Install aModel 825 in arack 5

__ 9. Plan where you will place the units you are installing in the rack. Install units in the lower part
first. Place the larger and heavier units in the lower part of the rack.
6Model 825 In Rack Installation Instructions V5R3

Rack shelf installation instructions
__ 1. Locate the cable management arm assembly A,rack shelf with rail assembly B,adapter plate
C,clips and screws D.Some extra screws are provided.
__ 2. Install the adapter plate on the shelf.
__ Locate the 10 screws to install the 825 adapter plate.
__ Install the plate as shown with the tool provided.
Install aModel 825 in arack 7

__ 3. Install four clips on the front of the rack.
If you are installing the system unit in the lower part of the rack, place the clips in EIA sections 1
and 2.
8Model 825 In Rack Installation Instructions V5R3

To install in the upper part, place the clips in EIA sections 17 and 18.
Install aModel 825 in arack 9

A Guidepins
B Clips
10 Model 825 In Rack Installation Instructions V5R3

C Empty
__ 4. Two people are needed to install the shelf and rail assembly. One is positioned in back and the
other one in the front of the rack.
__ 5. Lift the shelf and rail assembly into the rack from the front. You need to slant the shelf to fit
through the front opening.
__ 6. Align and insert the guidepins on the rail assembly with the correct holes in the back frame.
Install aModel 825 in arack 11
__ 7. Align and insert the guidepins on the rail assembly with the correct holes in the front frame.
__ 8. Install two screws on each side of the back frame to secure the shelf assembly.
__ 9. Open the latches A on the shelf. Slide the shelf partially out. Install the two screws on each side
of the front frame to secure the shelf assembly.
12 Model 825 In Rack Installation Instructions V5R3

Note: If you have difficulty installing the screws, ensure the clips you previously installed are
still in the correct position.
__ 10. Slide the shelf into the rack.
__ 11. Press in the latches to lock shelf in the rack.
__ 12. Locate the cable management arm assembly.
__ 13. Push in the latches to secure the cable management arm to the back of the shelf A.
Install aModel 825 in arack 13

__ 14. Install two clips in the back frame B.
__ 15. Install the two screws where the clips are located to attach the other end of the cable management
arm to the back frame C.
__ 16. The rack shelf and rail assembly installation is complete.
__ 17. Continue with the instructions.
Remove devices before lifting the system unit into the rack
To safely lift your system unit onto the rack shelf, follow the instructions to remove devices from the
unit. Place devices that you remove in the electrostatic discharge bags that are provided to prevent
damage.
After removing the devices to get the system unit to an acceptable weight, three people are needed to
safely lift the system unit onto the rack shelf.
Continue with the following instructions.
14 Model 825 In Rack Installation Instructions V5R3
Table of contents
Other IBM Server manuals

IBM
IBM 425162U User manual

IBM
IBM B50 User manual

IBM
IBM System x3650 M3 4255 User manual

IBM
IBM x3100 M5 Type 5457 User manual

IBM
IBM Power AC922 8335-GTW User manual

IBM
IBM 7944E1U User manual

IBM
IBM 4194D6U User manual

IBM
IBM LS42 - BladeCenter - 7902 User manual

IBM
IBM BladeCenter PN41 User manual

IBM
IBM Flex System p24L Compute Node User manual

IBM
IBM eServer 445 xSeries User manual

IBM
IBM PS700 Installation guide

IBM
IBM 9407-515 User manual

IBM
IBM H Series Installation and maintenance instructions

IBM
IBM eServer xSeries 305 Type 8673 User manual

IBM
IBM xSeries 330 Owner's manual

IBM
IBM 79463AU User manual

IBM
IBM SAN Volume Controller 2145-SV1 Manual

IBM
IBM System x3300 M4 Manual

IBM
IBM XGS 5200 User manual