iLive IHB248B User manual

Wireless Home Music System
User’s Guide for Model IHB248B v2048-01
For the most up-to-date version of this User’s Guide, go to www.iliveelectronics.com
IHB248-2048-01-IB-Lab.indd 1 24/01/2018 9:49:22 AM

IHB248-2048-01-IB-Lab.indd 2 24/01/2018 9:49:22 AM

3
Safety Instructions & Warnings
Important Safety Instructions
• ReadtheseInstructions.
• KeeptheseInstructions.
• HeedallWarnings.
• Followallinstructions.
• Donotusethisapparatusnearwater.
• Cleanonlywithadrycloth.
• Donotblockanyventilationopenings.Installinaccordancewiththe
manufacturer’sinstructions.
• Donotinstallnearanyheatsourcessuchasradiators,heatregisters,
stoves,orotherapparatus(includingampliers)thatproduceheat.
• Donotdefeatthesafetypurposeofthepolarizedorgrounding-type
plug.Apolarizedplughastwobladeswithonewiderthantheother.A
groundingtypeplughastwobladesandathirdgroundingprong.The
widebladeorthethirdprongareprovidedforyoursafety.Whenthe
providedplugdoesnottintoyouroutlet,consultanelectricianfor
replacementoftheobsoleteoutlet.
• Protectthepowercordfrombeingwalkedonorpinchedparticularlyat
plugs,conveniencereceptacles,andthepointwheretheyexitfromthe
apparatus.
• Onlyuseattachments/accessoriesspeciedbythemanufacturer.
• Unplugthisapparatusduringlightningstormsorwhenunusedforlong
periodsoftime.
• Referallservicingtoqualiedservicepersonnel.Servicingisrequired
whentheapparatushasbeendamagedinanyway,suchaspower-supply
cordorplugisdamaged,liquidhasbeenspilledorobjectshavefallen
intotheapparatus,theapparatushasbeenexposedtorainormoisture,
doesnotoperatenormally,orhasbeendropped.
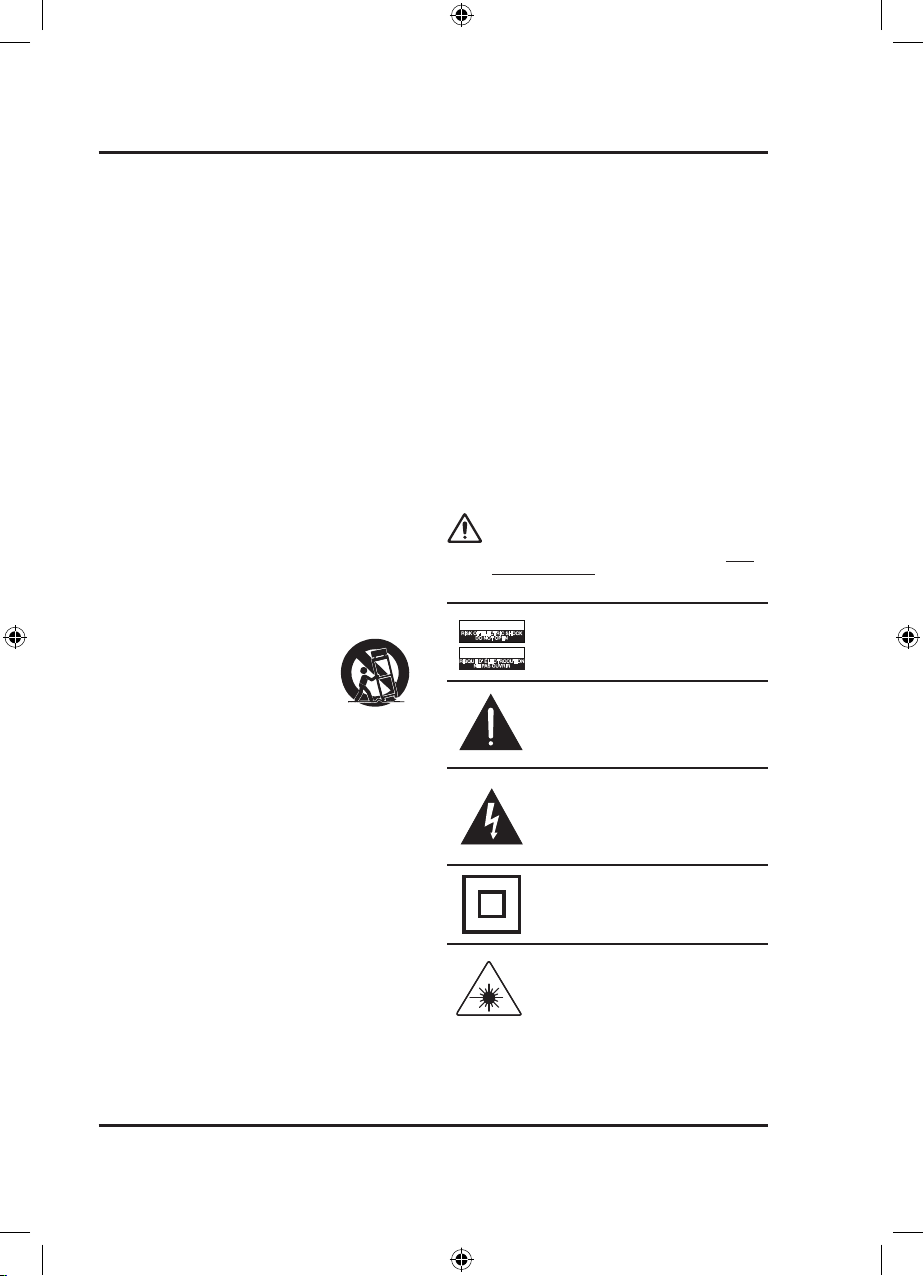
• Useonlywithacart,stand,tripod,bracket,ortablespeciedbythe
manufacturer,orsoldwiththeapparatus.Whenacartisused,use
cautionwhenmovingthecart/apparatuscombinationtoavoidinjury
fromtip-over.
FCC Warnings
ThisdevicecomplieswithPart15oftheFCCRules.Operationissubjectto
thefollowingtwoconditions:
(1)Thisdevicemaynotcauseharmfulinterference.
(2)Thisdevicemustacceptanyinterferencereceived,includinginterference
thatmaycauseundesiredoperation.
Warning:Changesormodicationstothisunitnotexpresslyapprovedbythe
partyresponsibleforcompliancecouldvoidtheuser’s
authoritytooperatetheequipment.
NOTE:Thisequipmenthasbeentestedandfoundto
complywiththelimitsforaClassBdigitaldevice,
pursuanttoPart15oftheFCCRules.Theselimits
aredesignedtoprovidereasonableprotectionagainst
harmfulinterferenceinaresidentialinstallation.This
equipmentgenerates,uses,andcanradiateradio
frequencyenergyand,ifnotinstalledandusedinaccordancewiththe
instructions,maycauseharmfulinterferencetoradiocommunications.
However,thereisnoguaranteethatinterferencewillnotoccurinaparticular
installation.Ifthisequipmentdoescauseharmfulinterferencetoradioor
televisionreception,whichcanbedeterminedbyturningtheequipmentoff
andon,theuserisencouragedtotrytocorrecttheinterferencebyoneor
moreofthefollowingmeasures:
• Reorientorrelocatethereceivingantenna.
• Increasetheseparationbetweentheequipmentandreceiver.
• Connecttheequipmentintoanoutletonacircuitdifferentfromthatto
whichthereceiverisconnected.
• Consultthedealeroranexperiencedradio/TVtechnicianforhelp.
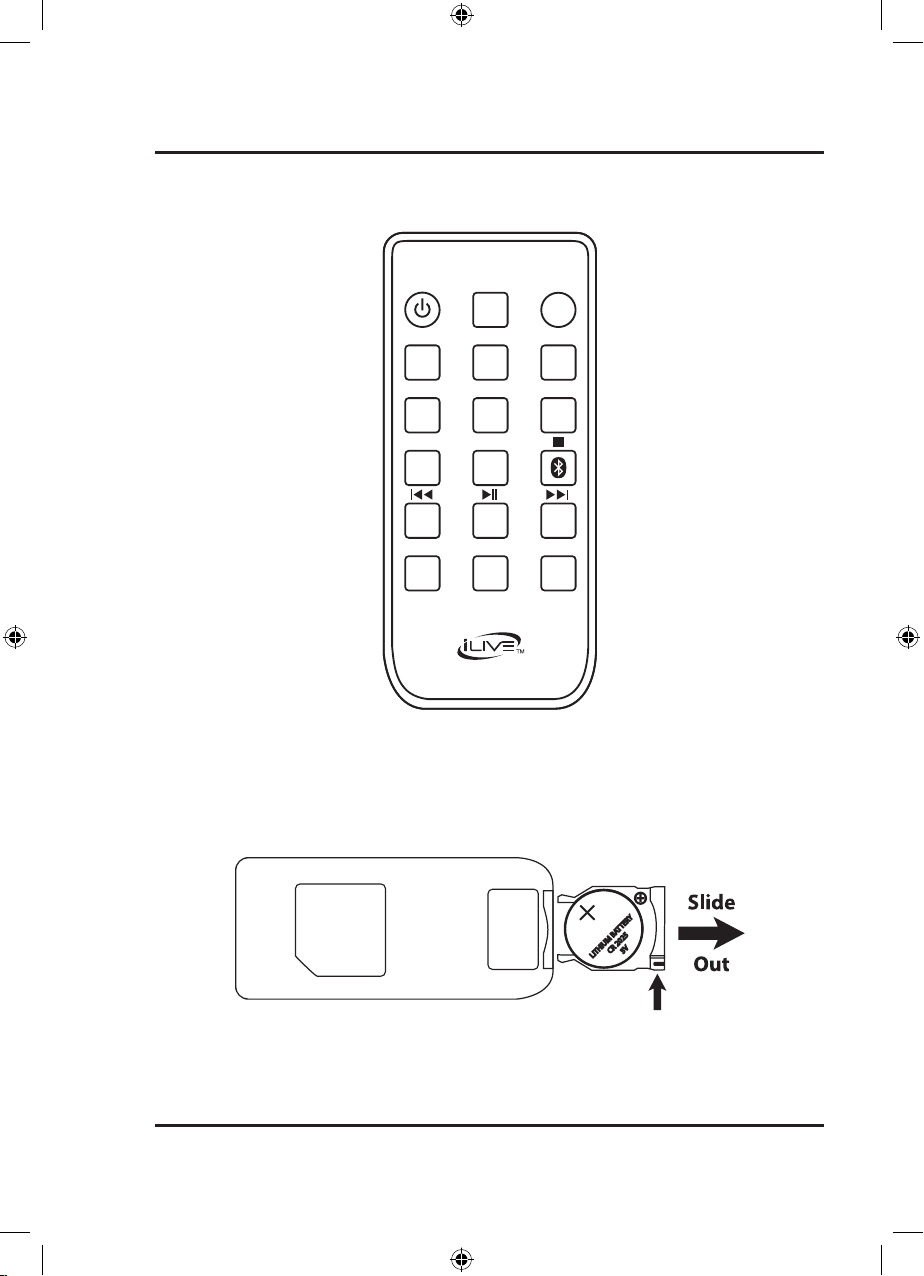
Battery Warnings
• WARNING:Donotingestthebattery,ChemicalBurnHazard.
• Theremotecontrolsuppliedwiththisproductcontainsacoin/button
cellbattery.
• Ifthecoin/buttoncellbatteryisswallowed,itcancausesevereinternal
burnsinjust2hoursandcanleadtodeath.
• Keepnewandusedbatteriesawayfromchildren.Iffthebattery
compartmentdoesnotclosesecurely,stopusingtheproductandkeepit
awayfromchildren.
• Ifyouthinkbatteriesmighthavebeenswallowedorplacedinsideand
partofthebody,seekimmediatemedicalattention.
• CAUTION:Dangerofexplosionifbatteryisincorrectlyreplaced.
Replaceonlywiththesameorequivalenttype.
• WARNING:Thereisadangerofexplosionifyouattempttocharge
standardAlkalinebatteriesintheunit.OnlyuserechargeableNiMH
batteries.
• Batteryshallnotbeexposedtoexcessiveheatsuchassunshine,reor
thelike.
• Donotmixoldandnewbatteries.
• Completelyreplacealloldbatterieswithnewones.
• Donotmixalkaline,standard(carbon-zinc),orrechargeable(ni-cad,
ni-mh,etc)batteries.
• Batteriesshouldberecycledordisposedofasperstateandlocal
guidelines.
• Thisequipmentshouldbeinstalledandoperatedwithminimumdistance
20cmbetweentheradiator&yourbody.
Additional Warnings and Precautions
• CAUTION:TOPREVENTELECTRICSHOCK,MATCHWIDE
BLADEOFPLUGTOWIDESLOT,FULLYINSERT.
• Mainsplugisusedasdisconnectdeviceanditshouldremainreadily
operableduringintendeduse.Inordertodisconnecttheapparatusfrom
themainscompletely,themainsplugshouldbedisconnectedfromthe
mainssocketoutletcompletely.
• CAUTION:Useofcontrolsoradjustmentsorperformanceofprocedures
otherthanthosespeciedmayresultinhazardousradiationexposure.
• WARNING:Changesormodicationstothisunitnotexpresslyapproved
bythepartyresponsibleforcompliancecouldvoidtheuser’sauthorityto
operatetheequipment.
• WARNING:Useofthisunitnearuorescentlightingmaycause
interferenceregardinguseoftheremote.Iftheunitisdisplayingerratic
behaviormoveawayfromanyuorescentlighting,asitmaybethe
cause.
• WARNING:Shockhazard-DoNotOpen.
• Cautionandmarkinginformationislocatedattherearorbottomofthe
apparatus.
• WARNING:Toreducetheriskofreorelectricshock,donotexpose
thisapparatustorain,moisture,dripping,orsplashing.
• Objectslledwithliquids,suchasvases,shallnotbeplacedonthe
apparatus.
WARNING:Toreducetheriskofelectric
shock,donotremovecover(orback).No
user-serviceablepartsinside.Referservicing
toqualiedservicepersonnel.
ATTENTION
RISQUE D' ÉLECTROCUTION
NE PAS OUVRIR
CAUTION
RISK OF ELECTRIC SHOCK
DO NOT OPEN
Theexclamationpointwithinanequilateral
triangleisintendedtoalerttheuserto
thepresenceofimportantoperatingand
maintenance(servicing)instructionsinthe
literatureaccompanyingtheappliance.
Thissymbolindicatesthatthisproduct
incorporatesdoubleinsulationbetween
hazardousmainsvoltageanduseraccessible
parts.
Thelightningashwitharrowheadsymbol,
withinanequilateraltriangle,isintendedto
alerttheusertothepresenceofun-insulated
“dangerousvoltage”withintheproduct’s
enclosurethatmaybeofsufcientmagnitude
toconstituteariskofelectricshocktopersons.
ThisproductutilizesaClass1lasertoread
CompactDiscs.ThislaserCompactDisc
Playerisequippedwithsafetyswitchesto
avoidexposurewhentheCDdoorisopenand
thesafetyinterlocksaredefeated.Invisible
laserradiationispresentwhentheCDPlayer’s
lidisopenandthesystem’sinterlockhasfailed
orbeendefeated.Itisveryimportantthatyou
avoiddirectexposuretothelaserbeamat
alltimes.Pleasedonotattempttodefeator
bypassthesafetyswitches.
WARNING : Thisproductcanexposeyouto
chemicalsincludinglead,whichisknowntotheState
ofCaliforniatocausecancerandbirthdefectsorother
reproductiveharm.Formoreinformationgotowww.
P65Warnings.ca.gov.This product meets and
complies with all Federal regulations.
IHB248-2048-01-IB-Lab.indd 3 24/01/2018 9:49:23 AM

4
Table of Contents
Setup . . . . . . . . . . . . . . . . . . . . . . . . . . . . . . . . . . . . . . . . . . . . . . . . . . . . . . . . . . . . . . . . . . . . . . . . . . . . . . . . . . . . . . . . . . . . . . . . 5
Features
Includes
Power
Battery Backup
Orientation . . . . . . . . . . . . . . . . . . . . . . . . . . . . . . . . . . . . . . . . . . . . . . . . . . . . . . . . . . . . . . . . . . . . . . . . . . . . . . . . . . . . . . . . . . 6
Attach Speakers
Connect Speakers
Controls & Inputs
Remote Control . . . . . . . . . . . . . . . . . . . . . . . . . . . . . . . . . . . . . . . . . . . . . . . . . . . . . . . . . . . . . . . . . . . . . . . . . . . . . . . . . . . . . . 8
Functions
Batteries
Connecting External Devices . . . . . . . . . . . . . . . . . . . . . . . . . . . . . . . . . . . . . . . . . . . . . . . . . . . . . . . . . . . . . . . . . . . . . . . . . . 9
Pairing Bluetooth & Playing Audio
Notes on Bluetooth
Aux In (3.5mm Audio Input)
CD & Radio . . . . . . . . . . . . . . . . . . . . . . . . . . . . . . . . . . . . . . . . . . . . . . . . . . . . . . . . . . . . . . . . . . . . . . . . . . . . . . . . . . . . . . . . . . 10
Loading and Playing a CD
Programming a CD
Playing the AM/FM Radio
Automatically Programming Radio Station Presets
Programming Radio Station Presets Manually
Clock, Sleep Timer & Alarm. . . . . . . . . . . . . . . . . . . . . . . . . . . . . . . . . . . . . . . . . . . . . . . . . . . . . . . . . . . . . . . . . . . . . . . . . . . 11
Setting the Clock
Setting the Sleep Timer
Setting the Alarm
Cancelling the Alarm
Customer Support . . . . . . . . . . . . . . . . . . . . . . . . . . . . . . . . . . . . . . . . . . . . . . . . . . . . . . . . . . . . . . . . . . . . . . . . . . . . . . . . . . . 12
Contact Information
Warranty
International Support
IHB248-2048-01-IB-Lab.indd 4 24/01/2018 9:49:23 AM

5
Setup
• Sleep timer
• Aux In (3.5mm audio input)
• LCD display with white
backlight
• Battery backup
• Full function remote
Features
• Bluetooth wireless: range 60 ft.
• 2 channel stereo sound
• CD player: CD, CD-R/RW
• Built-in AM radio antenna
• FM wire antenna
• Up to 20 AM and FM radio
memory presets
• Single alarm - wake to CD,
radio, or alarm
Power
Plug the AC power cord into the AC Power Input on the rear of the CD player and a standard wall outlet.
Battery Backup
Requires 2 AAA/1.5V batteries (not included).
Battery backup is for display and clock functions only. The unit will not play music on battery power.
Includes
• Remote control with CR2025
battery (pre-installed)
• AC power cord
• User's Guide & Warranty
IHB248-2048-01-IB-Lab.indd 5 24/01/2018 9:49:25 AM

6
Orientation
OPEN / CLOSE
POWERTUNE – / TUNE + / SOURCE
VOLUME – VOLUME + / PAIRCLK SET / MEM ALARM / MEM – DIMMER / MEM + / SCAN
OPEN / CLOSE
POWERTUNE – / TUNE + / SOURCE
VOLUME – VOLUME + / PAIRCLK SET / MEM ALARM / MEM – DIMMER / MEM + / SCAN
Flip out pegs
Connect to CD
Payer sides and
press down
Attach Speakers
Connect Speakers
Be sure to match the left and right speaker plugs to their corresponding inputs.
1
2
IHB248-2048-01-IB-Lab.indd 6 24/01/2018 9:49:27 AM

7
Controls & Inputs
OPEN / CLOSE
POWERTUNE – / TUNE + / SOURCE
VOLUME – VOLUME + / PAIRCLK SET / MEM ALARM / MEM – DIMMER / MEM + / SCAN
OPEN / CLOSE
POWERTUNE – / TUNE + / SOURCE
VOLUME – VOLUME + / PAIRCLK SET / MEM ALARM / MEM – DIMMER / MEM + / SCAN
Dust Cover & CD Player
DisplayRemote Signal Receiver
FM Wire AntennaRetractable Stands
CD Open/Close
Wall Mounting Points
Volume −/+
Alarm/Mem−
Tune−/Skip Back
Tune+/Skip Fwd
Source
Clock Set/Memory
Dimmer/Mem +
Play/Pause/Scan
Stop/ Pair Bluetooth
Power ON/OFF
IHB248-2048-01-IB-Lab.indd 7 24/01/2018 9:49:28 AM

8
Remote Control
MEM+
MEM–
POWER
SLEEP ALARM
CLOCK
REPEAT
RANDOM PROG/MEM
SOURCE
MUTEVOL–VOL+
DISPLAY Display
Press to display the clock.
Sleep
With the unit ON, press to
set the sleep timer.
Alarm
With the unit OFF, press to
begin setting alarm.
Press and hold to disable alarm.
Mem −/+
Press to cycle memory
presets (RADIO MODE).
Stop/Pair
Press to stop audio track.
Press to begin pairing to a Bluetooth
device (BLUETOOTH MODE).
Volume −/+
Press to adjust volume.
Mute
Press to mute volume.
Power
Press to power the system ON or OFF.
Source
Press to switch media source between FM/
AM radio, CD, Aux and Bluetooth modes.
Clock
Press to begin setting the
clock time (see pg. 11).
Repeat
Press to repeat 1 audio track or all
audio tracks on a loaded CD.
Random
Press to play random audio
tracks on a loaded CD.
Prog/Mem
Press to program tracks to play in
a specific order (CD MODE).
Press to program radio
stations (AM/FM MODE)
Skip Back/Fwd
Press to skip audio tracks
(CD/BLUETOOTH MODES).
Press and hold to search through
audio tracks (CD MODES).
Press to manually tune the
radio (RADIO MODE).
Play/Pause
Press to play or pause audio.
Press and hold to scan and
automatically save radio stations to
memory presets (RADIO MODE).
Press In
Batteries
Requires 1 CR2025 battery (included).
Functions
IHB248-2048-01-IB-Lab.indd 8 24/01/2018 9:49:28 AM

9
Aux In (3.5mm Audio Input)
Requires 3.5 mm audio input cable (not included).
1. Plug a 3.5 mm audio input cable into the Aux In on the rear of the unit and the headphone jack on a
smartphone or other audio source.
2. Set the Source to Aux and use the controls on your connected music player to select and play audio. Audio
played through the connected device will now be heard through the speakers.
Connecting External Devices
Pairing Bluetooth & Playing Audio
Note: This model features automatic Bluetooth pairing.
1. Set the Source to "bt" (Bluetooth Mode), the display will begin quickly flashing "bt". When pairing, remain
within 3 feet of the unit.
2. Using the controls on your Bluetooth device, select IHB248 in the Bluetooth Settings to pair. When successfully
paired, the "bt" indicator will turn solid. If need be, refer to the user’s manual for your specific device for more
information on Bluetooth pairing.
3. Use the controls on the connected Bluetooth device to select and begin playing audio. Use the controls on the
device or the unit to play, pause, skip tracks.
Notes on Bluetooth
• If the devices have not successfully connected, be sure the unit is in Bluetooth Mode. Press the Pair button until
the display begins quickly flashing "bt", then repeat steps 2 and 3.
• The speaker can remember multiple Bluetooth devices and will always try to re-connect to the last device used.
To re-connect to a different device, turn off Bluetooth on unwanted devices, then access the Bluetooth settings
menu on the device you wish to use and select IHB248.
IHB248-2048-01-IB-Lab.indd 9 24/01/2018 9:49:29 AM

10
CD & Radio
Playing the AM/FM Radio
This unit features an internal AM antenna and a pigtail FM antenna. To improve radio reception, adjust the position of
the unit.
1. Set the Source to AM or FM mode.
2. Use the Skip/Tune buttons to manually tune to a desired radio frequency.
Programming Radio Station Presets Manually
1. Use the Skip/Tune buttons to manually tune to a desired radio frequency.
2. Press Prog/Mem on the remote.
3. Use M −/+ to select a memory preset (P01-P20).
4. Press Prog/Mem to confirm and save the station.
Loading and Playing a CD
1. Press Open/Close on the CD door and place a CD in the tray, label side facing out, then close the CD tray.
2. Set the Source to CD mode.
3. Use the controls on the unit or the remote to begin playing the loaded disc.
Programming a CD
1. Press the Stop button to stop a loaded CD.
2. Press the Prog button on the remote ("P01”will blink on the display).
3. Press the Skip Back/Fwd buttons to select a track.
4. Press the Prog button to add the selected track to the program. Repeat this process to program up to 20 tracks
to play in a specified order.
5. Press the Play button to begin the program. Press the Skip buttons to advance or reverse through the program.
6. Press the Stop button at any time to cancel the program.
Automatically Programming Radio Station Presets
1. In AM or FM mode, press and hold the Play/Scan button on the unit or the remote. The unit will scan for radio
stations and automatically save up to 20 memory presets (P01-P20).
2. Press the Mem −/+ button to cycle through your memory presets.
IHB248-2048-01-IB-Lab.indd 10 24/01/2018 9:49:29 AM

11
Clock, Sleep Timer & Alarm
Cancelling the Alarm
1. After the alarm has sounded press the Power button to cancel it.
2. Press and hold the Alarm button to turn it off entirely. The alarm indicator on the display will disappear.
Setting the Clock
1. With the unit powered off, press the Clock Set/Mem button on the unit, or the Clock button on the remote.
2. The hour will begin flashing on the display. Press the Skip/Tune buttons on the unit or the remote to set the
hour. Be sure to note the PM indicator on the display.
3. Press the Clock Set/Mem or Clock button again.
4. The minutes will begin flashing on the display. Repeat Step 2 to set the minutes.
5. Press the Clock Set/Mem or Clock button again to finish setting the time.
Setting the Alarm
1. With the unit powered OFF, press the Alarm button on the unit or the remote.
2. The hour will begin flashing on the display. Press the Skip/Tune buttons on the unit or the remote to set the
hour. Be sure to note the PM indicator on the display.
3. Press the Alarm button again.
4. The minutes will begin flashing on the display. Repeat Step 2 to set the minutes.
5. Press the Alarm button again to set the alarm type.
6. The alarm type will begin flashing on the display. Repeat Step 2 to set the alarm type: Radio, CD or Buzzer.
7. Press the Alarm button again to finish setting the alarm.
Setting the Sleep Timer
1. With the unit powered ON, press the Sleep button on the remote. The display will show the amount of time in
minutes before the timer goes off.
2. Press the Sleep button to select the amount of time before the timer goes off: 90 minutes, 80, 70, etc.
3. Wait for the display to return to normal. “Sleep” will be visible on the display when the timer is on.
4. To turn the Sleep Timer off, perform Step 2 until the display reads “OFF”.
IHB248-2048-01-IB-Lab.indd 11 24/01/2018 9:49:29 AM

12
Protect for Today
Sustain for Tomorrow
Made
Green
International Support
To download this User’s Guide in English, Spanish, and French, or to get answers to frequently asked questions, visit
the support section at: www.iliveelectronics.com
Para descargar este Manual del Usuario en inglés, español y francés, o para obtener respuestas a preguntas frecuentes,
visite la sección de apoyo en: www.iliveelectronics.com
Pour télécharger ce guide de l’utilisateur en anglais, espagnol ou français, ou pour obtenir des réponses à des
questions fréquemment posées, consultez la rubrique d’assistance sur: www.iliveelectronics.com
Contact Information
Website: www.iliveelectronics.com
Phone Support: 1-888-999-4215
Warranty
For Warranty Information and the most up-to-date version of this User’s Guide, go to:
www.iliveelectronics.com
Customer Support
Copyright © 2018 Digital Products International (DPI, Inc.). All other trademarks appearing herein are the property of
their respective owners. Specifications are subject to change without notice.
IHB248-2048-01-IB-Lab.indd 12 24/01/2018 9:49:29 AM
Table of contents
Other iLive Micro Music System manuals