–4–
ENGLISH ESPAÑOL FRANÇAIS
GETTING STARTED
Grounding Instructions
This appliance must be grounded. This is accomplished by
ensuring the plug is inserted into a properly grounded outlet.
The appliance is equipped with a cord that has a grounding
wire and plug. When grounded, the risk of electric shock is
reduced by providing an escape wire for the electrical current.
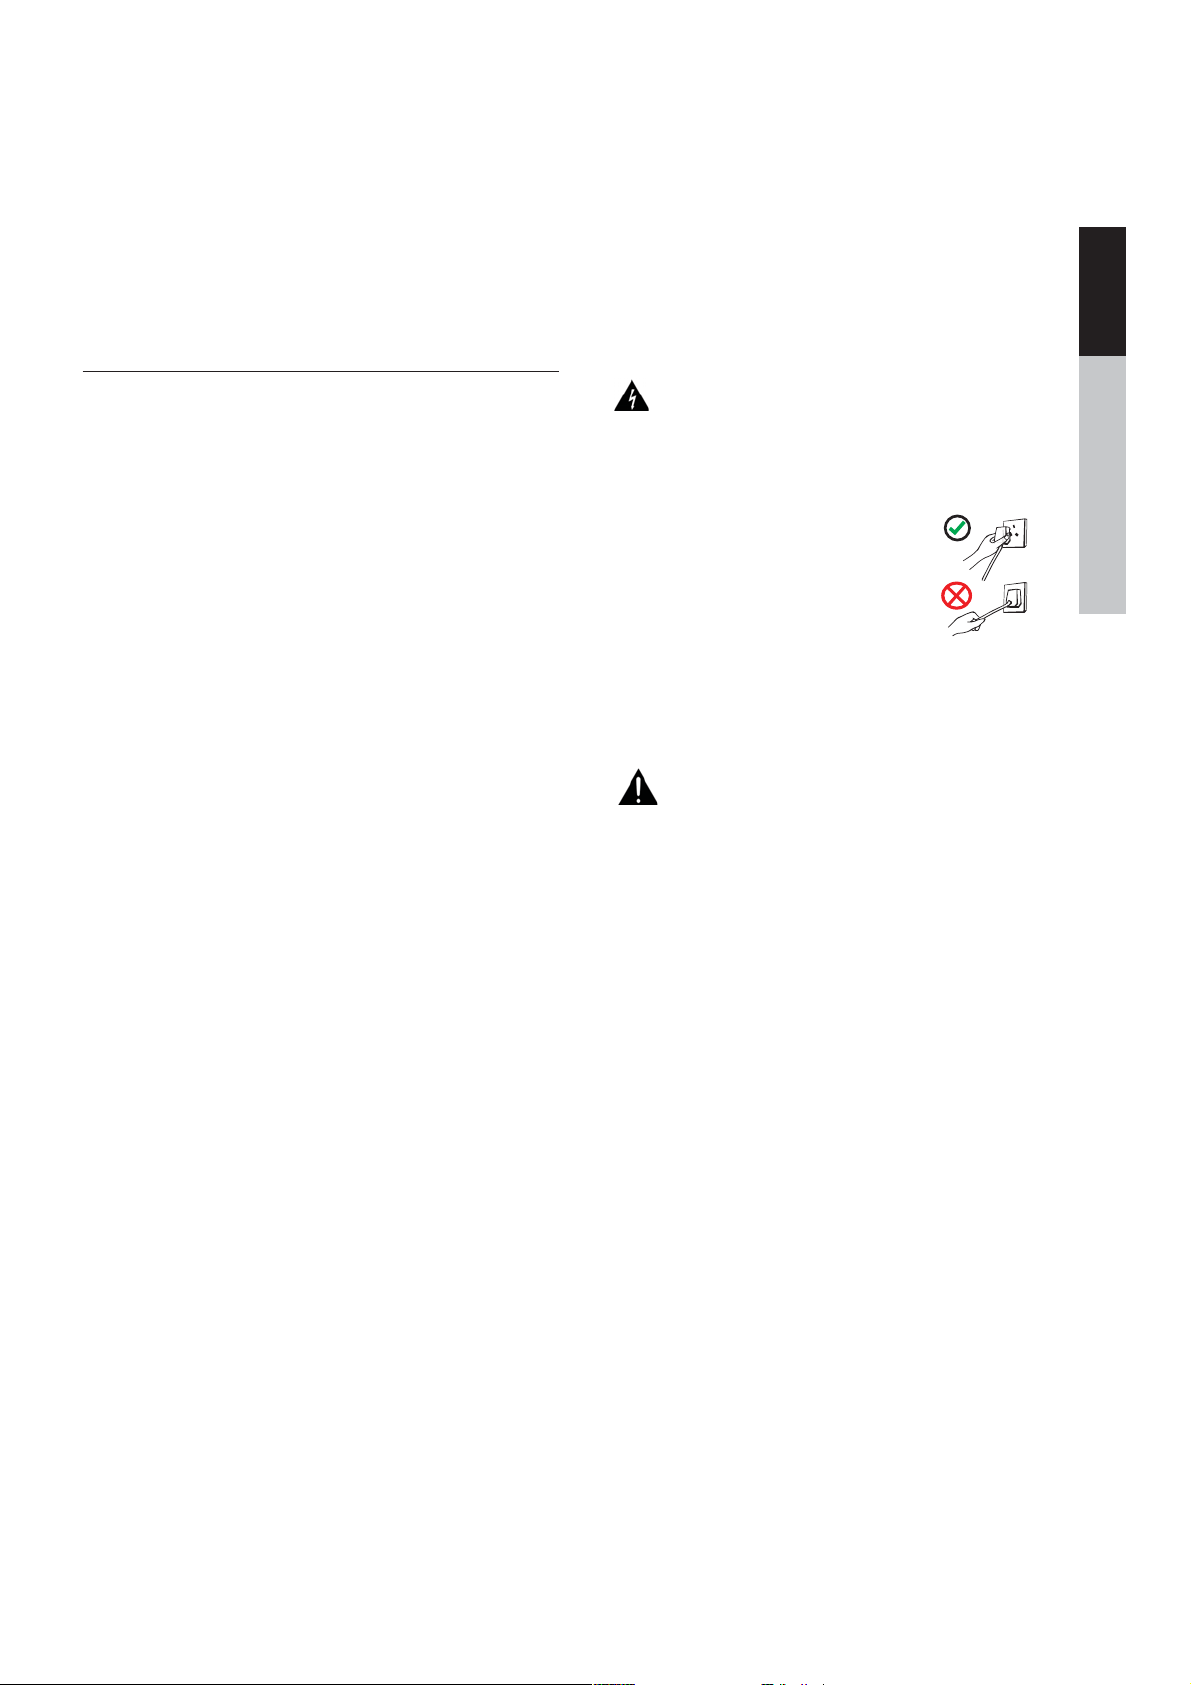
WARNING: Improper use of the grounding plug can re-
sult in electric shock. Consult a qualified electrician or
service person if the grounding instructions are not completely
understood, or if there is any doubt that the appliance or outlet
is not properly grounded.
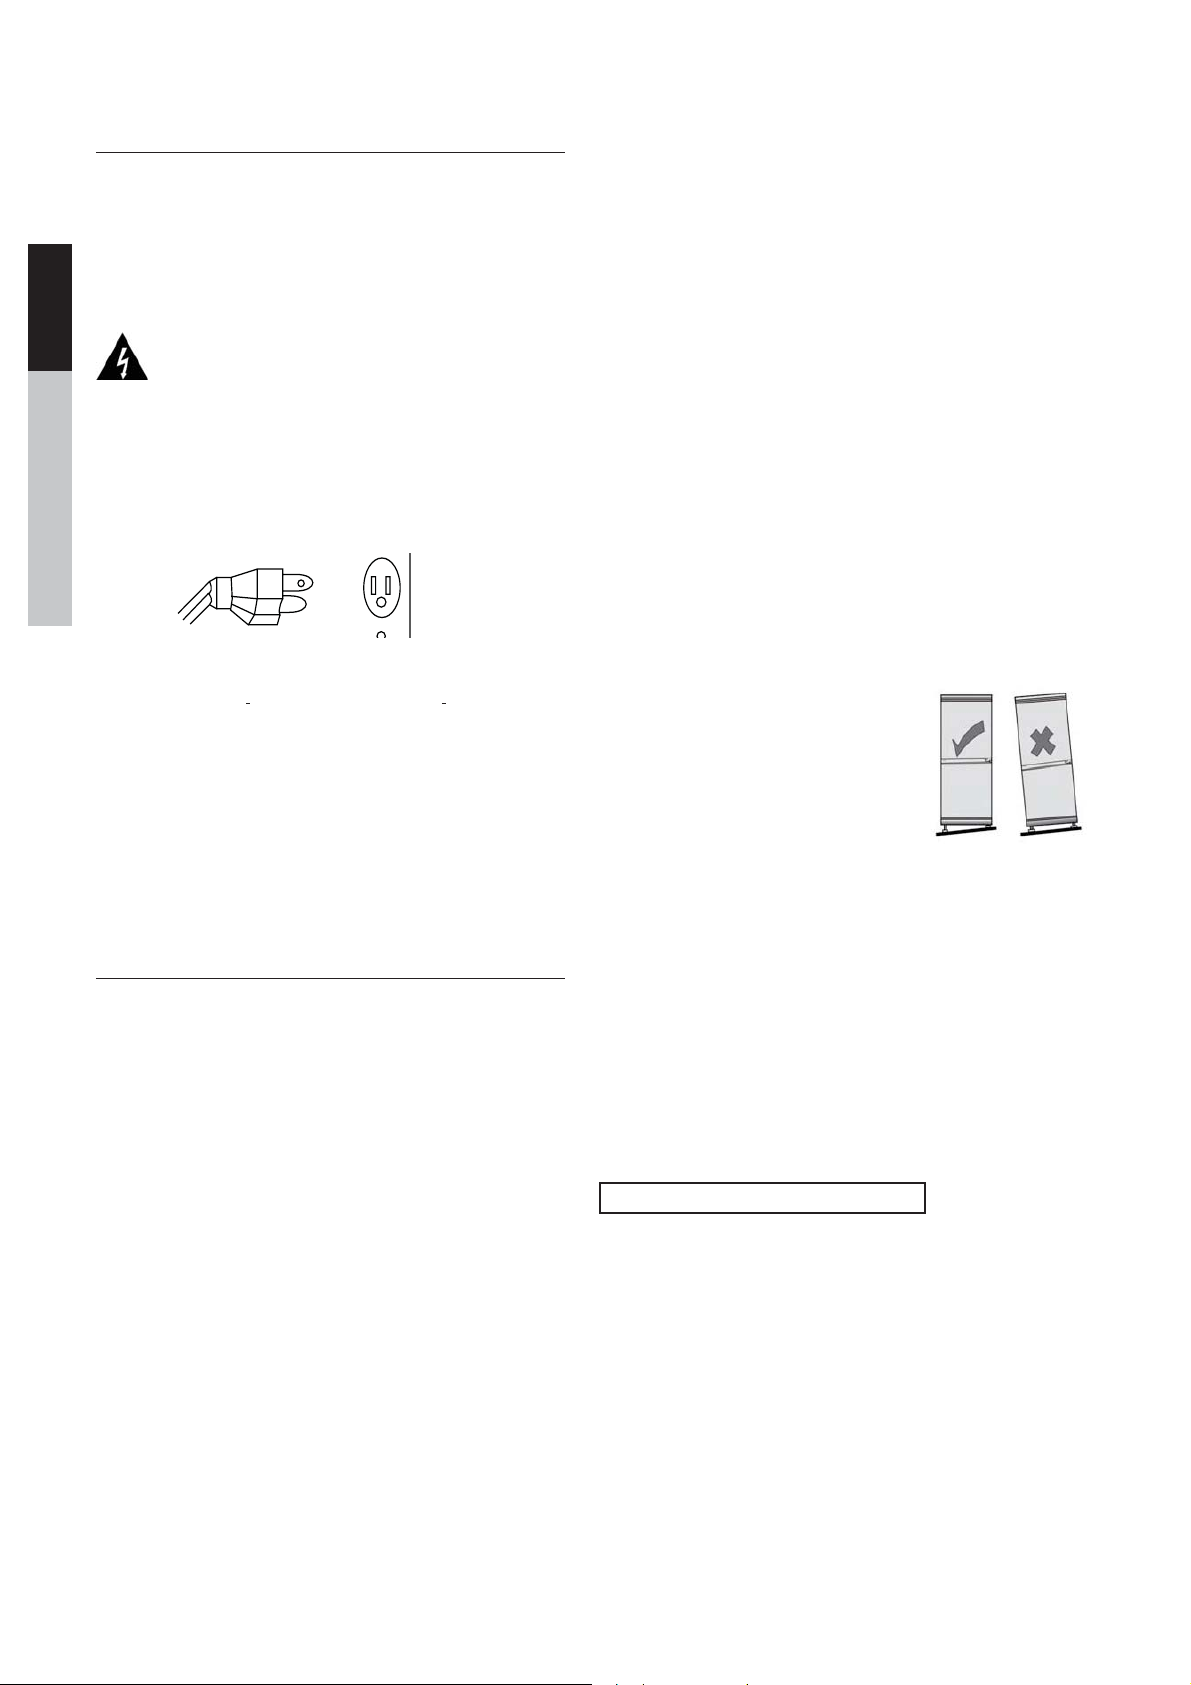
Power Supply
You must plug the appliance into a dedicated 110V-120V (60Hz)
3-pronged, grounded outlet. Do not use an extension cord.
Before discarding your old freezer:
Remove the door(s), leave any shelves in place (to help prevent
children from crawling in) and have it removed from your prem-
ises by a qualified technician, in accordance with the instruc-
tions provided with the old unit.
• Confirm with your retailer if they’ll remove and respon-
sibly dispose of (or recycle) your old freezer.
• Visit www.epa.gov/rad for more information on re-
sponsible appliance disposal.
INSTALLING YOUR APPLIANCE
Moving the appliance
CAUTION: To avoid serious injury, always ensure that any relo-
cation of the unit is always performed by two people. Use cau-
tion when moving the unit to ensure that the refrigeration cir-
cuit is not damaged. Never allow the unit to be tilted more than
45°, as this will damage the appliance. Handle the unit around
its sides and base. Never li the unit by holding the edges of the
top surface. If the unit has been tilted, it should be given ade-
quate time to settle in its upright position before use.
Install Location
When selecting a location for your unit, ensure the floor is a
flat, level surface (indoors) and that the room is well ventilated,
maintaining a temperature between 60.8°F and 90°F. Avoid lo-
cating your unit near a heat source such as an oven, stovetop,
boiler, or radiator. Avoid exposure to direct sunlight, as this may
increase electrical consumption. This unit is not designed for
use in a garage, or for outdoor installation. Extremely cold am-
bient temperatures may also prevent the unit from operating
eectively. This appliance is intended to be used in household
and similar applications, such as individual use in hotel rooms.
in kitchen areas inside shops and oices, or for catering and
other non-retail applications.
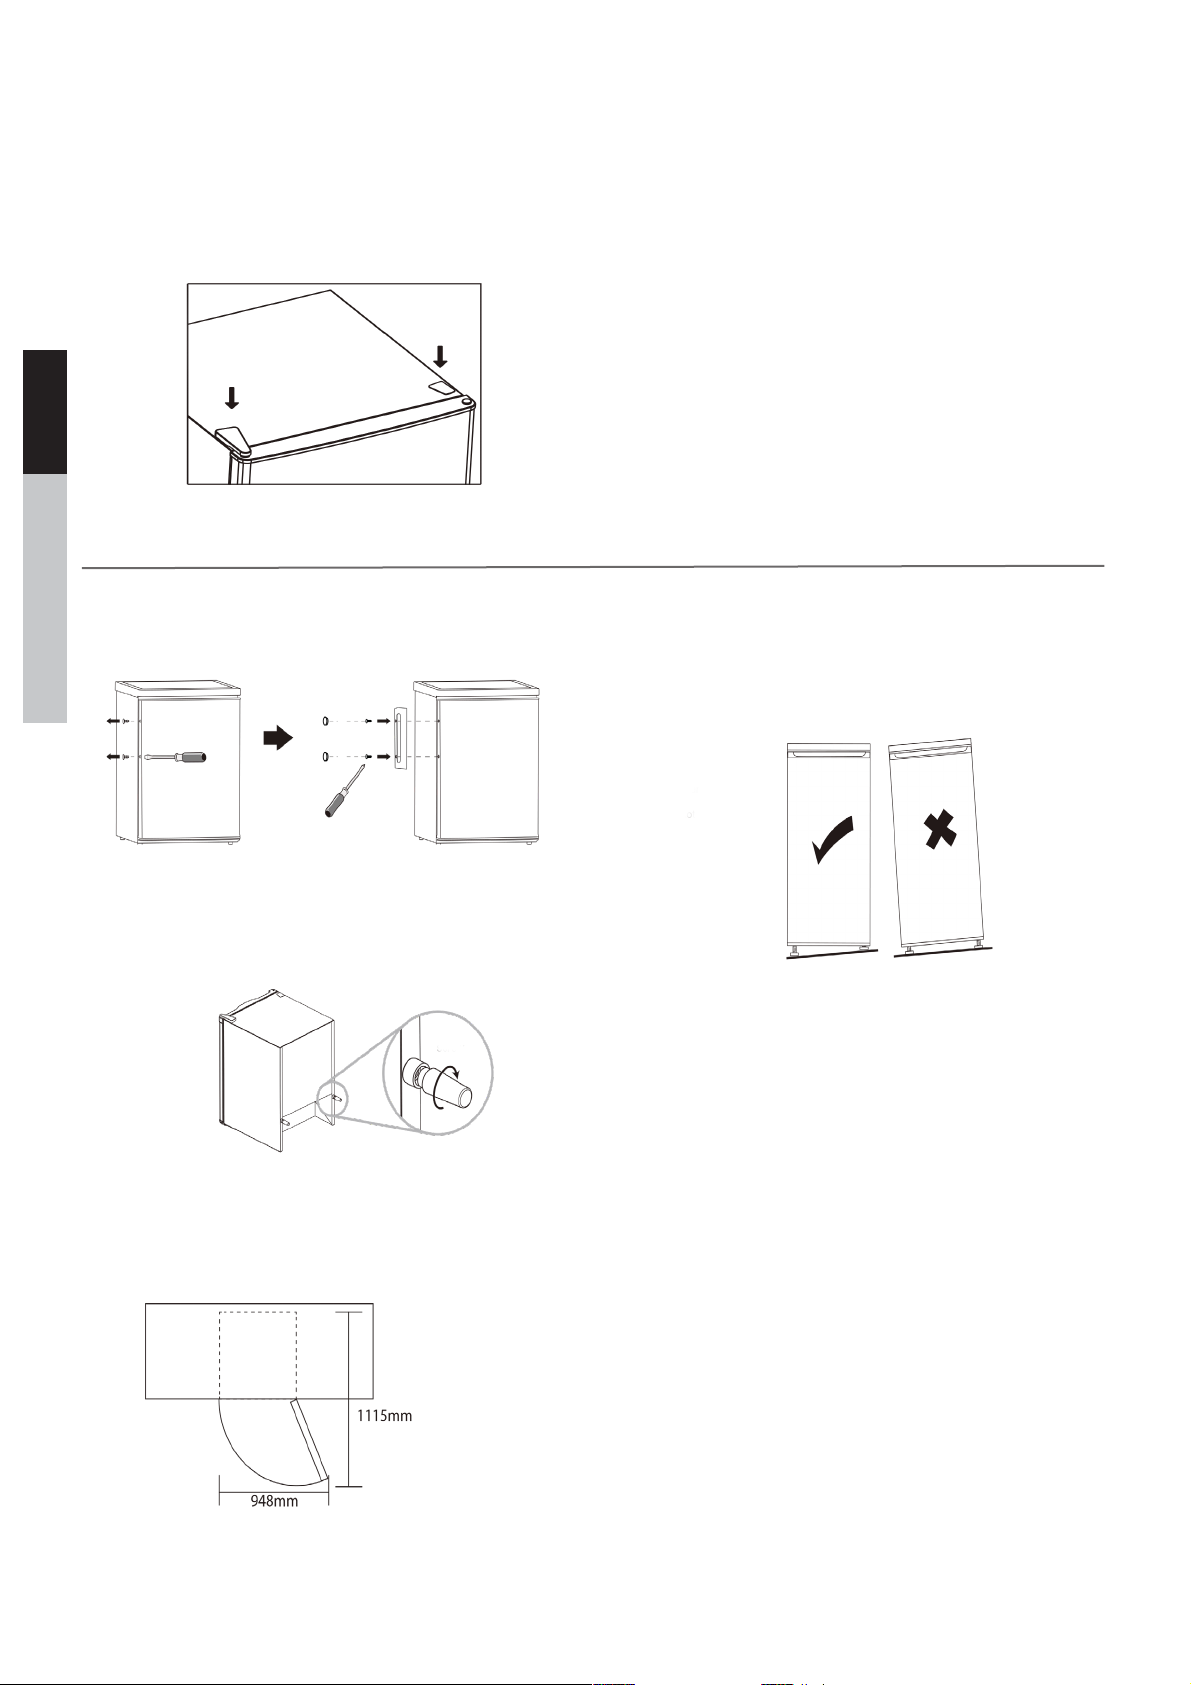
When installing the unit, ensure that there is adequate space for
the front door to fully open. Ensure that a minimum of 4 inch-
es of free space is le at the sides, front and rear. At the top of
the unit, ensure there is a minimum of 8 inches free space. This
will allow cold air to circulate through the freezer and improve
the eiciency of the cooling process. Do not place any covering
such as a drape or sheet on the unit. Clean the appliance before
first use.
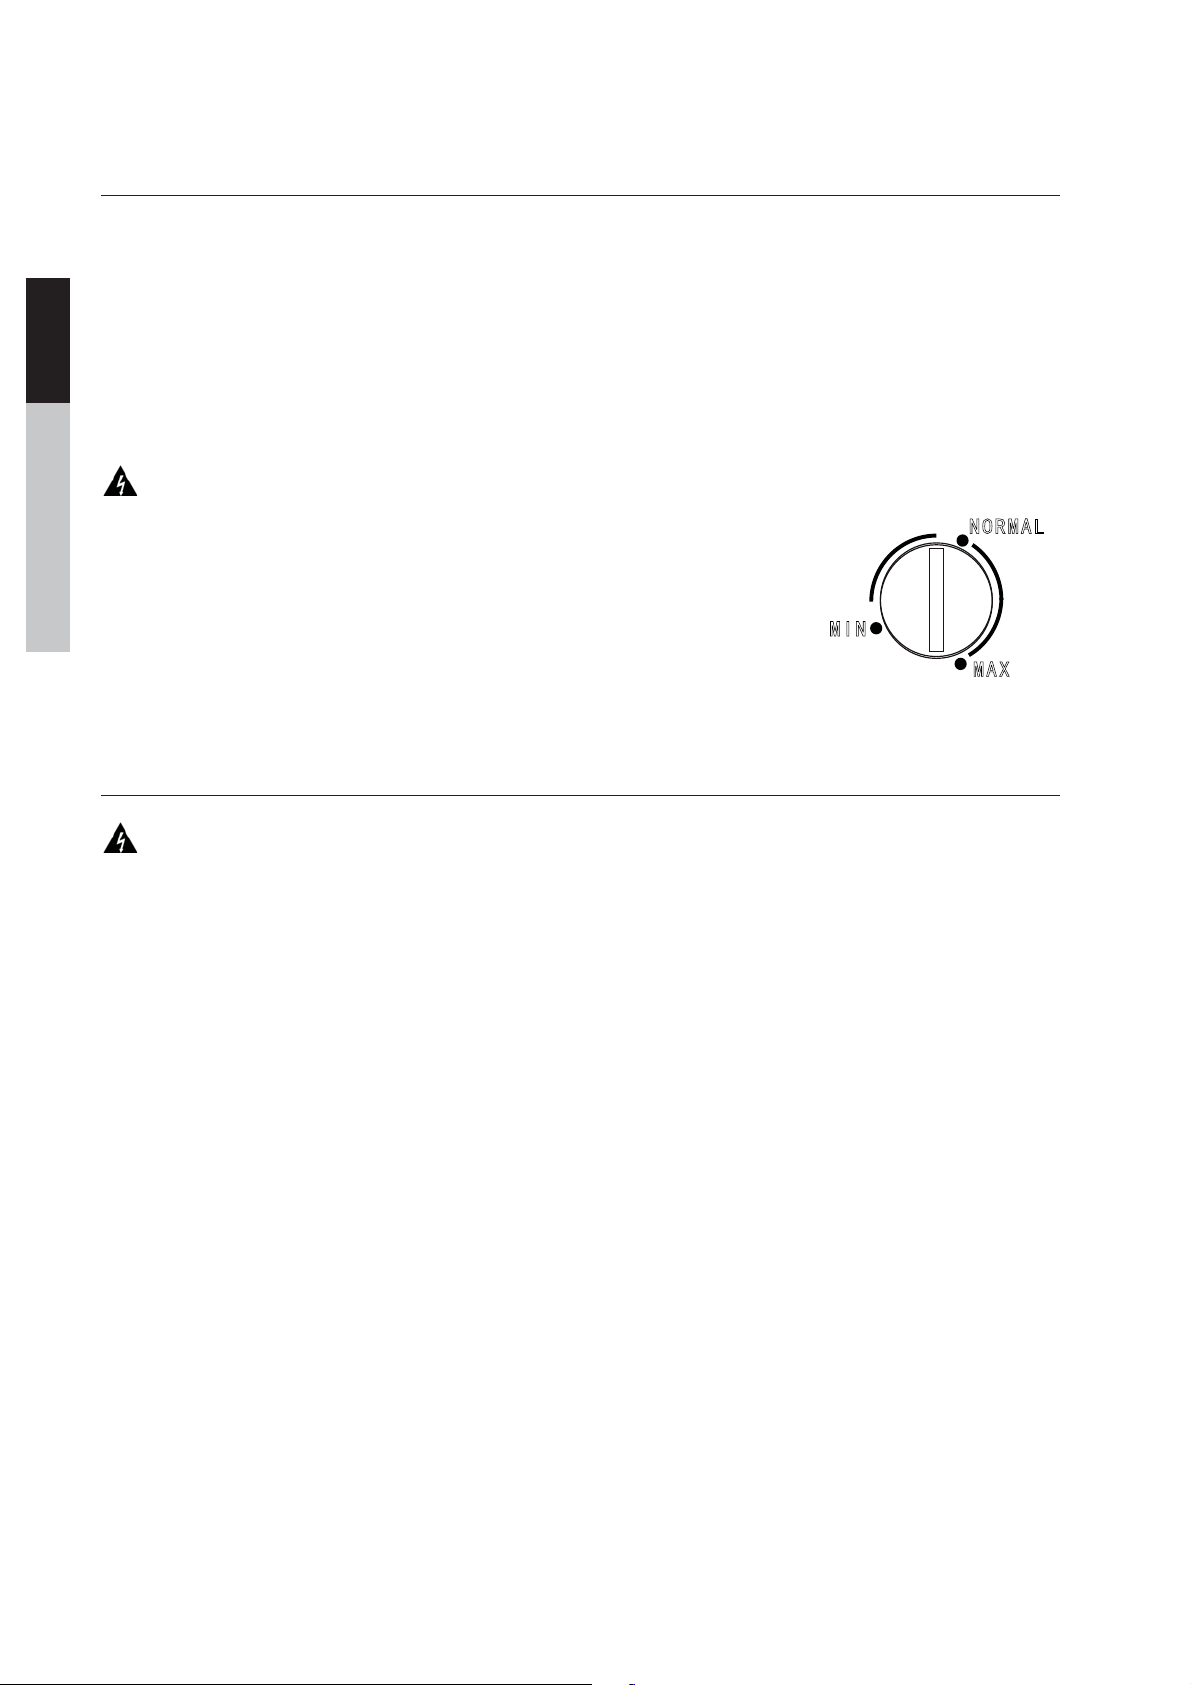
Leveling the Unit
It’s very important to keep the unit level to
prevent unnecessary movement and vi-
bration. This also helps to ensure that the
door closes properly. If the door does not
close securely, this will prevent eective
cooling and possibly damage the freezer.
To level the unit, turn the adjustable feet at
the front of the freezer clockwise or coun-
terclockwise to raise or lower the corner respectively.
Having a second person push carefully against the top of the
freezer will relieve some weight o of the leveling legs and
make them easier to adjust. However, ensure that the unit
has a wall to rest against so that it does not tip over and cause
damage or injury.
Serial and model number
Please record your model number and serial number below.
You can find the serial number on a sticker on the back of the
freezer, or on the product box.
Serial Number: ______________________________
Date of Purchase: ____________________________