In studio Prescott User manual
INSTRUCTION MANUAL
1215205
Prescott
CD Alarm
Clock Radio
Important Safety Instructions
• Readtheseinstructions.Allthesafetyandoperatinginstructionsshouldbereadbeforethisproductisoperated.
• Keeptheseinstructions.Thesafetyandoperatinginstructionsshouldberetainedforfuturereference.
• Heedallwarnings.Allwarningsontheapplianceandintheoperatinginstructionsshouldbeadheredto.
• Followallinstructions.Alloperatinganduseinstructionsshouldbefollowed.
• Donotusethisapparatusnearwater.Theapplianceshouldnotbeusednearwaterormoisture,forexample,inawet
basementornearaswimmingpool.
• Cleanonlywithdrycloth.
• Donotblockanyventilationopenings.Installinaccordancewiththemanufacturer’sinstructions.
• Donotinstallnearanyheatsourcessuchasradiators,heatregisters,stoves,orotherapparatus(includingampliers)that
produceheat.
• Donotdefeatthesafetypurposeofthepolarizedorgroundingplug.Apolarizedplughastwobladeswithonewiderthanthe
other.Agroundingplughastwobladesandathirdgroundingprong.Thewidebladeorthethirdprongisprovidedforyour
safety.Iftheprovidedplugdoesnottintoyouroutlet,consultanelectricianforreplacementoftheobsoleteoutlet.
• Protectthepowercordfrombeingwalkedonorpinchedparticularlyattheplugs,conveniencereceptacles,andatthepoint
wheretheyexitfromtheapparatus.
• Onlyuseattachments/accessoriesspeciedbythemanufacturer.
• Useonlywiththecart,stand,tripod,bracket,ortablespeciedbythemanufacturer,orsoldwiththe
apparatus.Whenacartorrackisused,usecautionwhenmovingthecart/apparatuscombinationto
avoidinjuryfromtip-over.
• Unplugtheapparatusduringlightningstormsorwhenunusedforlongperiodsoftime.
• Referallservicingtoqualiedpersonnel.Servicingisrequiredwhentheapparatushasbeendamagedinanyway,suchas
powersupplycordorplugisdamaged,liquidhasbeenspilledorobjectshavefallenintotheapparatushasbeenexposedto
rainormoisture,doesnotoperatenormally,orhasbeendropped.
• Pleasekeeptheunitinawell-ventilatedenvironment.
• WARNING:Toreducetheriskofreorelectricshock,donotexposethisapparatustorainormoisture.
Theapparatusshallnotbeexposedtodrippingorsplashingandthatobjectslledwithliquids,suchasvases,shallnotbe
placedontheapparatus.
• WARNING:Themainpowerplugisusedasadisconnectdevice,thedisconnectdeviceshallremainreadilyoperable.
• WARNING:Toreducetheriskofelectricshock,donotremovecover(orback)astherearenouser-serviceablepartsinside.
Referservicingtoqualiedpersonnel.
• WARNING:Thebatteriesshallnotbeexposedtoexcessiveheatsuchassunshine,reorthelike.
• Theapparatusshouldbeconnectedtoapoweroutletwithaprotectivegroundingconnection.
• Toreducetheriskofelectricshock,donotremovecover(orback)asthereareno-user-serviceablepartsinside.Refer
servicingtoqualiedpersonnel.
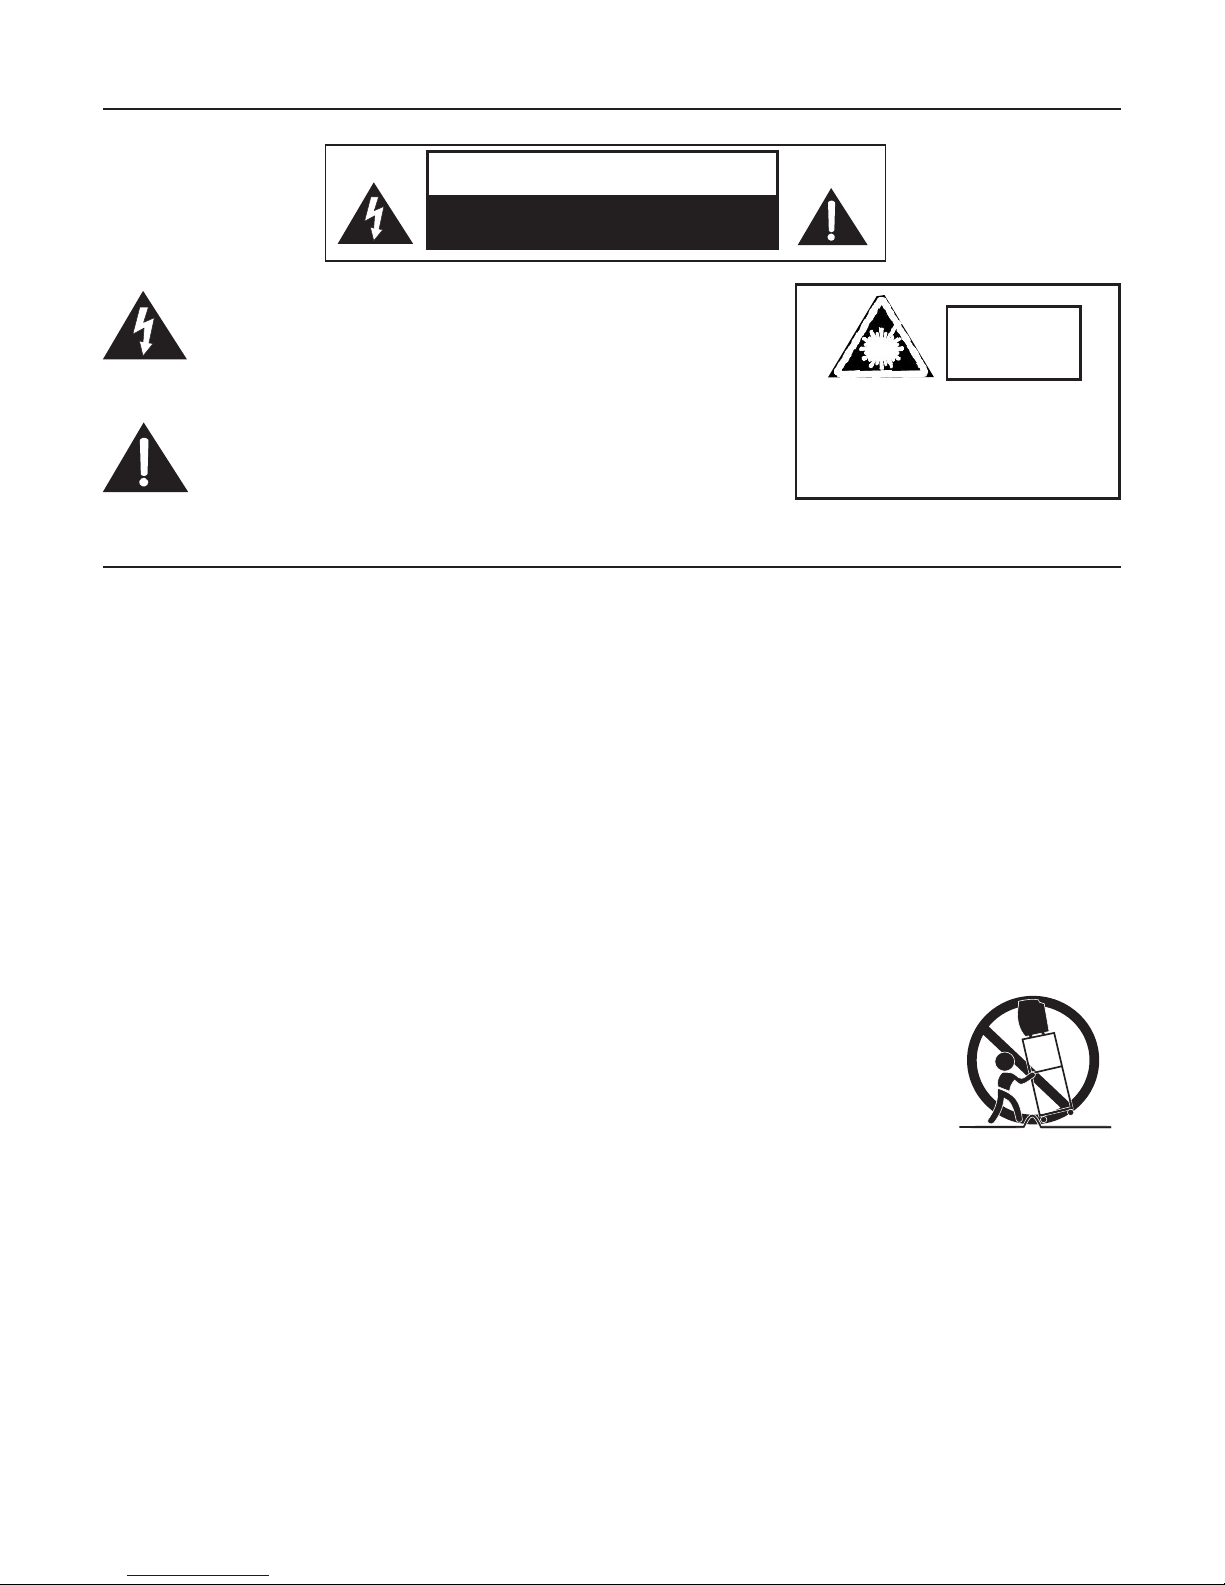
CAUTION
RISK OF ELECTRIC SHOCK
DO NOT OPEN
Thelightningashwitharrowheadsymbol,withinanequilateraltriangle
isintendedtoalerttheusertothepresenceofuninsulated“dangerous
voltage”withintheproductsenclosurethatmaybeofsufcientmagnitude
toconstituteariskofelectricshocktothepersons.
Theexclamationpointwithinanequilateraltriangleisintendedtoalertthe
usertothepresenceofimportantoperatingandmaintenance(servicing)
instructionsintheliteratureaccompanyingtheappliance.
Important Safety Instructions
CAUTION:INVISIBLELASER
RADIATIONWHENOPENAND
INTERLOCKSDEFEATED.
AVOIDEXPOSURETOBEAM.
CLASS 1
LASER
PRODUCT

1
Table of Contents
Introduction......................................................2
Setting a Safe Volume Level .......................................2
Condensation...................................................2
Saving Energy ..................................................2
Unpacking .....................................................2
Location of Controls and Functions ..................................2
LED Indicator Positions ...........................................3
Power Supply ...................................................3
Back-up Batteries ...............................................3
Time Setting ....................................................3
Headphone Jack ................................................3
General Operating Instructions......................................4
Radio .........................................................4
Tips for Better reception ...........................................4
CD ...........................................................4
Track Indication .................................................4
Playback/Pause.................................................4
Stop/Playback ..................................................4
Selecting a Different Track.........................................4
Search for a Certain Position (only during playback).....................4
Repeat Mode ...................................................5
Programming CD Play . . . . . . . . . . . . . . . . . . . . . . . . . . . . . . . . . . . . . . . . . . . . 5
Reviewing Programmed Tracks .....................................5
Deleting Programmed Tracks.......................................5
Alarm Functions ..................................................6
Adjusting the Alarm Time ..........................................6
1st Alarm (ALARM1) .............................................6
2nd Alarm (ALARM2) .............................................6
Wake to Buzzer .................................................6
Wake to Radio ..................................................6
Wake to CD Music ...............................................6
Stopping the Alarm...............................................6
Sleep Mode ....................................................6
Disc Cleaning and Maintenance . . . . . . . . . . . . . . . . . . . . . . . . . . . . . . . . . . . . . 7
Handling CDs ...................................................7
Storage........................................................9
Cleaning .......................................................9
Troubleshooting .................................................10
Technical Specications ..........................................10
FCC ........................................................... 11
Warranty ....................................................... 11
Important Safety Instructions

2
23
22
1. CLOCK ADJ: Clock adjustment button
2. ALARM 2: Alarm 2
3. ALARM 1: Alarm 1
4. VOLUME: Volume control
5. PHONES: Headphone jack
6. SNOOZE: Snooze
7. CD door
8. OPEN: Open the CD door
9. STANDBY/ON: Off/On
10. BUZZER/AM/FM/CD: Function selector
11. TUNING: Tuning control
(frequency is shown on the rotary knob)
12. Speaker
13. STOP: Stop CD playback
14. >>I / HOUR: Next track/search track forward/set
hours
15. I<< / MINUTE: Previous track/search track
backward/set minutes
16. PLAY/PAUSE: Start/pause playback
17. Display
18. SLEEP: Sleep function
19. DISPLAY: Track indication during CD play-back
20. REPEAT/RANDOM: Repeat tracks/random
playback
21. PROGRAM: Program tracks
22. Power cord
23. Battery compartment
Introduction
Setting a Safe Volume Level
• Ifyoucontinuallylistentoloudmusic,yourhearinggraduallyadaptstoitandgivesyoutheimpression
that the volume is lower.
• Whatseemsnormaltoyoumaybetooloudandposearisktoyourhearing.
• Toprotectyourselffromthis,setthevolumetoalowlevel.Increasethevolumeslowly.
• Damagetoyourhearingcanbeextensiveandcannotbereversed.
Condensation
• Condensationmayoccurwhenmovingthedevicefromacoldtoawarmenvironment.Ifthereismoisture
insidetheplayer,itmaynotoperateproperly.Don’tturnonthedeviceandwaitaboutonehourforthe
moisture to evaporate.
Saving Energy
• Duringnonuseoftheunititisadvisabletoturnofftheplayerwiththepowerswitch.
• Iftheunitisnotusedforalongperiodoftime,itshouldbeunpluggedfromtheACsocket.
Unpacking
• Carefullyremovetheunitfromthepackaging.Pleasekeepthepackagingforfurtheruse.
• Carefullyremovepossibleprotectioncardboardsandslipcovers.
Location of Controls and Functions
21
20 19 18 17 16 12
13
14
15

3
Power Supply
• TheunitisdesignedforAC120V~60Hzpowersupply.
•Donotconnecttheunittoanyotherpowersupplytoavoiddamagethatisnotcoveredbyyourwarranty.
• Disconnectfrompowerwhennotinuse.
Back-up Batteries
Inserttwo“AAA”,1.5Vbatteries.Pleaseobservethecorrectpolaritymarkedinsidethebatterycompartment
(“+” and “-”). Preferably use alkaline batteries. In case of power failure the battery will keep the alarm and
time settings without displaying them. In the event of a power failure the radio and CD operation will stop.
Time Setting
1. Connect the power plug to a wall socket.
2.Thedisplaywillflash12:00afterconnectingtothepowersourceforthefirsttime.
3.Pressandholdthebutton>>I/HOURforfastsettingortapitbrieflytoincreasethesettingbyonehour.
4.PressandholdthebuttonI<</MINUTEforfastsettingortapitbrieflytoincreasethetimesettingbyone
minute.
5.PresstheCLOCKADJbuttononcetoconfirm.Thetimeindicationstopsflashing.
6. To adjust the 12 or 24 hour time format press and hold the CLOCK ADJ button for 2 seconds. The display
shows either 12H or 24H.
Note:Iftheclockwassetbefore,presstheCLOCKADJbuttononce.Theadjustedtimeflashesonthe
display; continue on to step 3.
Headphone Jack
The 3.5 mm mini stereo plug is provided for headphone listening. Connect your headphones (not included)
for private listening. When connecting the headphones the speakers are automatically muted.
A. ALARM 1: Alarm 1 activated
B. POWER: Turned on
C. RANDOM: Random playback activated
D. PM: 12 hours time format activated
E. SNOOZE: Snooze activated
F. REPEAT: Repeat function activated
G. PROGRAM: Program function activated
H. SLEEP: Sleep function activated
I. ALARM 2: Alarm 2 activated
LED Indicators
A
I
B
GH
C
F E D

4
Radio
1. Press the STANDBY/ON button to turn on the device.
2. Select the desired radio frequency band AM or FM with the function selector BUZZER/AM/FM/CD.
3. Select the desired station with the TUNING rotary knob. The adjusted frequency for the corresponding
frequency band will be shown on the TUNING rotary knob.
4. Adjust the volume with the VOLUME control.
5. Press the STANDBY/ON button to turn off the device.
Tips for Better Reception
FM: For best reception fully unwind the FM pigtail antenna at the rear of the unit.
AM: The unit comes with a built-in ferrite antenna. For best reception change the direction of the unit.
CD
1. Press the STANDBY/ON button to turn on the device. The indication POWER turns on.
2. Slide the function selector to the CD position.
3. Open the door of the CD drive by pressing the OPEN button. Place a CD with the label facing upwards
on the CD compartment and close it again. The total number of tracks will be shown for 2 seconds.
Afterwards the current time will be displayed again.
4. Start the playback by pressing the PLAY/PAUSE button.
Track Indication
Press the DISPLAY button during playback of a CD to show the current track number (for a few seconds).
In the stop mode the total number of tracks are shown.
Playback/Pause
1.IfthePLAY/PAUSEbuttonispressedinthestopmode,theplaybackofthefirsttrackstarts.
2.IfthePLAY/PAUSEbuttonispressedintheplaybackmode,theplaybackispausedandthetracknumber
flashesfor2secondsonthedisplay.
Stop Playback
IftheSTOPbuttonispressedintheplaybackorpausemode,theplaybackisstoppedandthetotalnumber
of tracks will be shown on the display.
Selecting a Different Track
1.PressI<</MINUTEor>>I/HOUR,untilthedesiredtracknumberisshownonthedisplay.
2.PressI<</MINUTEbrieflytoreturntothebeginningofthecurrenttrack.
3.PressI<</MINUTEagain(within1secondafterthefirstkeystroke)toskipbackonetrackatatime.
4. Press >>I / HOUR to skip to the next track.
Search for a Specic Position (Only During Playback)
Press and hold I<< / MINUTE or >>I / HOUR to search for the desired position within the track. Normal
playbackcontinuesifthebuttonisreleased.Insearchmode,thevolumeisreduced.
General Operating Instructions

5
Repeat Mode
Press the REPEAT/RANDOM button during playback and the current played track or the whole CD can be
repeated. Each press switches the repeat mode:
Programming CD Play
Upto20trackscanbeprogrammedinaspecificsequence.
1. Press the STANDBY/ON button to turn on the device. The indication POWER turns on.
2. Slide the function selector to the CD position.
3. During the stop mode press the PROGRAM button.
OnthedisplayPROGP01isshownbrieflyandthen.00flashes.
4. Select the desired track number with the I<< / MINUTE or >>I / HOUR search buttons.
5. Save the selected track by pressing PROGRAM in the memory.
6. Now on the display PROG P02 is indicated.
7.Repeatsteps4and5,untilall20tracksareprogrammed.Afterinserting20tracksinthememorypress
thePLAY/PAUSEbuttontostarttheplaybackofthefirsttitle.
Reviewing Programmed Tracks
In the stop mode press the PROGRAM button. The programmed track numbers will be shown in the
programmed order each time you press the PROGRAM button.
Deleting Programmed Tracks
Press STOP twice or open the CD door to cancel the programmed playback.
General Operating Instructions
1. Repeat current
track
The REPEAT indicator
flashes.
2. Repeat all tracks
The REPEAT indicator
is steadily on.
3. Random play-back
The RANDOM indicator
is steadily on.
4. Turn off repeat mode/
random playback
The indicators for REPEAT
and RANDOM are turned off.

6
This unit allows you to set two different wake up times with the ALARM 1 and ALARM 2 buttons.
ADJUSTING THE ALARM TIME
1st Alarm (ALARM 1)
1. Press the STANDBY/ON button once to turn off the device.
2. PresstheALARM1buttononce.TheLEDALARM1lightsupand0:00flashesonthedisplay.
3. Then press the >>I / HOUR button to adjust hour (1-24).
4. Afterwards,presstheI<</MINUTEbuttontoadjustminutes.
5. Toconclude,presstheALARM1buttonagain.
2nd Alarm (ALARM 2)
1. Press the STANDBY/ON button once to turn off the device.
2. PresstheALARM2buttononce.TheLEDALARM2lightsupandand0:00flashesonthedisplay.
3. Then press the >>I / HOUR button to adjust hour (1-24).
4. Afterwards,presstheI<</MINUTEbuttontoadjustminutes.
5. Toconclude,presstheALARM2buttonagain.
Wake to Buzzer
Select with the function selector BUZZER/AM/FM/CD the option BUZZER after wake up time is set.
Wake to Radio
1. Follow procedures under Radio to select your desired radio station.
2. Press the STANDBY/ON button once to turn off the device.
3. Select the desired radio frequency band AM or FM with the function selector BUZZER/AM/FM/CD.
4. Set desired volume.
5. Follow procedures under Adjusting the Alarm Time to set the wake up time.
Wake to CD Music
1 Follow procedures under CD.
2. Press the STANDBY/ON button once to turn off the device.
3. Select with the function selector BUZZER/AM/FM/CD the option CD.
4. Set desired volume.
5. Follow procedures under Adjusting the Alarm Time to set the wake up time.
Note:
If the alarm sound is not stopped manually by the button SNOOZE or STANDBY/ON the system will turn off
the alarm sound after 60 minutes.
Stopping the Alarm
The alarm is programmed to run for 60 minutes.
1. PresstheSNOOZEbuttontostopthealarmtemporarily,thealarmwillstopandringagainautomatically
after 6 minutes.
2. PresstheSTANDBY/ONbuttontostopthealarmtemporarily,thealarmwillsoundagain24hourslater.
3.Toturnoffthealarmpermanently,presstheALARM1orALARM2button,thealarmLEDindicatorswill
turn off.
Sleep Mode
1. Select your desired mode to be used by the sleep function.
2. PressSLEEPbutton,theLEDSLEEPlightsupundthedevicewillgotothesleepmode.
3. Press SLEEP button again to select the desired sleep time (4 possibilities: 90 - 60 - 30 - 15 minutes).
4. TurnoffthesleepfunctionbypressingSLEEP,untiltheLEDindicatorSLEEPturnsoff.
Alarm Functions

7
Handling CDs
• RemovetheCDfromitscover.
• Donottouchthesurfaces.
• DonotattachstickerstoCDsanddonotwriteonthem.
• DonotbendCDs.
Storage
• AlwaysstoreCDsintheircover.
• Donotsubjectdiscstodirectsunlight,dirty,dustyanddampareasorcarheaters.
Cleaning
• CleanCDswithasoftcloth.
• CleanCDsfromthecentertotheedge.
FROM THE CENTRE TO THE EDGE
Disc Cleaning and Maintenance
CORRECT INCORRECT

8
Tosolvethecommonproblems,readandfollowthetroubleshootinglist.Ifyoustillcannotsolvethe
problem,consultyournearestservicedealer.
PROBLEM POSSIBLE CAUSE SOLUTION
General
No sound
Volume is set too low.
Power cable not connected.
Adjust the volume.
Connect power cable correctly.
No key function Electrostatic charge. Disconnect the power plug for a few
seconds,thenre-connectitandturn
on the device again
Radio
Poor reception The (AM or FM) radio station not tuned
properly.
FM: the wire antenna is not directed
properly.
AM: the device is not directed properly.
Interferences by other appliances
(TVsets,VCRs,computers,etc.)
Tune to the radio station again.
FM: adjust the wire antenna.
AM: adjust the unit.
Increase the distance from other
electric appliances.
CD
No playback
Faulty playback
The CD is inserted upside down.
The CD is dirty or damaged.
The CD is steamy.
The CD is dirty or damaged.
Reinsert CD with label side facing up.
Replace or clean the CD.
Wipe with a soft cloth.
Replace or clean the CD.
Technical Specications
GENERAL
Power supply: AC 120V~60Hz
Power consumption: 12 W
Back-up battery: DC 3V (2 x AAA battery 1.5V) (not included)
RADIO
Frequency band: FM 88 - 108 MHz
AM 530 - 1710 kHz
Antenna: FM pigtail antenna
AM built-in ferrite antenna
CD PLAYER
Playback system: Compact disc digital audio system
Dimensions: 23 x 16 x 8 cm (L x W x H)
Weight: Approx. 1.2 kg
Troubleshooting

9
ThisequipmenthasbeentestedandfoundtocomplywiththelimitsforaClassBdigitaldevice,pursuant
to Part 15 of the FCC Rules. These limits are designed to provide reasonable protection against harmful
interference in a residential installation.
Thisequipmentgenerates,usesandcanradiateradiofrequencyenergyand,ifnotinstalledandusedin
accordancewiththeinstructions,maycauseharmfulinterferencetoradiocommunications.However,there
is no guarantee that interference will not occur in a particular installation.
Ifthisequipmentdoescauseharmfulinterferencetoradioortelevisionreception,whichcanbedetermined
byturningtheequipmentoffandon,theuserisencouragedtotrytocorrecttheinterferencebyoneormore
of the following measures:
•Reorientorrelocatethereceivingantenna.
•Increasetheseparationbetweentheequipmentandreceiver.
•Connecttheequipmentintoanoutletonacircuitdifferentfromthattowhichthereceiverisconnected.
•Consultthedealeroranexperiencedradio/TVtechnicianforadditionalsuggestions.
Anychangesormodificationsnotexpresslyapprovedbythepartyresponsibleforcompliancecouldvoid
theuser’sauthoritytooperatetheequipment.Whereshieldedinterfacecableshavebeenprovidedwiththe
productorspecifiedadditionalcomponentsoraccessorieselsewheredefinedtobeusedwiththeinstallation
oftheproduct,theymustbeusedinordertoensurecompliancewithFCCregulation.
This Class B digital apparatus complies with Canadian ICES-003.
The FCC Wants You to Know
THE SOURCE WARRANTY
The Source warrants that this product will be free from defects in materials and workmanship for a period of
one(1)yearfromthedateofpurchase.Withinthisperiod,simplytaketheproductandyourproofofpurchase
to any The Source store or dealer and the product will be repaired without charge for parts and labour. The
Source reserves the right to charge for transportation. Any product which has been subject to misuse or
accidental damage is excluded from this warranty.
This warranty is only applicable to a product purchased through The Source company owned stores and
dealers and to a product that is presented for repair in a country where The Source offers the product for
sale. While this warranty does not confer any legal rights other than those set out above, you may have
additionalstatutoryrightswhichwillvaryunderthelawsofthevariouscountries,states,provinceandother
governmental entities in which The Source operates. This warranty is subject to all statutory rights you may
have in the country of purchase.
Limited Warranty
© 2011 The Source.
All Rights Reserved.
Imported by:
TheSource,
Barrie,Ontario,Canada,L4M4W5
Manufactured in China
For product support please visit
www.thesource.ca
Please Recycle
Table of contents
Popular Clock Radio manuals by other brands


Philips
Philips AJ300D/37 user manual

LEXIBOOK
LEXIBOOK Spider-Man TimeProjector RP160SP instruction manual

Little Tikes
Little Tikes 600708 user guide

HoMedics
HoMedics SOUNDSPA PREMIER Instruction manual and warranty information

Morphy Richards
Morphy Richards 29000 operating instructions

Timex
Timex T313 owner's manual


