INDUSTRIAL SAFETY SOLUTIONS SafetyPro User manual
Getting Started with the SafetyPro™
Page 1 of 13
www.industrialsafetysolution.com - 1-877-762-9280
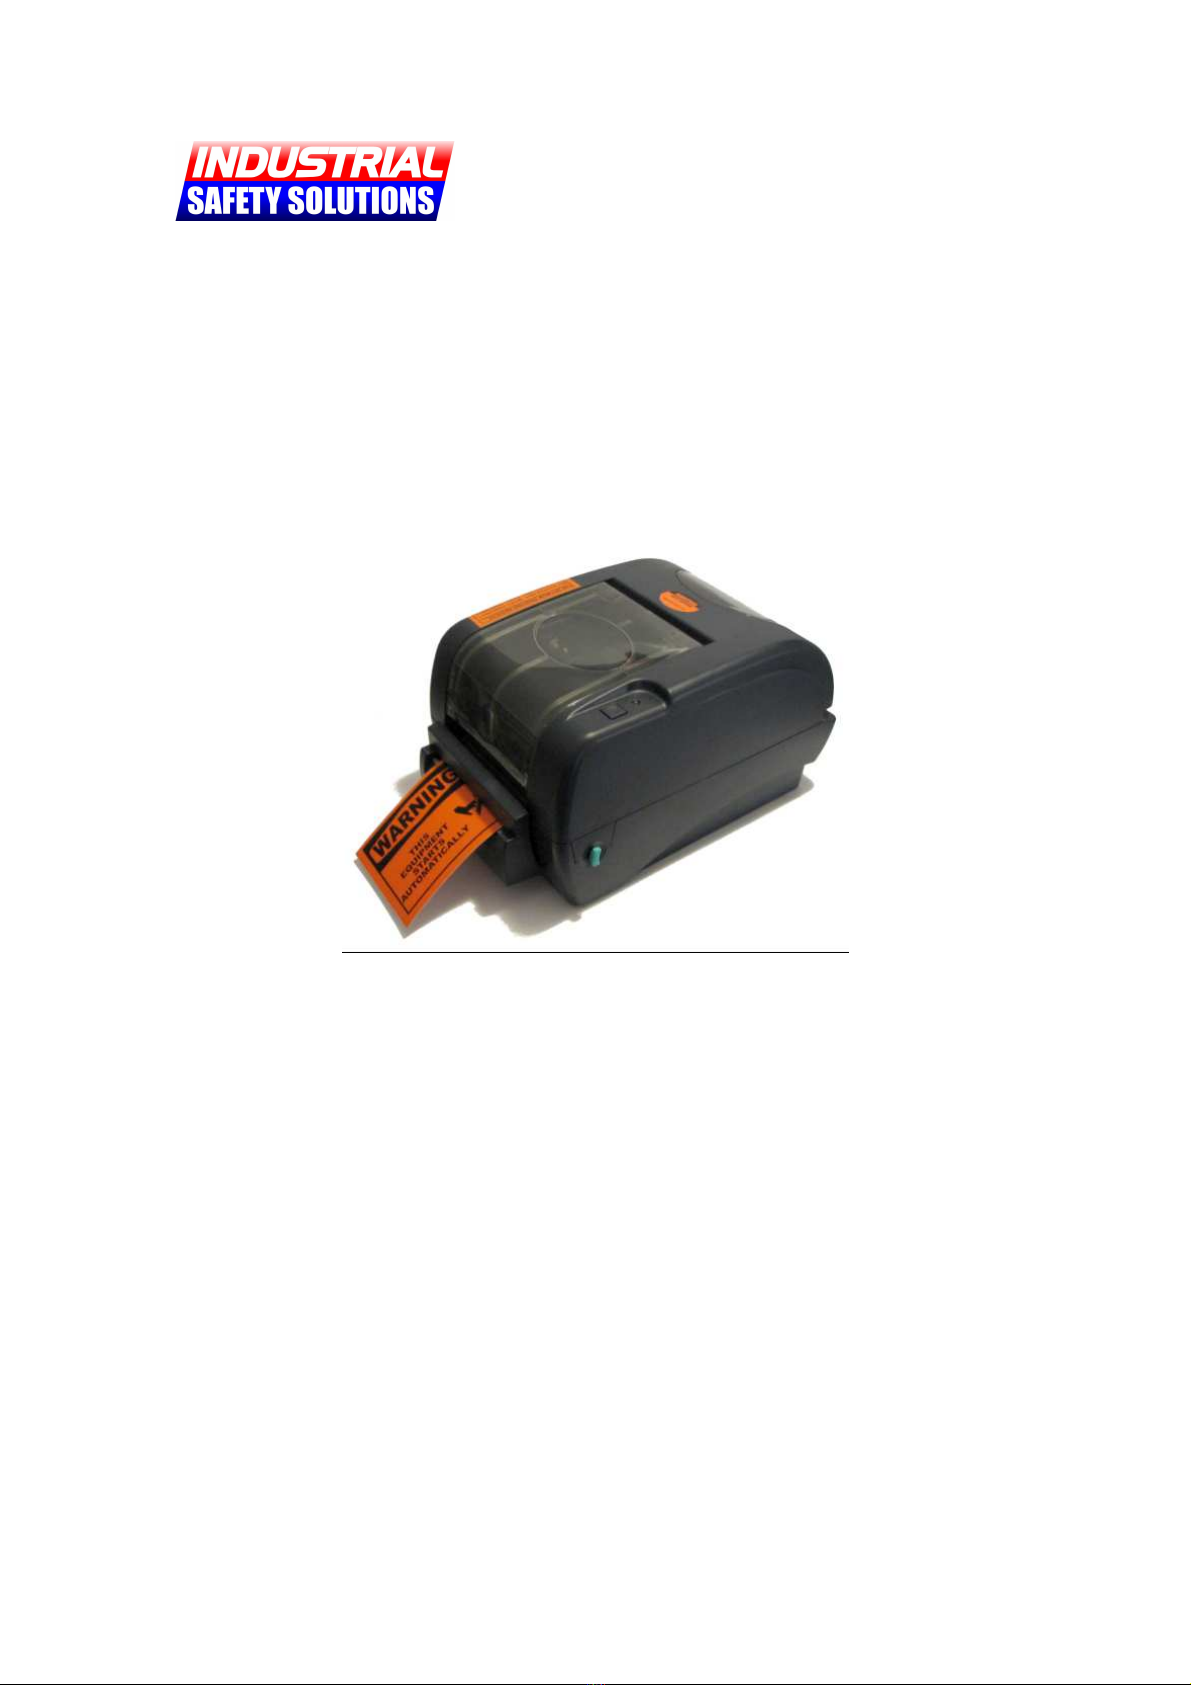
Thank you for choosing the
SafetyPro™
Industrial Labeling System!
SafetyPro Box Contents:
This box should contain:
1. (1) SafetyPro Labeling System
2. (1) US Cable
3. (1) Software CD
4. (1) QuickStart Guide
5. (1) Rollers & Guides Pack
Setu Ste s:
Follow these steps first:
1. Read all printed instructions
2. Unpack printer, remove packing
3. Load ribbon & vinyl (Page 2)
4. Setup software (Page 3)
5. Connect printer (Page 4)
FREE TECH SUPPORT
With the SafetyPro, you never have to feel stuck. Free technical support is just a
phone call away. Contact us at 1-877-762-9280 for setup help or any other questions
you may have.

Getting Started with the SafetyPro™
Page 2 of 13
www.industrialsafetysolution.com - 1-877-762-9280
Loading Vinyl & Ribbon
Figure 1
Figure 2
Figure 3
Figure 4
Figure 5
Ste 1: Make sure the machine is turned off while
loading all materials. To open the machine, gently pull the
two light green cover lock tabs towards you. Lift the
chassis. Place the hood prop on setting #2. Your
printer should now resemble Figure 1.
Ste 2: Select a roll of vinyl supply and place the light
green plastic roller through it. Place the loaded roller
into the machine on the cradle. Place vinyl under the
Teflon bar, through the adjustable guides, over the
rubber platen and through the cutter. Adjust the green
guides so the right-hand guide lip is over the vinyl (this
guide contains a sensor that must be positioned over
the vinyl). Your printer should now resemble Figure 2.
Ste 3: Next, open the clear ribbon access cover. Install
a ribbon onto a plastic ribbon supply spindle. Install an
empty paper core on to the other plastic supply spindle
to serve as your rewind spindle. The ribbon spindle is
loaded on to the rear hub (Figure 3) with the flange side
in the right hub lock. The rewind spindle is loaded on to
the front hub.
When loaded correctly, the ribbon will unwind from the
back, down through the machine, under the print head
and back up to the rewind spindle (Figure 4). Secure the
loose ribbon to the empty core with tape. Make sure the
ribbon is free of wrinkles and is smooth. Gently turn the
rewind spindle toward back of the machine to tighten.
Ste 4: While gently lifting up on the chassis, release the
hood prop by pulling it towards you until it lays flat and
the machine can be closed. Close machine until it clicks
into place. The machine is now loaded properly and
should resemble Figure 5.

Getting Started with the SafetyPro™
Page 3 of 13
www.industrialsafetysolution.com - 1-877-762-9280
Installing Software & Drivers
When the CD is inserted, the screen above will a ear
on your monitor. Click each o tion to install.
It is recommended
that you install ALL
of the software on
the CD. You should
install the software
BEFORE connecting
the rinter.
O tional Minimum Software Installation:
You may choose to install only the following
software, in order:
SafetyPro Drivers
FacilityWare Label Manager
If you choose this optional minimal installation, you
may add the Additional Software components at
any time.
Notes on USB vs. LPT Connections
USB (included)
The default, included connection for the
SafetyPro is US . With US connections,
Microsoft Windows can detect when the
printer is connected and powered on. The
“Add Printer Wizard” is started
automatically with US . Ensure the
software is installed and CD is still in the
drive before connecting and powering on
the SafetyPro when using US .
LPT (Parallel – not included)
You may optionally choose to use an LPT
(Parallel) connection with the SafetyPro.
When you use an LPT connection,
Microsoft Windows cannot detect the
printer. The “Add Printer Wizard” is not
started automatically, and you must
manually add the printer in the Printers &
Faxes section, or in the control panel
under Printers.

Getting Started with the SafetyPro™
Page 4 of 13
www.industrialsafetysolution.com - 1-877-762-9280
Connect & Power-on the SafetyPro
Make sure you have installed all of the software on the
CD before connecting and turning on your SafetyPro.
The CD should still be in the drive.
Connect &
Power on
the
SafetyPro
Printer
Microsoft
Windows
automatically
launches the
“Add Printer
Wizard”
Detailed Notes:
Once you have installed the Software CD, you may connect and power up your
SafetyPro printer. First, connect the US cable to your printer and computer, then plug
in the power cord and connect it to the printer. The power switch is on the back of the
printer, at the bottom, next to the power cord outlet.
When US -connected users switch on their SafetyPro for the first time, the “Add
Printer Wizard” will appear automatically on your monitor. With the CD still in the drive,
complete the wizard. LPT (Parallel) users will not see the wizard.
Once the “Add Printer Wizard” is complete, you should not see it again when turning
the printer off and back on.
If you see the New Hardware Wizard each time you power
on your computer contact your IT department, or contact 877-762-9280 for support.

Getting Started with the SafetyPro™
Page 5 of 13
www.industrialsafetysolution.com - 1-877-762-9280
SafetyPro Print Driver Settings
For continuous roll vinyl label stock (regular labeling
material, general ur ose labeling)

Getting Started with the SafetyPro™
Page 6 of 13
www.industrialsafetysolution.com - 1-877-762-9280
SafetyPro Print Driver Settings
For die-cut vinyl label stock (arc flash, NFPA RTK, ANSI,
Color stri e, and blank die-cut labels)

Getting Started with the SafetyPro™
Page 7 of 13
www.industrialsafetysolution.com - 1-877-762-9280
Using FacilityWare Label Manager
Figure 1: New Label
Figure 2: Custom Size
First, choose your label tem late…
When you start FacilityWare, you will be asked to select your template (Figure 1). You
can input your layout and loaded material type, then choose your label size from the
selections. If you need a custom size that is not on the list, you may click the
“Customize” button, and input your size manually (Figure 2).
If you want to use a pre-made template for Arc Flash, RTK, ANSI, or other standard
labels, click the “Templates” button on the bottom of the template setup screen (Figure
1). Choose your template from the list provided.
Figure 3: The Toolbox
Figure 4: Drag-and-Dro
“Drag-and-Dro ” makes label creation easy
The Tool ox (Figure 3) provides you with all of the available objects for creating your
label. To add any object from the Tool ox to your label, simply “Drag and Drop” it (See
Figure 4). Once the object is on your label, you can modify it as needed.
Getting Started with the SafetyPro™
Page 8 of 13
www.industrialsafetysolution.com - 1-877-762-9280
Using FacilityWare Label Manager
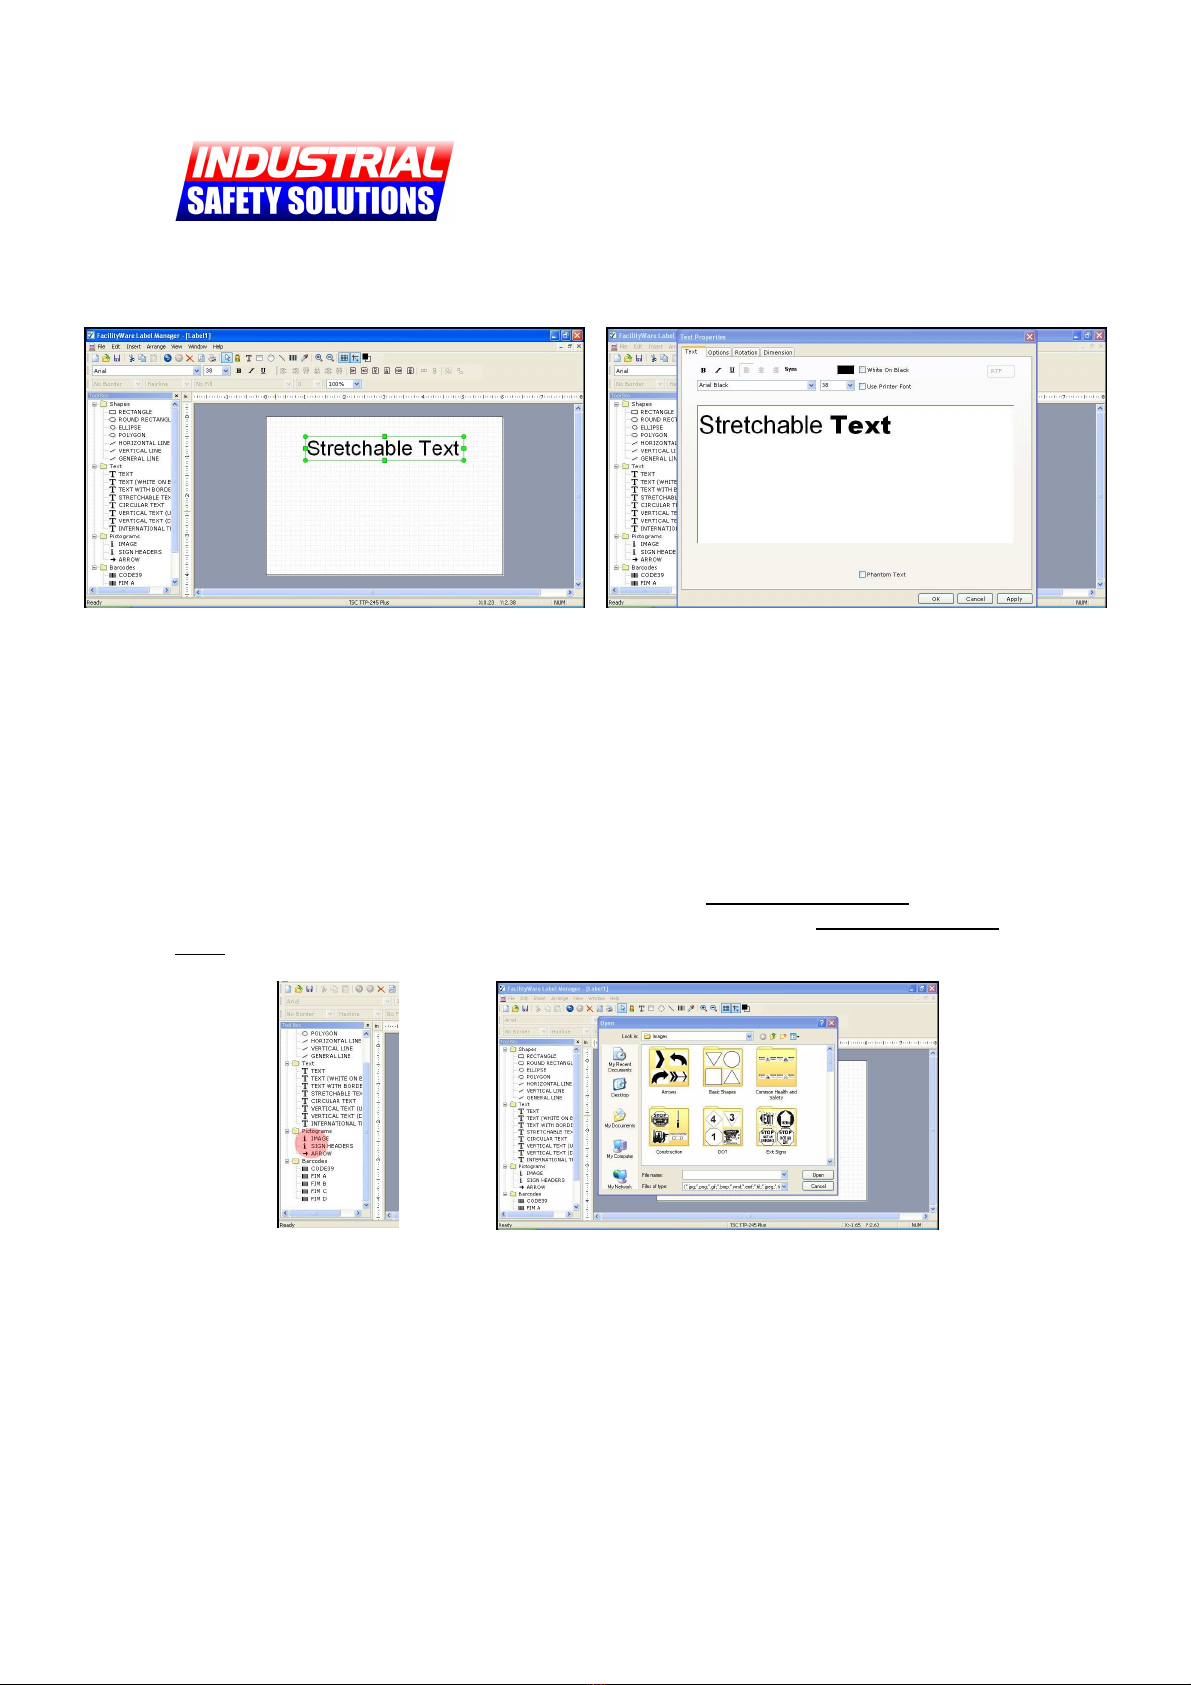
Figure 5: Stretchable Text Object
Figure 6: Text Object Pro erties
Adding Text
To add text to your label, locate the “Stretchable Text” object in the toolbox and “Drag-
and-Drop” it onto your label. Once added, the object will have green dots around the
edges, used for resizing (Figure 5). You may click and drag the object anywhere on your
label.
To edit the object, double-click it OR right-click and select “Properties.” The Object
Properties dialog will appear (Figure 6). You may enter multi le lines of text, and
manipulate font styles and sizes for any part of the text, as shown. Multi le fonts and
sizes may be used in a single object.
Figure 7: Image Objects
Figure 8: Select an Image
Adding Images
“Drag-and-Drop” any Image Object from the Pictogram section in the Tool ox (Figure
7). The image selection dialog will appear automatically (Figure 8). FacilityWare
includes thousands of labeling images, which you can use on virtually any type of safety
label imaginable. Choose one of these included images, or browse to your own image,
double click and it will append to your label blank.
Getting Started with the SafetyPro™
Page 9 of 13
www.industrialsafetysolution.com - 1-877-762-9280
Using FacilityWare Label Manager
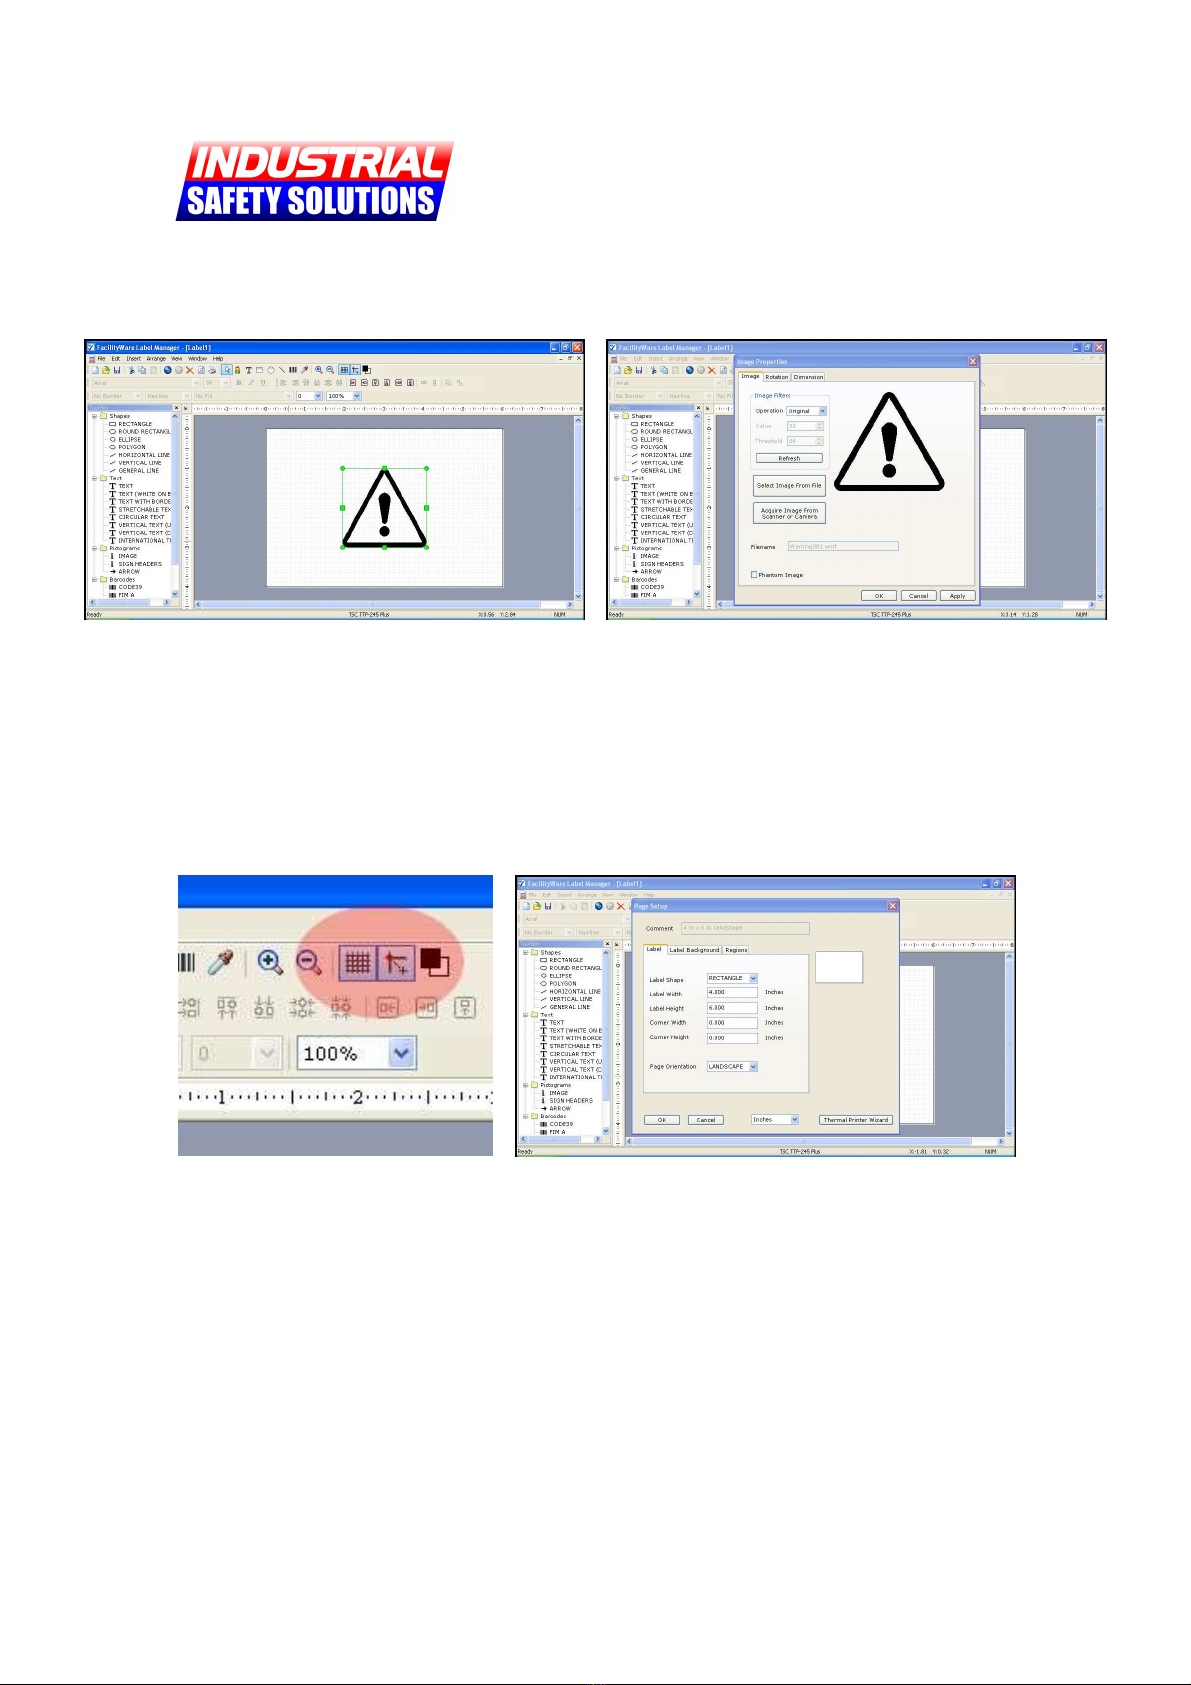
Figure 9: Image Object Selected
Figure 10: Image Object Pro erties
Adding Images (continued)
Once you have inserted an image object it will appear with green dots around it, used
for resizing (Figure 9). Move the image and size it as desired. For additional image
object options, such as rotation and color control, double-click the image OR right-click
and select “Properties.” If you are using a color image, make sure to convert it to black-
and-white for label printing.
Figure 11: Grid O tions
Figure 12: Label Setu
Grid O tions and Label Setu
FacilityWare is designed to let you control your label creation experience. Some
customers may want to disable the “Snap-to-grid” feature, which can be done quickly
and easily using the toolbar at the top of the software (Figure 11).
If you decided you need a different label size after you have already started with your
label creation, you can select the File menu at the top, then choose Label Setup (Figure
12). Adjust your size as needed.

Getting Started with the SafetyPro™
Page 10 of 13
www.industrialsafetysolution.com - 1-877-762-9280
Arc Flash Label Printing
Arc flash labeling is com lex, and cannot be covered in
a Getting Started guide. Consider the o tions below,
and call us at 1-877-762-9280 for more hel .
Using FacilityWare
PROS: Very easy, no actual
arc calculation knowledge
necessary, can be done by
anyone. Professional look.
CONS: Does not handle
calculations. Not suitable
for printing from large sets
of data.
NOTES: You can use pre-
made templates in
FacilityWare to create
professional, easy-to-read
arc flash labels. Some
templates are included;
click on “Templates” when
starting a new document.
Using SKM
PROS: SKM is a complete
arc flash solution, and
includes everything from
calculation to print.
Industry accepted.
CONS: Requires electrical
engineering knowledge.
NOTES: SKM is an industry
leader in arc flash
calculations and label
creation. SKM works
directly with the SafetyPro,
and support is provided
directly from SKM.
Electrical contractors often
choose this option.
Using AF Label Creator
PROS: Easy to use, can
import from Excel (CSV),
fast, Professional look.
CONS: Does not handle
calculations. Fixed label
layout.
NOTES: Our ISS Arc Flash
Label Creator is designed
as an alternative for
electrical contractors who
already have their arc flash
calculations completed and
in a raw data form (CSV).
The label layout is industry
standard.
We can hel you with any of these Arc Flash
labeling o tions.
Please contact us for details.

Getting Started with the SafetyPro™
Page 11 of 13
www.industrialsafetysolution.com - 1-877-762-9280
ISS Arc Flash Label Creator
Create, rint and store standard 4 x 6 arc flash labels
in seconds. Im ort large label batches instantly from
Microsoft Excel CSV
Getting Started with AF Label Creator
Using the ISS Arc Flash Label Creator is
simple. First, choose a header. For die-
cut materials without a pre-printed
header, choose Danger, Caution, or
Warning. For labels with an existing
header, select “None.”
Once your header is selected, fill in your
arc flash calculation results in the
appropriate fields. Add checkmarks for
your required PPE, and any other
information you want to include.
efore printing, be sure to enter an
“Equipment ID,” identifying what the label
is to be used to mark. You may now print
or save your label.
Im orting from CSV
ISS Arc Flash Label Creator can run batch print jobs from a CSV spreadsheet. An
example spreadsheet is included with the software, and can be loaded into Microsoft
Excel to demonstrate the file format. A text document explaining the file format can
also be found in the program’s main directory.

Getting Started with the SafetyPro™
Page 12 of 13
www.industrialsafetysolution.com - 1-877-762-9280
ISS RTK Label Creator
Print from a database of thousands of re-defined
NFPA chemical labels in seconds
Figure 1
Figure 2
Selecting a Chemical (Figure 1)
In RTK Label Creator, you can order the list of
chemicals by CAS number or alphabetically. Using
the "Search" menu, choose either of these sort
orders. The default sort order is alphabetical.
Once you have sorted the chemical list, choose a
chemical from the drop-down on the upper right-
hand corner of the software. Click the chemical to
load the hazard information. All of the information
will appear on the screen. Review it for accuracy
against your chemical manufacturers MSDS sheet
before continuing.
Select Quantity and Print (Figure 2)
Once you select a chemical, click the print icon to
print the label. Select the label size that matches
your loaded supply, then enter a quantity and click
OK to print. e sure you have the proper RTK label
stock loaded and aligned. Use the properties
button to setup your printer for the correct stock
size (refer to the print driver settings page for die-
cut materials).
Getting Started with the SafetyPro™
Page 13 of 13
www.industrialsafetysolution.com - 1-877-762-9280
Purchasing Form – Fax or Mail
Credit Card Information
Credit Card Type: □Visa □MasterCard □American Express □Discover
Credit Card Acct #: CCV:
Credit Card Expiration Date:
Name as it Appears on Credit Card:
Payment Amount (USD): $
Cardholder Signature: Date:
Notes:
Bill To
Contact
Name
Contact
Phone
Company
Name
Street Address:
City: State: Zip:
Notes:
Ship To (if different)
Contact
Name
Contact
Phone
Company
Name
Street Address:
City: State: Zip:
Notes:
Order Information
Line Item Qty Price
Totals:
Popular Label Maker manuals by other brands

Brother
Brother P-Touch PT-H300 Operator's manual

London Electronics
London Electronics PORTI-P40 Operation manual

Dymo
Dymo LabelWriter 400 Duo Guide Contents and Installation

Epson
Epson ColorWorks CW-C6000 Series user guide

Dymo
Dymo LabelWriter DUO quick start

Carl Valentin
Carl Valentin Compa II Serie Quick reference guide


Brady
Brady BradyPrinter i5100 user manual

BIXOLON
BIXOLON XT3-40 Series user manual

BIXOLON
BIXOLON SLP-TX400R Programming manual

Brother
Brother PT 1010 - P-Touch 1010 B/W Thermal Transfer... Guía del usuario

Custom Audio Electronics
Custom Audio Electronics KPM203 user manual

Epson
Epson LabelWorks LW-300 user guide